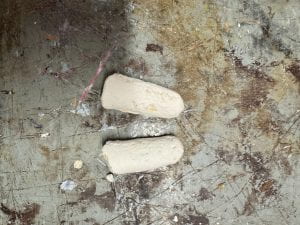
The first attempt of this assignment was done during class. The instructions seemed simple enough, and I was glad to have finished an entire assignment without having to come in afterwards. Then I saw the result of the cast, and it was terrible. They can be seen below, and the rough texture is obvious.
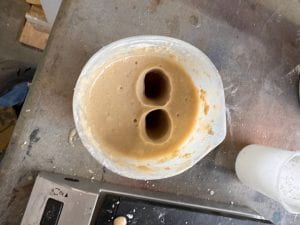
I tried a second attempt soon after, but with very similar results, so I knew that there was something about this that I had fundamentally misunderstood. After reading the instructions more closely, I realized that the alginate started to harden 4 minutes after contact with water. In my first two attempts I was too focused on removing all the clumps, allowing myself to mix for as long as necessary. This resulted in the alginate hardening before I placed my fingers to create the mold, which was the real cause of the rough texture instead of the clumps.
For my final attempt, I needed to have the process fully understood, so I got everything I would need to try this assignment twice, so I could iterate on the process hopefully have one set of fingers that were better quality. The first thing I learned was that the alginate only had 4 minutes of working time from the moment water has been added. I started a timer once the water was included to keep track, which allowed me to place my fingers into the mold before it started to harden, which resulted in a much higher quality mold of my fingers. The next thing I learned was that the moment the plaster slightly decreases in viscosity it will start to harden extremely fast.
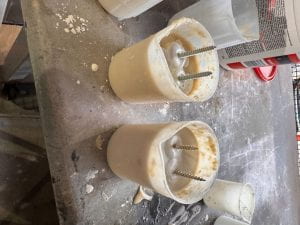
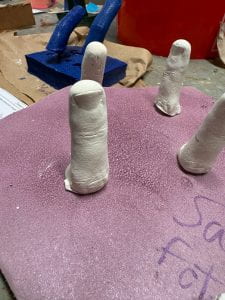
Both attempts that utilized these lessons resulted in much better finger castings, where the details of the fingers were actually visible. Once the fingers had dried sufficiently, they were coated with a clear coat, as I wanted to preserve both the white color and the fine details, as it reminded me of a statue.
An image of my cleaned workspace after the final two attempts is shown below.


