For this homework, I decided to create a smple moon. I found a .svg file I liked on thenounproject.com, which I could then bring into carbide create. The geometry was pretty simple, so no modifications were necessary.
The first step before cutting into the wood was to obtain the wood. I found a long piece that I could cut to have multiple attempts, but the surface was not flat, so the planar was used to ensure both sides were flat. This was especially important as the method I was going to use for fixturing was to have double sided tape between the work piece and platform.
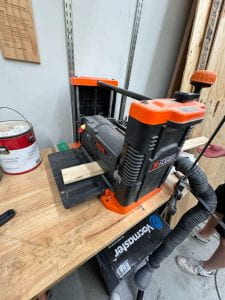
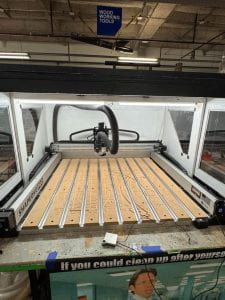
Cutting the piece out was mostly uneventful, although it is important to ensure that the bit you are using is long enough to fully cut through the workpiece. After the piece was cut, the tabs I had included may have been slightly too big, as to removie the piece I had to clamp the wood into a vice and use a mallet to knock the piece out.

Once this process had been repeated to obtain a second piece, I started painting. I chose white, as the moon is (usually) white.
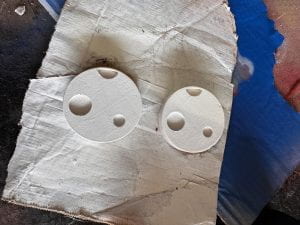
The painting process was not very smooth, as it was hard to get the sides of the moon covered without filling the craters with excess paint, as a result the sides have a very thin layer.

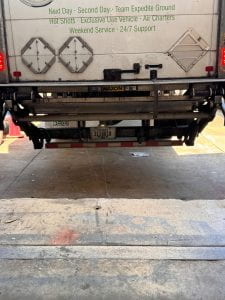
I also got lucky when I left the parts out to dry, as a truck came into the loading dock, thankfully without running these pieces over.
Here is a picture of my cleaned workspace.
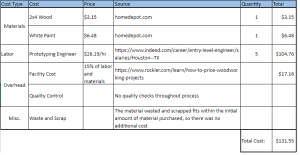
Cost estimate: