Okay, another box assignment. Can we laser cut this one? Yes? We’re supposed to? My time to shine!
I decided not to go all crazy with box design this time and kept it simple with a generated box from https://makeabox.com. This site makes it really simple: input the interior box dimensions, thickness of the wood, and kerf, then download your file. I chose the dimensions of my box to be six inches to a side and four inches tall for somewhat arbitrary reasons. It just seemed like a good idea at the time, probably for general purpose small item storage. I measured the thickness of the wood with calipers and found it to be 0.205”, plus or minus a couple thousandths.
That just leaves the kerf to figure out. Lucky for me, others had already cut their box before I did and experimented with what gave a tight fit without fasteners. I asked Nick and he said 0.007” worked well for him, so I did the same.
All good to go! One click later: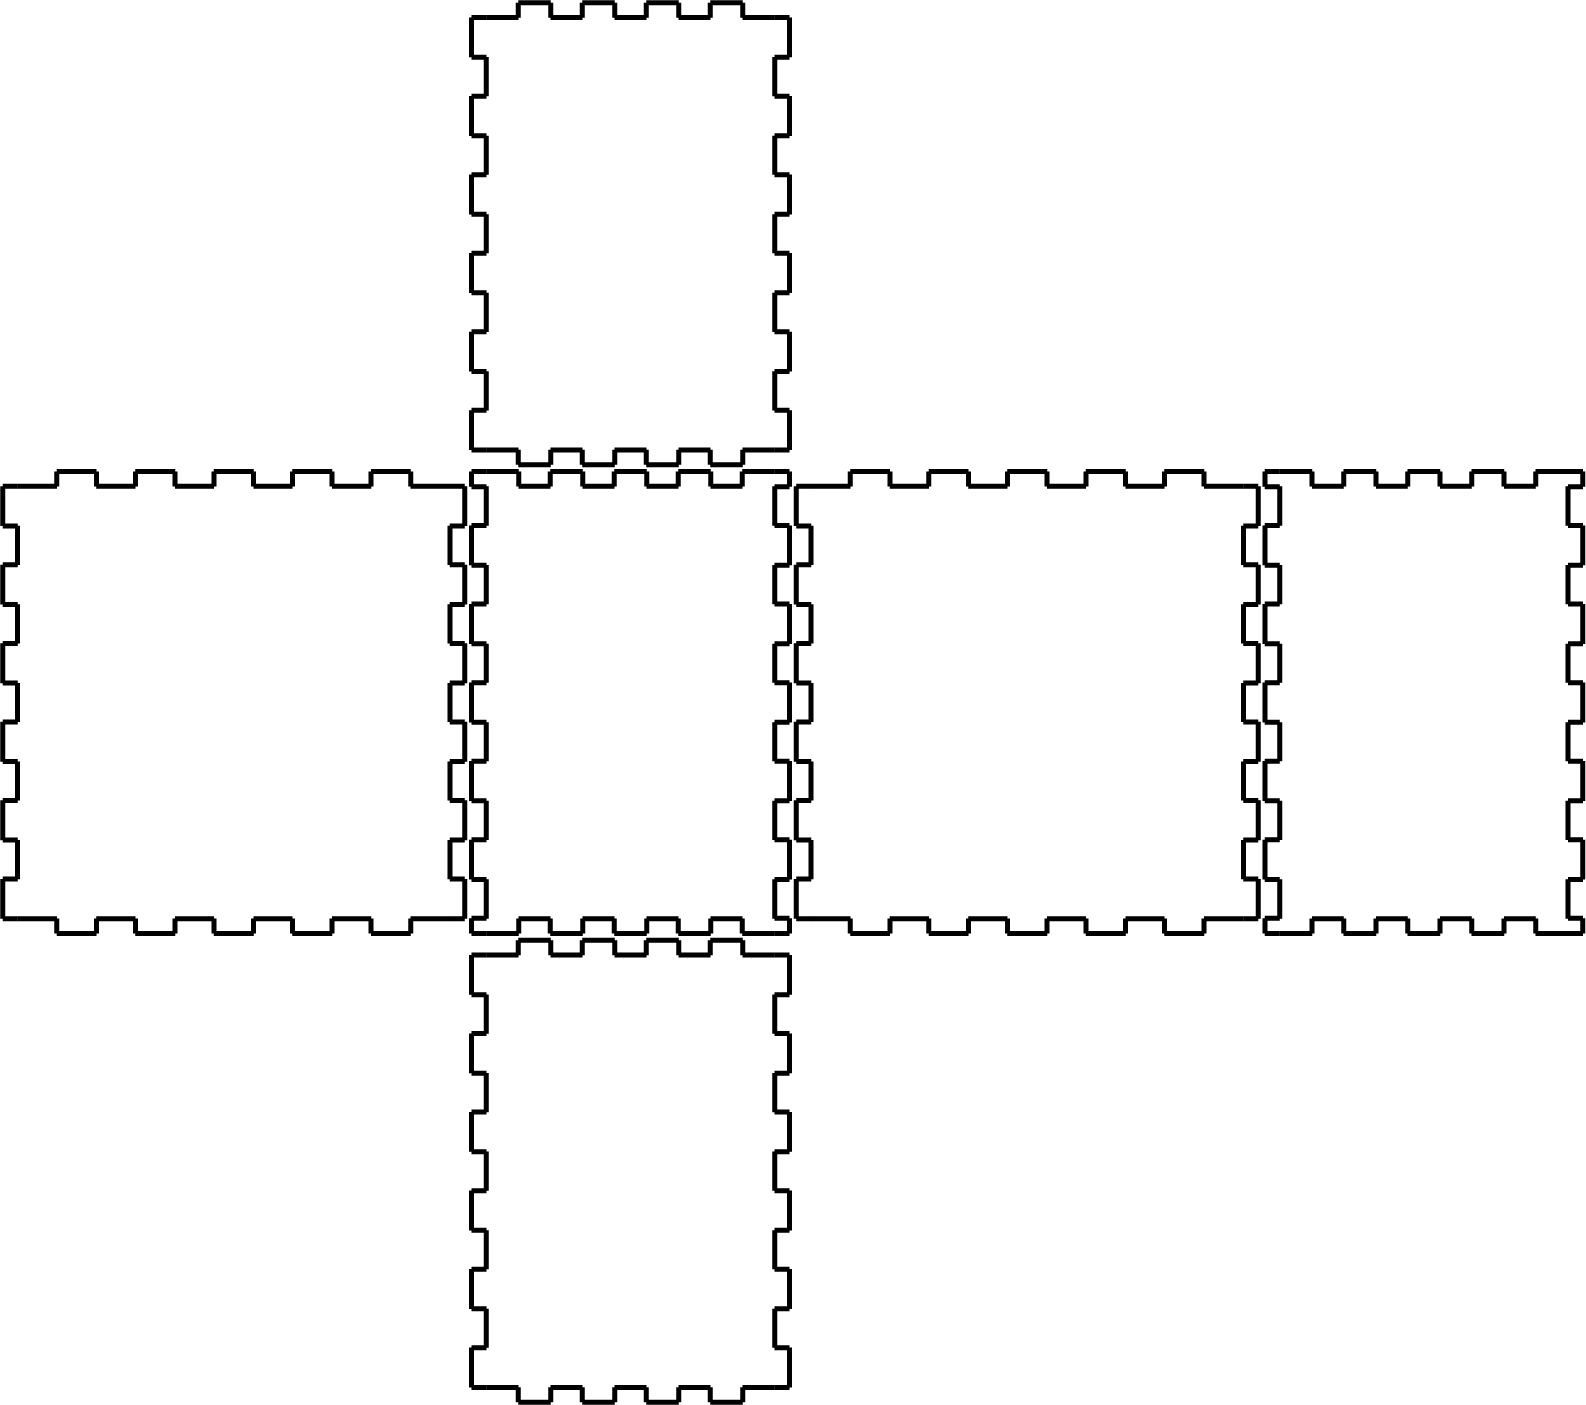 Well, that’s boring. A plain box, no patterns? I began a search for things that looked cool to etch into the sides. I found this:
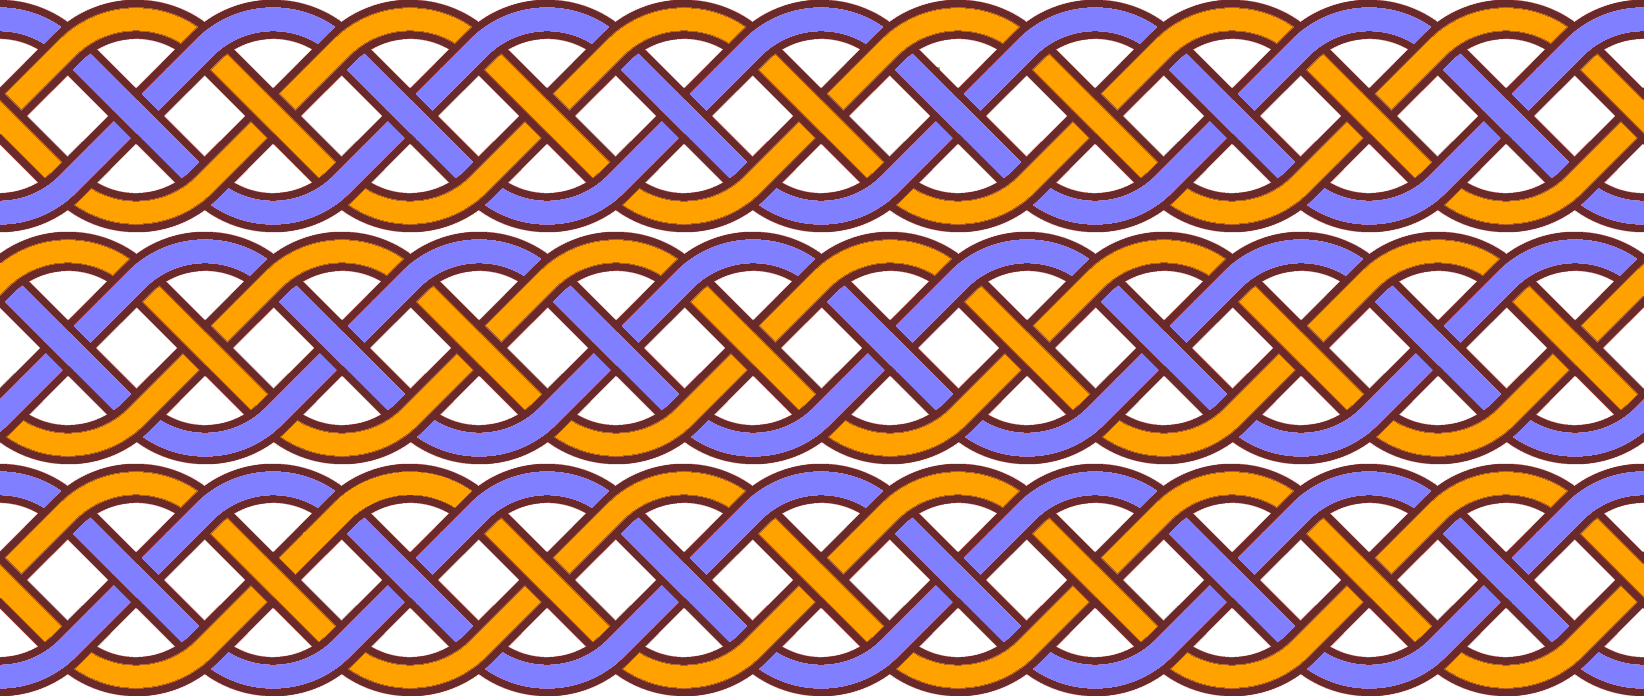
Which, with a bit of photoshop, turned into this:
Ctrl + C-V-C-V-C-V-C-V…
I hadn’t actually used photoshop before, but I’ve had plenty of experience with free versions. I took one cycle of the knot and duplicated it until I felt like it was enough. I left the sides open so as to have the pattern wrap around the box. Finally, I colored it in so as to raster both the outline and fill. The idea behind different colors was to get slightly different shades on each strand, but the contrast wasn’t high enough for that.
A couple images later and: Much better! Preparing for print wasn’t too hard; I just had to rearrange a couple of the pieces to fit in the space left on the plywood. One thing I didn’t take into account was the direction of the pieces relative to the grain of the wood. This left half the sides with vertical grain and the other two horizontal. While not too big of a deal, it does disrupt the aesthetic a bit.

Making do with the space left on the board.
After experimenting on scraps, I went with a cherry stain and a couple coats of aerosolized vinyl. Nothing too challenging here, but I did notice the vinyl left some dusty looking things attached to the wood. I’m assuming these particles came from the air and settled into the wet vinyl. Again, not too big of a deal, but something to look for in the future. However, I’m not sure how to create an isolated environment to use aerosols, especially at the OEDK.And snapping the box together:I really like how the box looks, but I’m not sure what to do with it. The top doesn’t open too well, so it’s mostly decorative for now. Maybe I’ll sand the top tongues just a bit so I can get things in and out.

You can see the little fibers near the edge here. I like how the pattern wraps around though!
I’m glad I did this box before trying to make that paper tray from a couple posts ago. After going through this, I’m much more aware of what goes into laser cutting a piece and know my paper tray needs a redesign. Back to the drawing board!
