By: Madison Nasteff & Nicole Mitchell
Note: Both blogs and mechanisms were created as a joint effort among both teammates
For our midterm project, we were tasked with creating a device based off of a movement from 507 Mechanical Movements. We decided to build mechanical movement 140, a punching device. We chose this mechanism because we thought it would be fun to interact with and practical to use as a stamp.
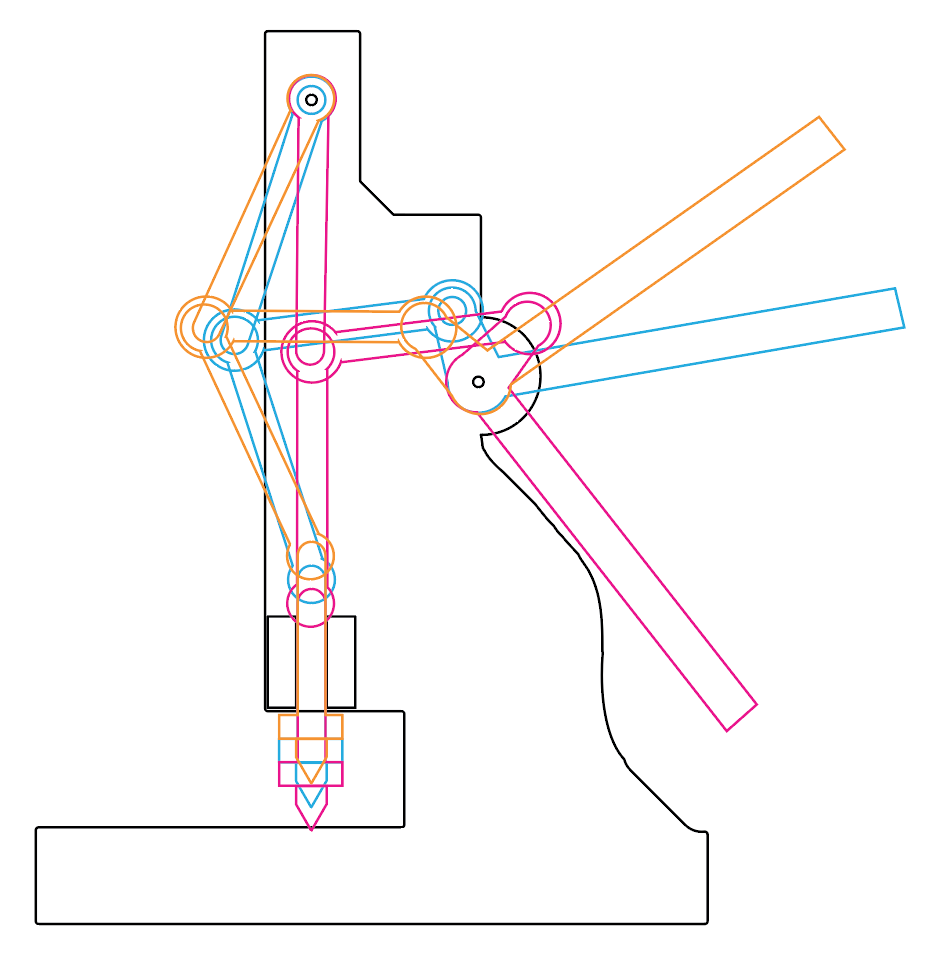
Illustrator Proof of Concept
To begin, Nicole created an Illustrator file of all the parts – each of the levers and the frame. To make sure the dimensions were all correct and the geometry would work out in the assembly, she “assembled” and “moved” the mechanism in Illustrator, as shown in the screenshot on the left. This served as our initial proof of concept, and although it was digital in form, it demonstrated that our mechanism would work with those dimensions. After doing this in Illustrator, we realized that it would have probably been easier and quicker to model and test in SolidWorks – which is good to know for next time!
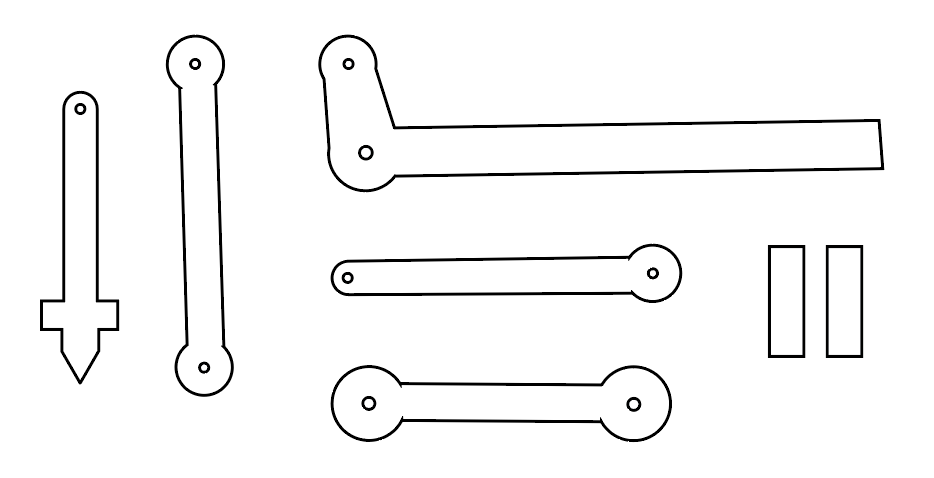
Initial Parts
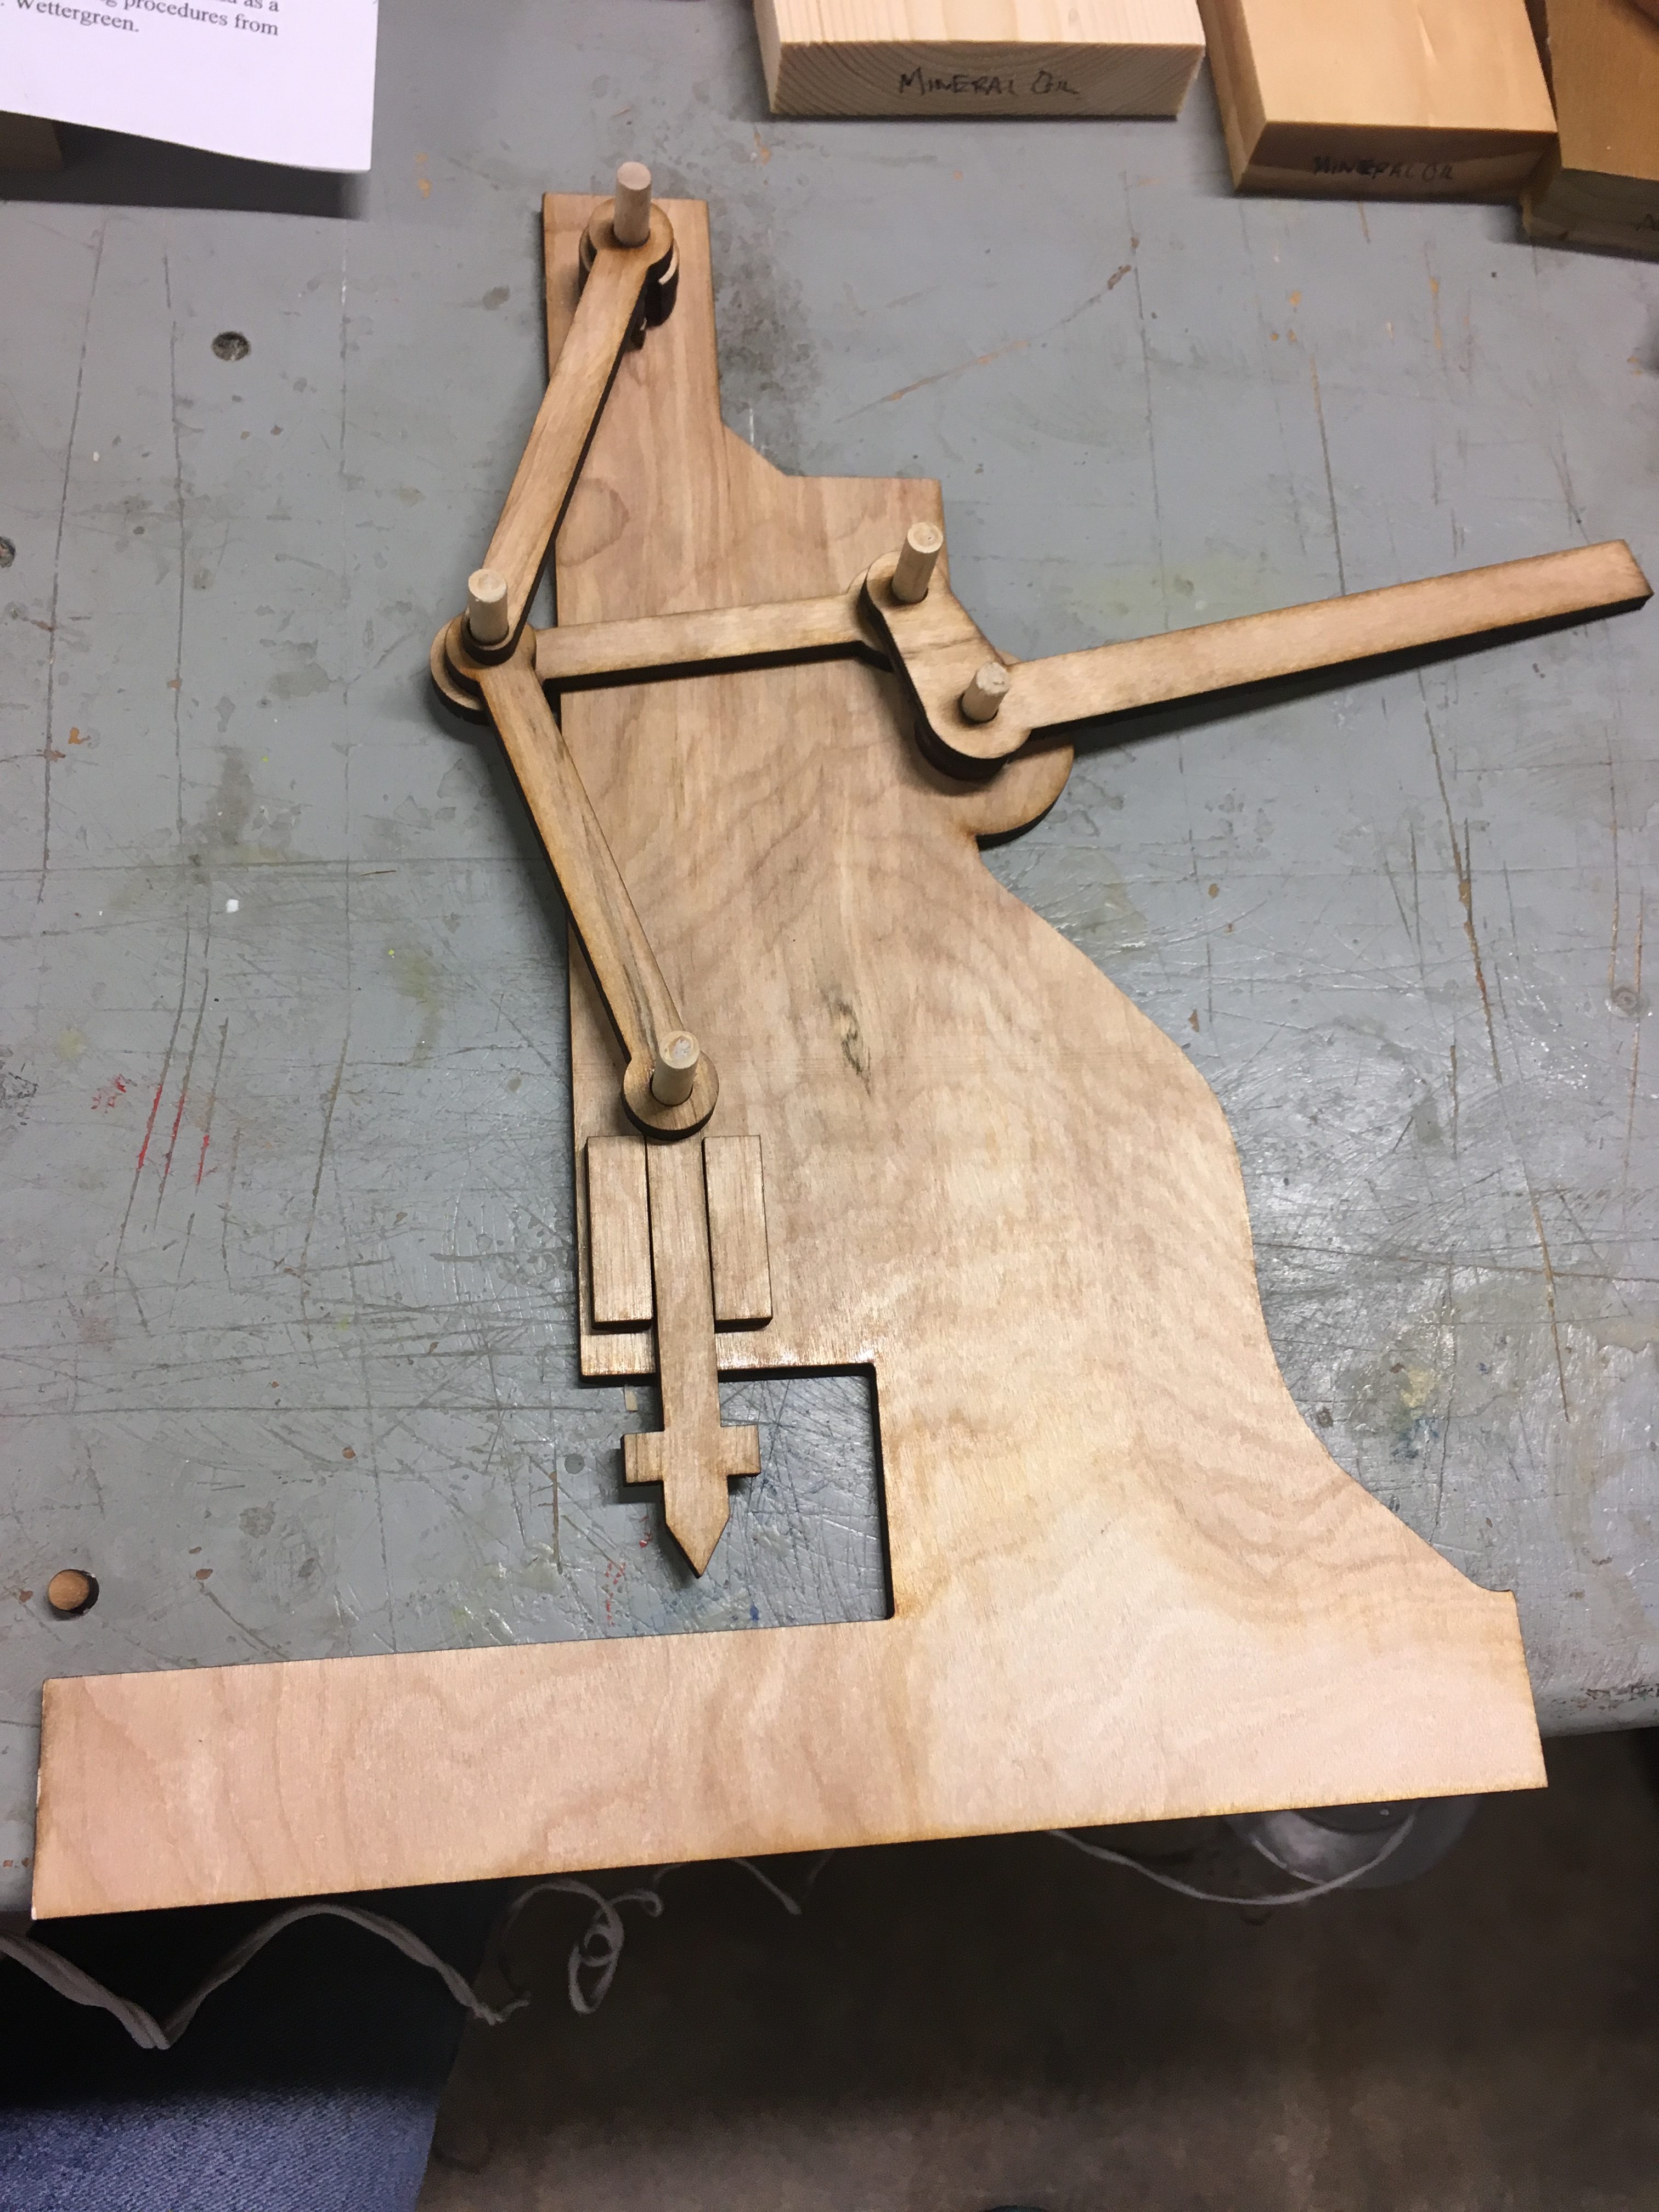
Low Fidelity Prototype – Plywood
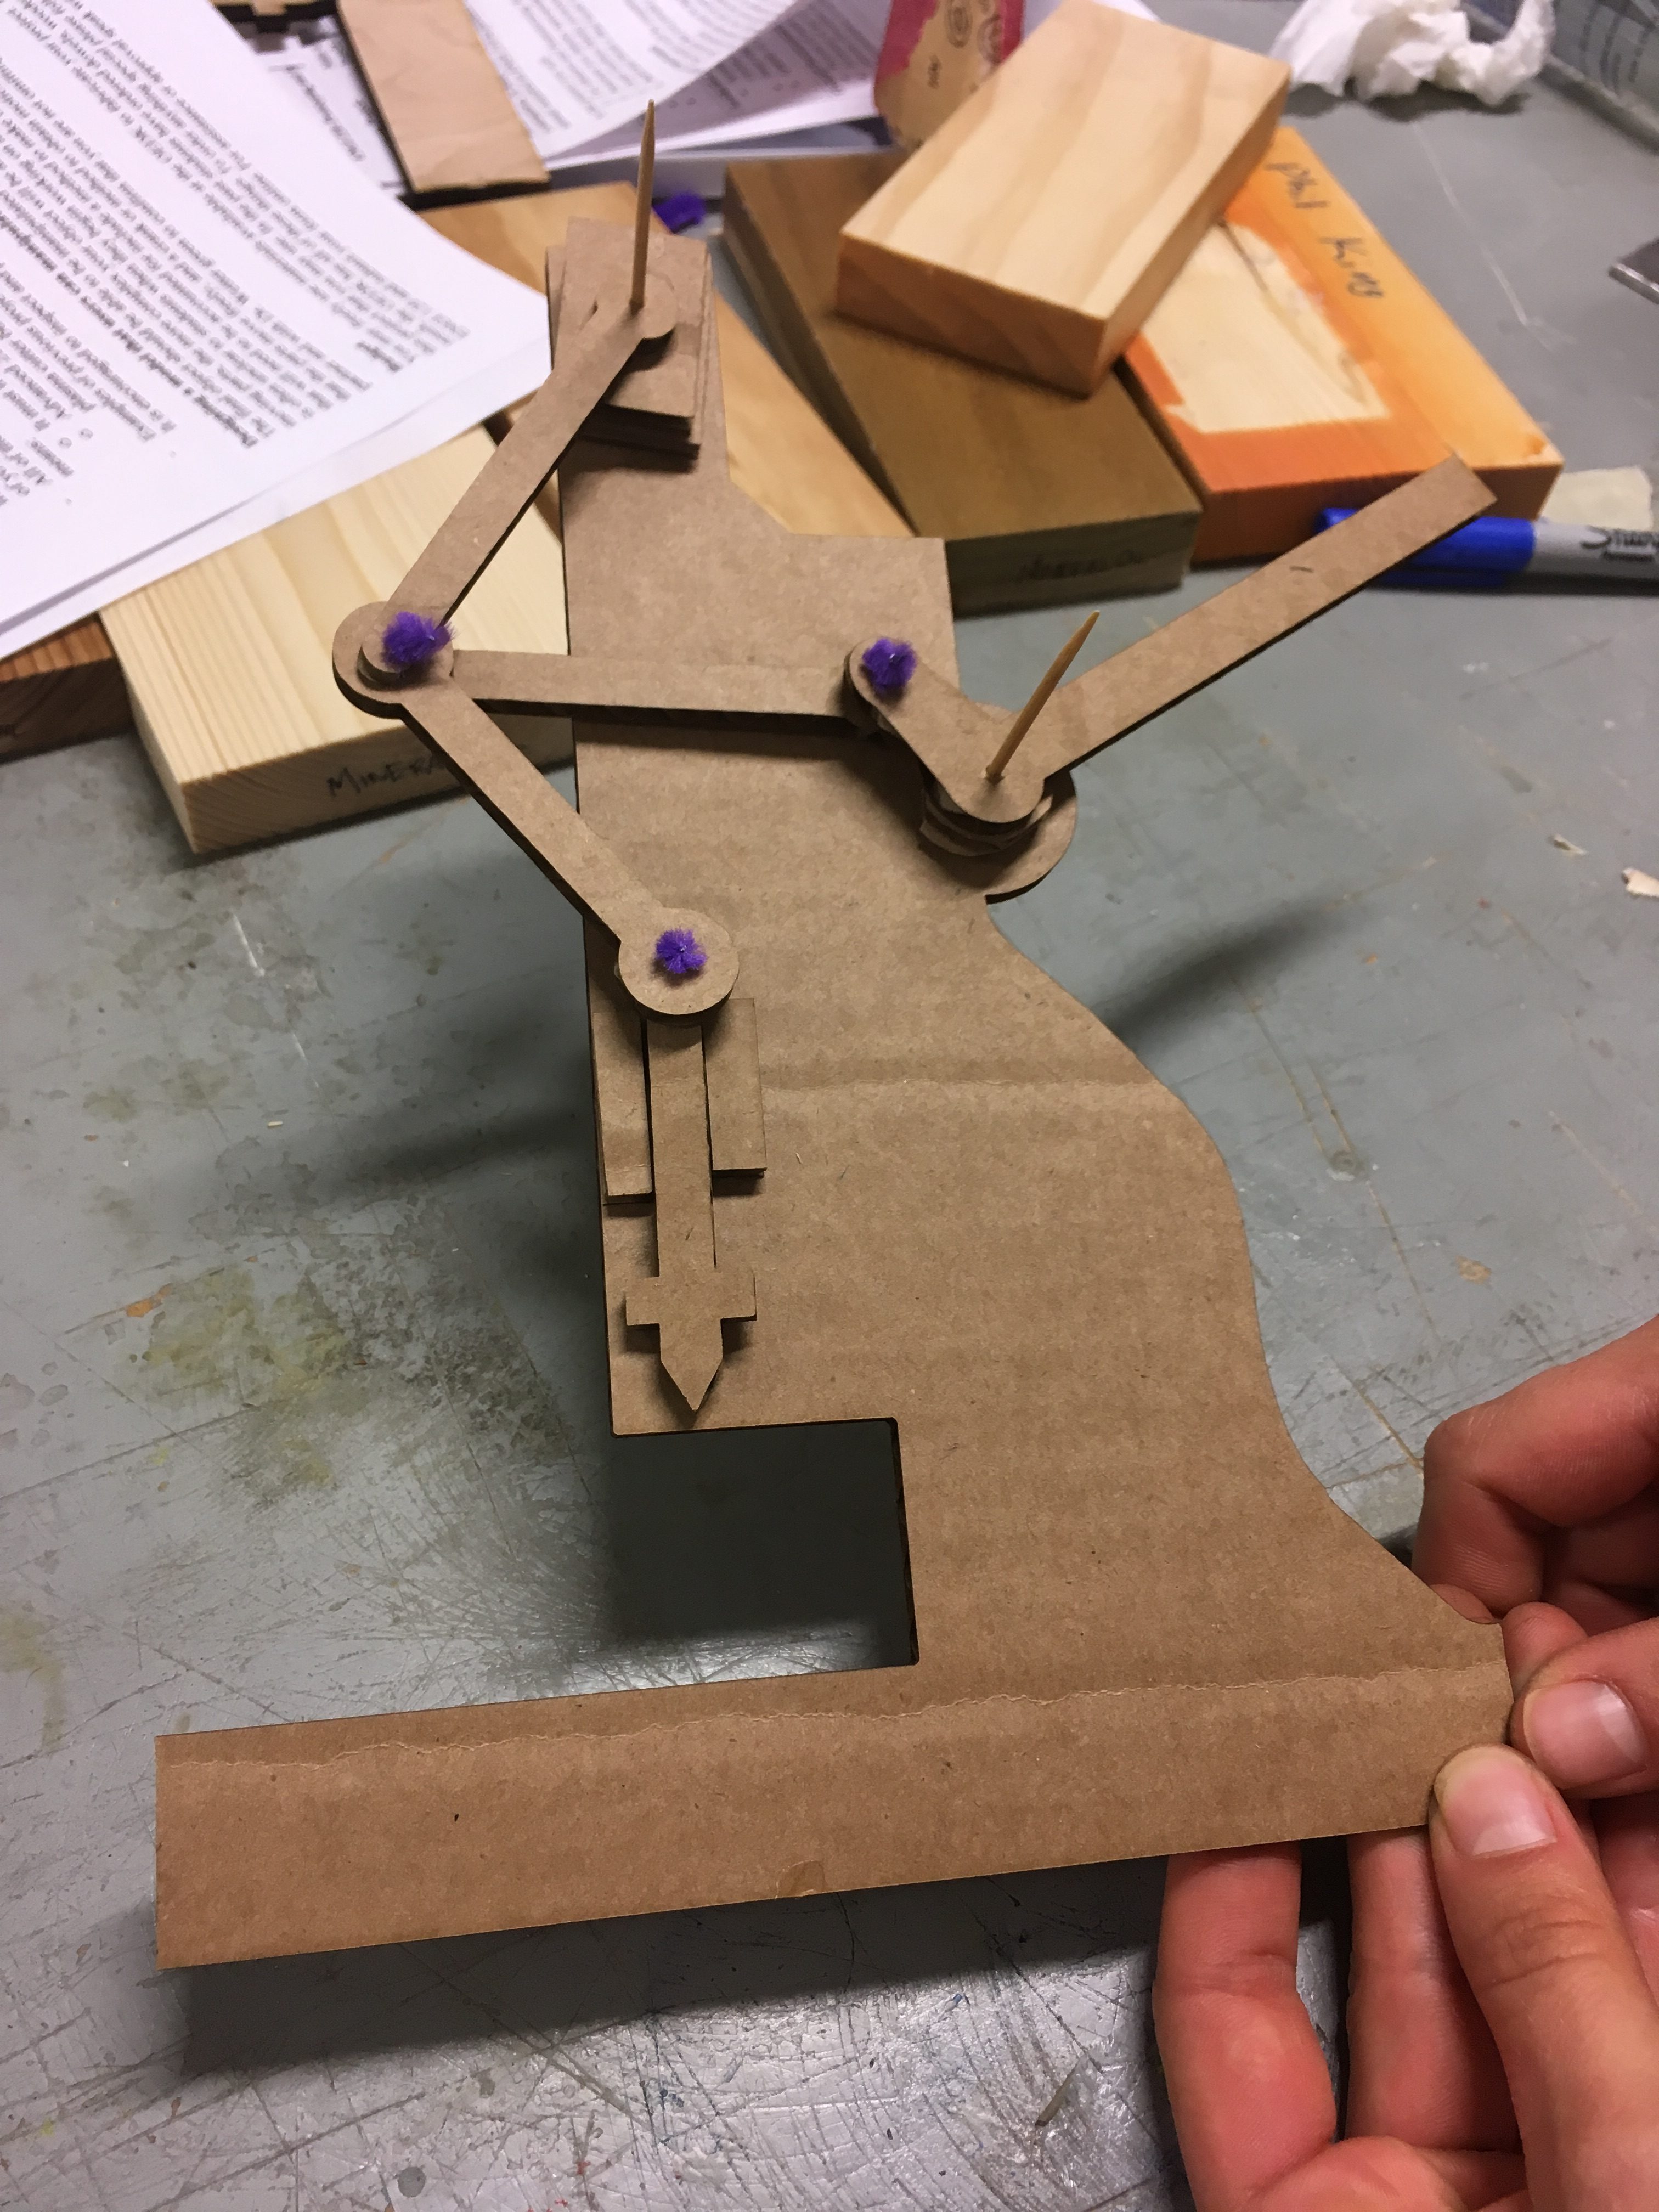
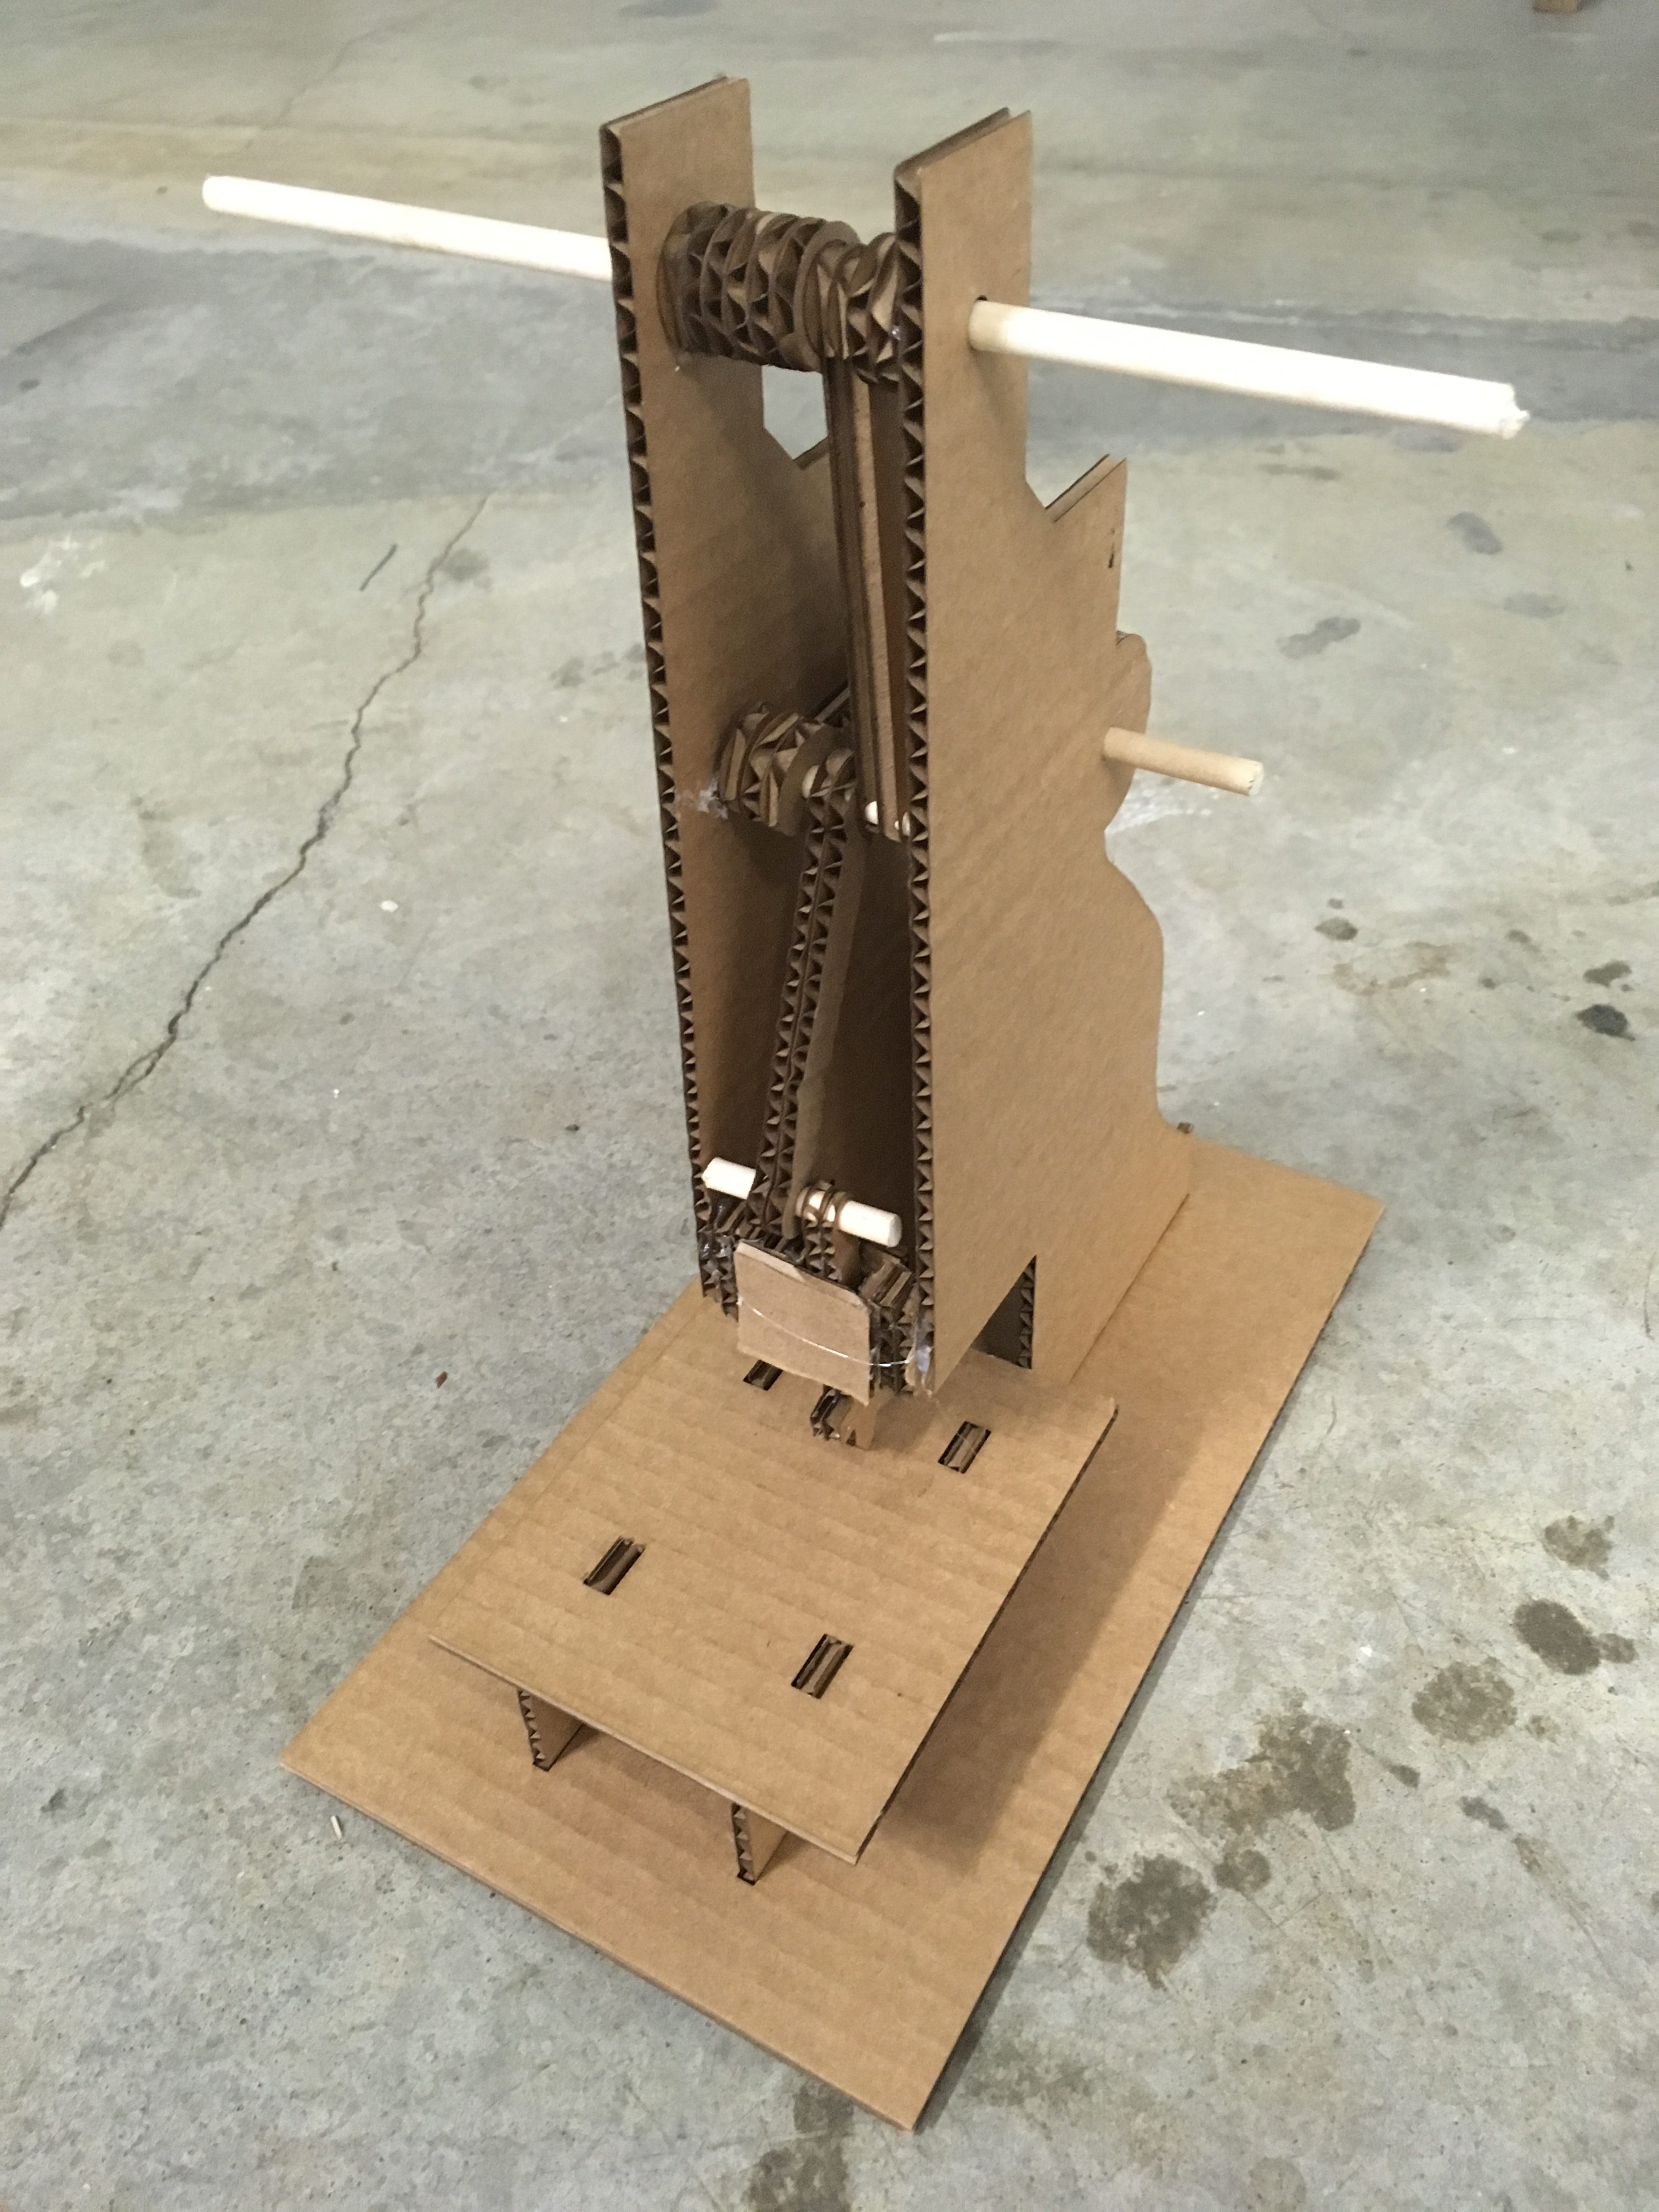
Low Fidelity Prototype – Cardboard
Medium Fidelity Prototype – Cardboard
For our next iteration, we decided to build a 3D structure to stand the mechanism upright so it would actually function as a stamp. We built the first one of these standing stamps out of cardboard. Once we assembled it and made sure it all fit together and the mechanism worked, we built the same model out of plywood. By using a stronger material, we could actually try to use the mechanism as a stamp or punch without bending the levers.
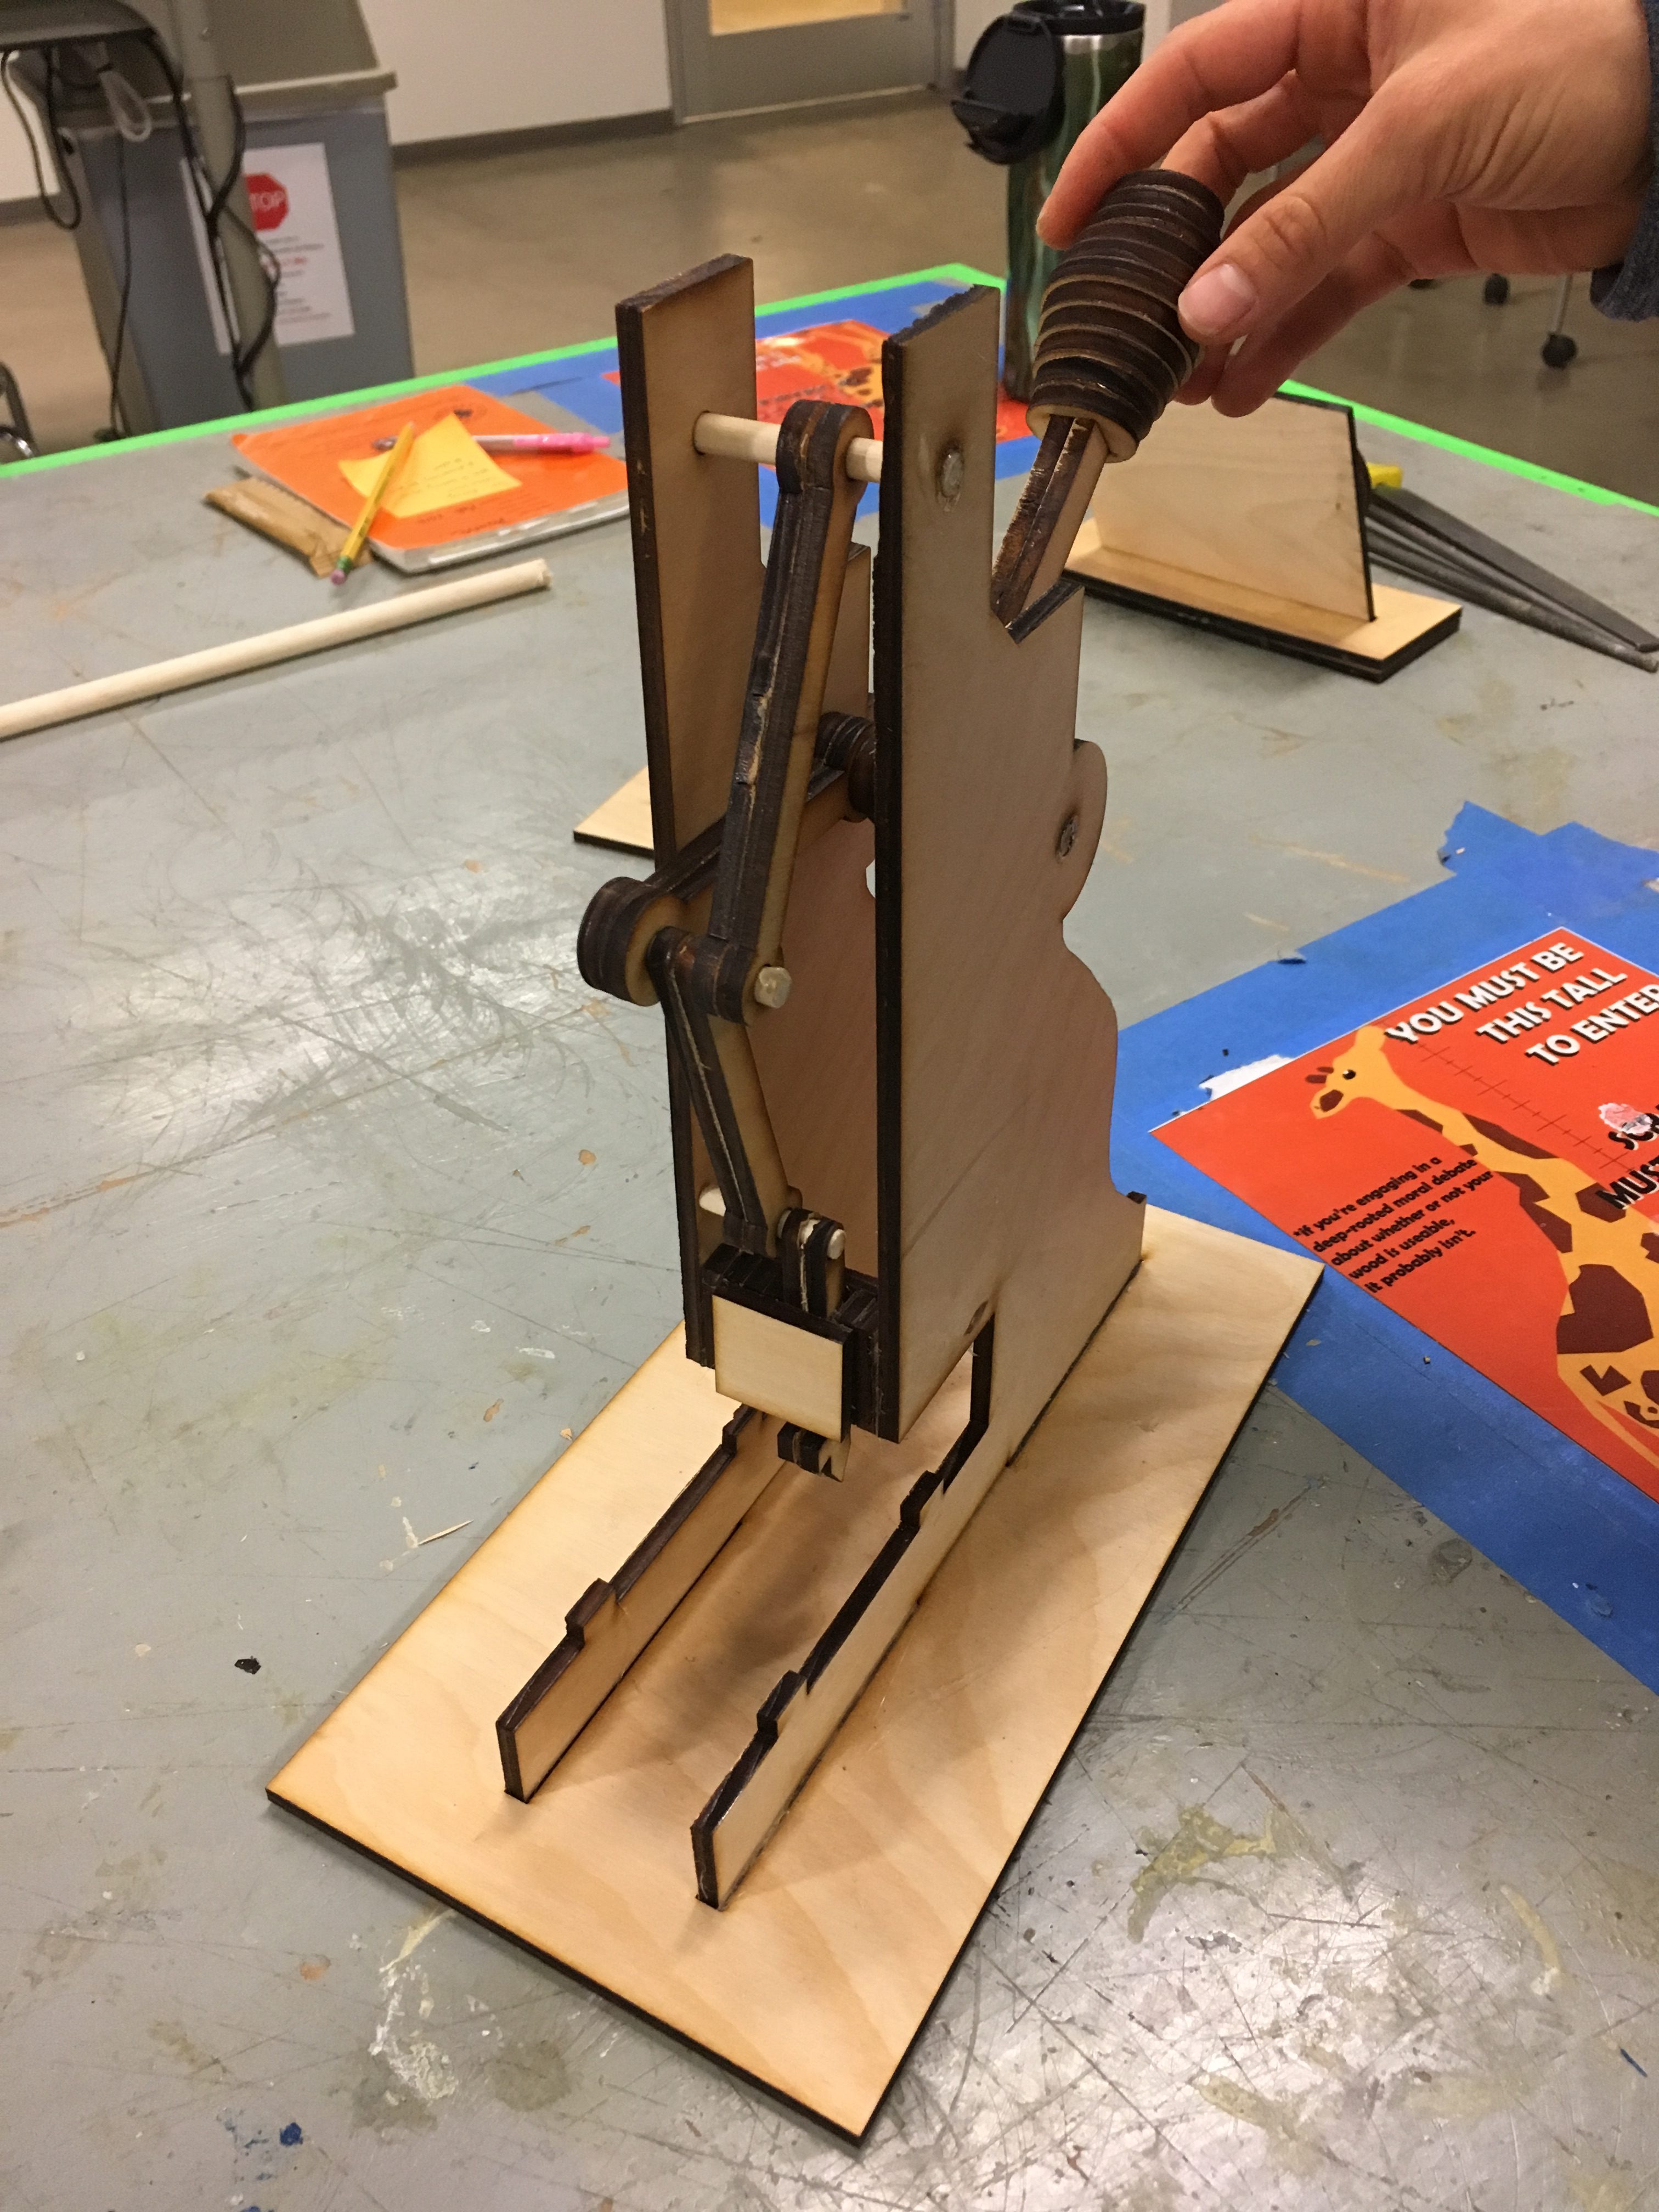
Medium Fidelity Prototype – PlywooD
When testing the strength of our stamp, we found that we needed to make it a lot more sturdy. We decided to do this by lengthening each dowel to span the entire width of the structure so that their motion would be constricted, filling up all the extra room on each dowel with spacers so that the levers would be held in place, widening the circles of material around the holes through each lever, adding additional crossbeams for support, tightening up the insert holes on the bottom plate, centering the handle and stamp levers, and cutting the levers out of acrylic so that they could withstand more force. We implemented all of these modifications in our final prototype.

Final Prototype
We assembled our final prototype very carefully (a few times) to make sure we had all of the pieces aligned perfectly. We used minimal glue so that it wouldn’t glob everything up or add spacing between components. We also stained the wooden structure and used purple acrylic for the internal components to improve the aesthetics of our device. The final prototype was much cleaner and polished looking. All of the parts fit together snugly, and the overall structure stands up straight and is pretty rigid.
While we had planned to plasma cut a metal plate that the punch stamps into, we unfortunately could not do this since the plasma cutter was broken. Although it lacks a plasma-cut component, we still spent a lot of time plasma cutting and post-processing the steel stand for our other mechanism (MM#69), so we were nevertheless able to use and improve our plasma-cutting and post-processing skills.
Stamp and Mold
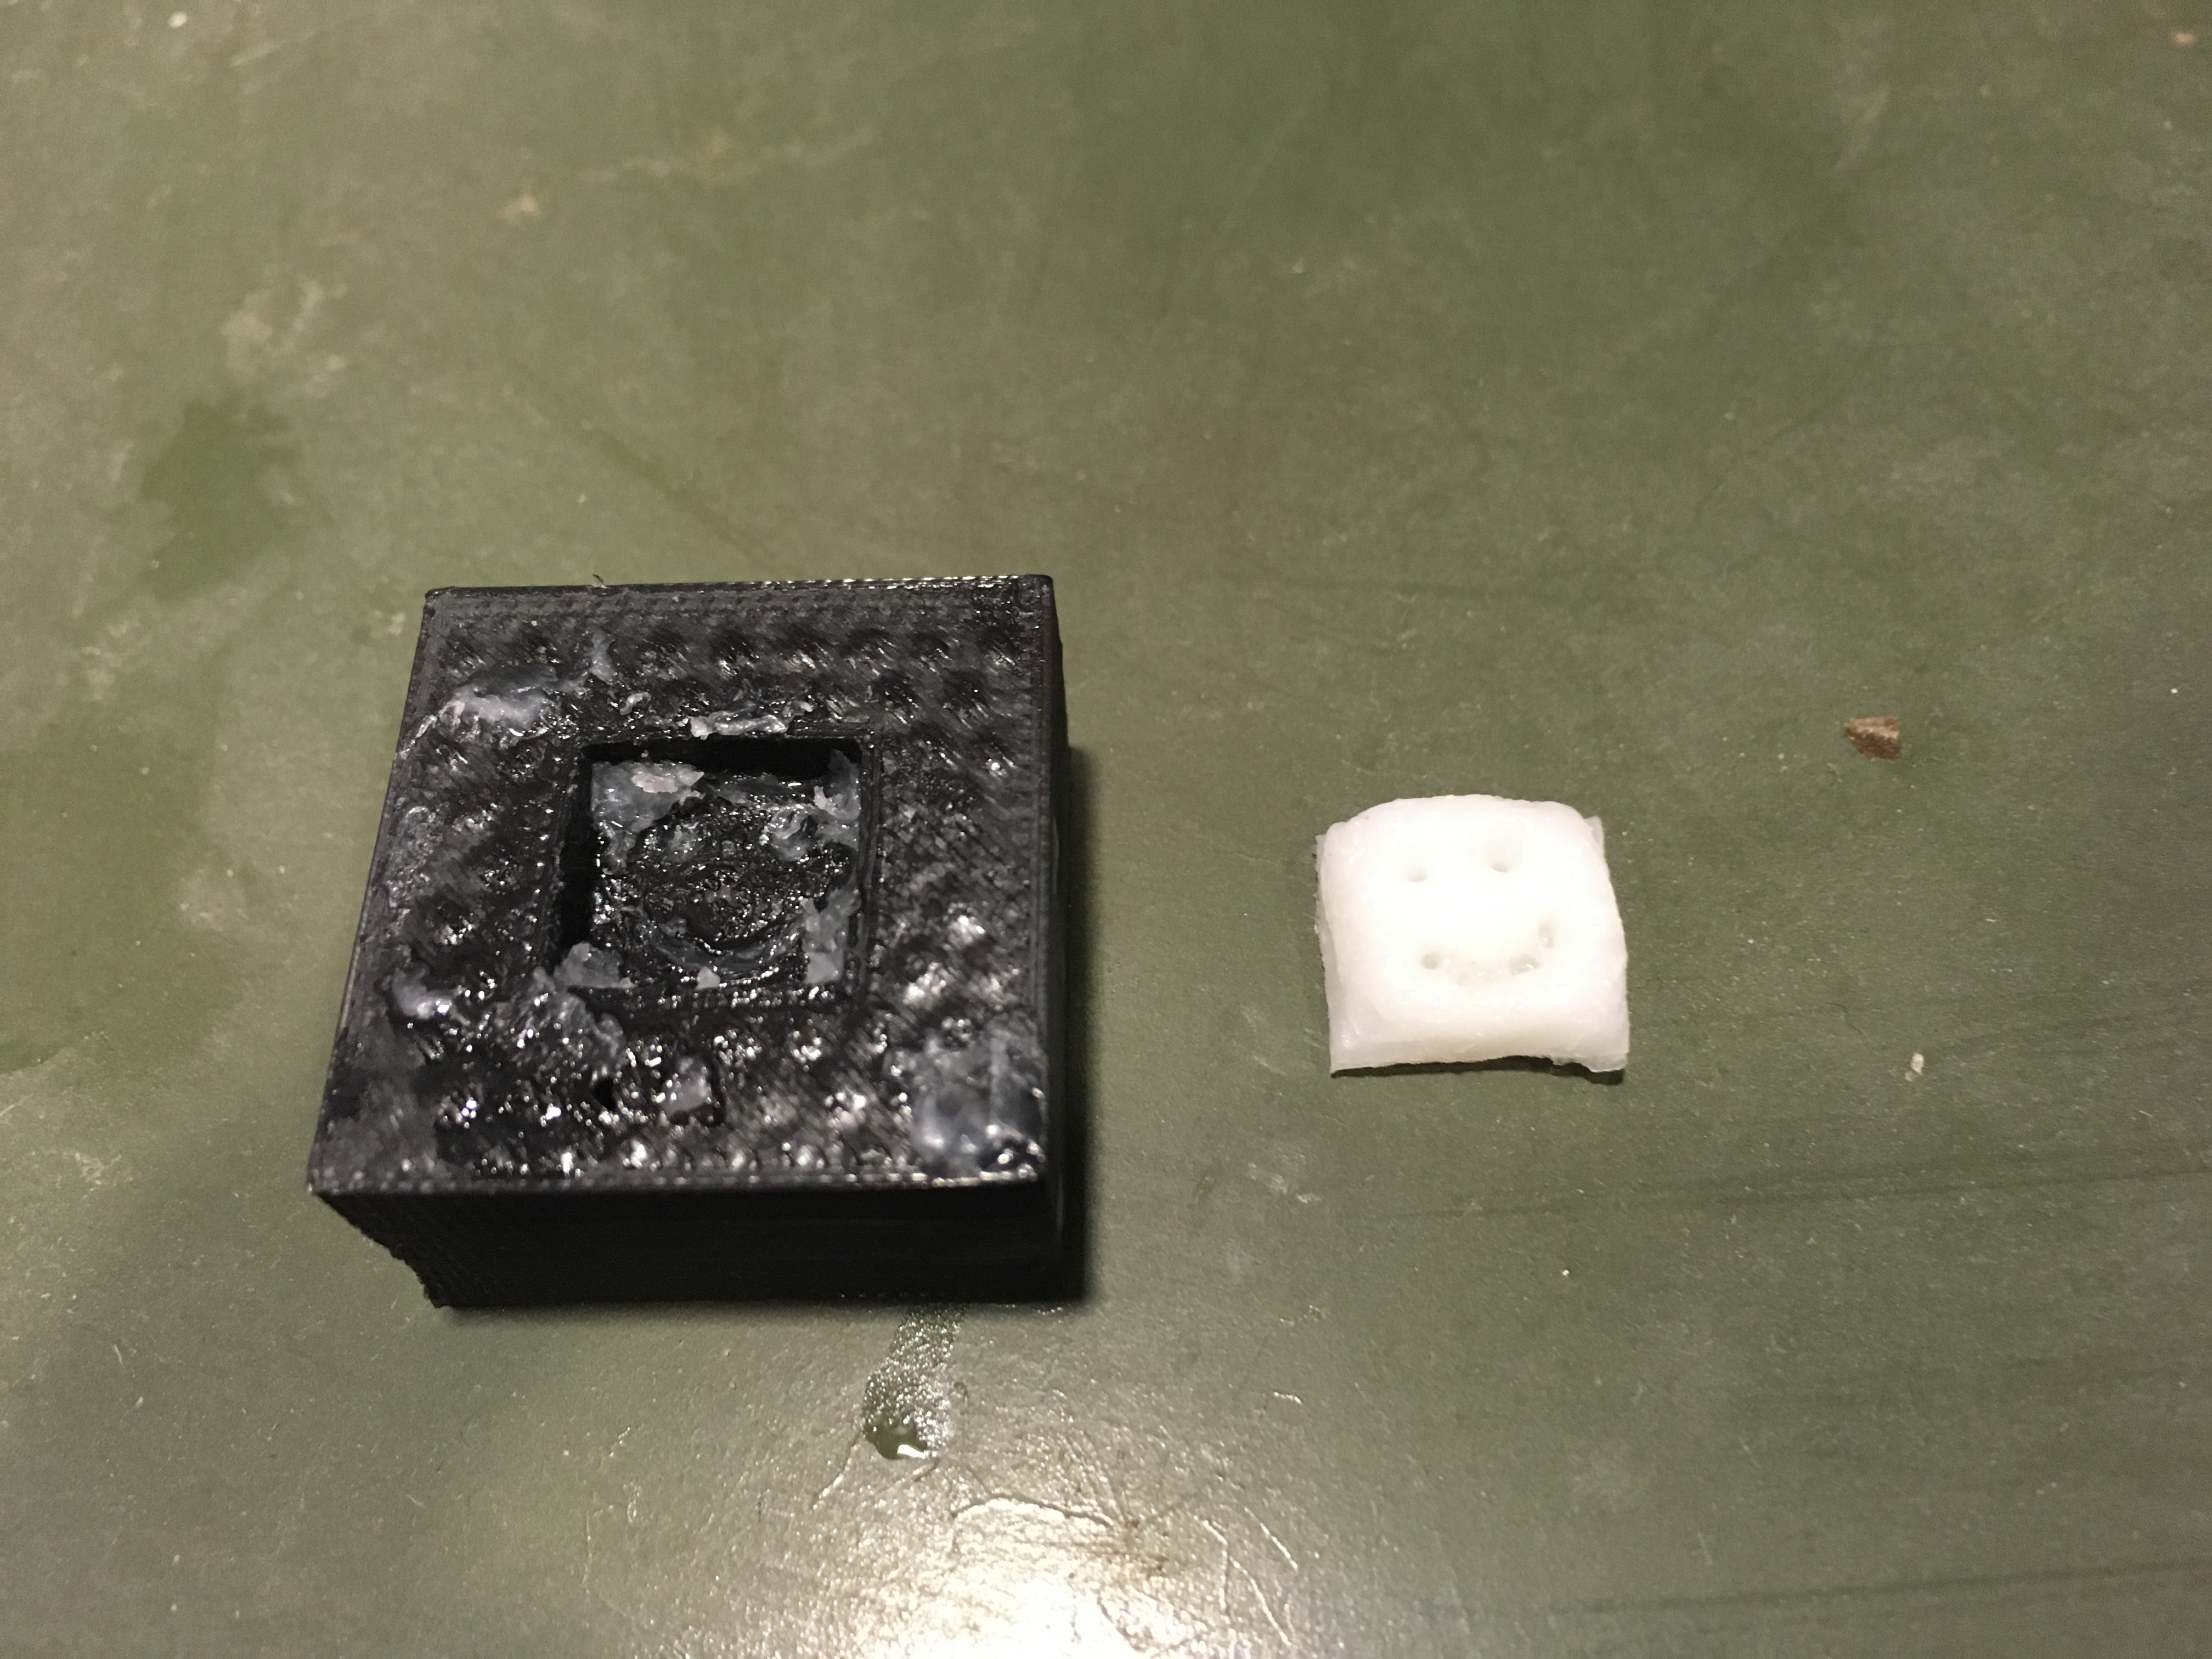
Finally, we made a stamp to put onto the end of the punching lever arm. Madison did this by CAD-ing and 3D printing a mold that had a smiley face in it. She then heated up this special plastic to make it malleable, and we pressed it into the mold. It didn’t come out the most cleanly, so we had to help imprint the smiley face ourselves. We then glued the stamp onto the bottom of the punch lever and tested it out by dipping it in paint and stamping onto a piece of paper. While it did not stamp the most cleanly, this was mostly a proof of concept for making stamps in the future. Next time we’d want to use a plastic that was a little more rubbery and less rigid when it cooled. It was fun to play around with this technique, and cool to make out mechanism more than just a movement, but rather actually a device that could accomplish something.
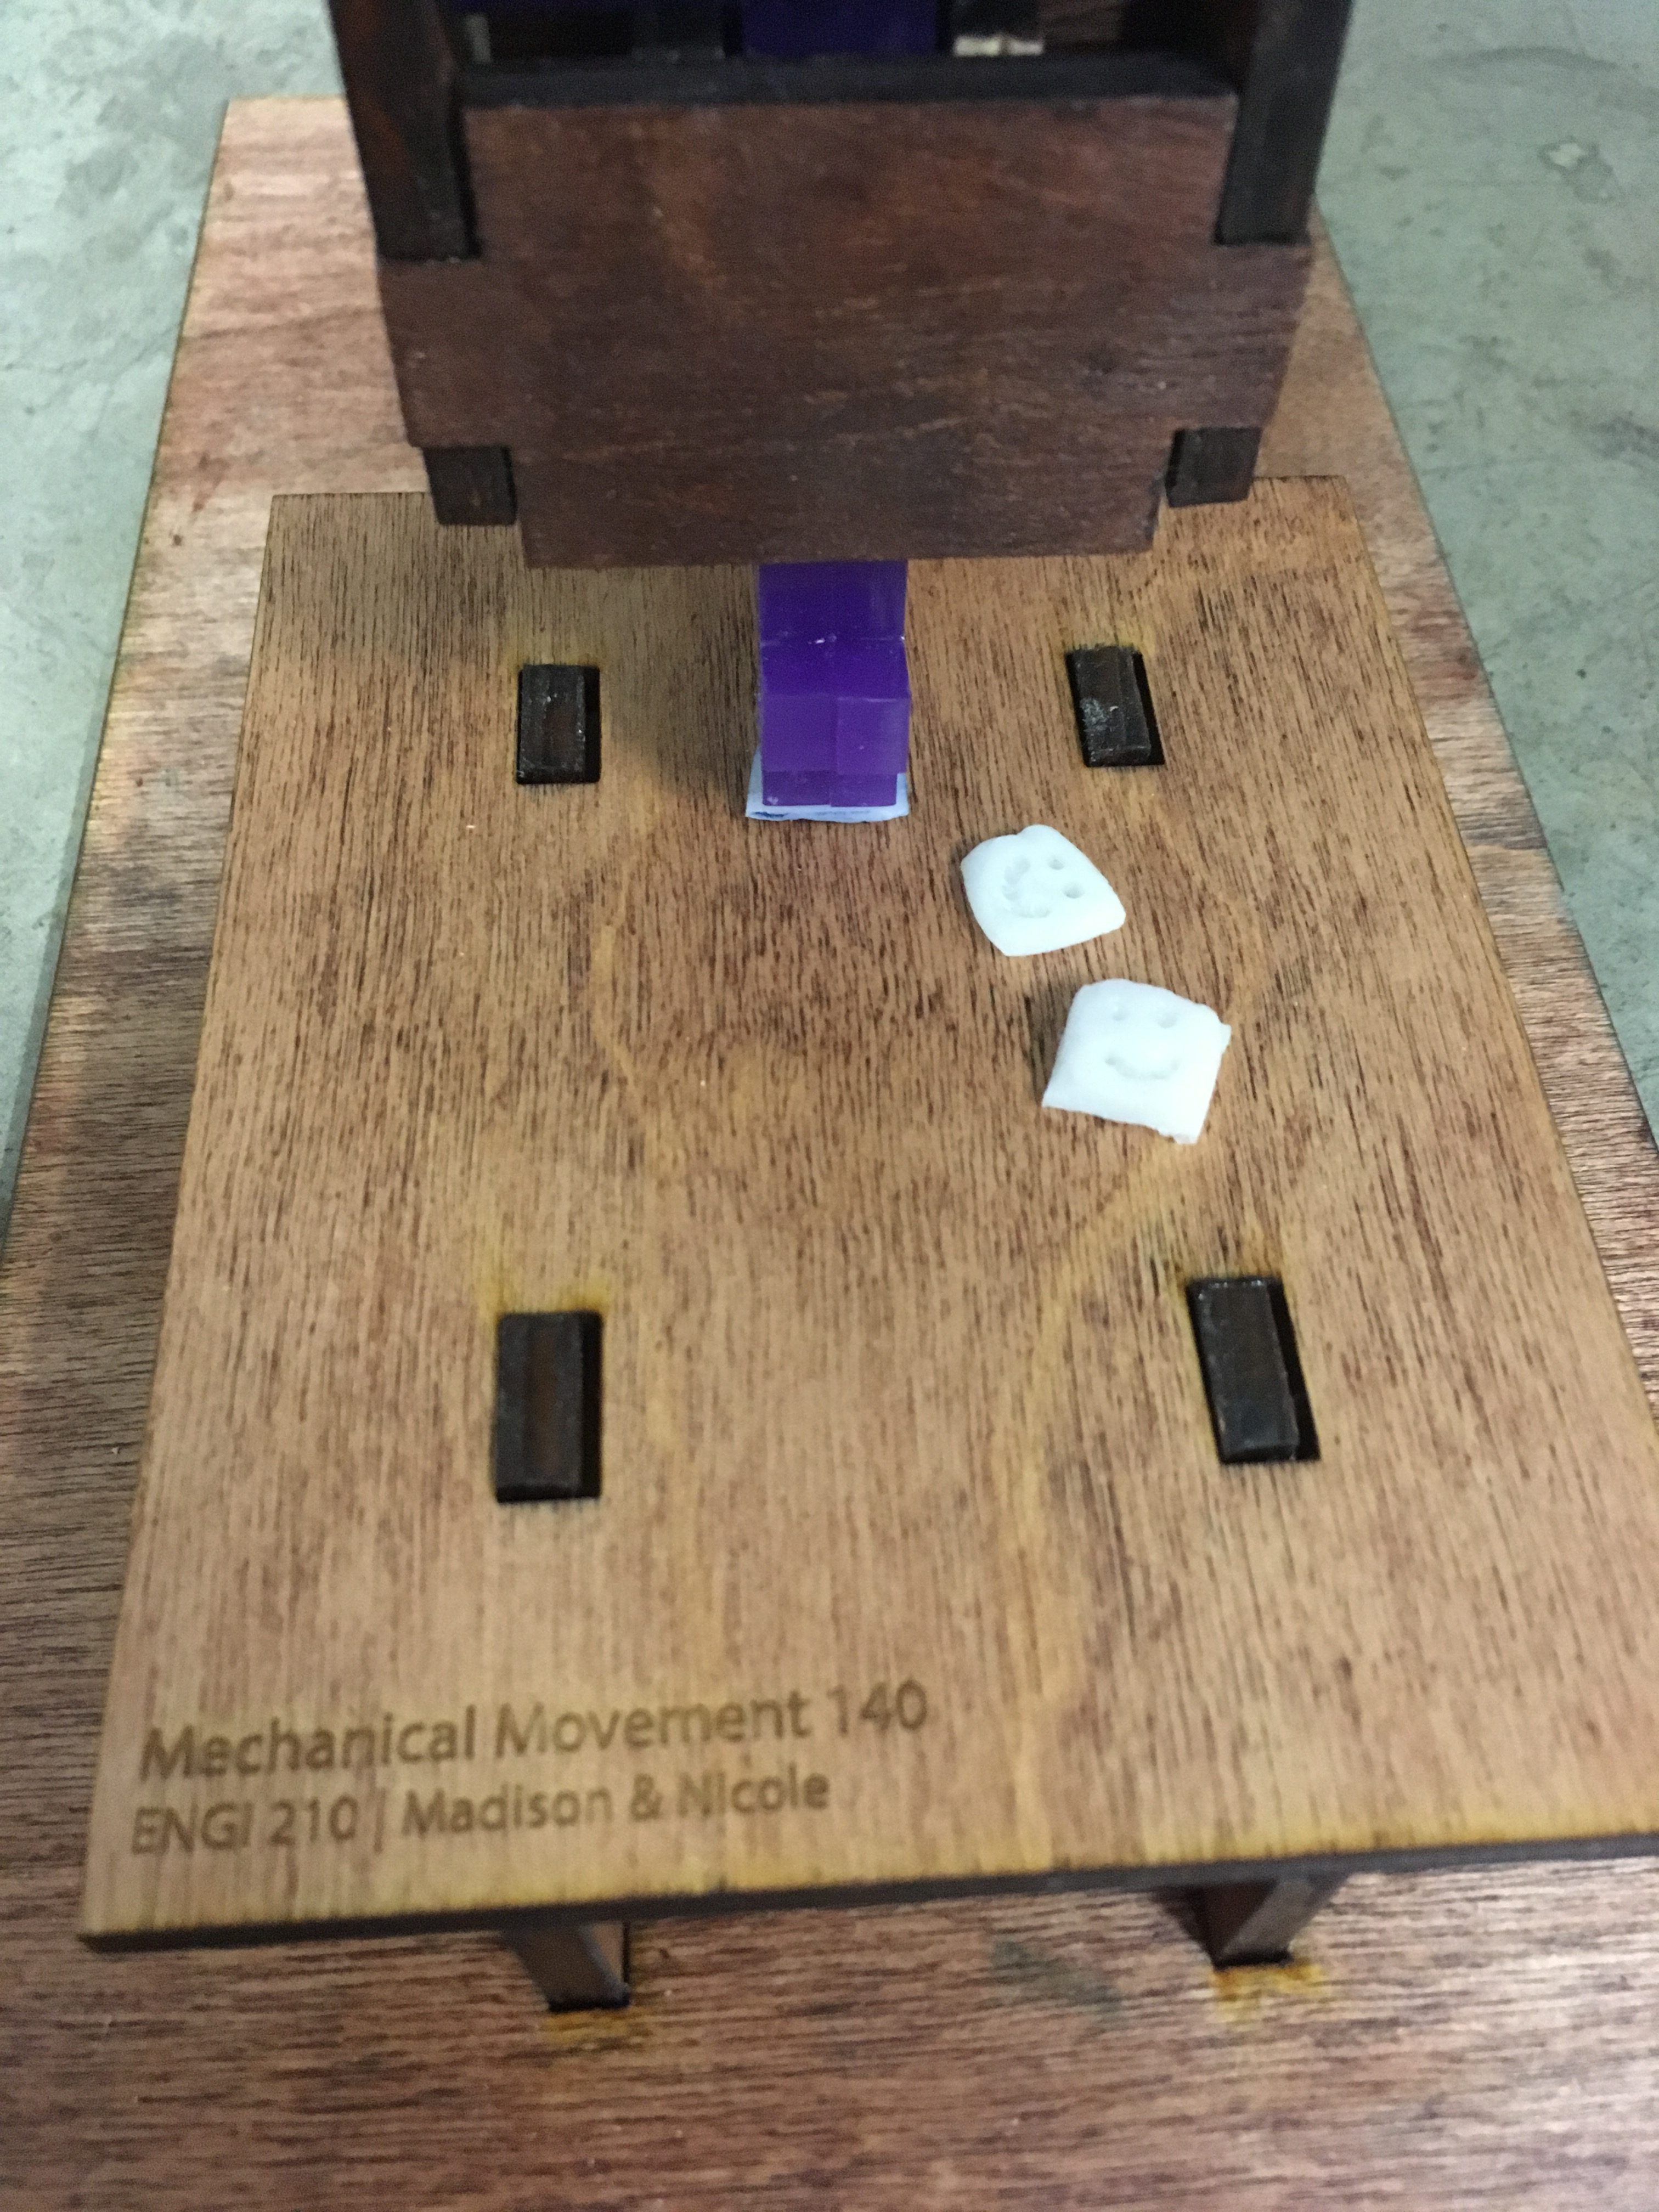
Stamp Platform with Example 🙂 Stamps
Throughout this project, we learned that oftentimes it is worth it to take something apart and reiterate it to make it exactly what you want. When assembling, we ended up taking the device apart several times to reassemble it more carefully. We found that it required a lot of care and precision to make the mechanism turn smoothly and be structurally sound. While this was frustrating at times, it proved to be worth it after many iterations, and we ultimately produced a stamp that we’re proud of.
Here’s a video of our final prototype stamp in action!
