
Receipt printer before deconstruction
Taking apart this little apparatus apart was much more complicated than I had originally imagined. Upon looking at the receipt printing machine, I never would’ve believed that it would contain more than 45 screws, 6 circuit boards, and over two pounds of metal casing.
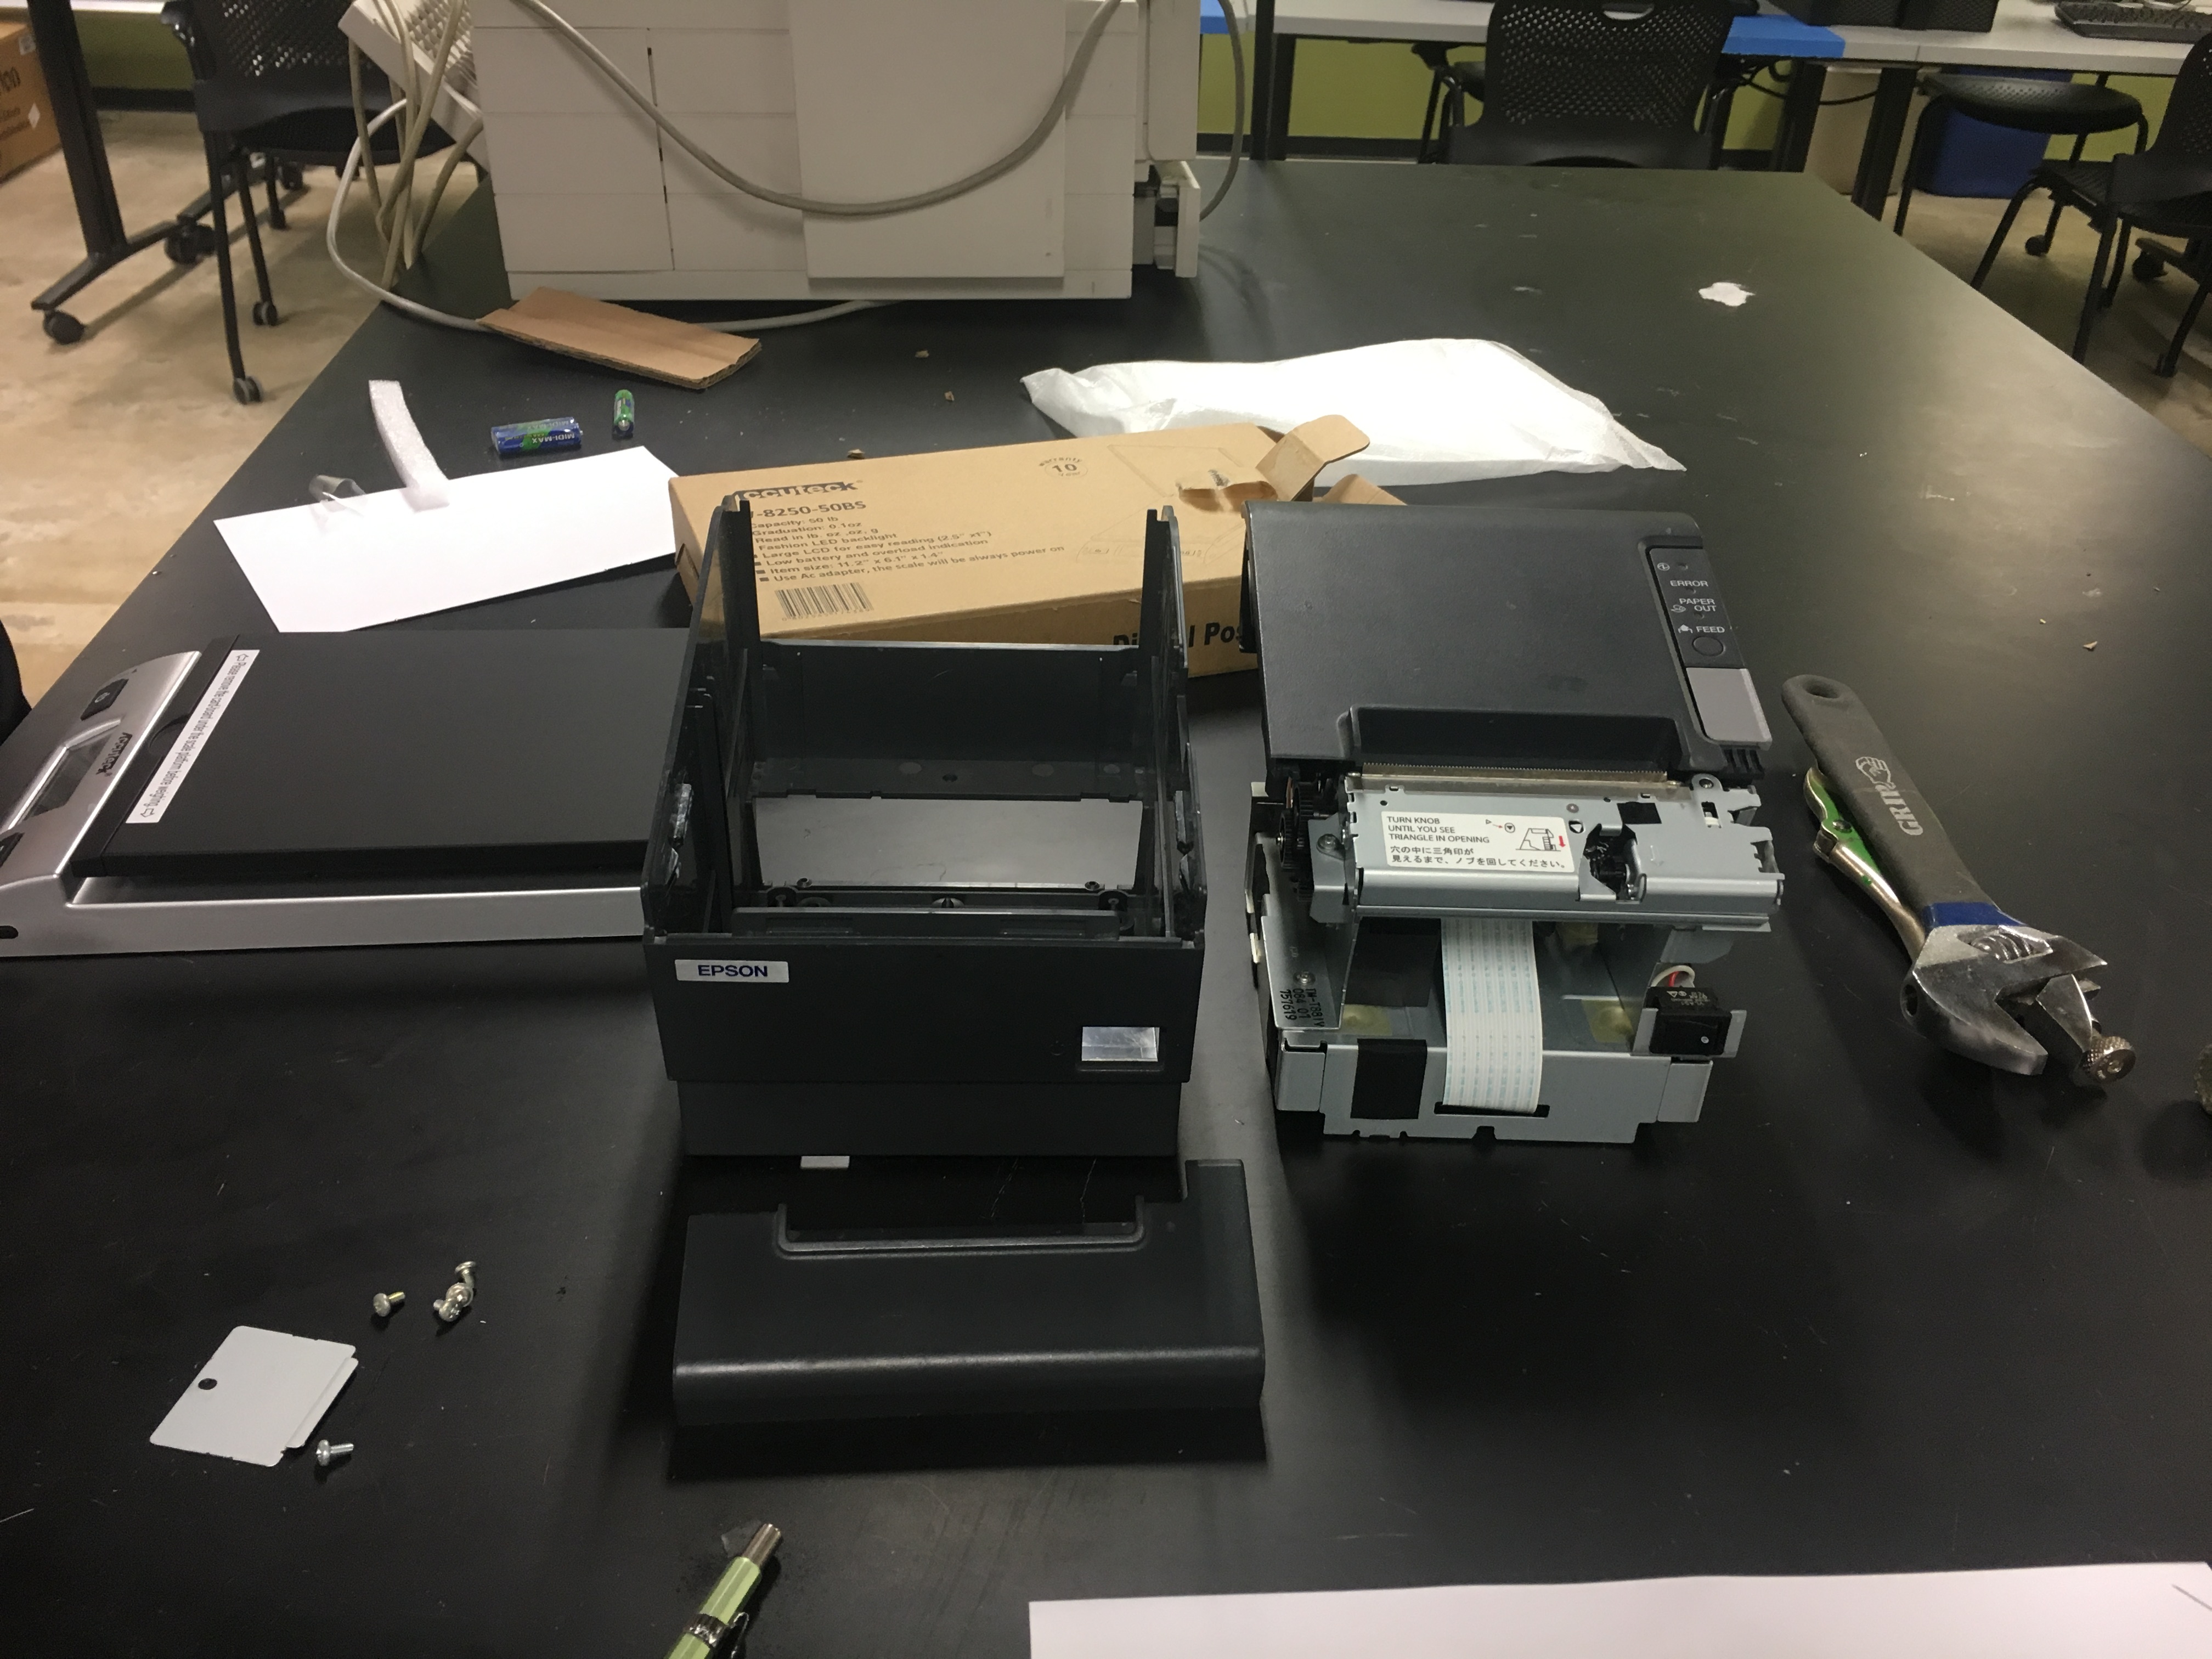
Plastic casing(left) covering the electronics of the printer
Most of the receipt printer was deconstructed using a Phillips head screwdriver, leading us to believe that the manufacturer probably meant for the printer to be taken apart, possibly to replace the serrated edge(pictured below) or other mechanical pieces. Upon removing the first sets of screws, the plastic casing covering the bulk of the printer easily came off. We predict that most of the plastic pieces used to build this receipt printer were manufactured using the injection molding technique.

One of the circuit boards in the receipt printer
After removing the plastic casing, we were able to see all of the electrical and mechanical components which make up the printer. It contained several circuit boards and gears, which had the function of rolling out just the right amount of paper that the user needed.

Serrated edge used to cut each receipt
One of the main features of this printer is the serrated edge which is used to cut out each individual receipt after it has finished printing.

Wiring clips to keep the wires organized

Tape used to keep wires organized
Shown to the left and right are some of the methods that the manufacturer used to keep the electrical wires organized. They used metal clips and a few pieces of tape to keep the inside of the printer tidy.

(1) Notches along the slide to keep the printer closed

(2) or opened
Something which we found very interesting was the subtle feature which kept the top lid of the printer opened or closed. On the first picture, you can see some notches on the metal slide which keeps the printer lid from opening unless the big gray button is pressed. On the right, you see that the lid will remain opened (unless you push back down) since there is a little metallic piece keeping it from sliding back.`

Some of the metal casing
Lastly, we have all of the metallic casing which houses the mechanical and electrical components of the receipt printer. Weighing in at a total of 2 pounds, we predicted that these pieces were most likely manufactured using the stamped metal engineering technique.
