In this assignment, I had to pick a one out of 507 Mechanical Movements and create it in Illustrator so it could be laser cut. I decided to use #34 which has two gears with teeth, one inside of the other, and both of them spin in the same direction.

Animated Image of gears
According to the instructions in the assignment, we were able to use Live Trace/Image Trace in order to make our file. But, when I did that for this image, it turned out sloppy and the two gears were connected. So, I decided that I would rather just manually trace over the image instead of struggle with figuring out how to separate the two items and enhance them through Image Trace.
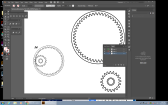
Image Traced image of the animated image of gears
Before I came to the conclusion that I should manually trace over the image, I first struggled for a while Image Tracing the image. I first tried to use the non-animated image. But, when I Image Traced it, the teeth ended up very block-like. This image differs from the animated one, where the teeth are more triangular-shaped. I decided that it would be easier to manually trace over the image with sharper and cleaner lines along with the triangular-shaped teeth.
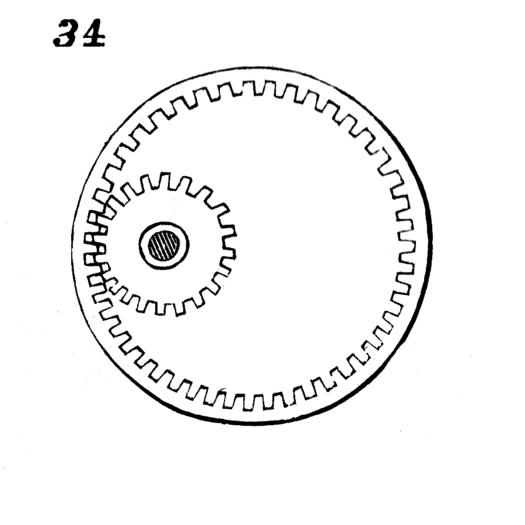
Non-animated image of gears
I started with pasting the animated image into Illustrator onto the original artboard. I then created another artboard and started tracing the outer gear. I started by making a circle using the oval tool and holding down the SHIFT key in order to make it a perfect circle. Then I made the line thickness so it was .75 points, uniform and .5 circle draw. Drawing the circle was the easiest part. I made it so that artboard 2 was over artboard one, so that way I could line up the items that I traced over the original image. Once I made the circle, I lined it up to make sure it was the same size. I had to change the size a few times in order to make it cover the image thoroughly.
Then, I had to start making the teeth. In the image, it seems like that the teeth are a bit curved, so I started by making a normal hexagon. Before this, I tried to simply trace it with the line drawing tool. But then when I tried to use the curve line tool, it would not be the shape that I wanted. So instead, I used the hexagon tool and held down the SHIFT key to make it a normal hexagon. Then I made it longer and skinny so it was more like the notches for the teeth. I then used the scissors tool to detach the lower half (the unnecessary bit) so I could delete them. Then I added another movement point on the half shape and moved it so the notch could be curved a little bit. Then after I made one, I made copies and had them cover all of the other notches. Then I connected all of the pieces with the pen tool. Then after, I moved some of the points so it would look smoother.
Screenshot of all work done
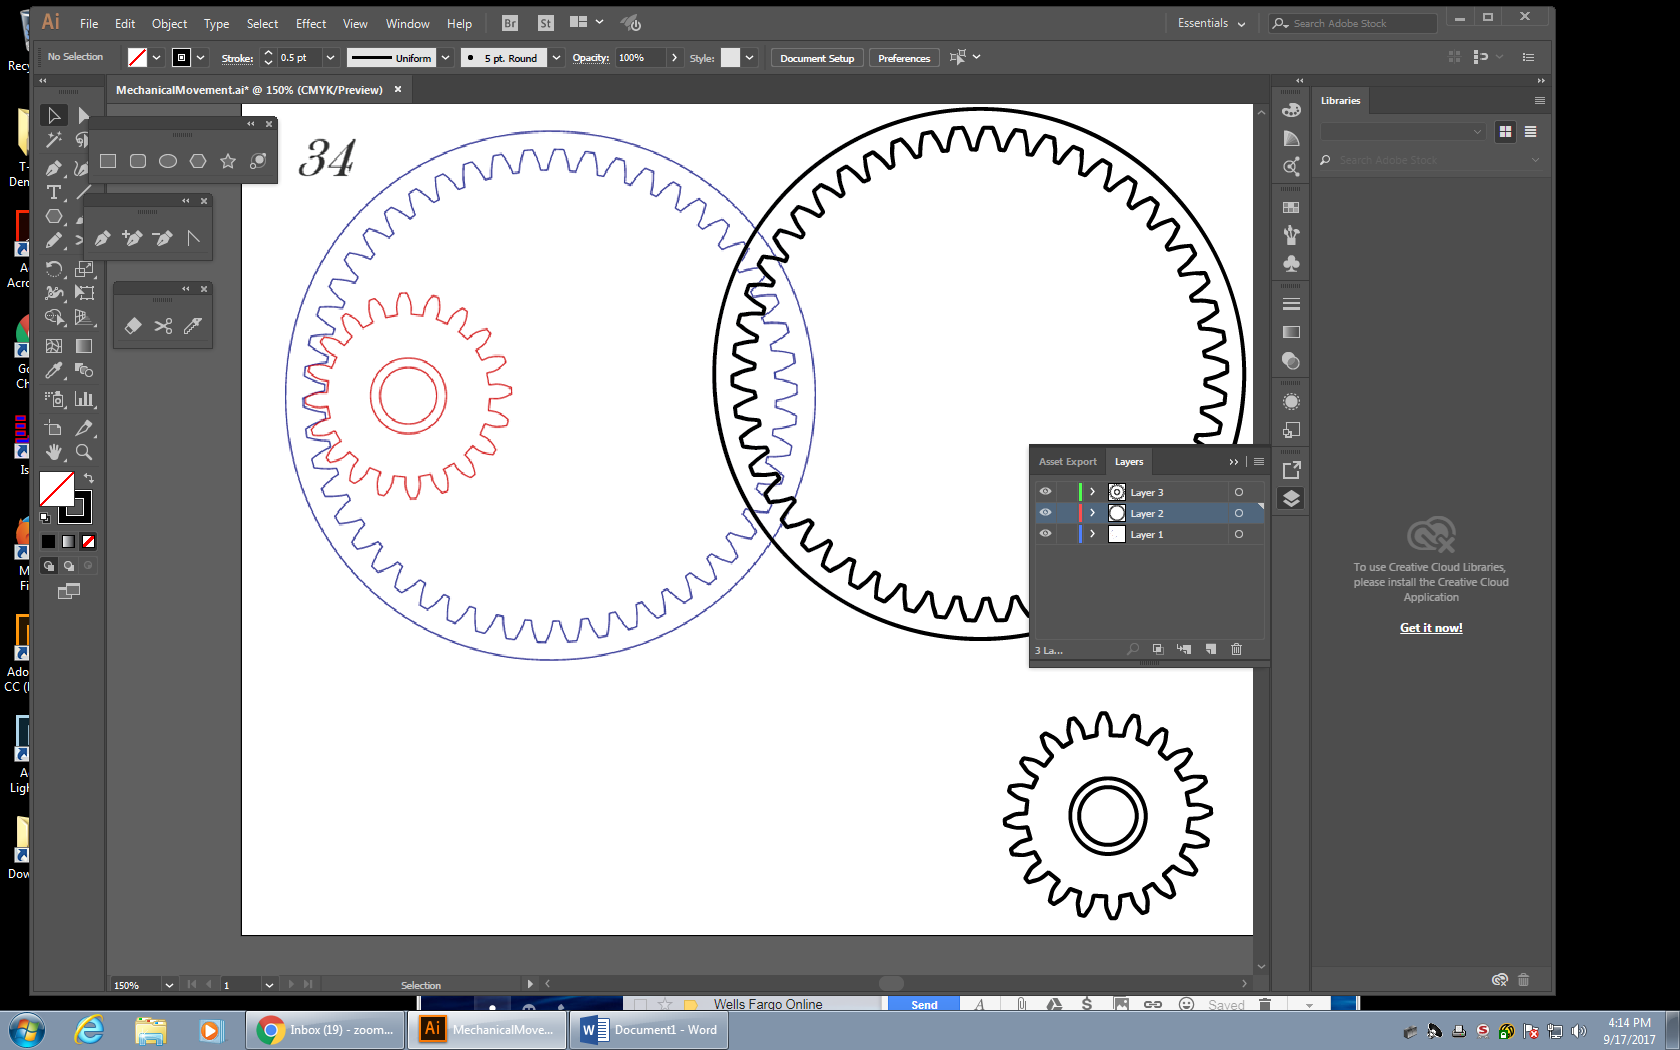
Then I started making the inside gear. First, I created a third artboard to make it on. Then I started to make the two inside circles with the oval tool and the SHIFT key. Then I made the teeth the same way that I made the notches. I repeated all of the processes until I finished it off and connected it with the pen tool. After that, I moved my gears around the artboard so they could be separated.

Screenshot of the gears only
It was hard to get the first tooth correct. I tried to make it symmetrical the best that I could. I looked at where the points where and moved them so that their (x,y) coordinates could be symmetrical. I zoomed in a lot when I was making them so that the tracing would cover all of the colored parts of the image. The gears look good when I zoomed out. I traced the image in order to make sure that all of the parts would be at the right scale. And I made everything connected, except for the inner circles. Later on, I want to try to laser cut out these parts to see if it can be done.
