Kids who grow up to be engineers often spend their childhoods taking things apart and then [attempting to] put them back together. I was not one of those kids. So when I was tasked with taking apart an old and decrepit piece of electronic equipment, I guess that was a sign for me to start making up for lost time.
I actually did a version of the Take Apart Lab this summer during SEED, in which I learned that attempting to take apart printers was its own circle of Hell. So my one requirement this time was that I was not going to be stuck taking apart another printer, and instead, Carlos and I decided to take apart an old Gateway 2000 Computer Monitor.

This monitor is probably older than I am.
We proceeded with our first mode of attack: physically hacking into the mainframe by attempting to remove the back of the computer. It was immediately apparent that this monitor was meant to experience some level of deconstruction because it was held together entirely by Phillips Head screws (unlike the printer-that-shall-not-be-named that utilized freaking star screws) and some snap joints. This made sense because computers are inherently meant to be taken apart and customized by changing out graphics cards and other components.
The snap joints really only existed to keep the base attached to the monitor, and I think they were meant to be easy to remove, but they proved much harder to remove than they appeared. While I tried to find a flathead screwdriver to use as a lever, Carlos worked some magic and I guess brute-forced the base off because I returned to the table holding the now-useless screwdriver to find out he had already taken care of it.

The base of the computer, which was held together using built-in snap joints
We also found water leaking off of the back of the monitor from the ice storm. That’s exactly what I want in my computer.
Once the screws on the back were removed and we removed the meddlesome base, we were free to lift the back off the computer. We were in.

The back casing of our monitor. This casing was likely injection molded with plastic because it was mass-manufactured. And injection molding is more cost-efficient when more units are produced. #ENGI350

The interior of the computer. We found rust in here. Another thing I want in my computer.
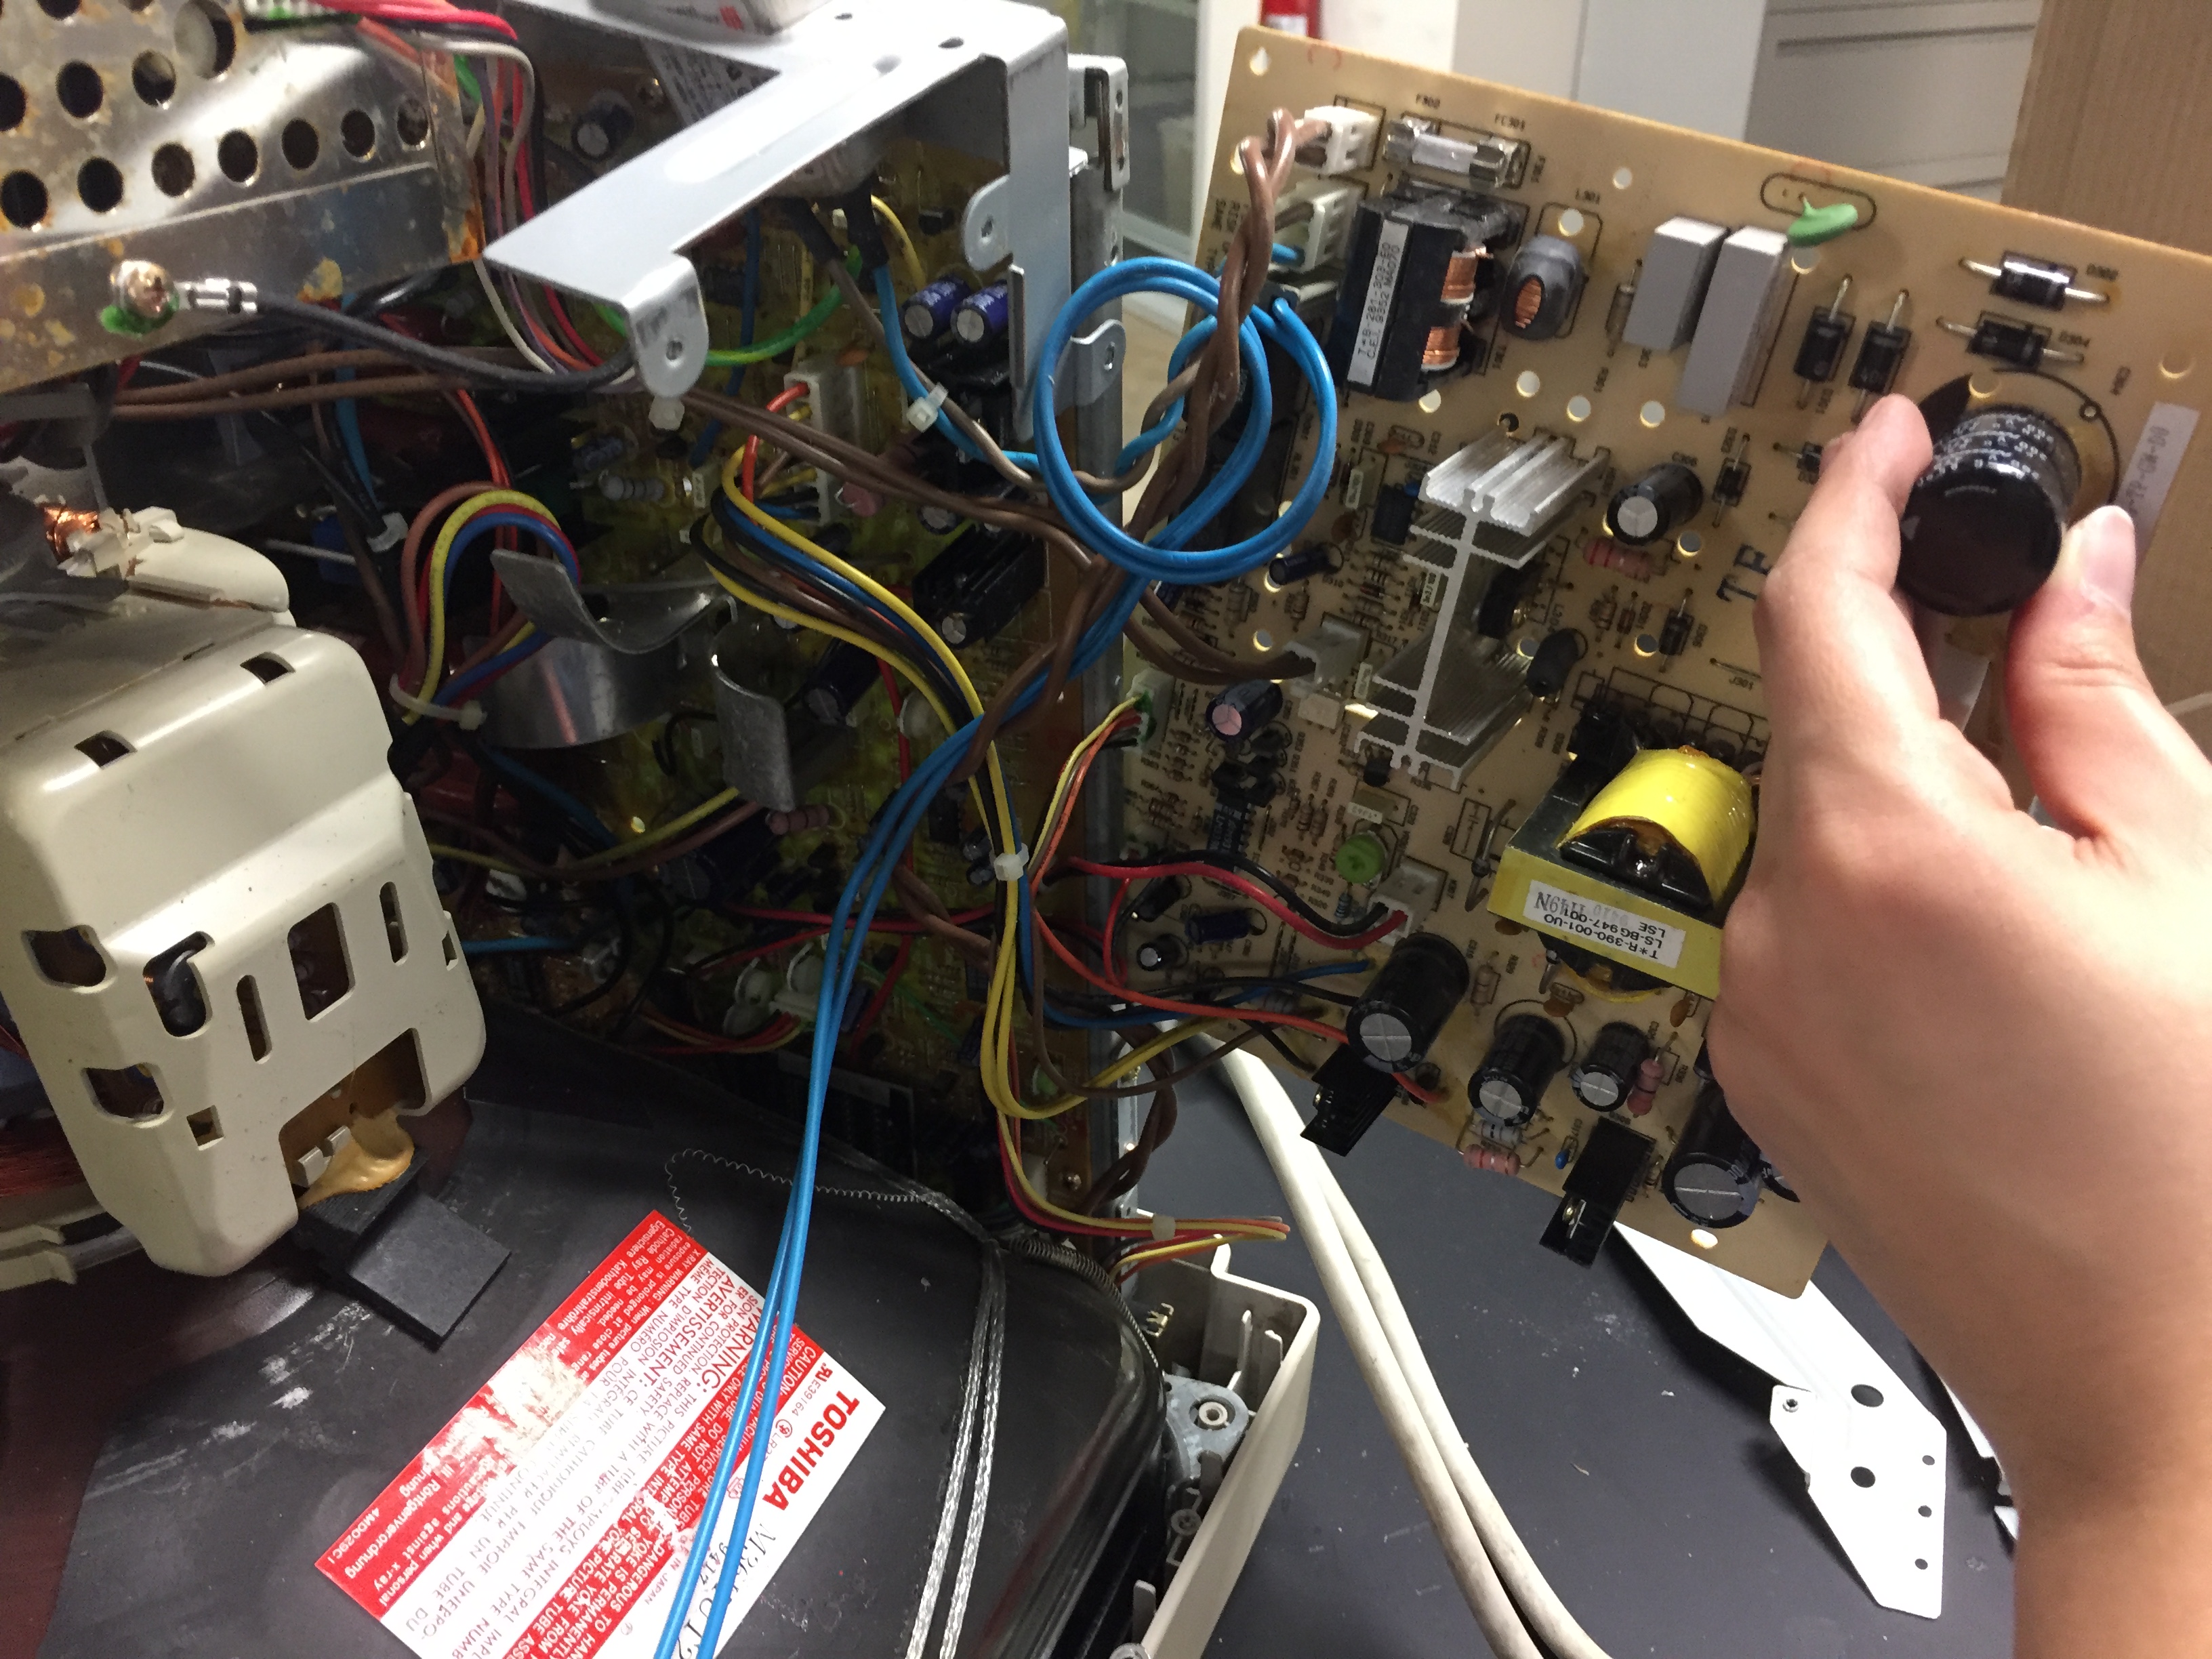
At this point, we proceeded to continue unscrewing parts to try to delve deeper into the computer. Carlos and I spent most of our time reaching for and unscrewing Phillips Head screws, trading off our different-sized screwdrivers when we started having difficulties. We first found two main circuit boards, and we were able to get those out by unscrewing them from their plastic casings and pulling out the connecting wires that ran between the different components. Most of these wires were easily removable because they had clips that you could push to easily remove the wires from the circuit boards.
The wires connecting the components of the monitor were held together via zip ties to make them more organized, and as both Dr. Wettegreen and Professor Felipe of PCURS pointed out, zip ties have many uses in both ramshackle low-fidelity engineering and professionally built devices like computers. I am personally not a fan of zip ties because they feel janky and temporary and unprofessional. I mean, 99% of my experience with zip ties comes from struggling to tie a garland around a staircase banister every Christmas. But apparently I was wrong and they are more useful than I thought.
I still don’t love them though.
Removing the circuit boards from their casing
Professor Felipe also took us on a quick tour of the PCBs that we found, pointing out the different capacitors and iron rings housed on them, taking care to point out the soldered connections and markings connecting components on different sides of the board. Because there were more markings and holes on the PCBs than were utilized in this particular computer, I am lead to believe that this was a mass-produced PCB that was adapted to be used in this particular monitor.

Circuit Board #1. This was likely printed using a PCB Mill.

Circuit Board #2. This was also probably printed using a PCB Mill.
Once the circuit boards were out of the way, the next big component of our computer was the monitor. Dr. Wettegreen warned us not to mess with the monitor because it was covered in capacitors, and although the computer was long dead, we did not know if they still contained a charge. Because neither Carlos or I were in any hurry to get an electric shock, we glady heeded his advice, cut the wires that we could not easily remove, and lifted the monitor out of the front of the computer.

The sinister dinosaur of a monitor. Who knows what secrets it holds? We didn’t dare find out.
There was also a metal cage on top of the monitor that we tried to open, but it wouldn’t budge for some reason, so we let it be. By this point, there really was not much more to explore within the bowels of this monitor (and class was coming to an end), so we took stock of what we had – a bunch of screws, two circuit boards, metal and plastic casings, and a giant monitor we didn’t dare to touch.
Ultimately, I think most of these components were machined explicitly for use by Gateway, but whether they were designed to be used for this model explicitly I think remains up for debate. The wires were relatively standard, and the PCBs had extra holes that could serve different purposes for different machines. The screws were also standard, so I think they were bought off the shelf. The plastic casing was undoubtedly injection molded specifically for this model because injection becomes increasingly cost efficient when the quantity of objects produced increases, and I am sure that thousands, if not millions, of these monitors were produced. I don’t think any of these components are really designed to be recycled because they are all made of electronic components or difficult-to-recycle plastic.
And upon that note, we threw everything away.
Which then led me to go dumpster diving at the OEDK to attempt to retrieve those parts, but that is another, albeit much less interesting, story.

The separated components of our dissected monitor.
