Remember the 70’s and 80’s when Sid students would throw couches and refrigerators off the balconies? If not, don’t feel bad, it was a long time ago and times have changed. Nowadays the biggest issue is having to haul beer root beer up to the seventh floor for those senior pre-games and after parties. For this very reason, the need for a sophisticatedly simple mechanism with which the user can haul six-packs from the 7th floor focused my attention to Mechanism #494-The grappling hook!
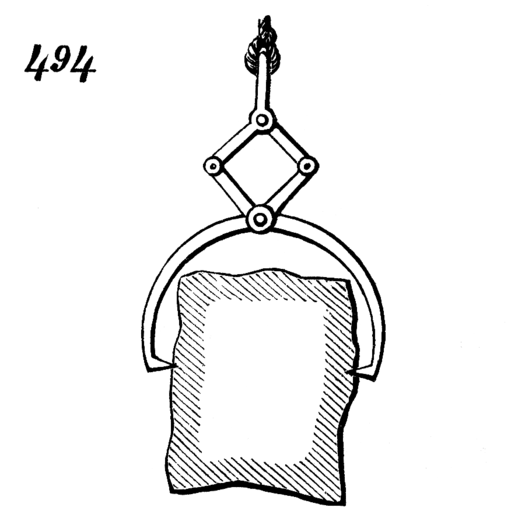
Original Image of #494.
The design is pretty straight-forward. Two mirrored “finger” hooks with holes pins that connect to separate links. These links are joined at the top to a central link where the rope is tied. When there is insufficient force on the central link, the hooks open to “grab” objects, as you pull on the central link, the hooks close and you can send the beer 24-packs six-packs to their final resting place.

This is what the animated version looks like.
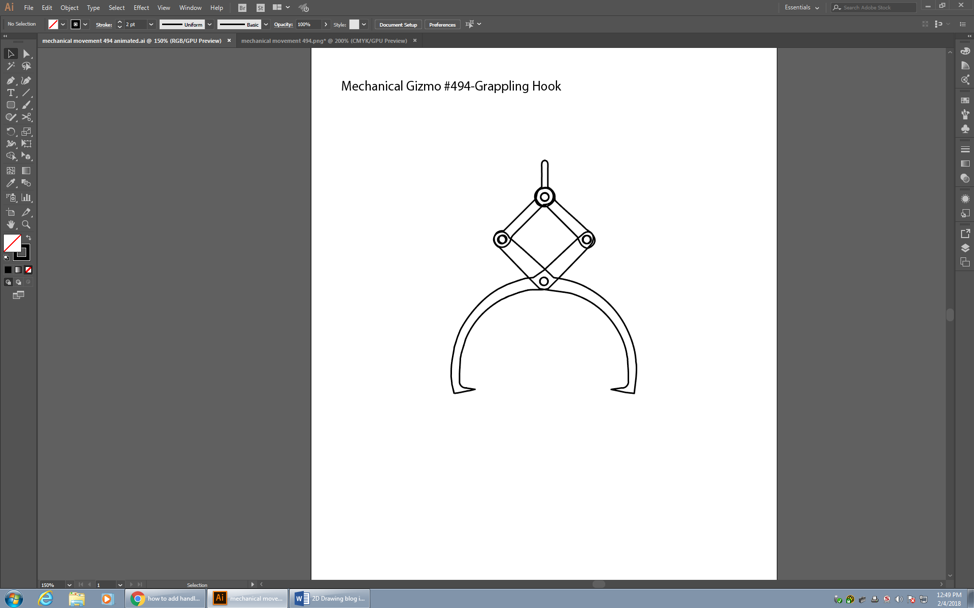
The first step towards creating a laser cutting version of this incredible design is saving the image found on 507mechanicalmovements.com. You need to flip to the next page and my recommendation is to change the index in the url from 01 to 55 (this will put you on the right page. I started out using the original image, the reasoning was that Adobe illustrator does not support animated images. After fiddling with the image trace feature for quite a while, trying to get rid of the black shading and odd trace features the decision was made to try out the animated version. I used the default image trace feature, which luckily gave me some pretty accurate line features.

Fiddling process…
Then came the post-processing and image refining. In hindsight, it was a bad idea to retain the original construction lines and edit them independently. This takes quite some time and the results are funny looking (if you were to laser cut the file, the final result would give the impression that the laser cutter is about 5 years old and still hasn’t learned how to draw very well).
My failed attempts of copy-pasting the pin holes led me to draw a circle of similar diameter and use that (I forgot you have to use CTRL+C to copy, right click does not provide a copy feature). Of course, since the copy-pasting situation dragged on, I replicated the holes by using the pattern drawing tool continuously to circles of the same diameters. It is important to place one hole for each pin connection (the top requires three holes). After completing the drawings, I proceeded to group the lines for each component, which allows the maker to get a better view and for cut positioning.
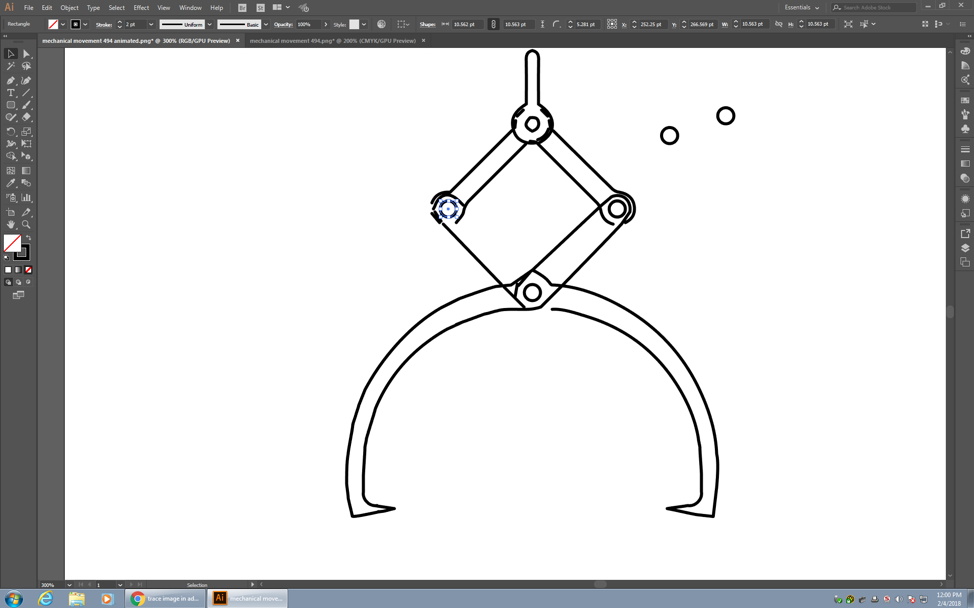
Making circles for the holes.
My final grappling hook may look squiggly, but it does remind me a bit of the original image and the inherent errors found on free-hand cuts. Can’t wait to test out a prototype for the next party, those kegs six-packs won’t move themselves you know…
Das enterhaken.
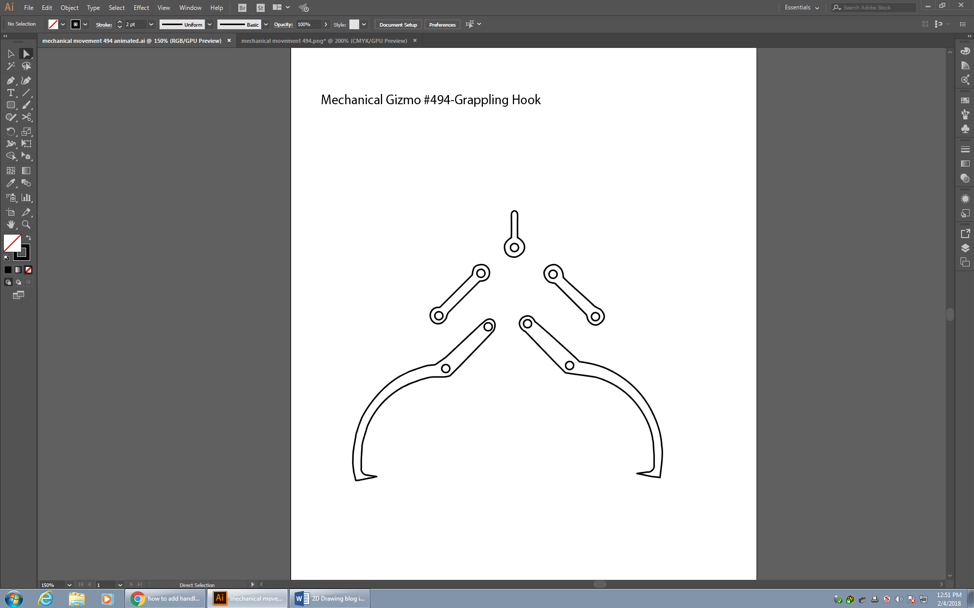
The grappling hook (assembly).
