This time, the assignment read: 2D Drawings. Okay, sounds way more familiar than Build a Box, I thought as I clicked open Adobe Illustrator CC 2018. Well, all I can say is, that software ain’t soft on me at all.
From the wonderful selections of 507 Mechanical Movements, I chose #350, which provides traverse or to-and-fro motion. Look at it. LOOK AT IT. It goes to and fro and to and fro. Kind of mesmerizing.
Here it is in Adobe Illustrator CC 2018:
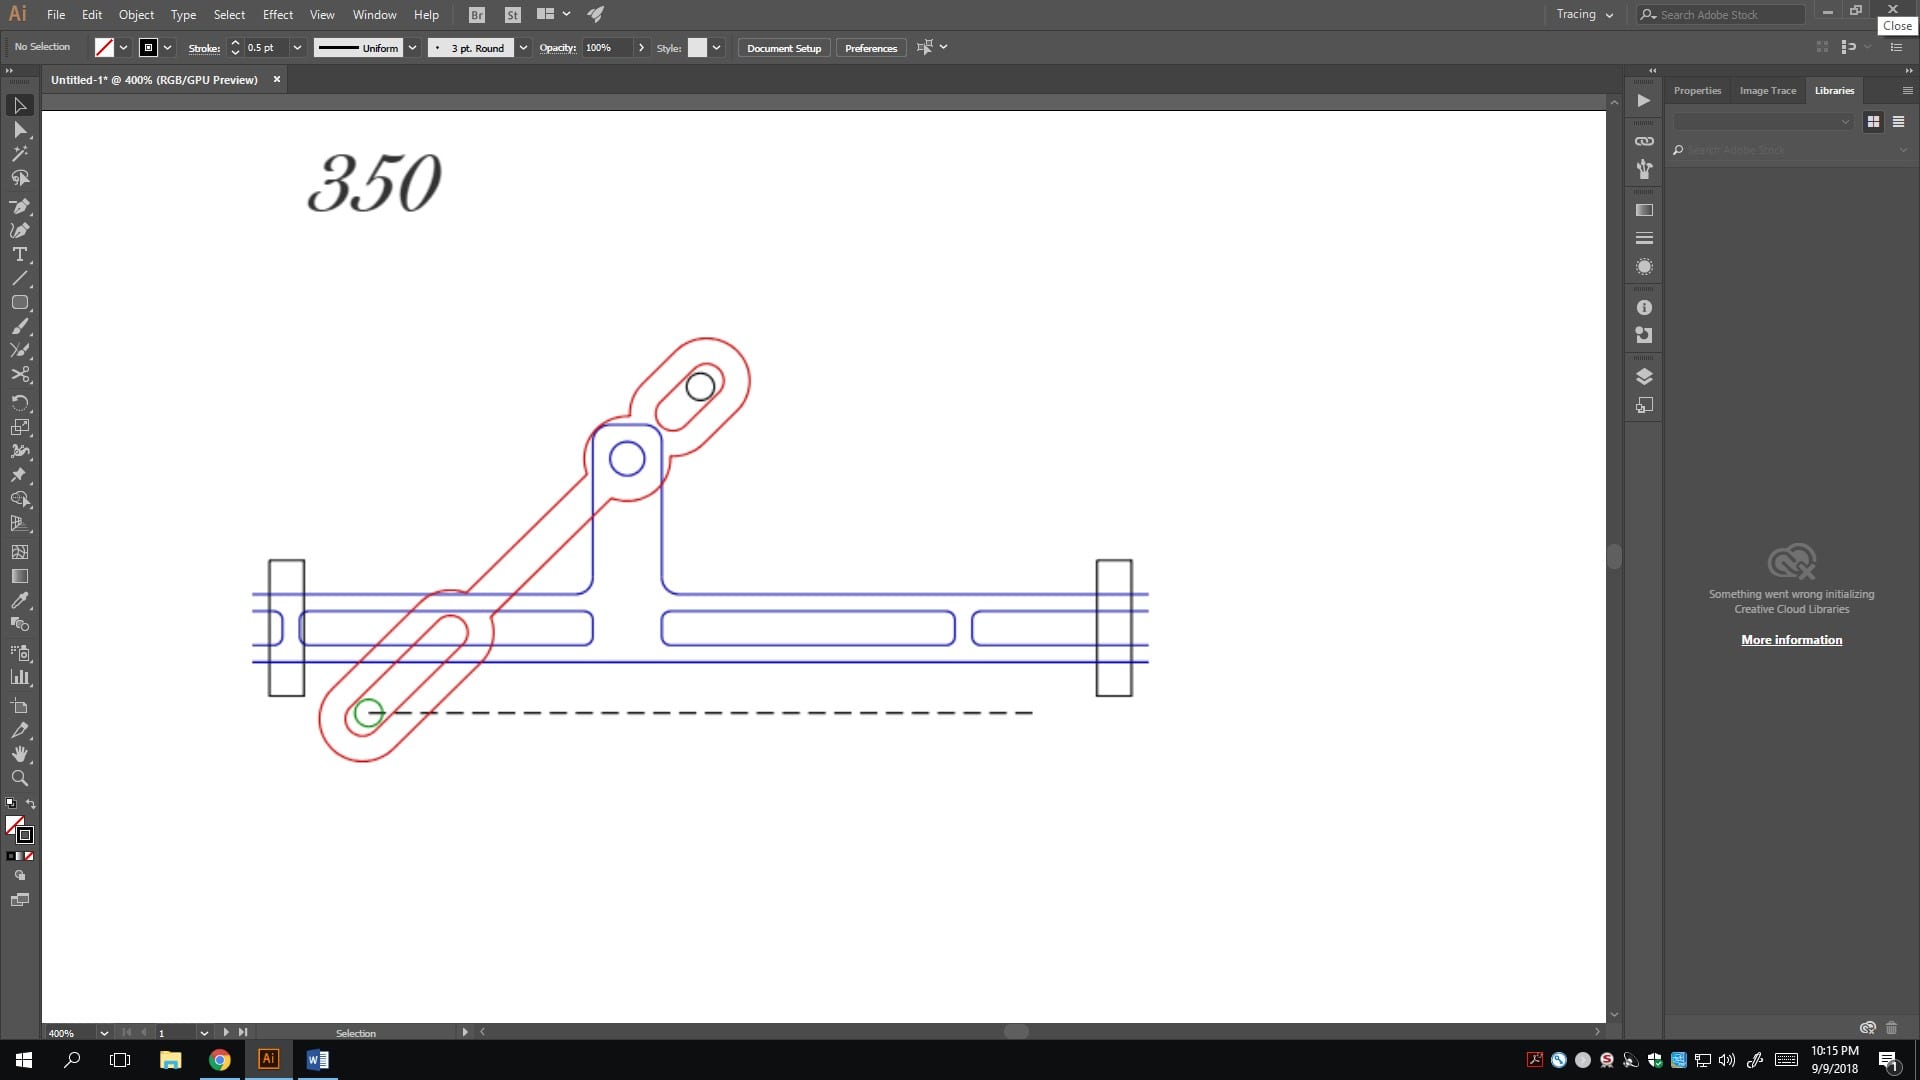
Here it is
Warned by past veterans to avoid the tracing function at all cost, I instead found a friend to show me the basics of the amazing method of vector illustration, then I embarked on the arduous journey of making lines.
I started with the most difficult-looking part– the lever, central to the entire mechanism.
With the pen tool selected, I set about tracing the part anchor by anchor, dragging out arc by arc, adjusting handle by handle. Not the task you want to be doing on any Sunday night. But more importantly, the lines and arcs formed by this method are often squiggly and nonuniform, which cannot provide the symmetry and precision for a viable machine part. It was time to change the approach.
Shape tools it is. Using the rectangle, the rounded rectangle and the ellipse tools, I formed an outline of the part; then, I cut open the overlapping paths using the scissors tool and joined the remaining ends back together with the join tool, thus creating a complete trace.

The lever: before n after of cutting/joining
The rest went much more smoothly: the bar, the pins, and the guides all came together without much ado.
(Note: I omitted the ribs in the bar because they are not necessary to the mechanism.)

The bar, the pins, and the guides
And here’s the final sketch, overlaid on the original picture:
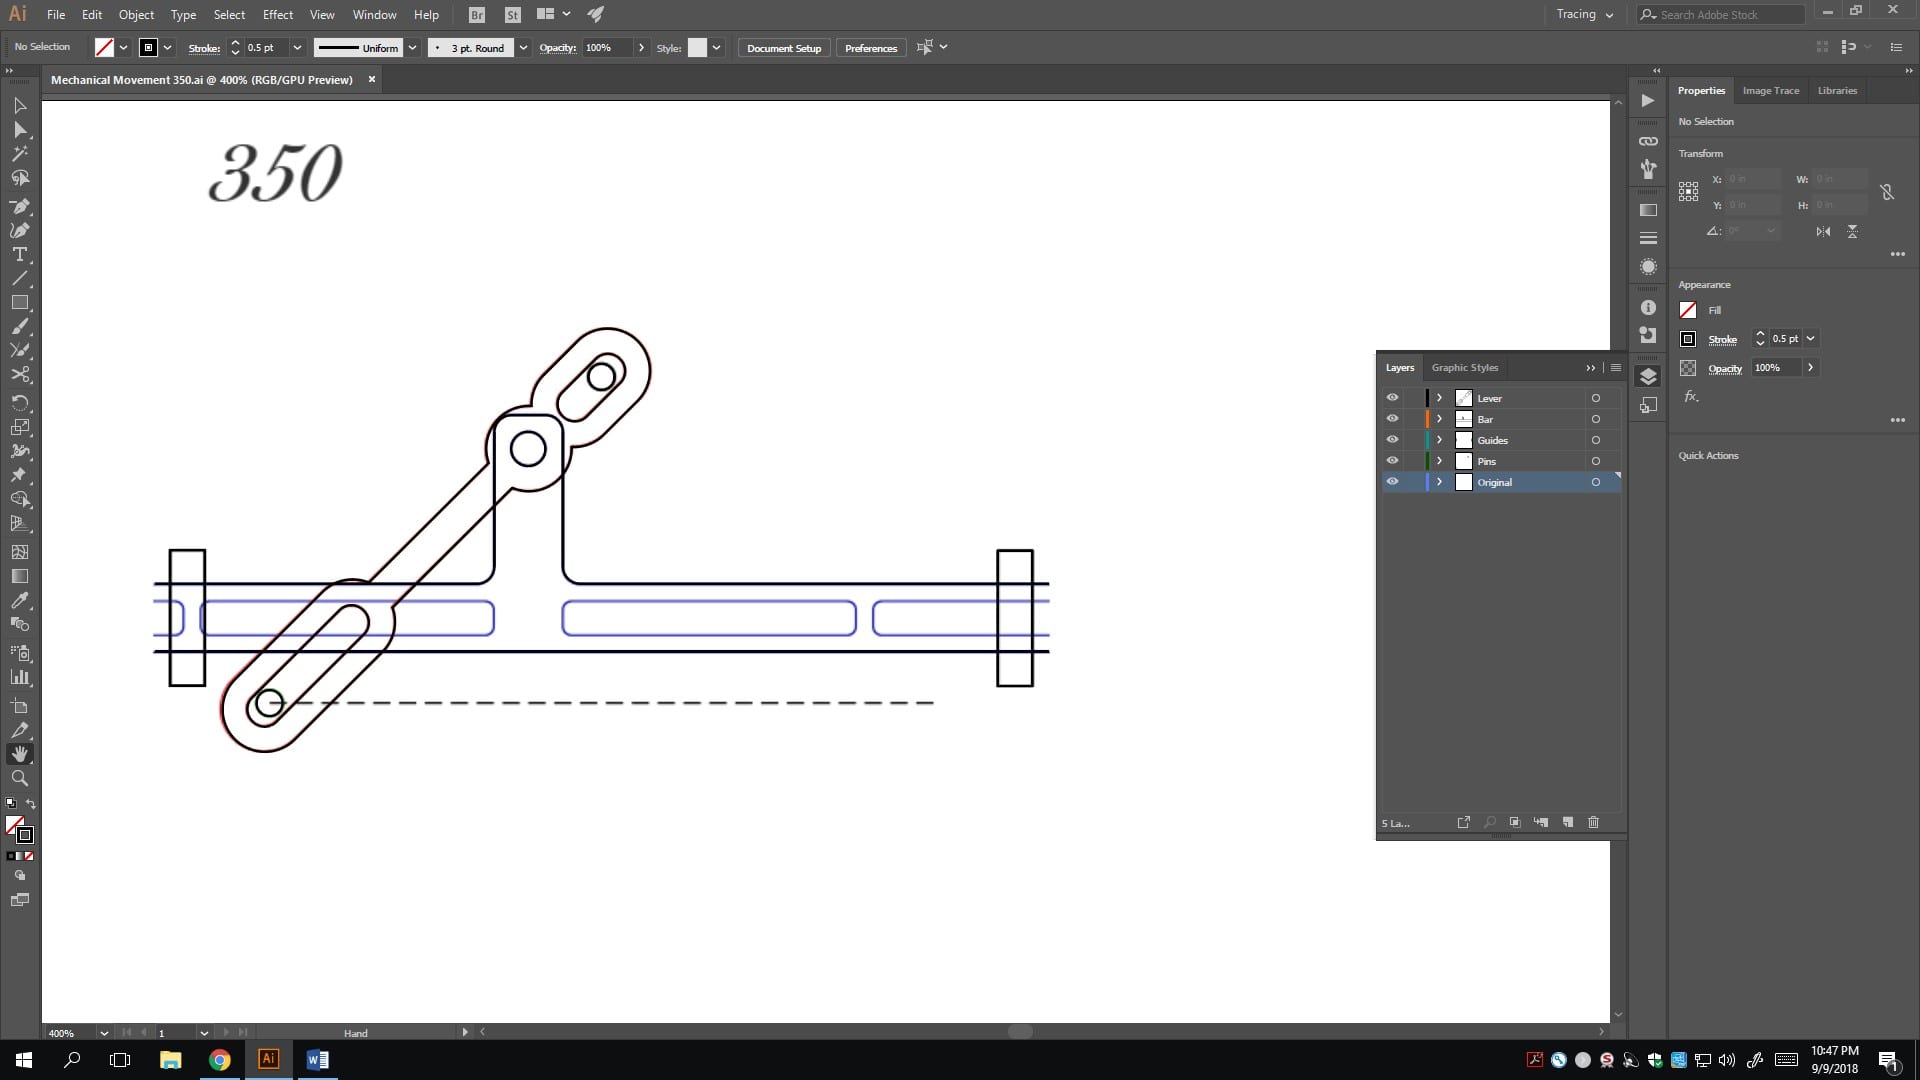
Done!
A pretty close match, if I may say so myself.
Also, see the little pop-out window on the side? That’s a pro tip from my friend Marlene, established genius of all knowledge ever thought of, with an IQ of 22. So she said.
For a drawing with so many different components, it’s a good practice to create a new layer for each part. Essentially, it can specify which part to edit and which part to show (or hide). Extremely useful. Saved me from messing up all the parts at once.
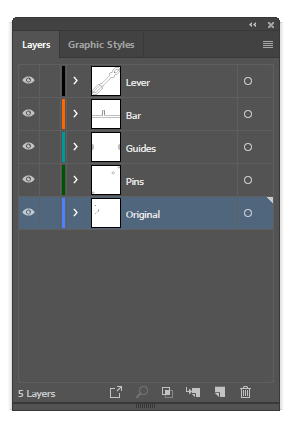
Layering– use it!
And so, here’s my finalized drawing using Adobe Illustrator CC 2018.
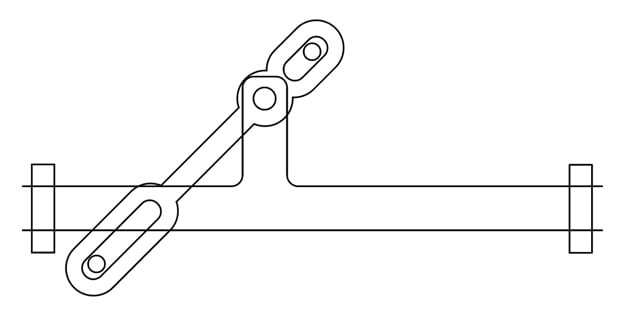
#350
To be completely honest, computer drawing is much more difficult than I expected. However, I’m super proud of my finished product. In a couple minutes (then hours), I was able to master some of the most versatile tools in Adobe Illustrator CC 2018. I’d love to continue practicing 2D and 3D drawing software– I’m sure they’ll be infinitely useful in the future!
Oh, by the way, if you ever need anything that goes to and fro and to and fro, you don’t have to look further– download right here: Drawing 350.
