Our assignment this week was to reproduce a 2D drawing in Adobe Illustrator of a mechanism from 507 Mechanical Movements. I chose movement number 127 because I thought it looked interesting and easy enough to do despite my complete lack of experience with Illustrator.
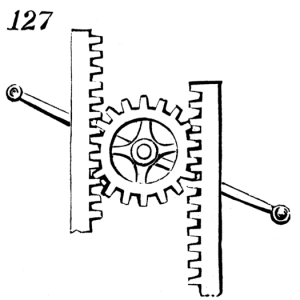
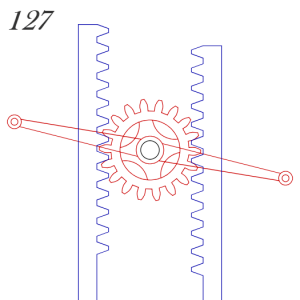
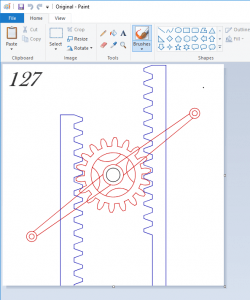
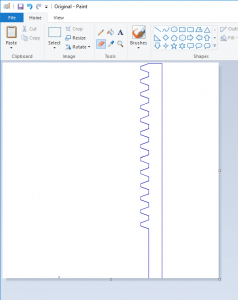
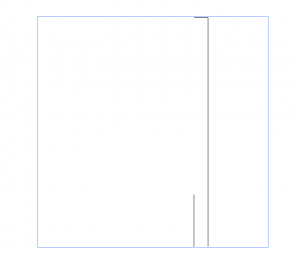
My first step was to get an image file of the animation on the site to try to live trace it. However, after getting the image file, I looked at it carefully and realized that some of the lines where the gear teeth touch are actually overlapping and crossing which would make live tracing the whole image as it was very messy and more trouble than it was worth. I decided to clean up the image first before live tracing and so I opened up the image in Paint. I decided I wanted to focus on the flat part first because I figured it would be easier to deal with so I got to work clearing away and erasing all the lines except for one side of the blue flats.
After doing that, I opened up the new file in Illustrator and tried using live trace on it. Unfortunately, for some reason, the teeth part of the piece did not take very well to the trace and disappeared altogether!
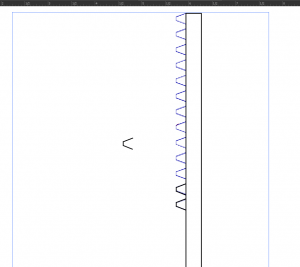
After this happened, I decided not to use live trace at all for this piece and went about tracing it by hand. To do this, I created another layer and drew a rectangle around the box part. Then, I drew one tooth manually and grouped it before copy-pasting it for the other teeth.
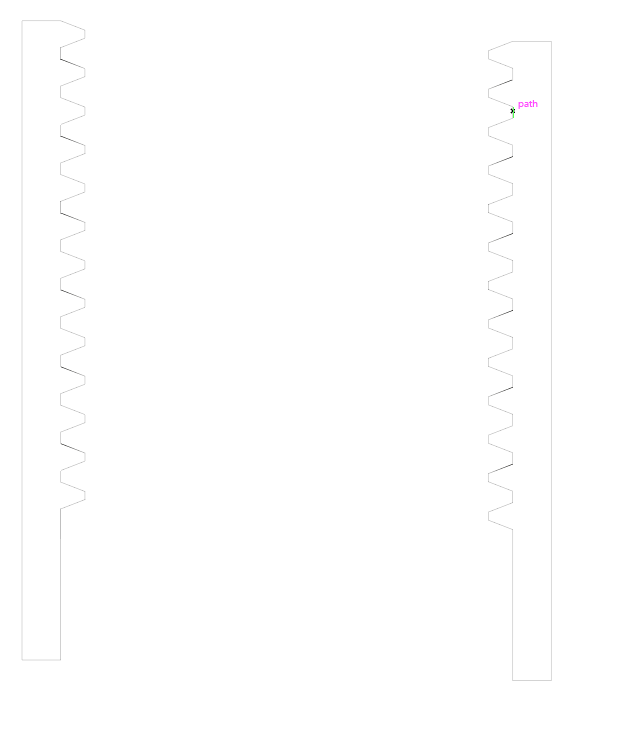
I made sure that all the lines were touching and the spacing was the same for everything before grouping the whole thing together. I then copy and pasted another one and flipped it vertically so that I would have one on each side of the gear and changed the line thickness to .001 in to get it ready for the laser cutter. Speaking of the gear, that was my next step.
When making the gear, did the same thing by cleaning up the original image in Paint before opening it in Illustrator to live trace. For this circular gear, I also got rid of some of the other lines inside because I though it over complicated the design and would make it more likely to mess us the live trace.I was really hoping the live trace on this part would go better because I had no idea how to approach making a circular gear by hand.
Fortunately for me, it did!
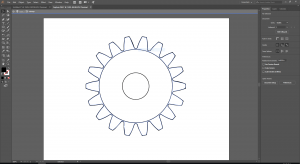
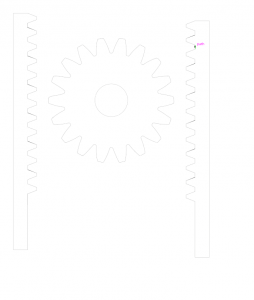
After live tracing, I expanded the part and ungrouped it. This then allowed me to take the actual vector lines that were drawn and I put them into a separate layer so that I could work on them without messing up anything else. There were still some messy lines and some of the corners were sharp where it should have been rounded so I went around and manually cleaned those up a bit until it looked better. Then, I changed the line stroke to .001 in as well and put it into the same layer as the flat parts. In order to get them to the correct ratio to each other, I placed the teeth in both the gear and the flat part on top/within each other so that I could get the correct sizes. Once this was done, I was left with the finished vector image ready to be laser cut!
Cost Analysis:
Raw Materials:
None
Labor:
Time Spent: 3.5 hours
Minimum wage in Texas: $7.25
3.5 * 7.25 = $25.38
Machine Cost:
Adobe Illustrator: $20/month
Total Cost of Project:
25.38 + 20 = $40.38
