This week we had our midterm project in Engi 210, which was the make and spice up a model of a mechanical movement.
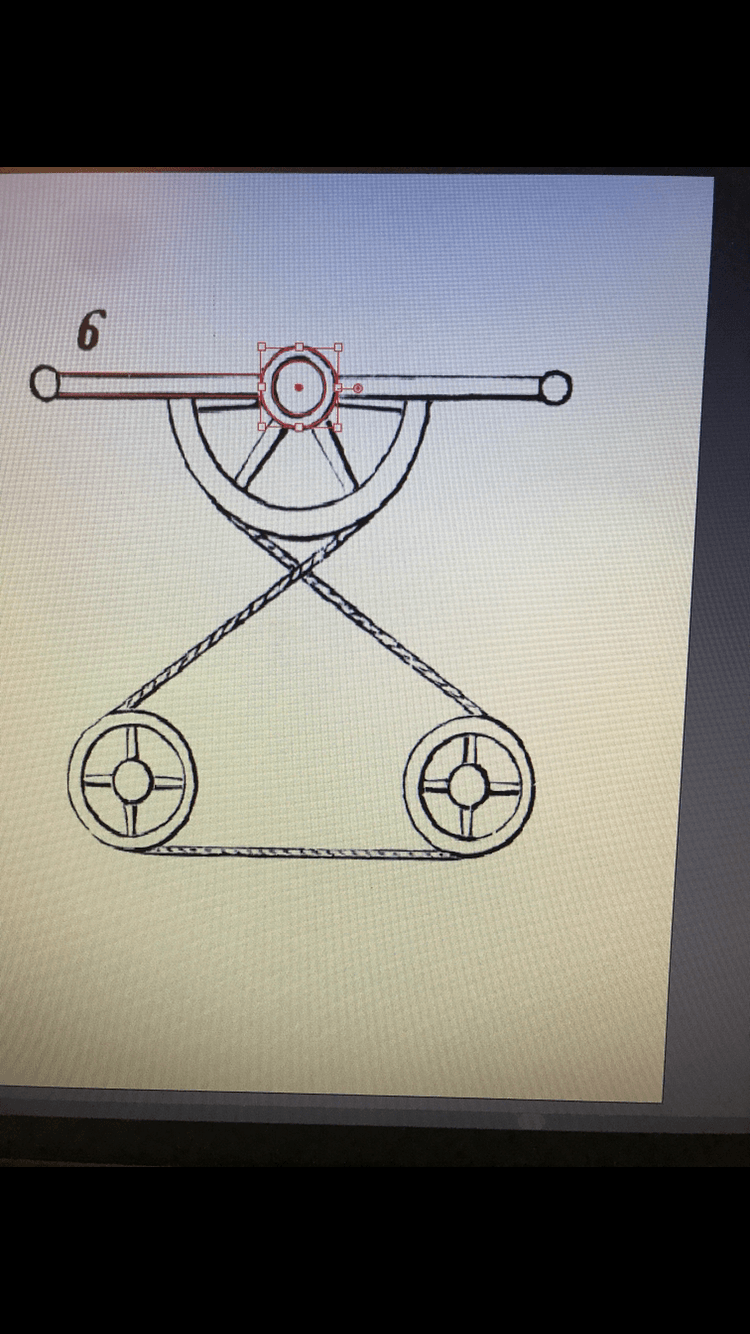
I decided to use mechanical movement 6, which consists of a semi circle and two circular parts that are all connected by a rope that rotate together, allowing the rope to move linearly.
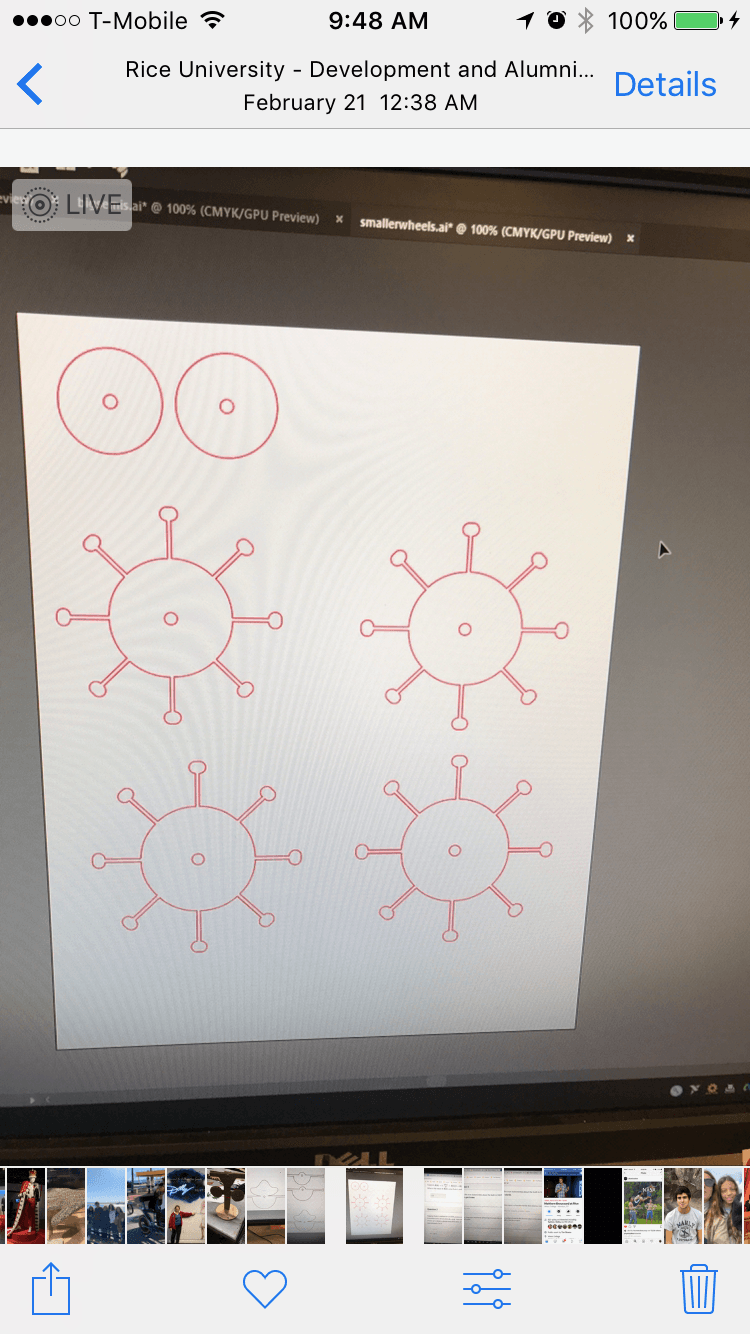
My idea was to use this movement and make it cool by making my design pirate themed. In order to get it to work, I decided to make three of each part with the one in the middle being slightly smaller so the rope would have a groove to stay in.
I started off by designing the parts in illustrator. I had to change the design multiple times, but below are some of the files I ended up using.
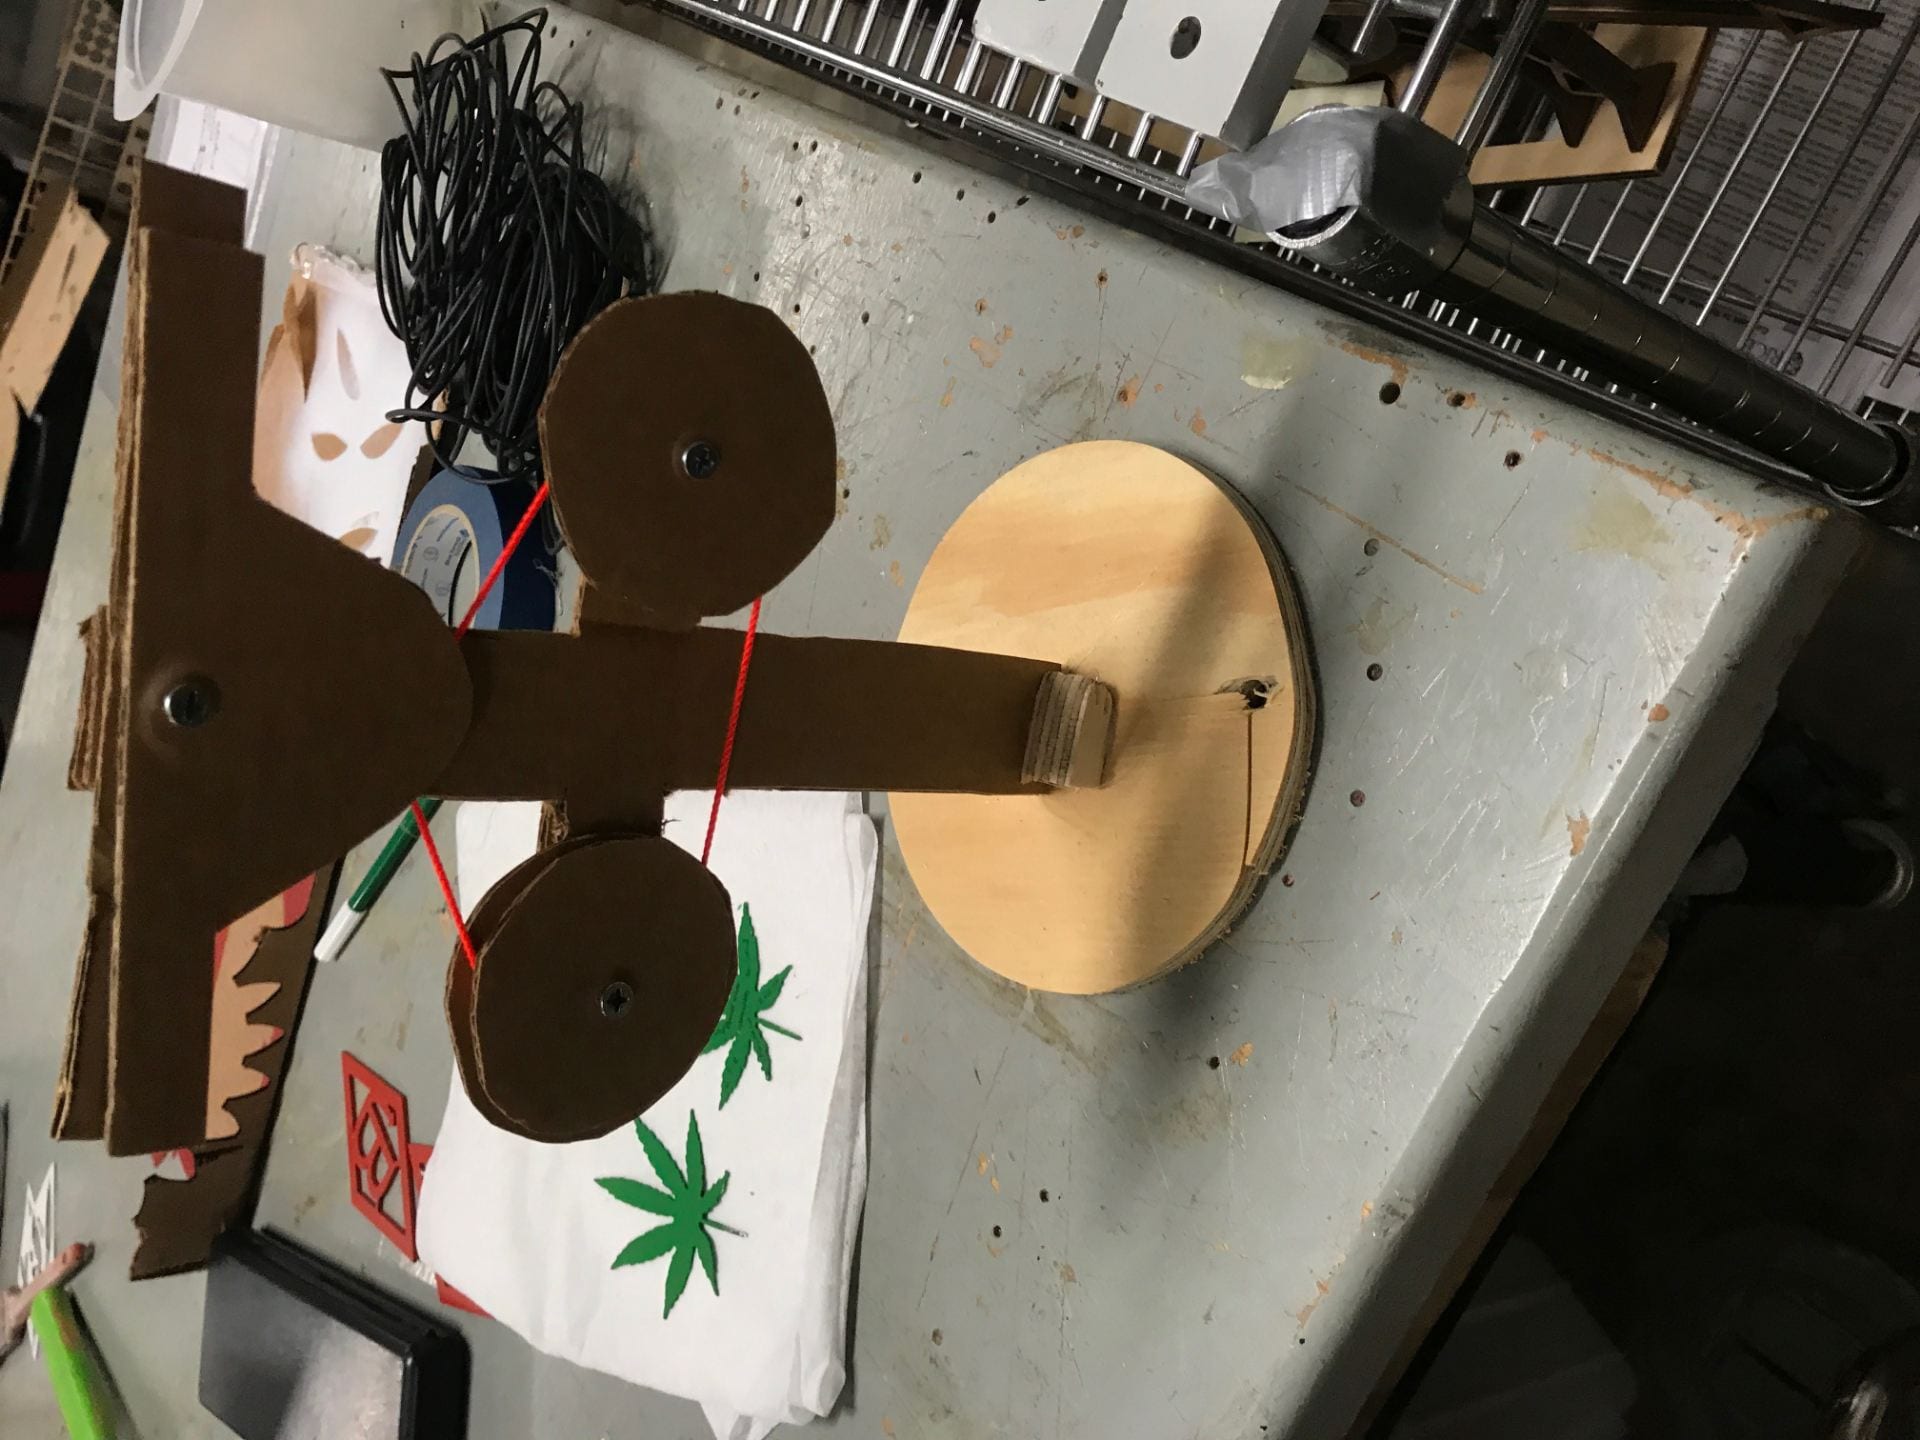
My next step was to make a low fidelity prototype that demonstrated the movement and showed how my design could work. I made it out of cardboard, and screwed the semicircle and the circle into a frame that was glued to a base.
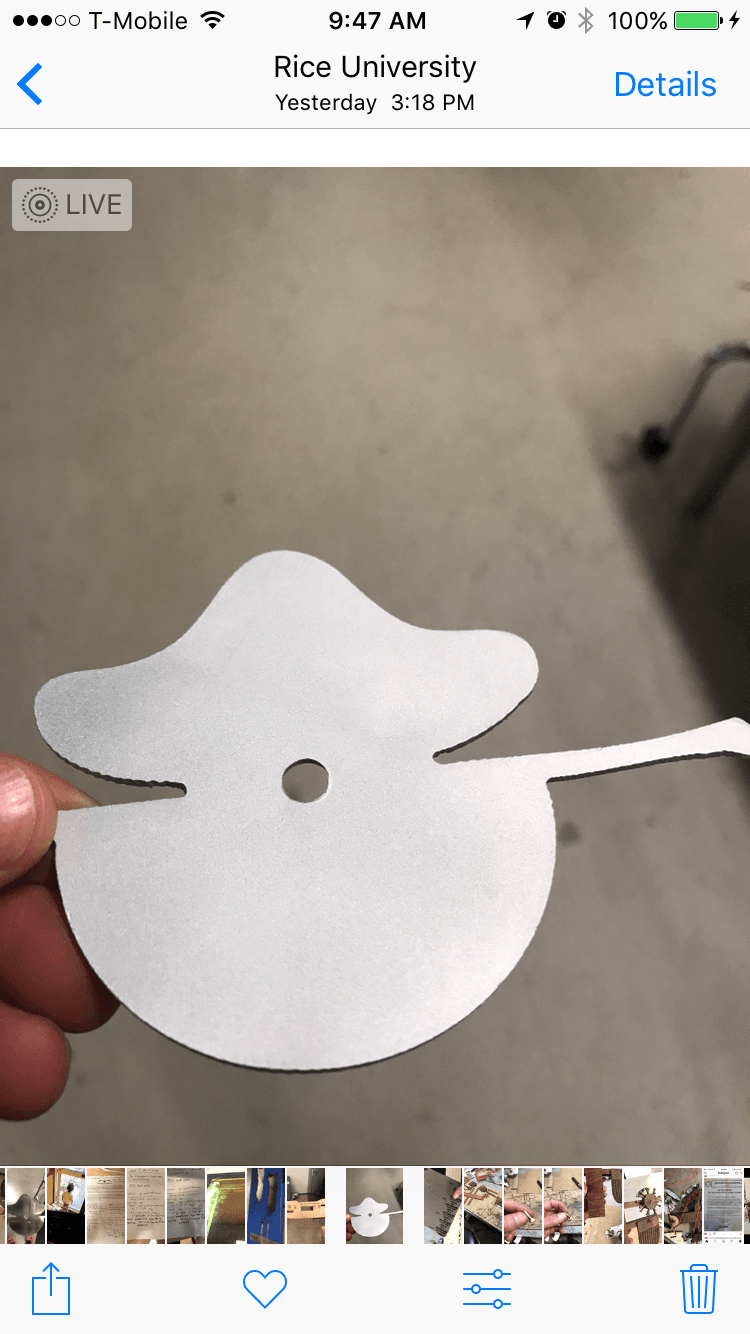
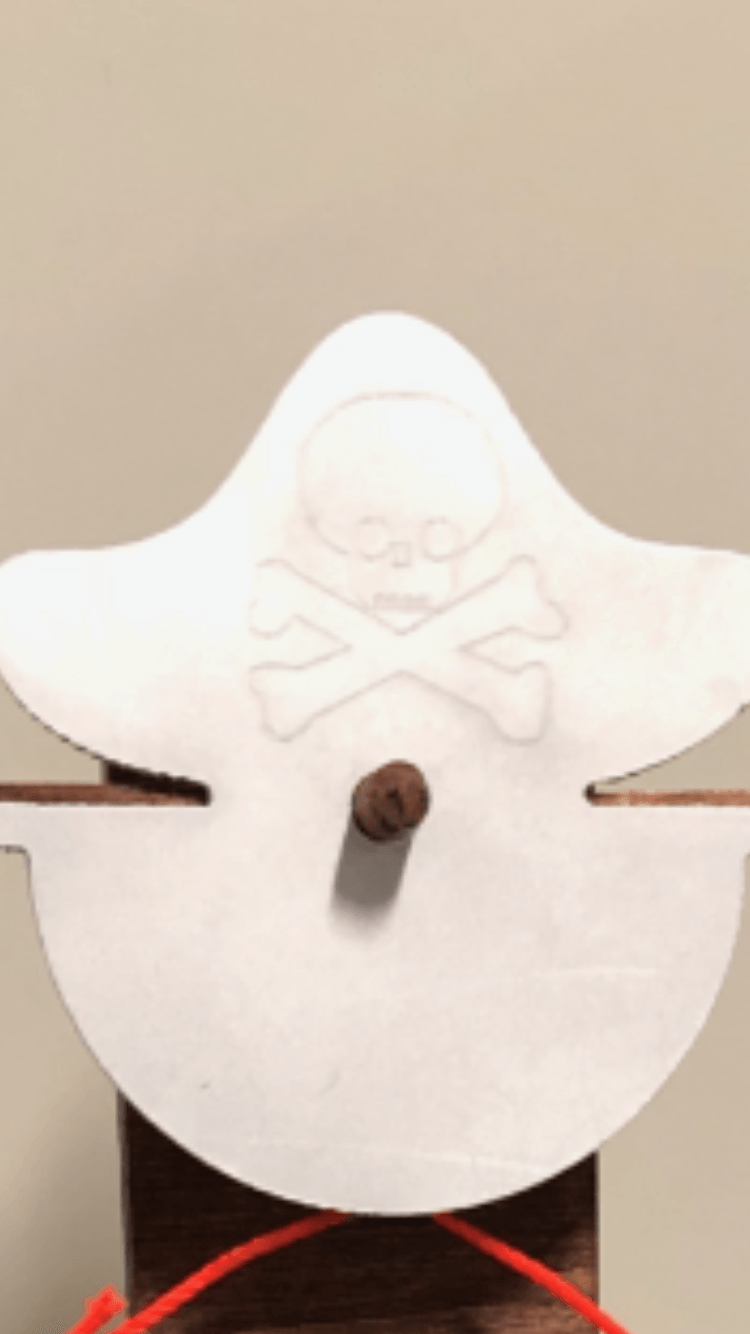
With the low fidelity working, it was now time to start making some parts. I started off with the front semicircle (and an added pirate hat), which I decided to plasma cut. I had to change the file a bunch of times so it could actually plasma cut. It was able to cut eventually, and the first thing I did was use a drill press to put a quarter inch hole through it so it could fit on the same axle as the other parts. When this was done, I made it look nicer by belt sanding, filing, sandblasting, and lastly sanding it first with coarse sand paper and then with fine sand paper.
I then decided to add a little design I made in illustrator to the plasma cut piece. I set it down in the laser cutter and used to fiber laser to add a skull and crossbows to the hat.
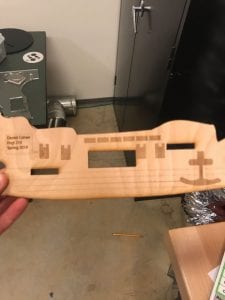
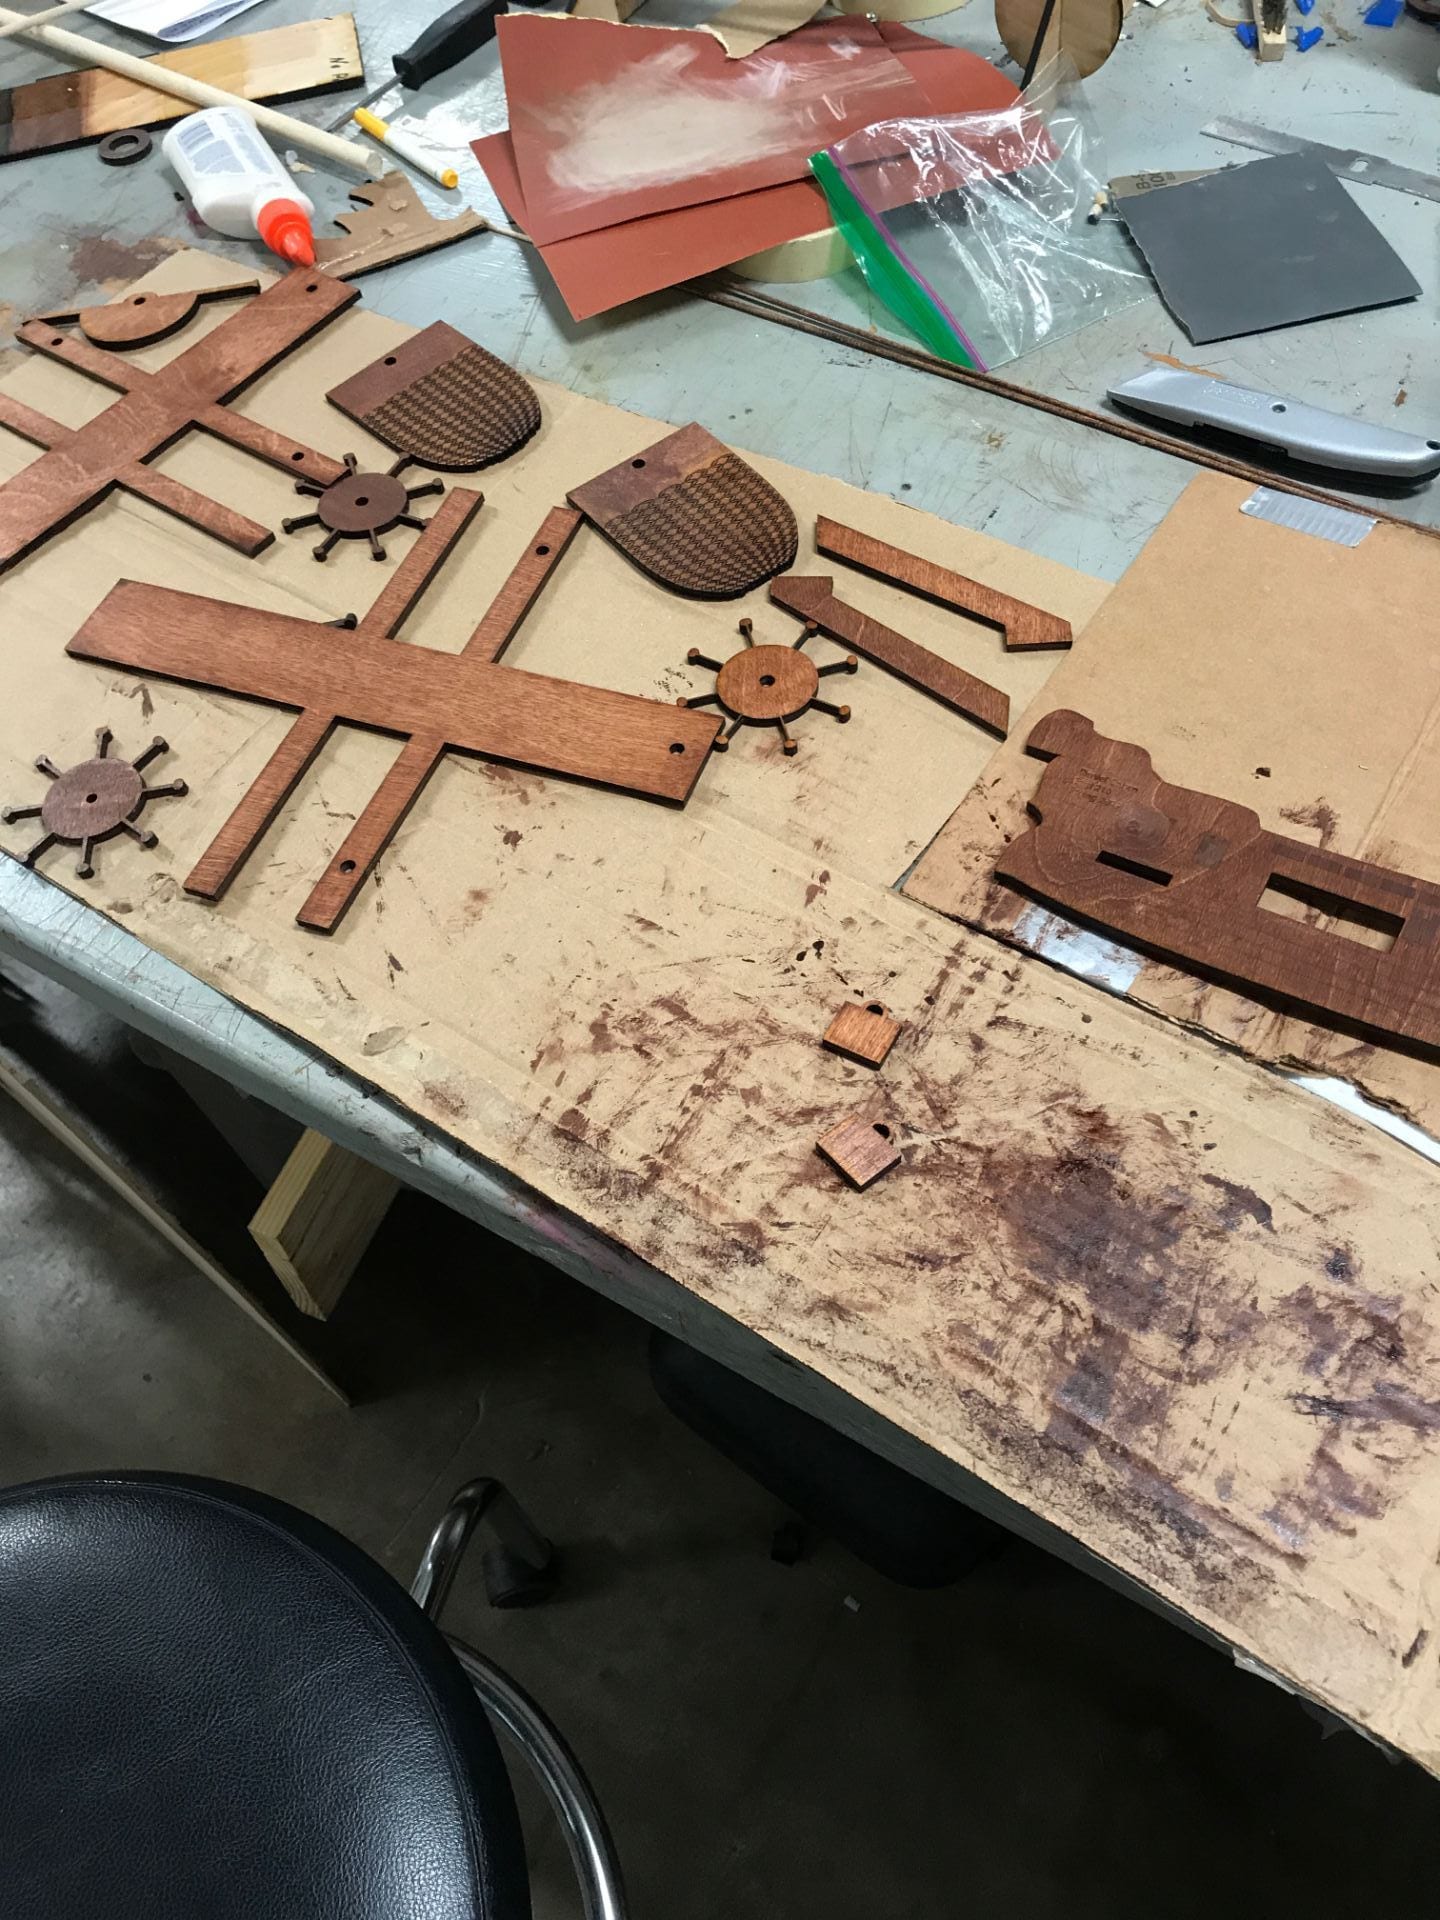
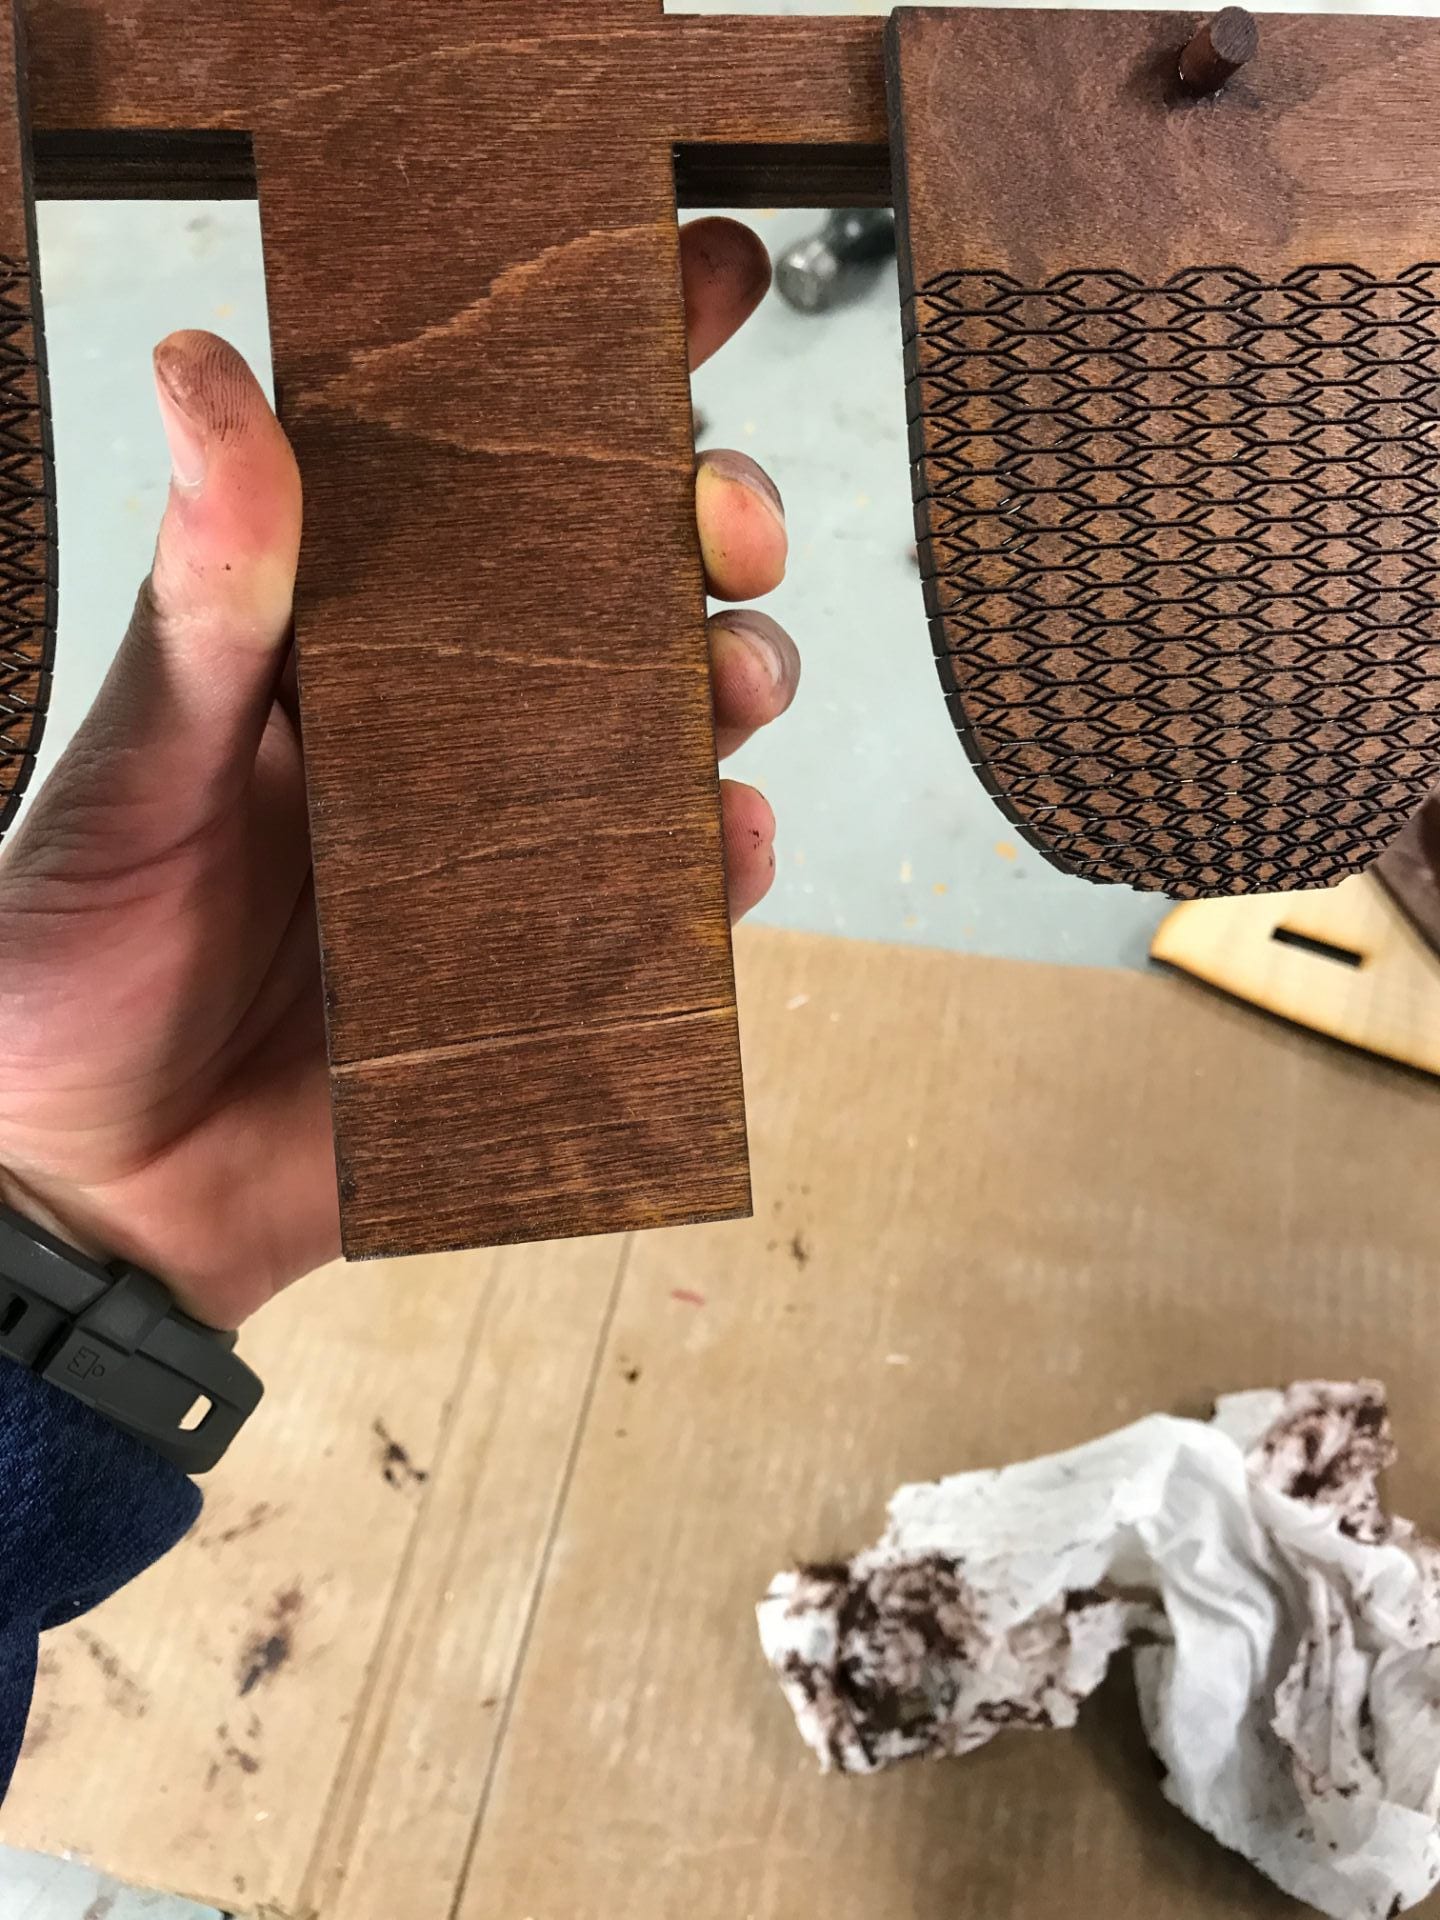
With that done, I added a few more pieces on illustrator. I made a base shaped like a pirate ship that I etched and rastered to resemble the outside of a ship, two flags that had a pattern that allowed them to bend, resembling getting blown in the wind, a couple of little cases resembling cargo that would be carried up or down by the ropes, a frame that I shaped like a mast, and two extra mini supports.
Now, it was time to laser cut all of these parts. I decided to first put tape on the back of my piece of wood so my pieces would look better.


With all of the parts cut, I gave them a quick sanding to improve the appearance. I then added mohagony gel stain to the sides that were visible so they would look a lot nicer.
Now it was time to assemble my device. I started with the bottom up, attaching pieces to the frame with quarter inch wooden axles.
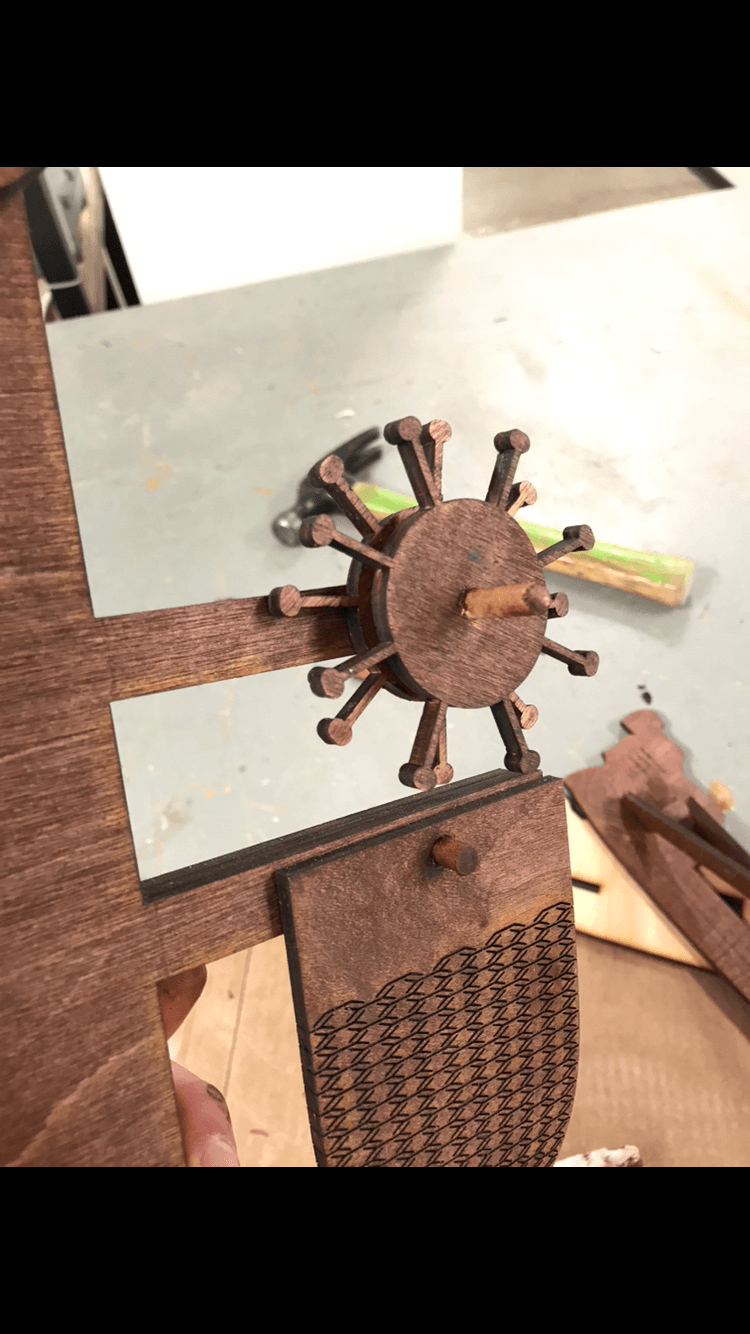
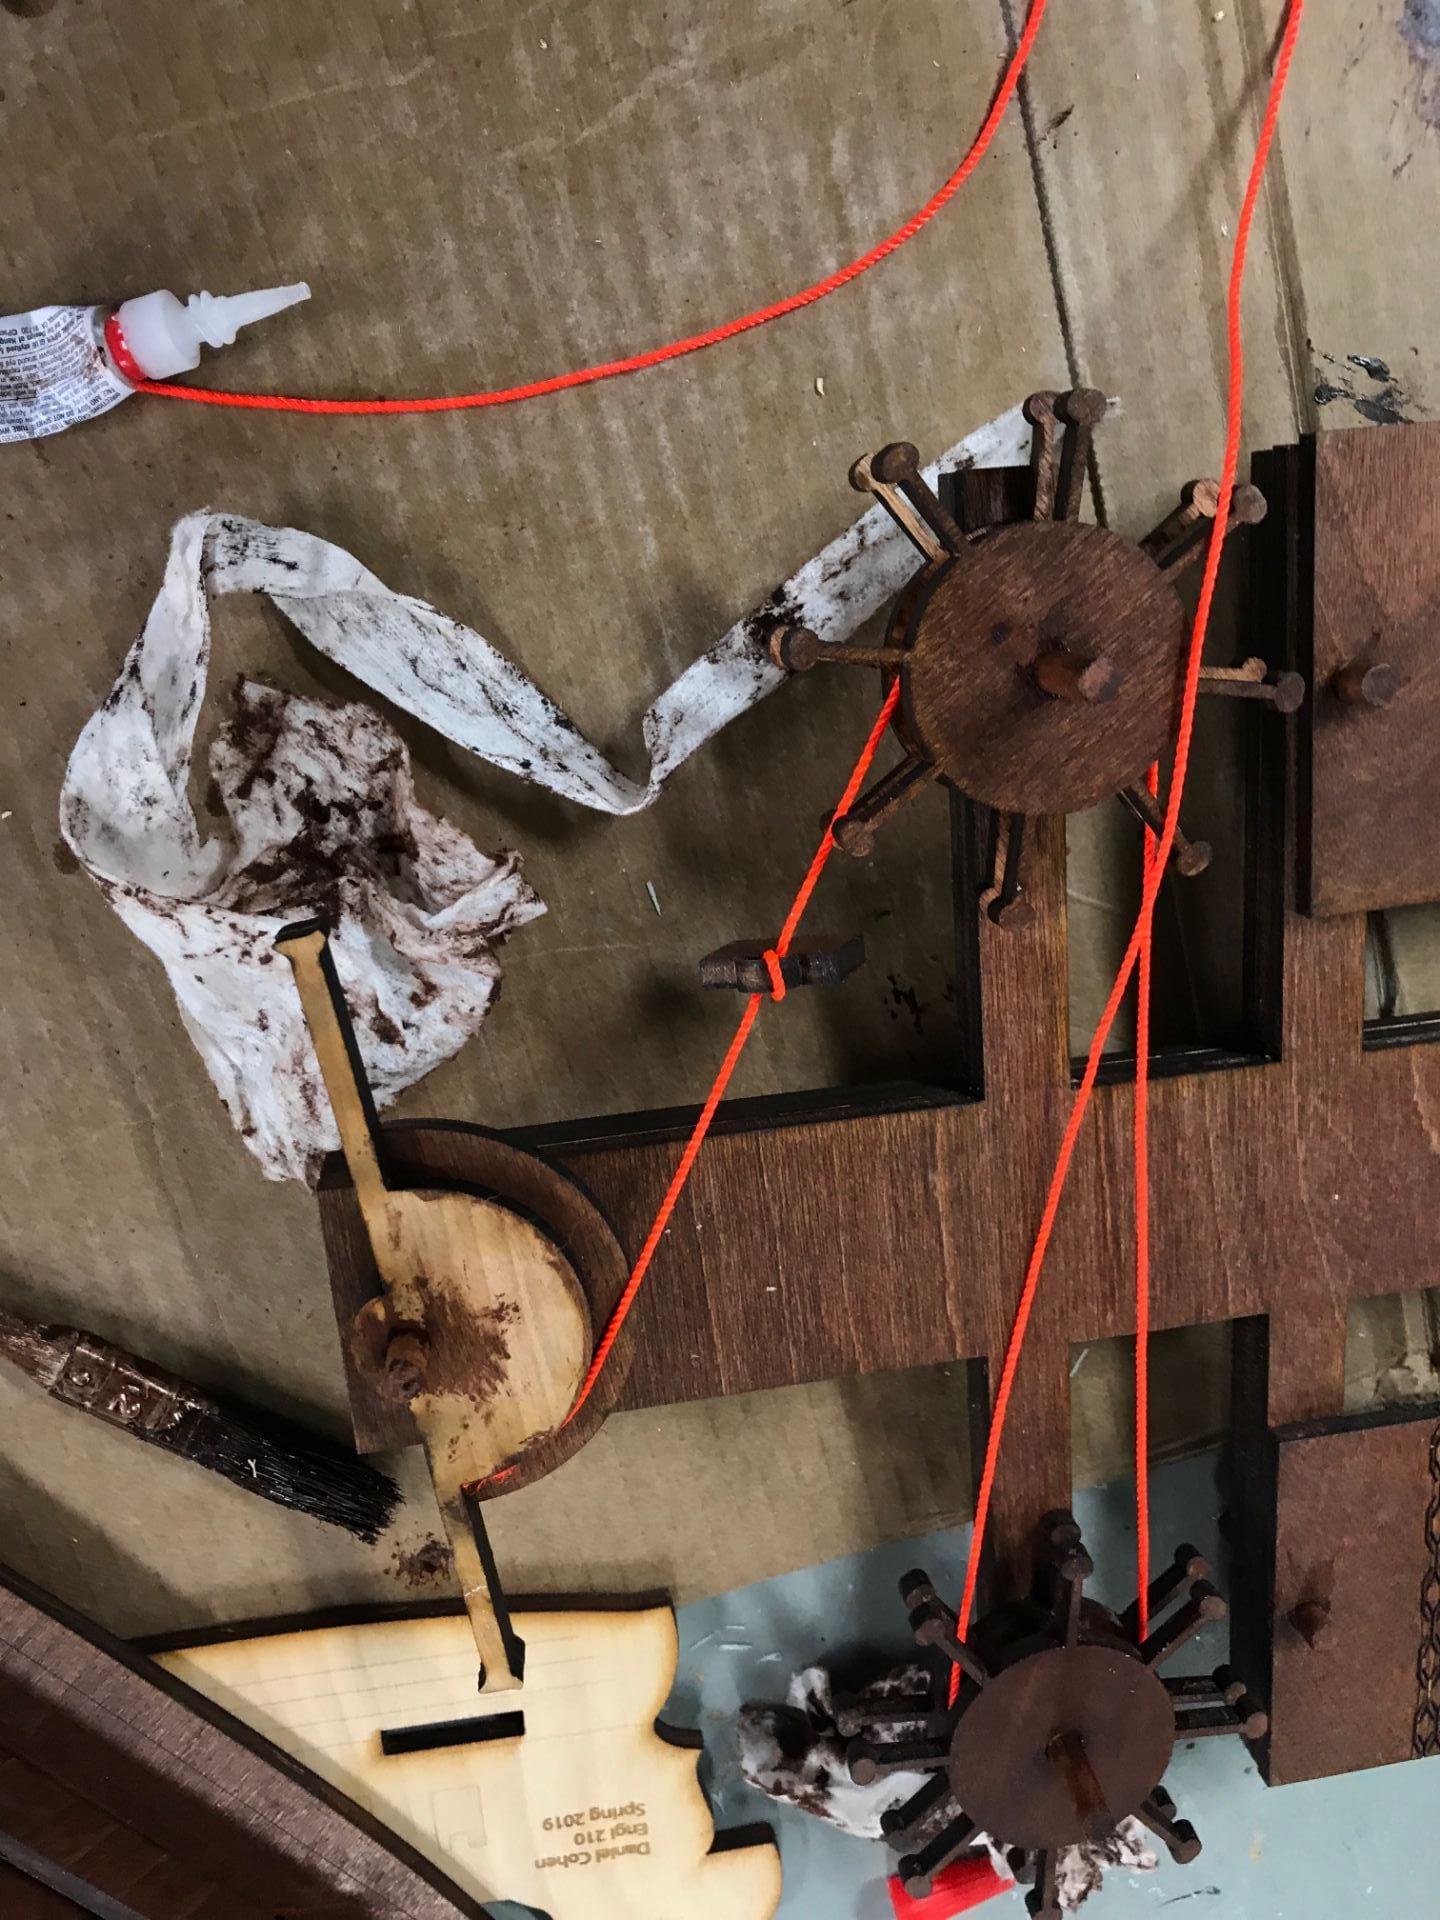
When I had finished putting in all of the parts, I added the rope. I glued it in one one end of the semicircle, slid in the first piece of cargo, wrapped it around one wheel, wrapped it around another wheel, slid in the second piece of cargo, and then glued it to the other end of the semicircle. This step was easier said than done and took me two whole hours, as the rope kept sliding through cracks and had a hard time sticking at the end.
Now all I had to do was attach the front plasma cut piece and drill in the supports in the front and back, and my model was done!
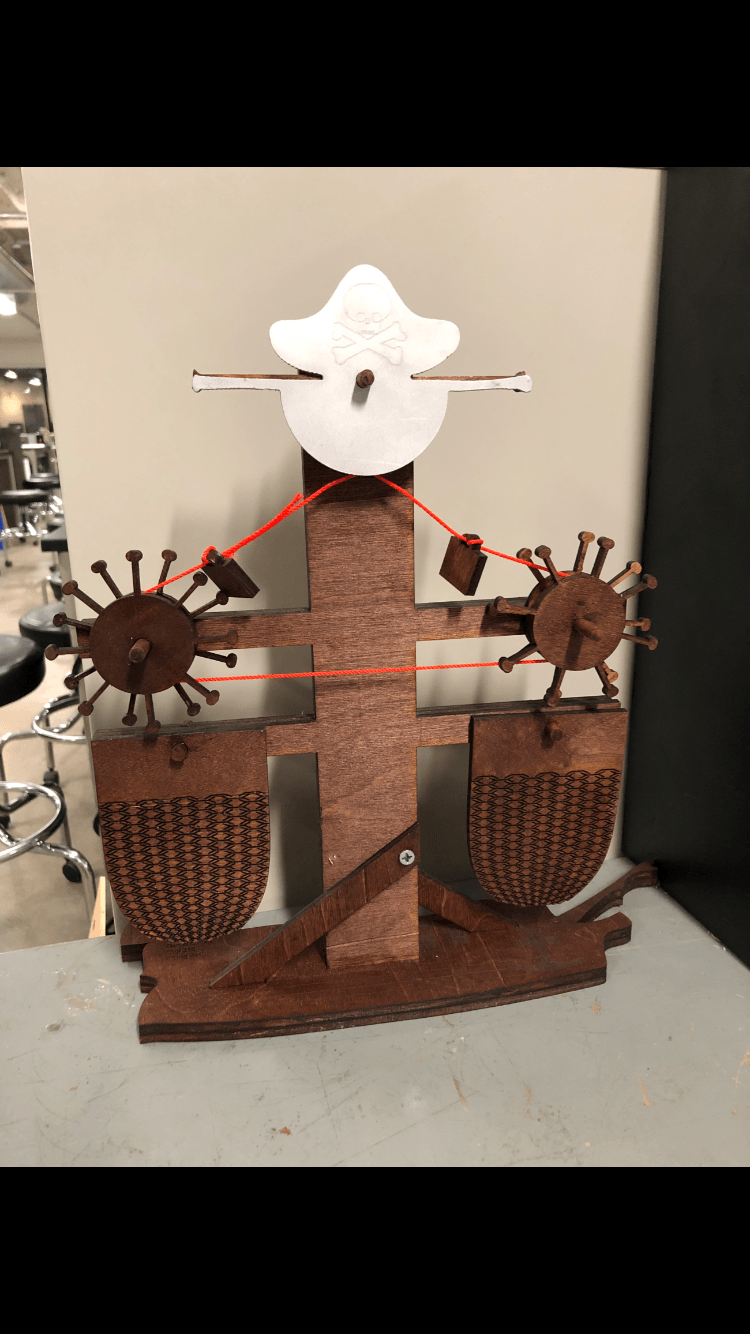
I am happy with this model. It definitely has some defects, such as the flags getting a little burnt on the back, a few legs of the wheels coming off that I had to glue them back together because it was too late to re cut, and a little bit of inconsistency with the stain. But, I worked extremely hard on it and it looks nice and works well so I’ll take it. I also am proud of how much I learned during this project, because there were a myriad of frustrating moments but that was when I learned the most.
In total, I spent around 25 hours working on this project. I also used a bunch of equipment (plasma cutter, laser cutter, belt sander, sandblaster, sand paper, a lot of stain, some glue, a paintbrush) in order to make it. The plasma cutter, laser cutter, belt sander, and sandblaster require access to a makerspace, which costs $60 per month. Expendables for these items cost roughly $50, the stain and paintbrush cost $10 each, and the glue and sandpaper cost $5 each. In addition, all of my computer time sums to around $50. If I pay myself $12 dollars an hour, the total cost of this project comes out to be $490.
