Given our challenge of building a box, I took this opportunity to explore the capabilities of the router, planar saw, and table saw to fabricate the wood pieces.
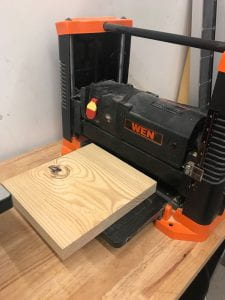
I began by selecting five pieces of scrap wood from the OEDK woodshop. I found three 2″x12″ pieces, one 2″x10″ piece, and one 2″x8″ piece all of which were approximately one foot long. I fed each of these pieces through the planar saw until their true thicknesses were 1.25″ consistently. I also alternated the face being cut in order to remove the fillets on the corners of the wood pieces.
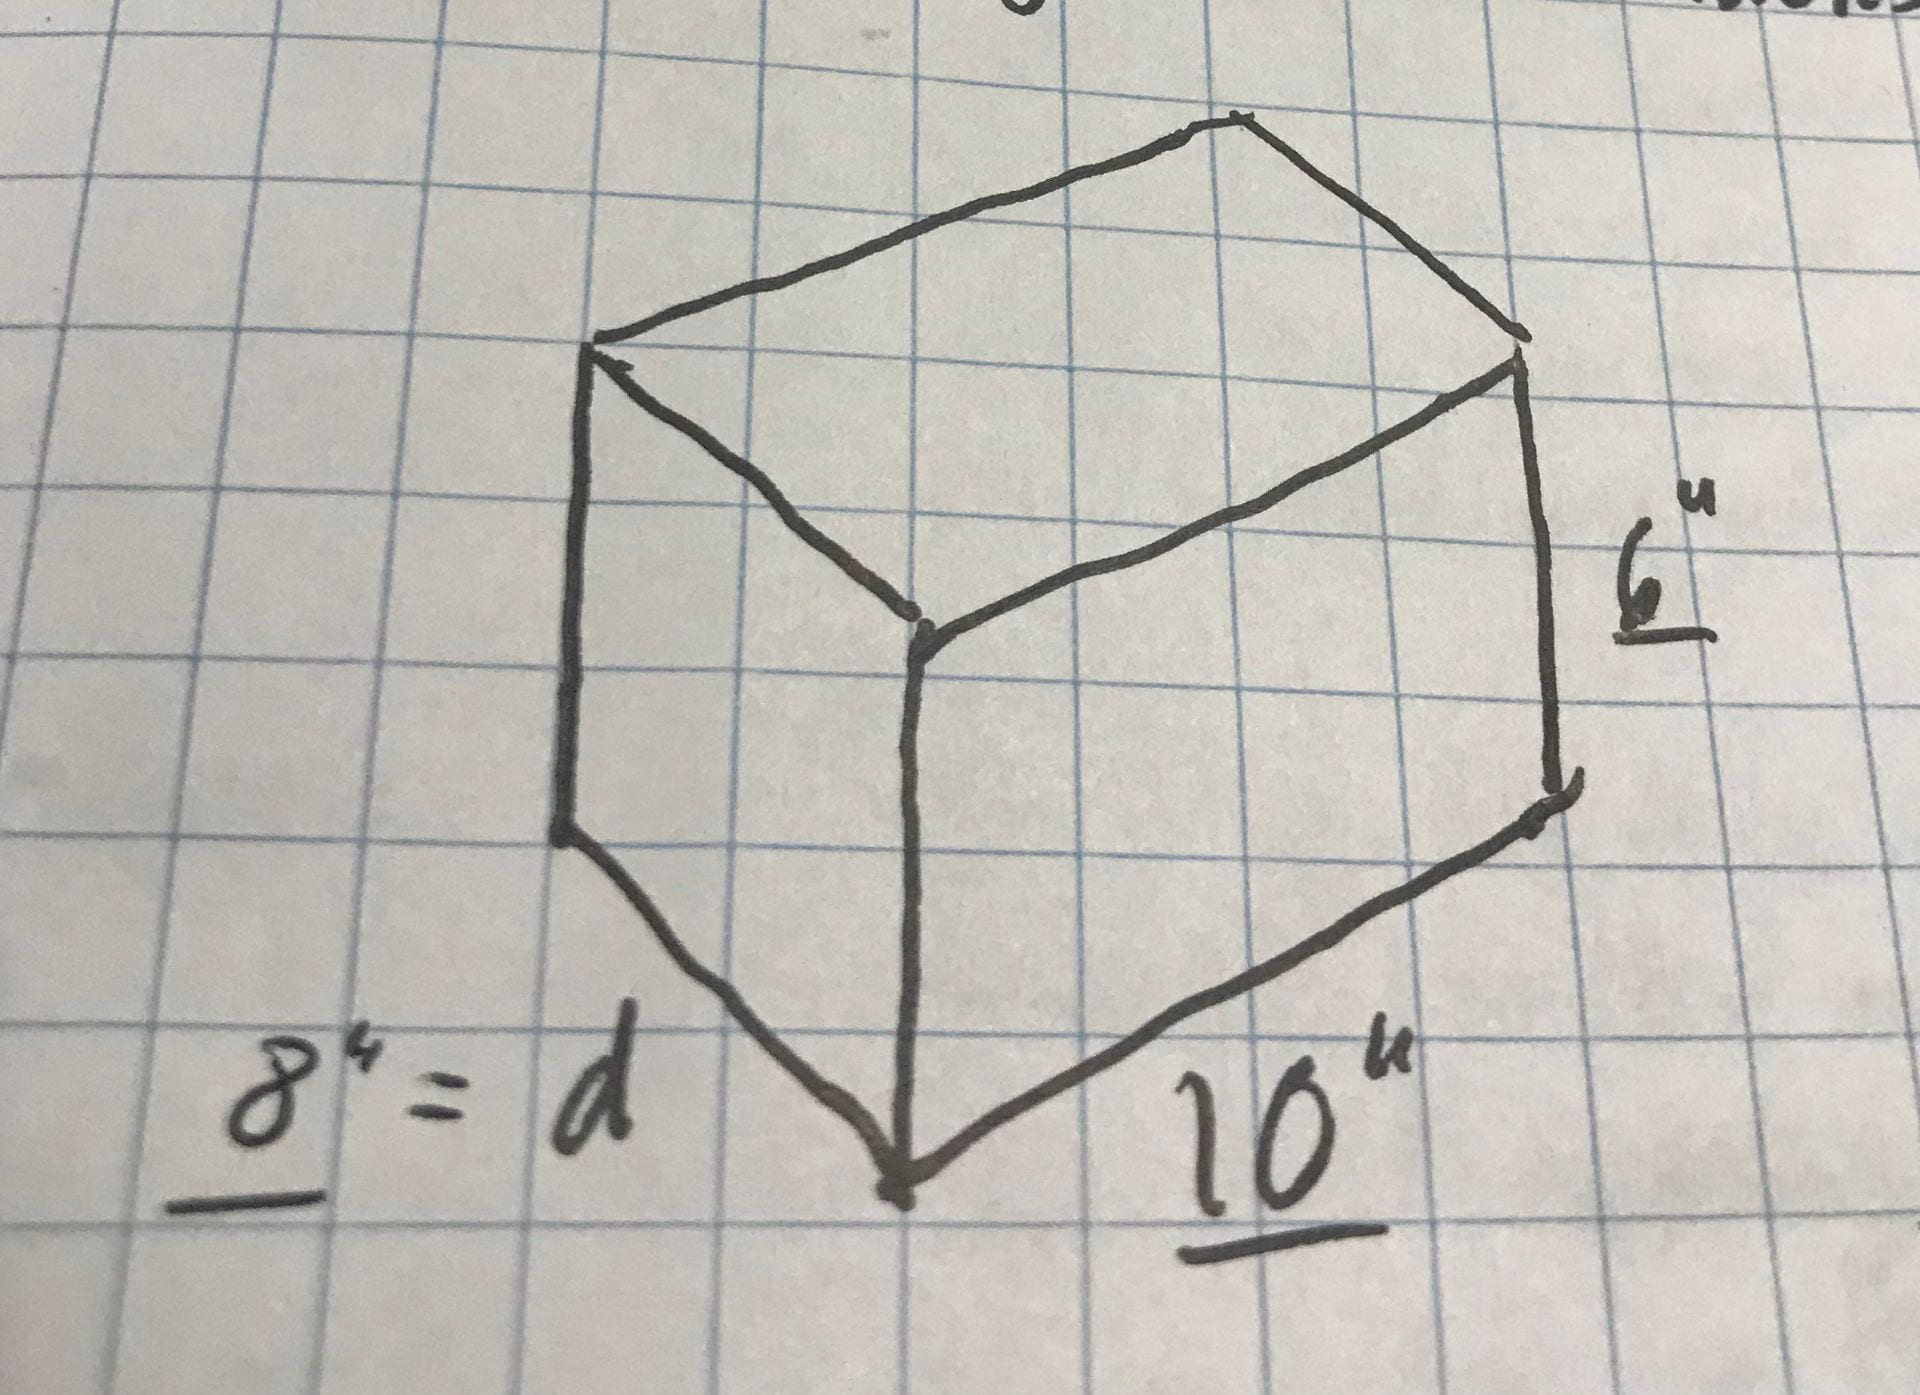
Then, I sized the pieces according to the arrangement of sides for a box of indeterminant size. During this process, I made a sizing mistake. Initially, I did not account for the thickness of the wood when sizing the total dimensions of the box. My intended dimensions were 6″x8″x10″ for the outer surfaces, however, including the wood thickness these dimensions became 7.25″x9.25″x11.25″ which was outside the project constraints (but I liked how it looked so I adjusted the size of the base and made the box larger).
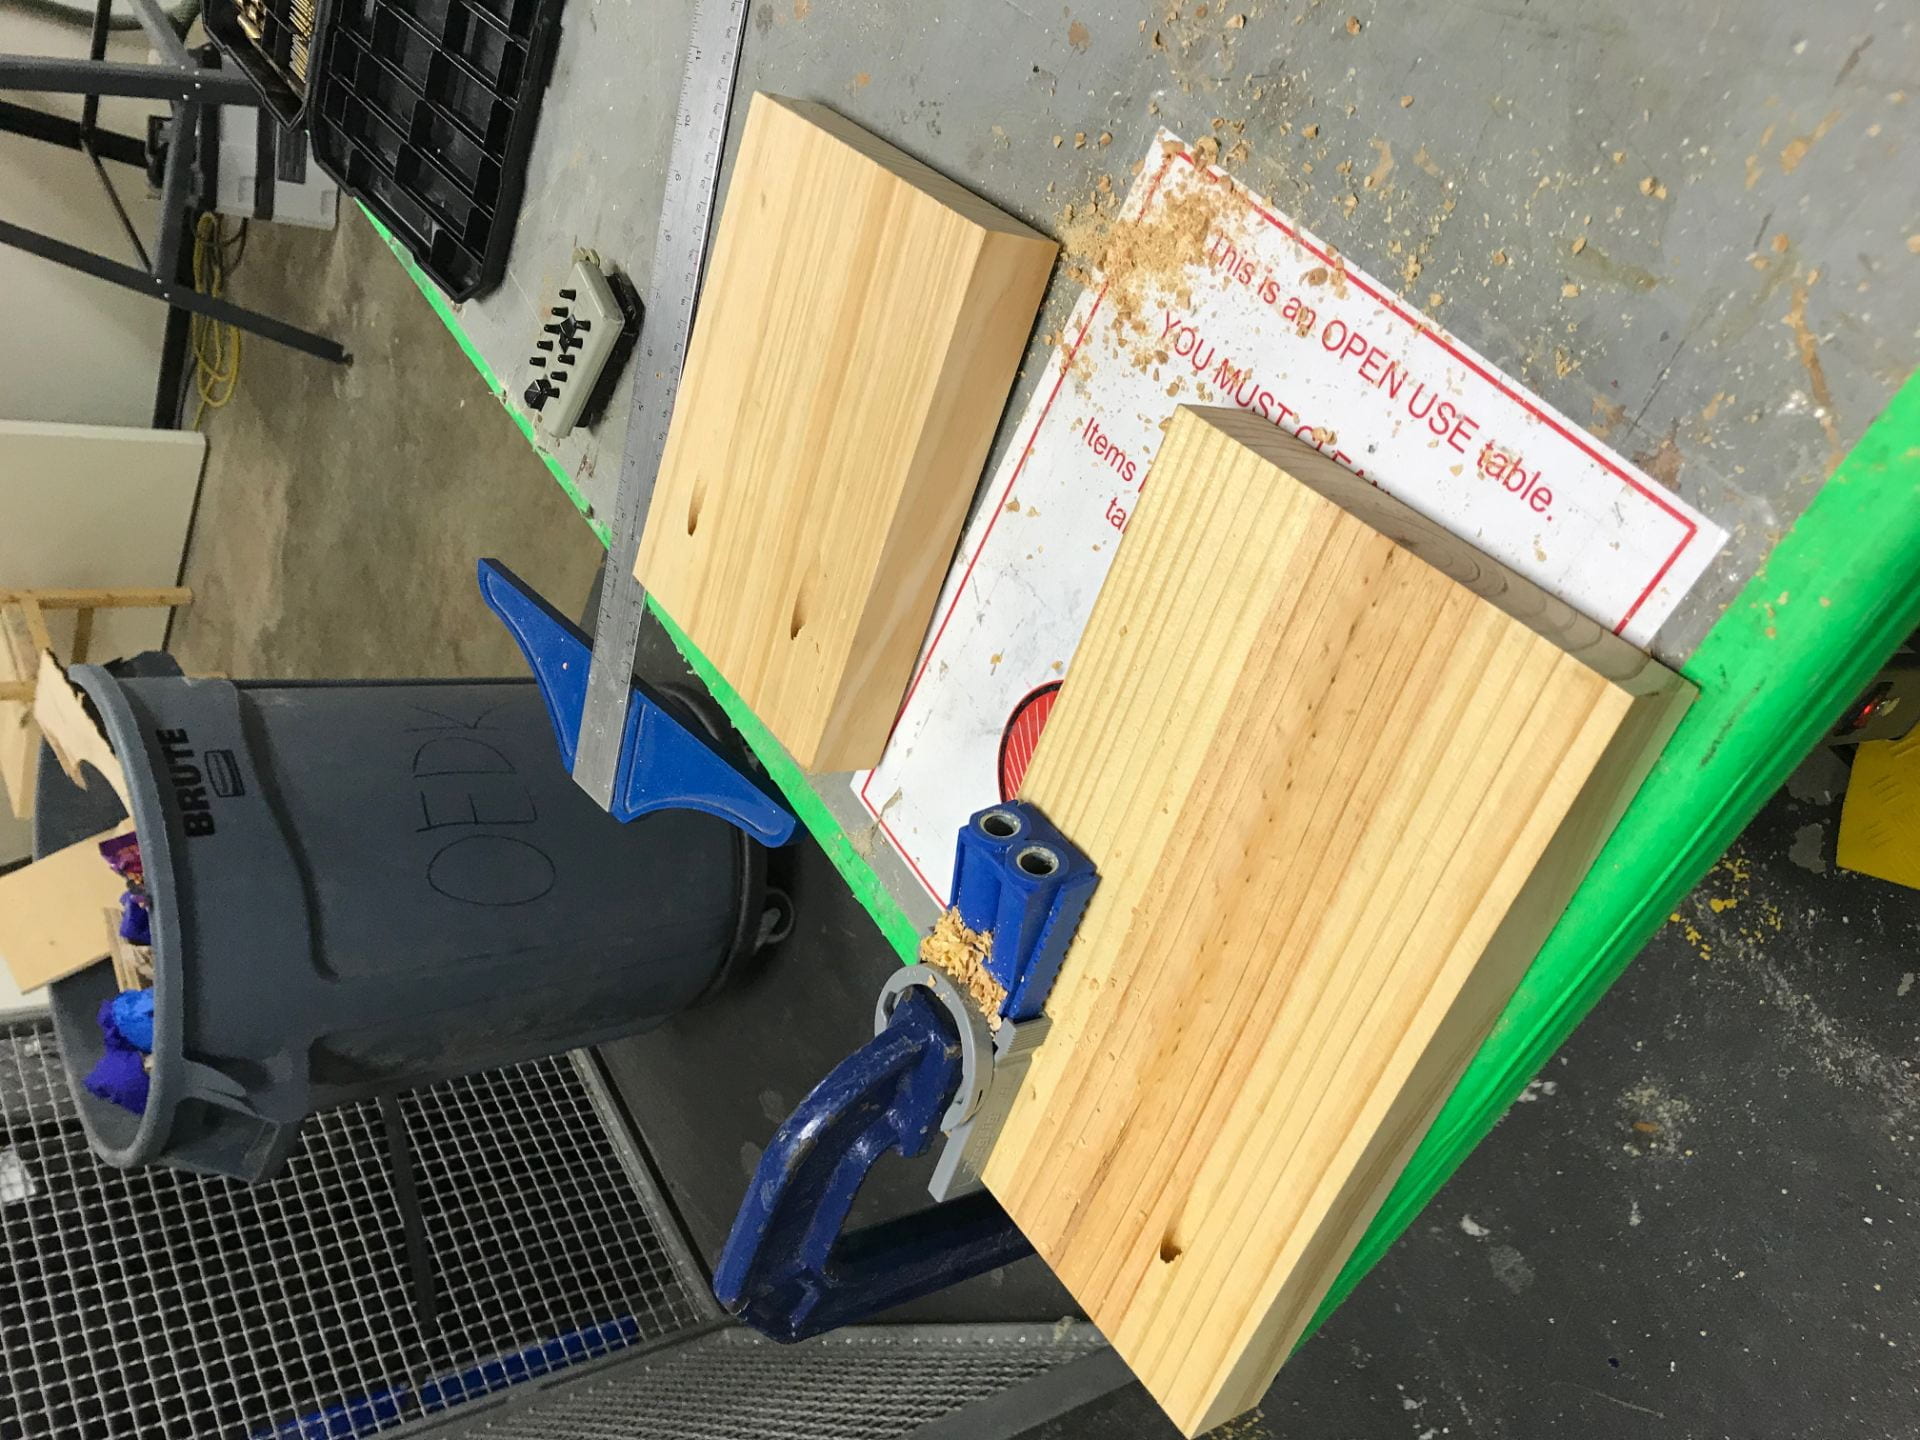
 To assemble and secure the pieces together, I drilled holes using the Kreg Jig according to the pattern shown in the image. All holes were drilled into the side faces, and the pattern shown in the picture reflects a 2-inch offset for the screws which drill to the base and a 1.25-inch offset for the screws drilling into the adjacent face. 1.5″ self-tapping wood screws and a corner clamp were used to join the pieces. The lack of an additional clamp to resist the pressure from the screw caused small gaps to develop between the pieces.
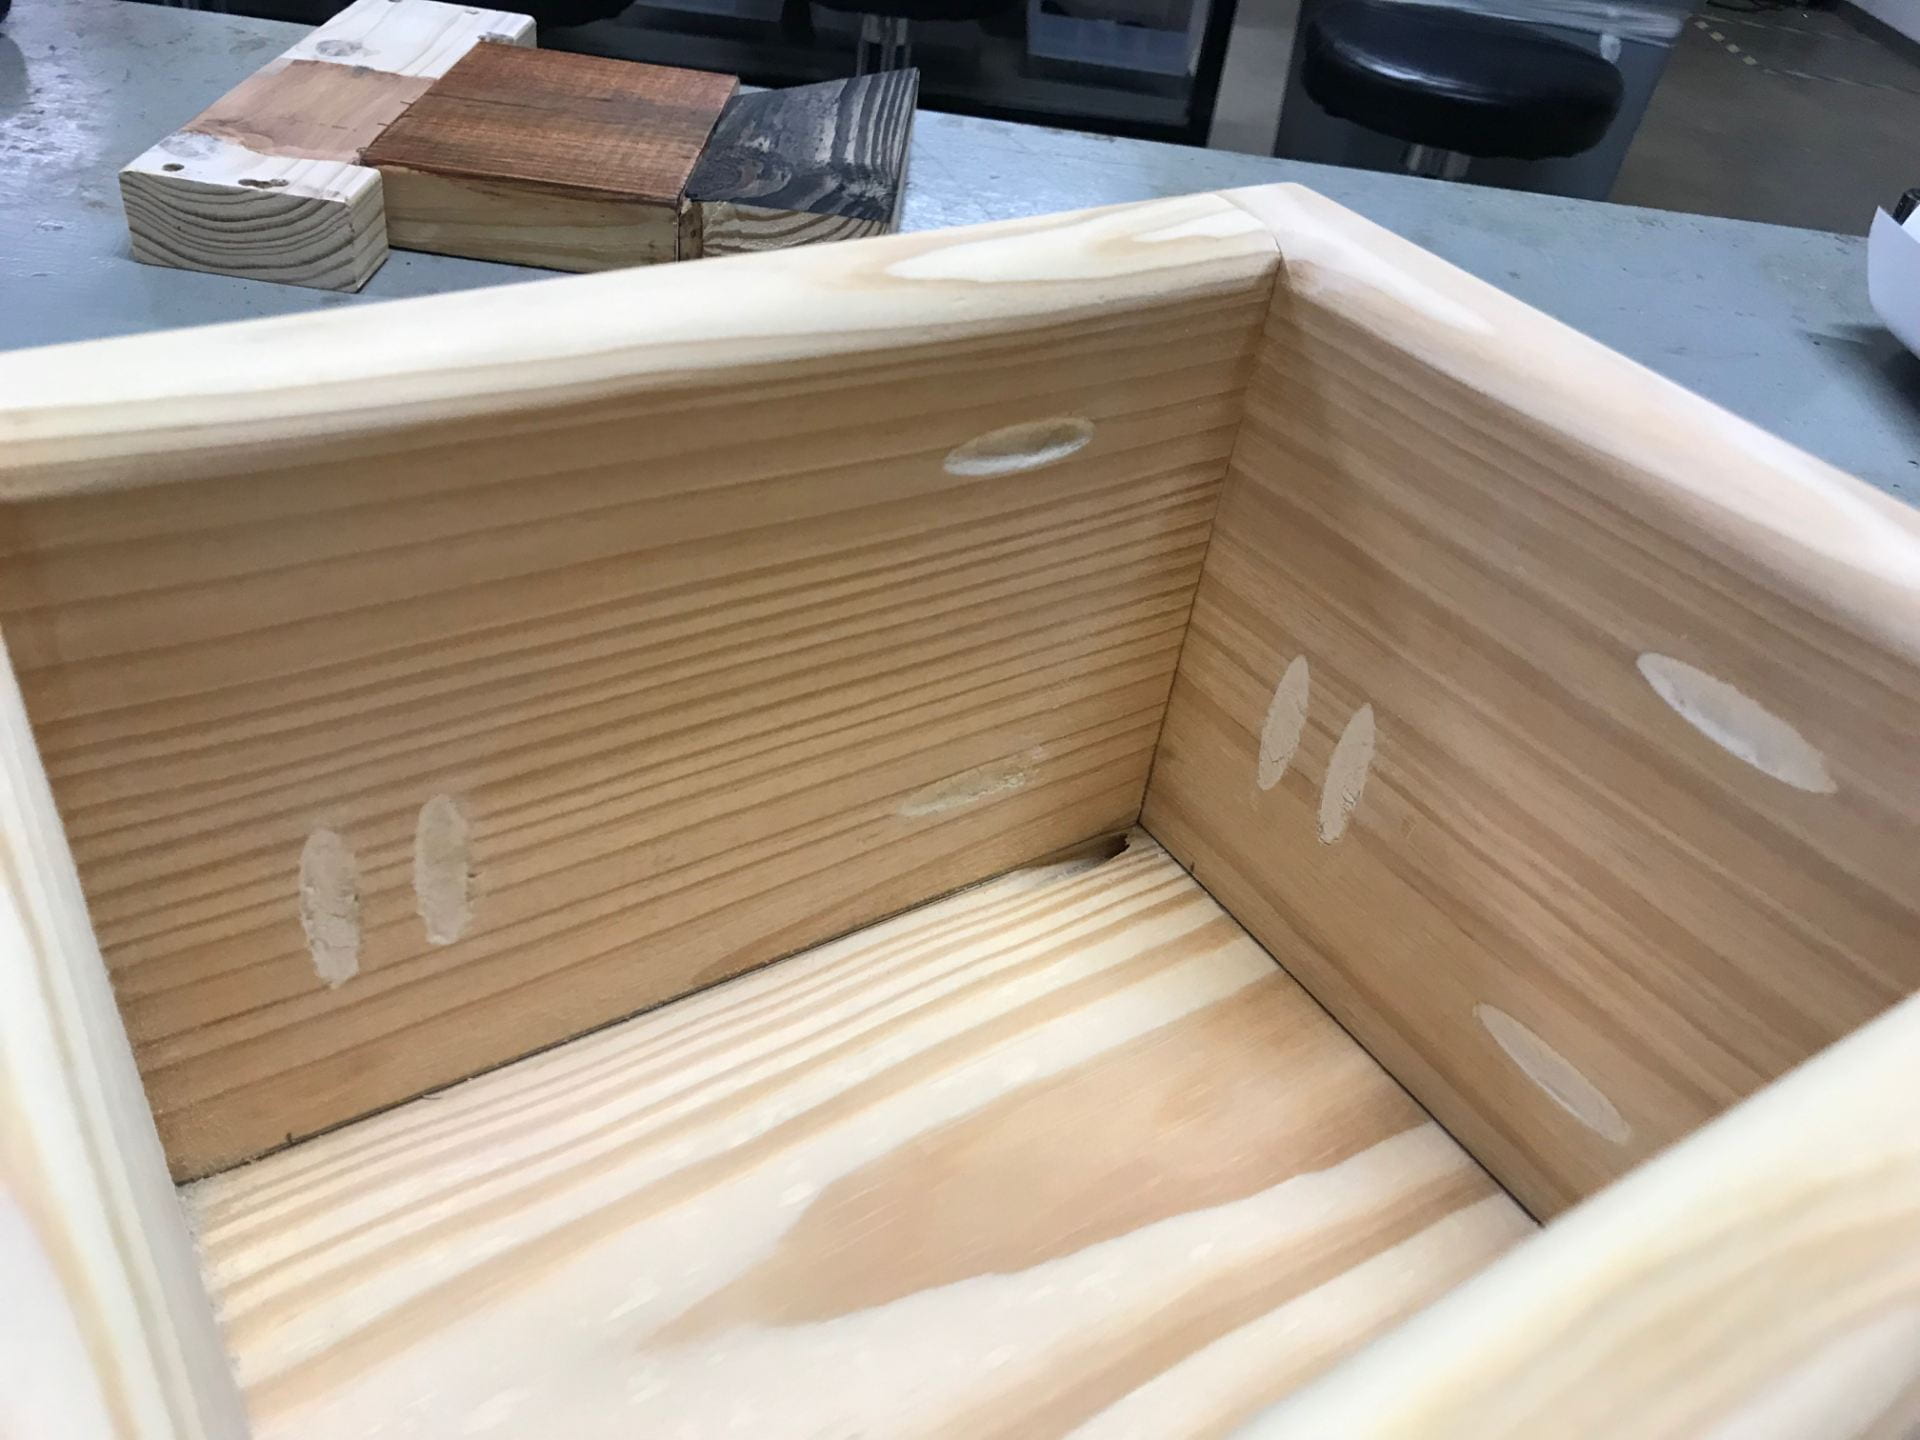
After the box was fully assembled, the outer edges and corners were routed, as well as the top inner edges and corners, using a 1/2″ round-over bit. Then putty was used to fill the holes created for the attachment screws.
Lastly, the faces on the box were sanded in succession beginning with the belt sander, then the orbital sander with 220 grit pads and 440 grit pads. Finally, an attempt was made to smooth the box with 1000 grit sandpaper manually, but the gaps in the wood proved to protrude so much that the benefit of a smooth surface accentuated the error in the gaps.
Evaluating the Cost of this Box:
- Consumed Materials: $23
- 2″x12″x8′ Doug Fir = $8.50 (varies)
- 25-pack 1.5″ self tapping wood screws = $1.79 (only 16 screws used)
- 3.25 oz Wood Filler = $11.99 (almost completely used)
- Machine Time and Labor: $25
- Miter Saw = 5 minutes (length sizing for stock wood)
- Planar Saw = 40 minutes (done slowly to avoid violent or destructive kick-back from the blade)
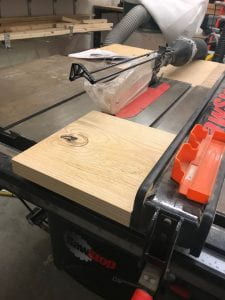
- Table Saw = 15 minutes (fine piece sizing)
- Kreg Jig = 30 minutes (for precise placement)
- Manually screwing parts = 30 minutes (the interior dimension of the box was not large enough)
- Sanding = 75 minutes (power sanding and some manually sanding)
- Intermediate/Relocation Time = 35 minutes (averaging 5 minutes between each task)
- If I decided to complete this step to the best of my ability, I would have spent a total of 1 hr 30 min on sanding all exposed faces.
- Lab Assistant Lead pay rate = $13/hour
- But, this was not my best work, so I would reduce my rate to half its normal value
Total Expense: $48
