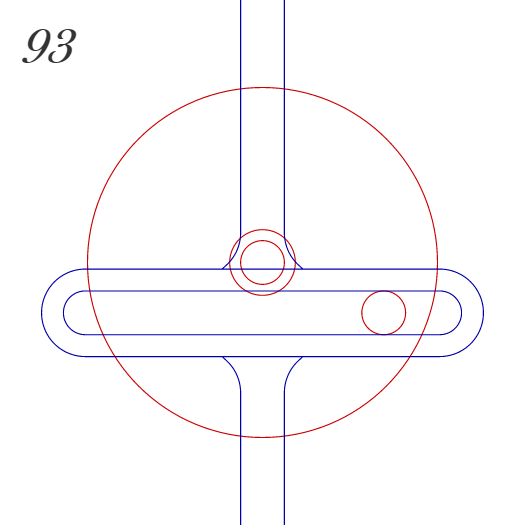
I chose to use number 93 as my movement for my midterm (from 507 Mechanical Movements).
 Seeing the rotational movement translate into linear motion, I began to think about things I’ve encountered with a constant up-down motion. Platform games! I decided to make this movement Mario themed, with Mario jumping up to hit a fixed question block and a mushroom emerging from behind.
With my idea, I created a low-fidelity prototype by laser cutting some cardboard. My first low-fidelity prototype was so rough I forgot to take a picture of it before scrapping it, but to verbally describe: it was terrible. I hadn’t thought about anything except translation exactly what I drew in my 2D drawing to cardboard. It was over-sized, and I did not realize I needed slots and a guide to constrain movement along the Y-axis. Back to the drawing board!
 My second low-fidelity prototype, and it actually semi-worked! Though this model worked surprisingly well for being made of cardboard with a very high coefficient of friction, I knew I had to think more about the materials, especially with two metal pieces to water jet and plasma cut.
I chose to water jet the front cross-shaped piece, as it would require a high degree of accuracy that is hard to achieve with the plasma cutter.
 The lab tech and I were both a little wary about using the water cutter and set up the program wrong somewhere so that it didn’t cut through on its first pass. Me being impatient, I moved the metal sheet before I realized it hadn’t cut through. I placed the metal sheet back to where I believed it used to be, and was actually pretty close – there was only slight artifacts along the outer top edge that I easily sanded off. I sanded the overall piece as well to give it a brushed look and sprayed with a clear coat.
For my plasma cut piece, I chose to make a metal support piece along the back. This would require less accuracy and be achievable with the plasma cutter.
 I was quickly able to build this shape on Illustrator and cut it out. I sanded this as well, as it was a relatively thin piece of metal that didn’t have much dross (also to match the look of the water jet piece).
Knowing that my cross-shaped piece was metal now, I chose to make everything relevant to contributing to the motion out of acrylic to maintain as low of friction as possible. The main wheel, as well as the attached peg controlling the rotating motion are both made of laser-cut acrylic.
 I also made some 1/8″-thick acrylic washers to space the wheel and the handle with the board.
Now it came to my favorite part – making it look like my Mario idea! I first laser-cut pieces of wood with tape on it to make a stencil for spray-painting.
 The mushroom and question block were easy to spray paint, as they only required one or two stencil pieces to be completed. The Mario piece, however, was much more troublesome than I anticipated. I didn’t realize how difficult stenciling and spray painting such a small piece would be, but I persevered and spent one to two hours just aligning and painting from the bottom up. Only when I got to the last part, the glove he’s raising, did I realize there were pots of acrylic paint next to the spray paints. I ended up painting the last glove; next time, I’ll definitely try not to tunnel vision to spray paint.
 After finishing painting, I coated each piece on the back and sides with black spray paint, and all over with clear coat.
For the backboard, I created stencils again for clouds, a pipe, a mountain, and some grass details. As these were relatively large stencils, it was hassle-free to make.

 To assemble, I used wood glue for the wood-to-wood connections, acrylic glue for acrylic-to-acrylic connections, and superglue for the acrylic-to-wood connections. This worked well, except for the cloudy white artifacts that the superglue left on the acrylic wheel. I was pretty impatient with the super glue as well, and kept nudging it to test its dryness. Here’s a video of me testing out my mechanism and being shocked that the piece I kept moving wouldn’t stay on.
 I slathered on some superglue, clamped it, and left to go sleep. It held firm when I came back to test it out!

 If I had more time, I would have definitely loved to make two wheels of different sizes so that A. the mushroom would pop up after Mario “hits” the block, and B. the mushroom wouldn’t move as high. Overall though, I’m pretty proud of how my midterm turned out!
Cost-analysis:
Assuming that I’m a Rice student and OEDK resources (not consumables) such as laser cutting, plasma cutting, and water jetting has no cost:
- Aluminum sheet, 6″x12″ – $3.91 (Grainger)
- 1/4″ plywood sheet, 24″x48″ – $20.23 (Home Depot)
- 1/4″ acrylic sheet, 24″x48″ – $67.98 (Home Depot)
- 1/8″ acrylic sheet, 24″x48″ – $28.62 (Home Depot)
- Spray paint (6 colors) – $3.98/can = $23.88 (Amazon)
- Acrylic paint (1 color) – $0.99 (Target)
- Wood glue – $2.99 (Target)
- Super glue – $2.16 (Grainger)
- Labor (assuming Texas minimum wage for about 7 hours) – $7.25/hour = $50.75
Total: $201.51 (That’s a lot higher than I expected!)

When I first saw this project, it made me happy/reminiscent. Really great job!