This was my first experience in wood working, so I was pretty intimidated on how to start the project. After a while, I started making my box by taking a piece of scrap wood, and I drew the lines where I wanted to cut the wood. (I learned that I should always draw in pencil instead of sharpie the hard way, so now my box has a black stripe)
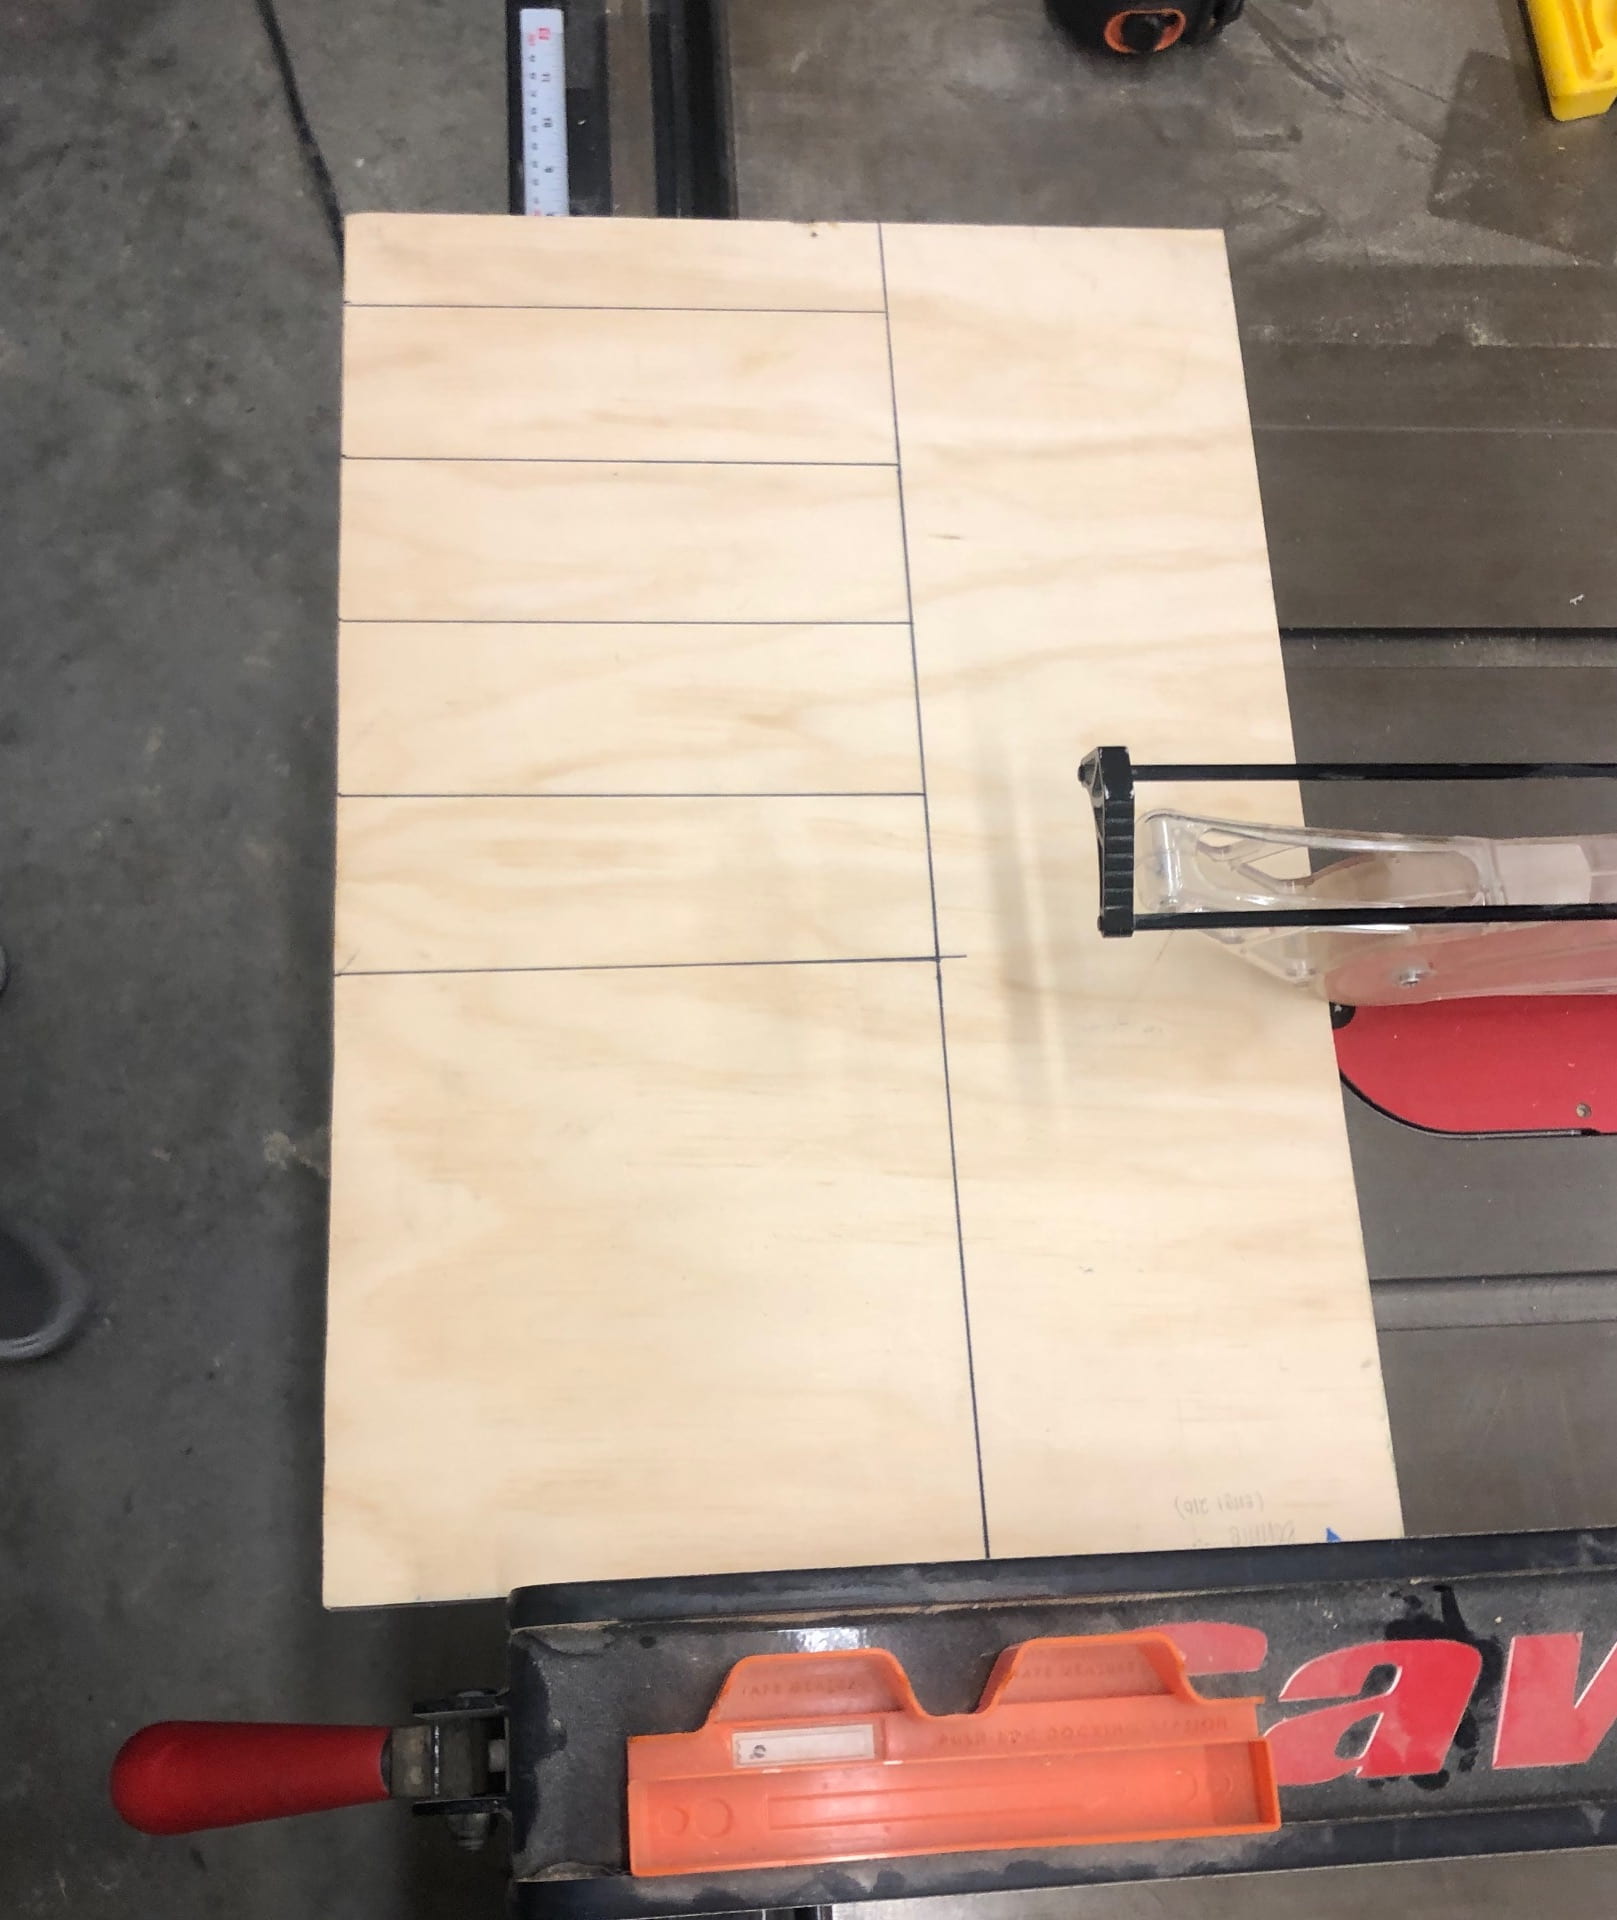
Then, I used the table saw to cut the four sides and one base of my box. I then realized that I didn’t consider how to assemble the box, so I added 45 degree cuts to each edge on all of the sides. This helped me get around needing to differ the lengths of the sides in order to create an proper box.

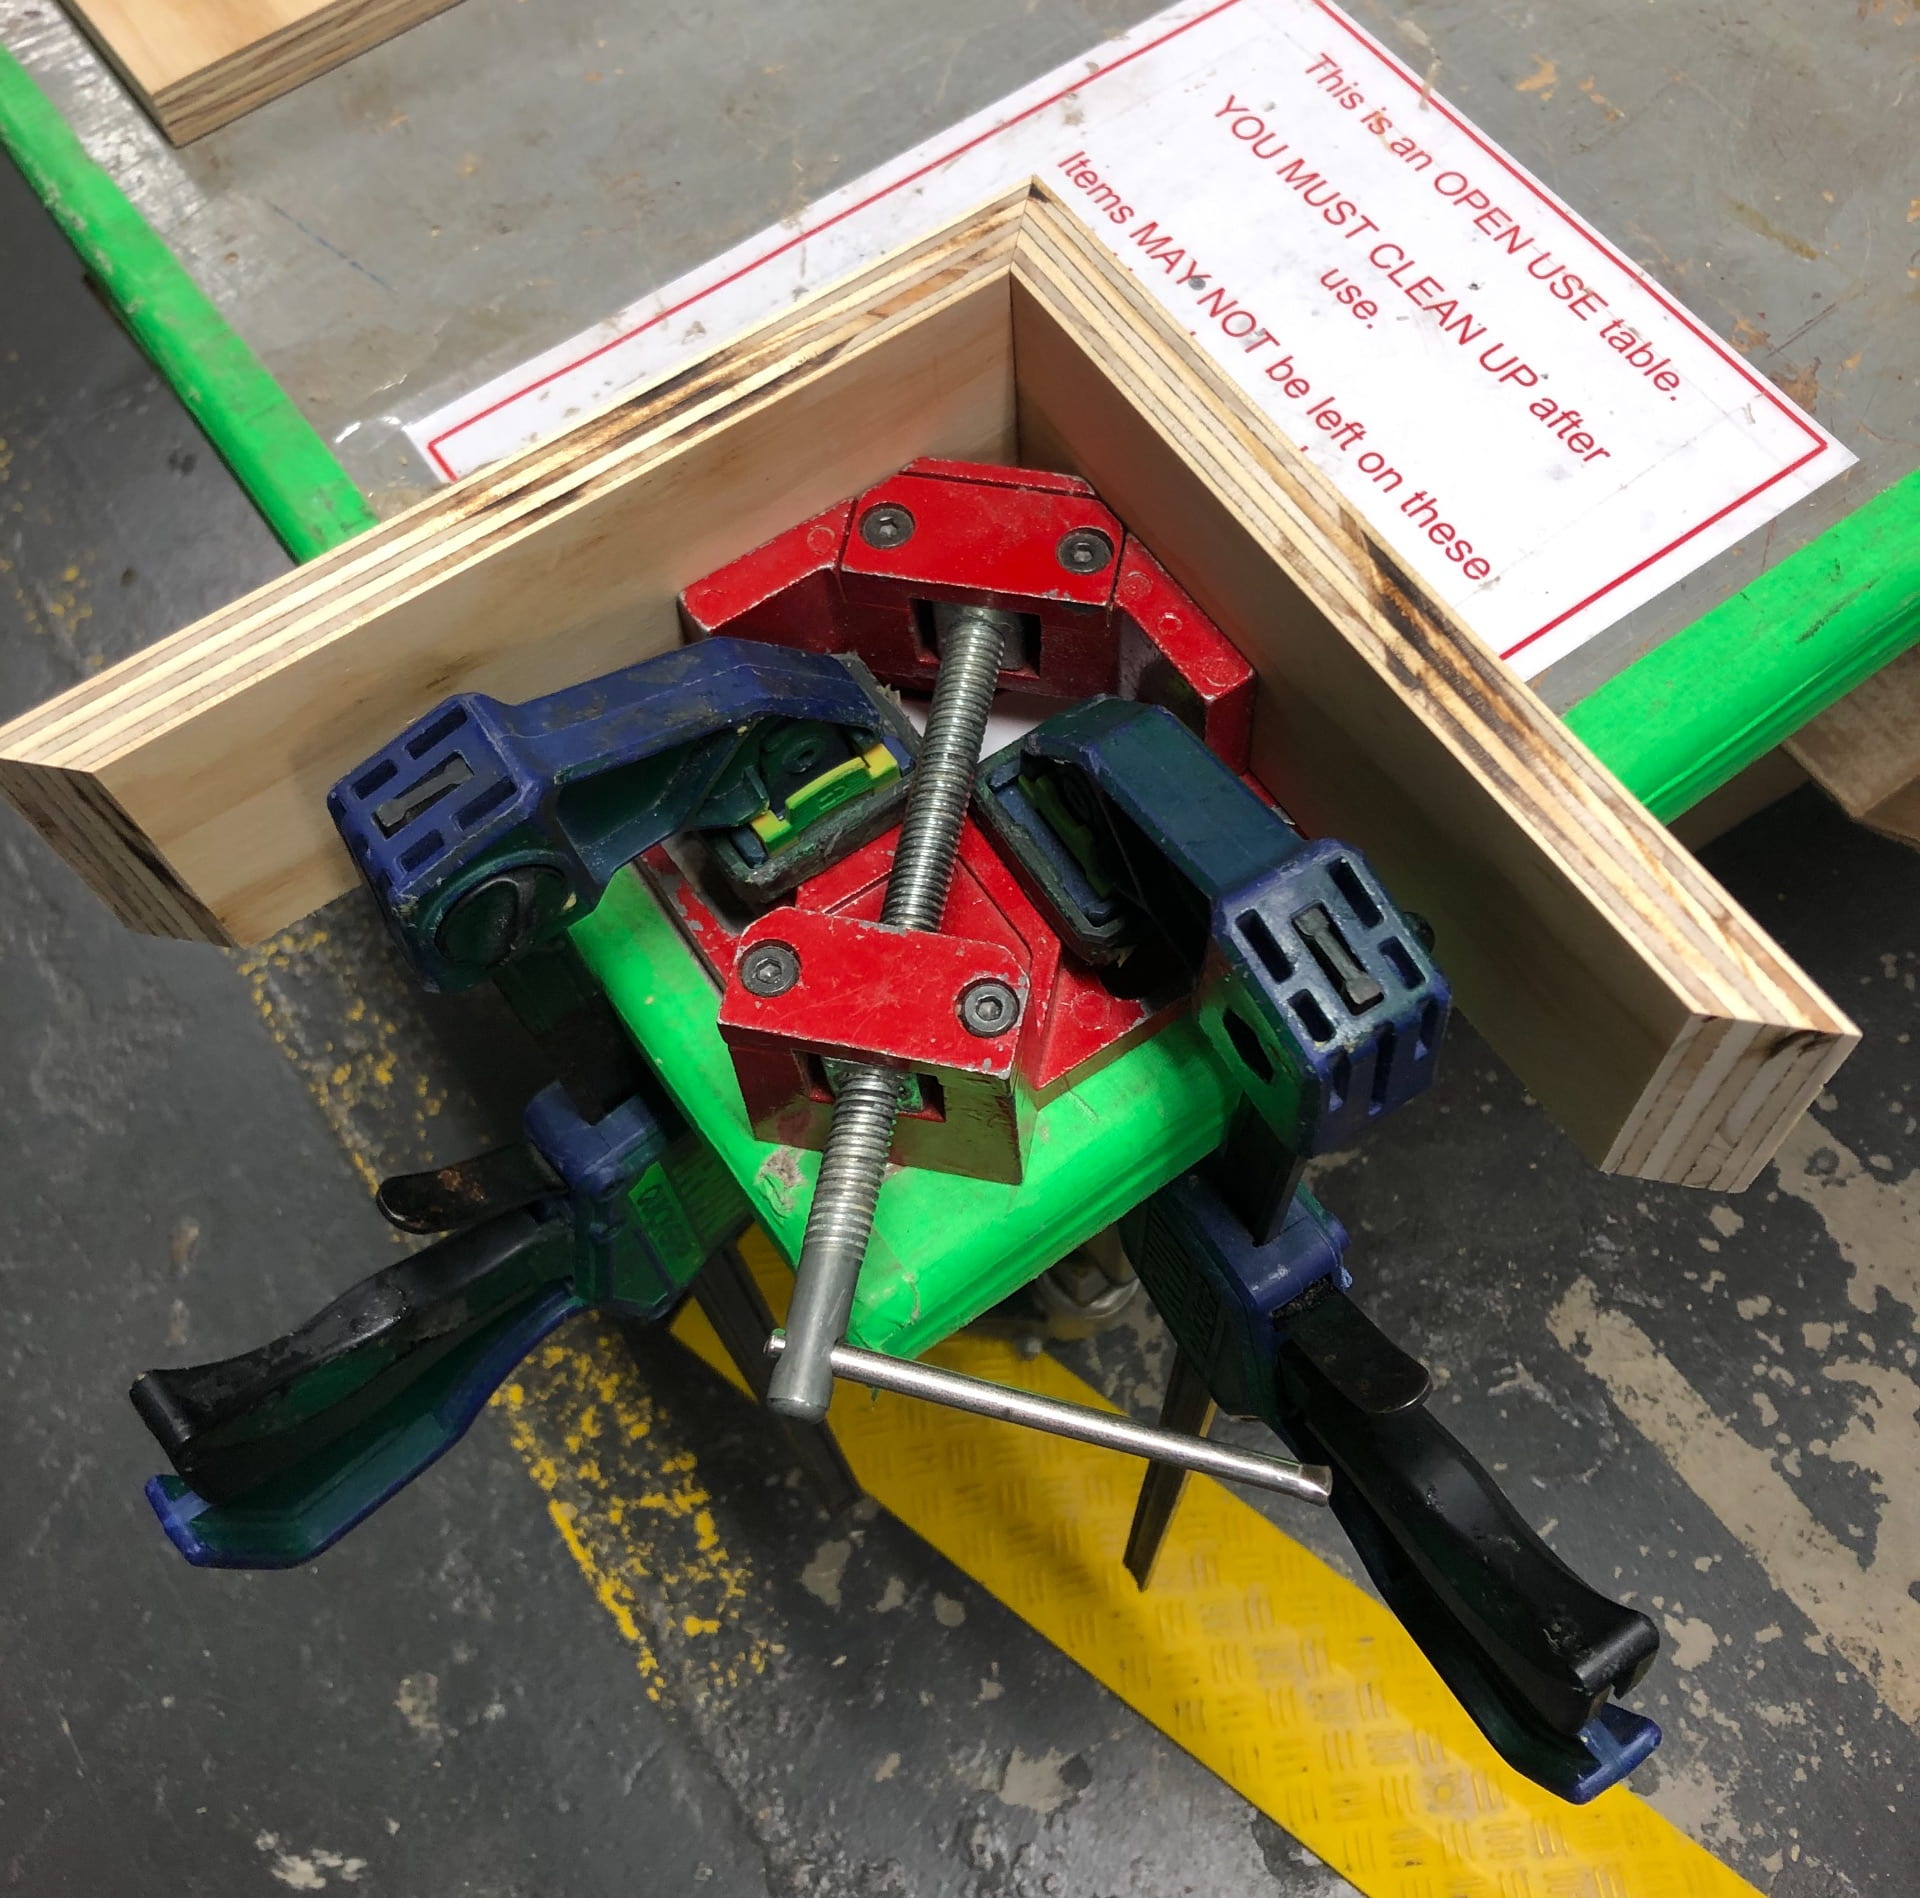
Taking my four sides, I used a corner clamp to secure the pieces before connecting them.
Then, I picked out some screws, got a drill, along with a drill bit.
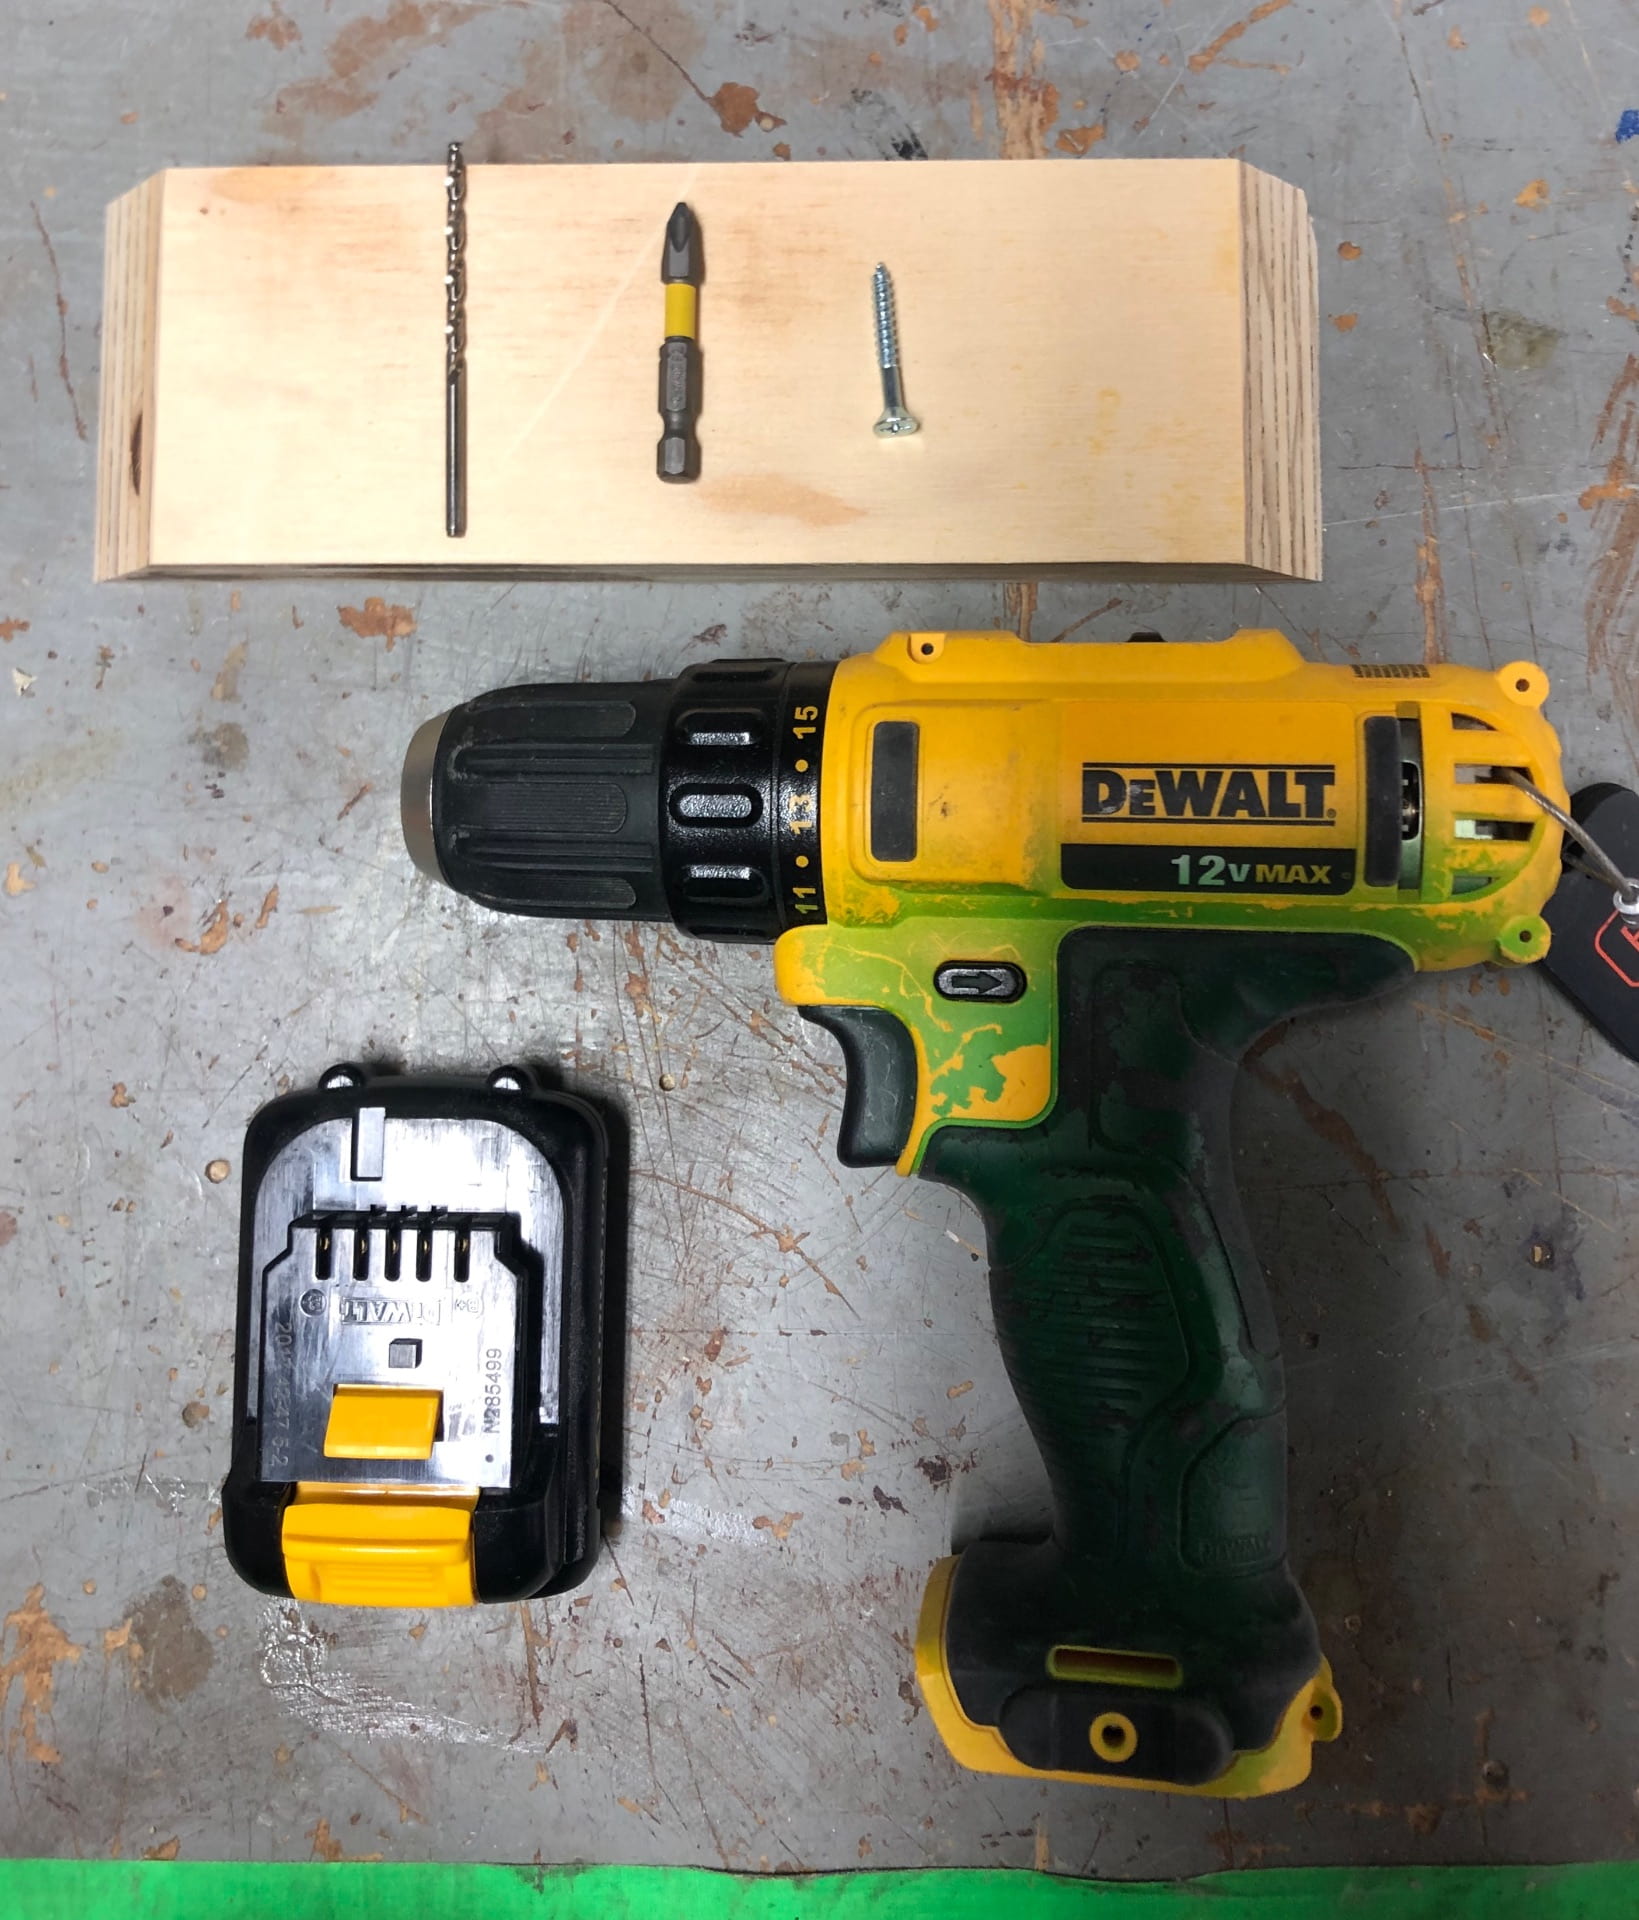
First, I used the drill bit to drill two holes before adding in the screws.
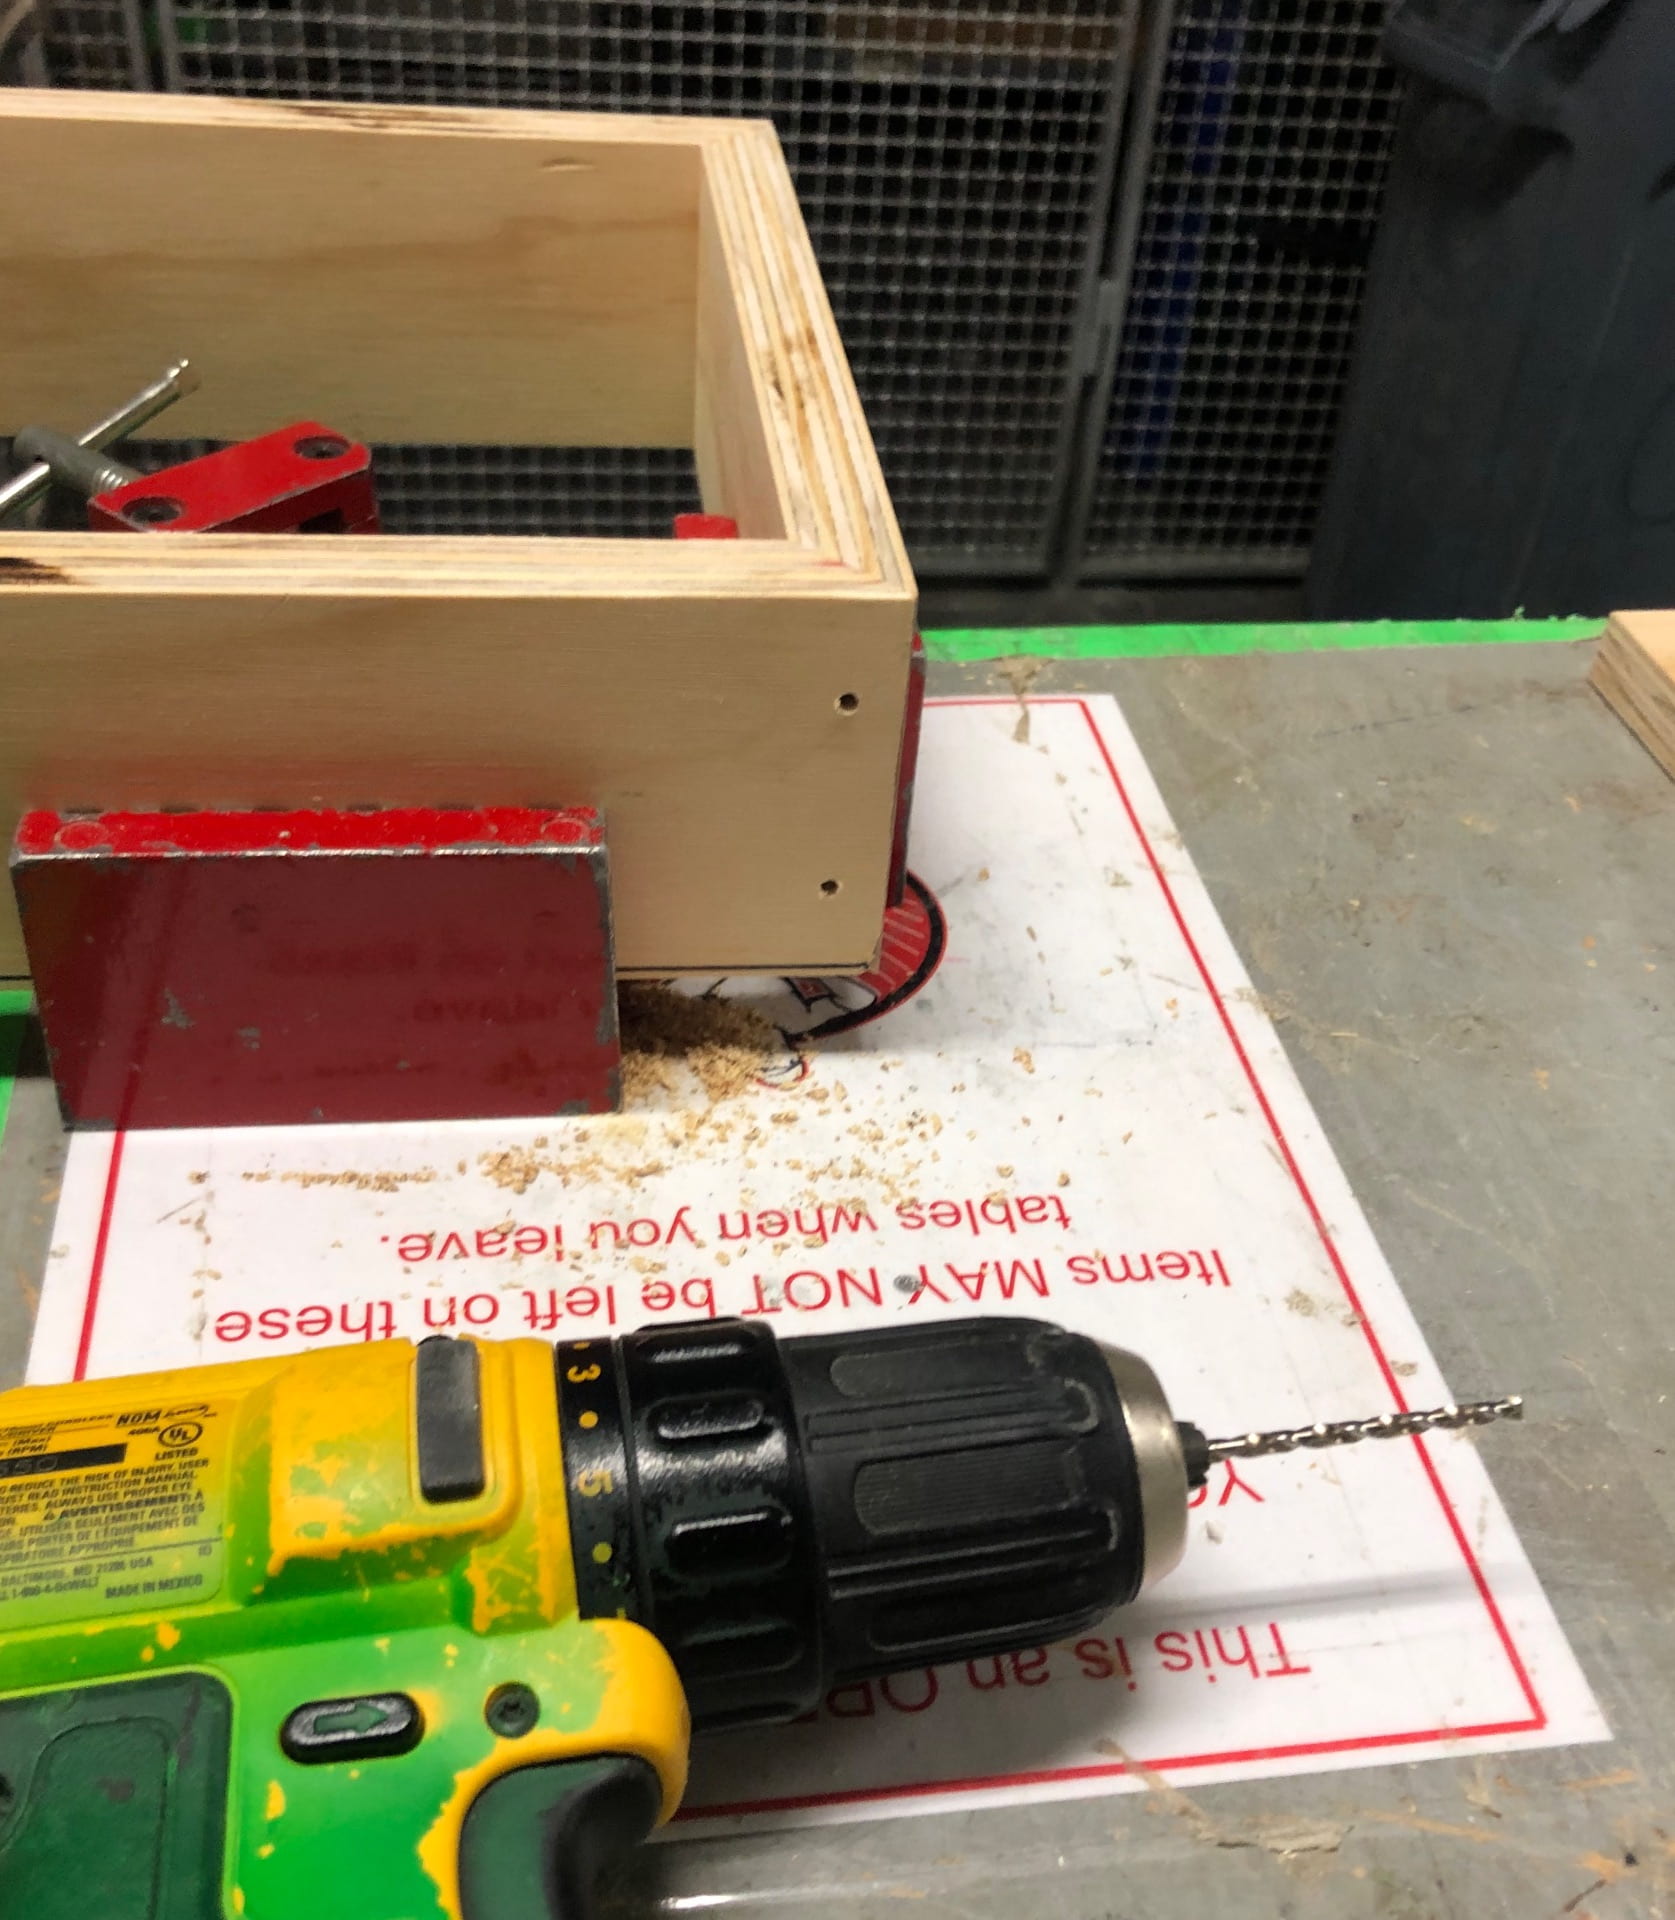
After I connected all four sides, I added the base, and I was careful to offset the screws so that they would not interfere with each other.
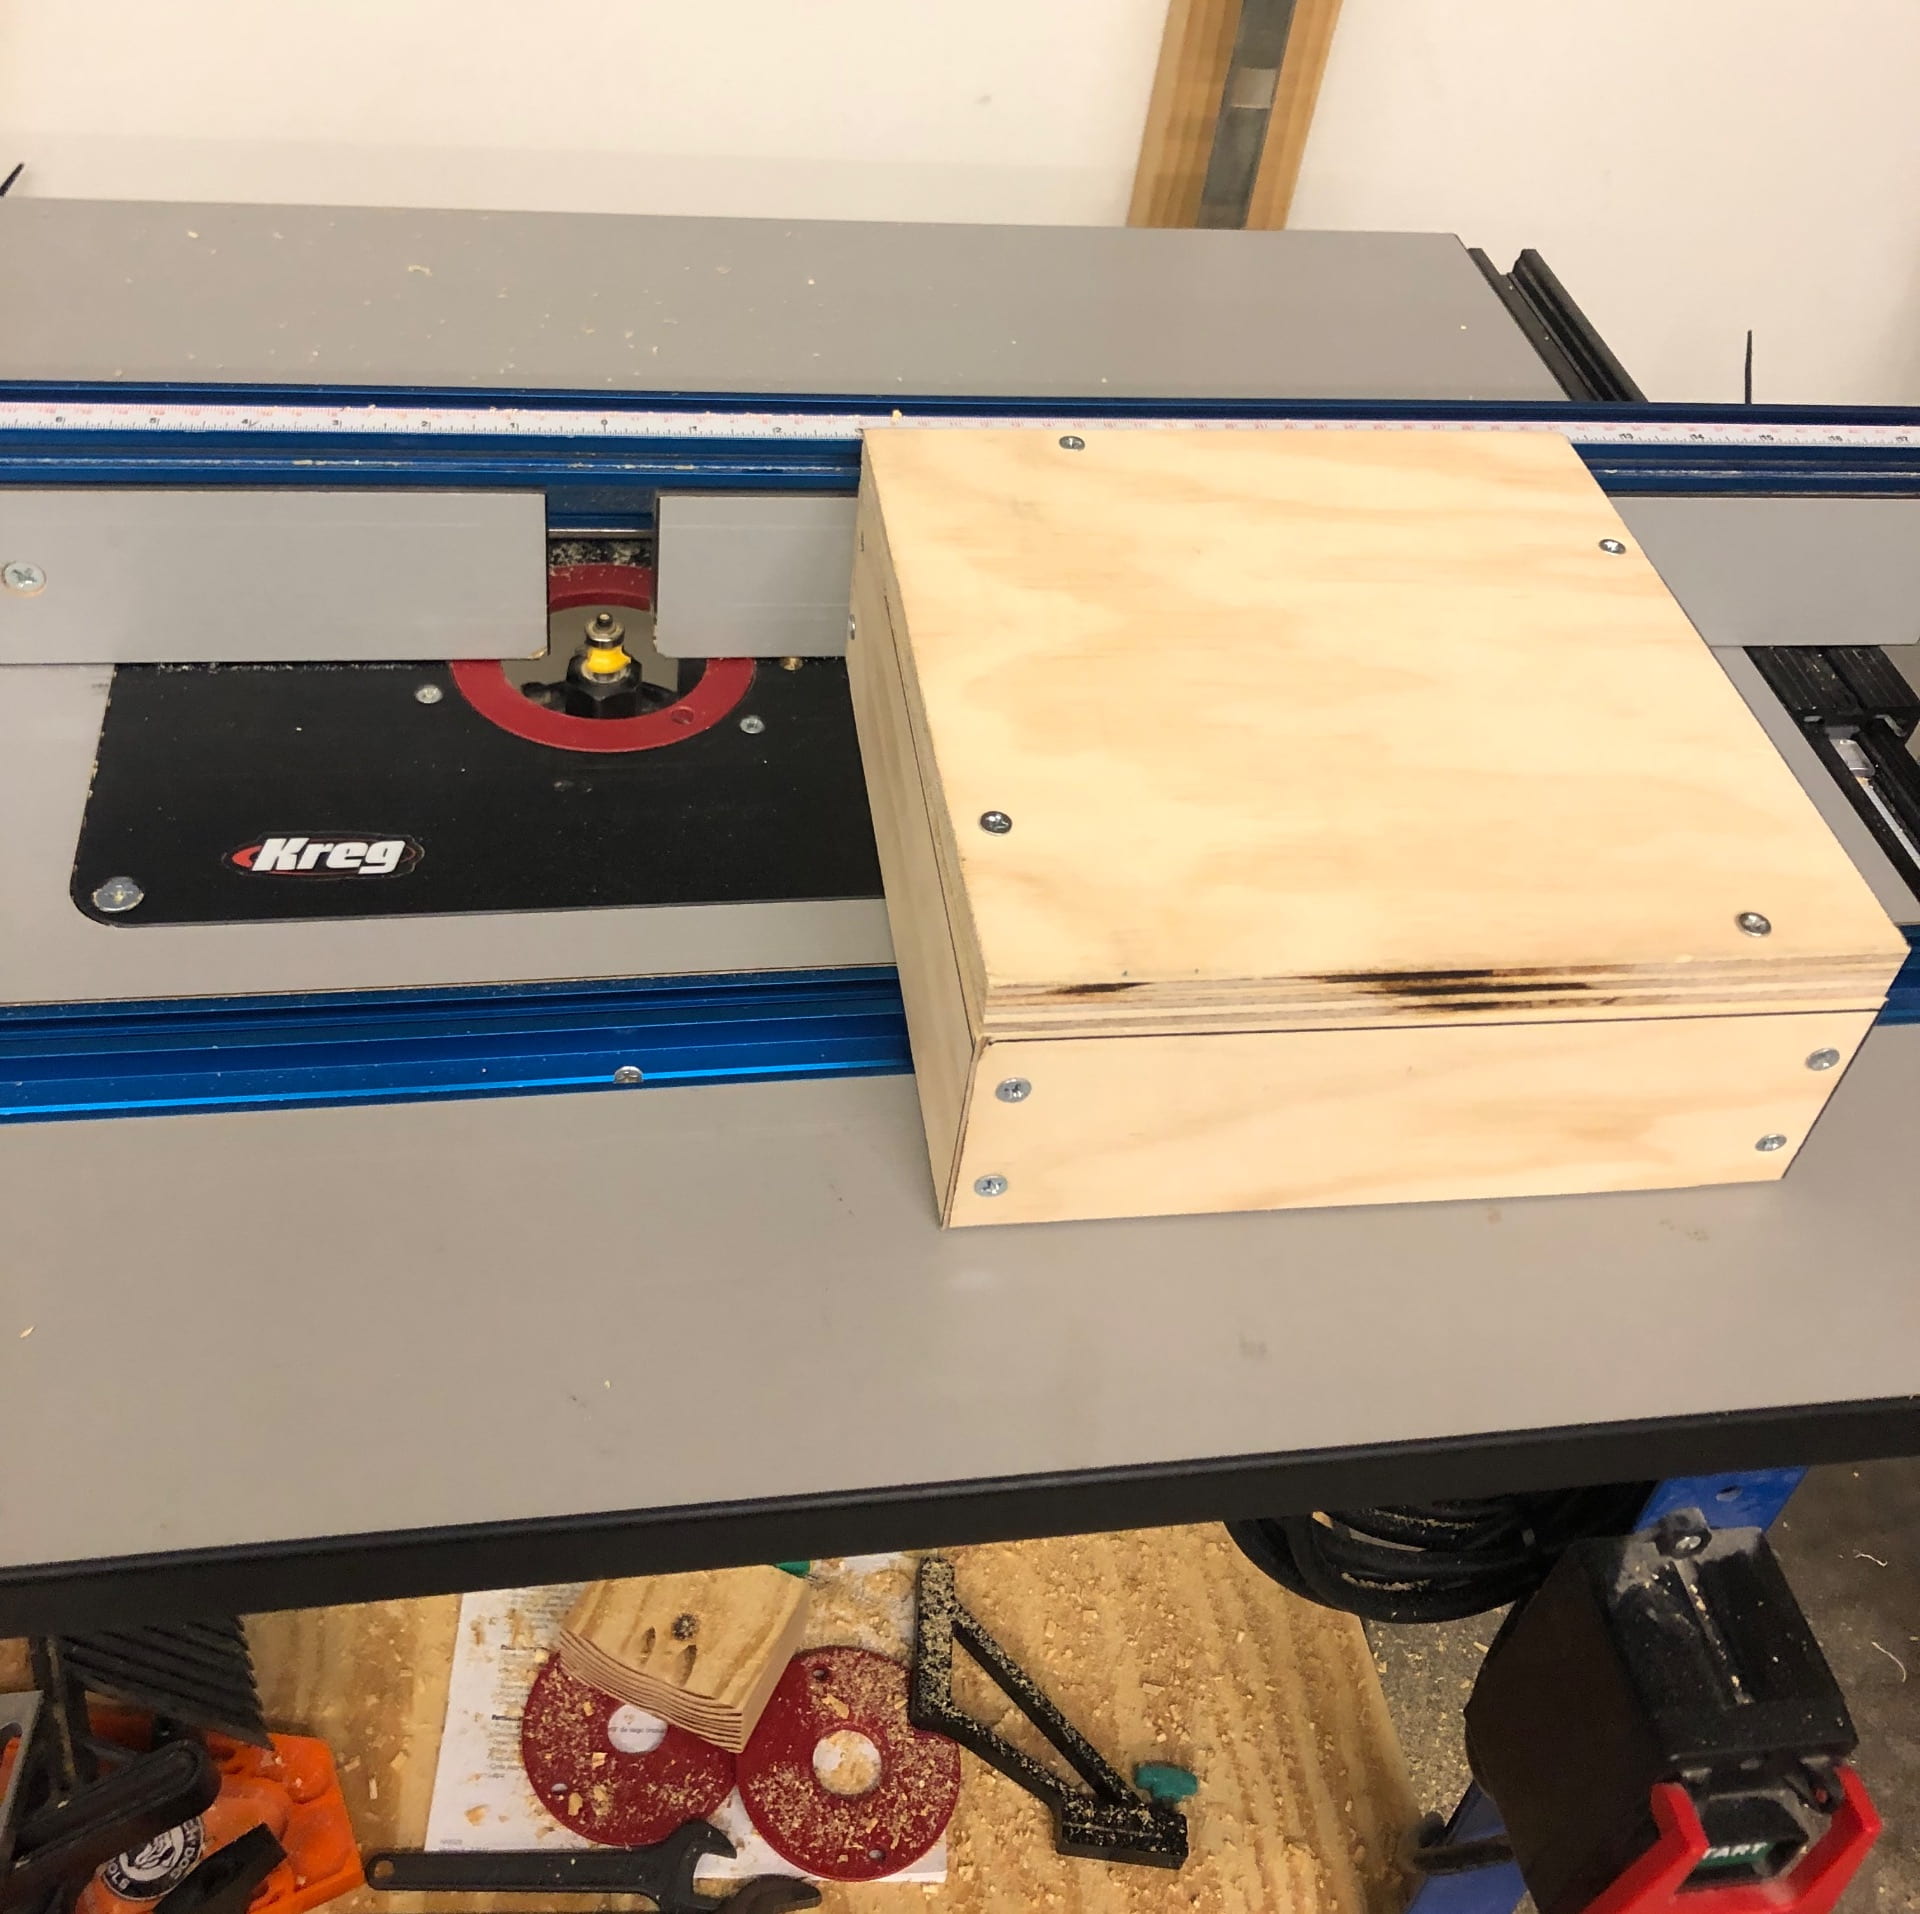
At the very end, I used the smallest bit round edge router on the top outer edge of my box to make it a bit less sharp.
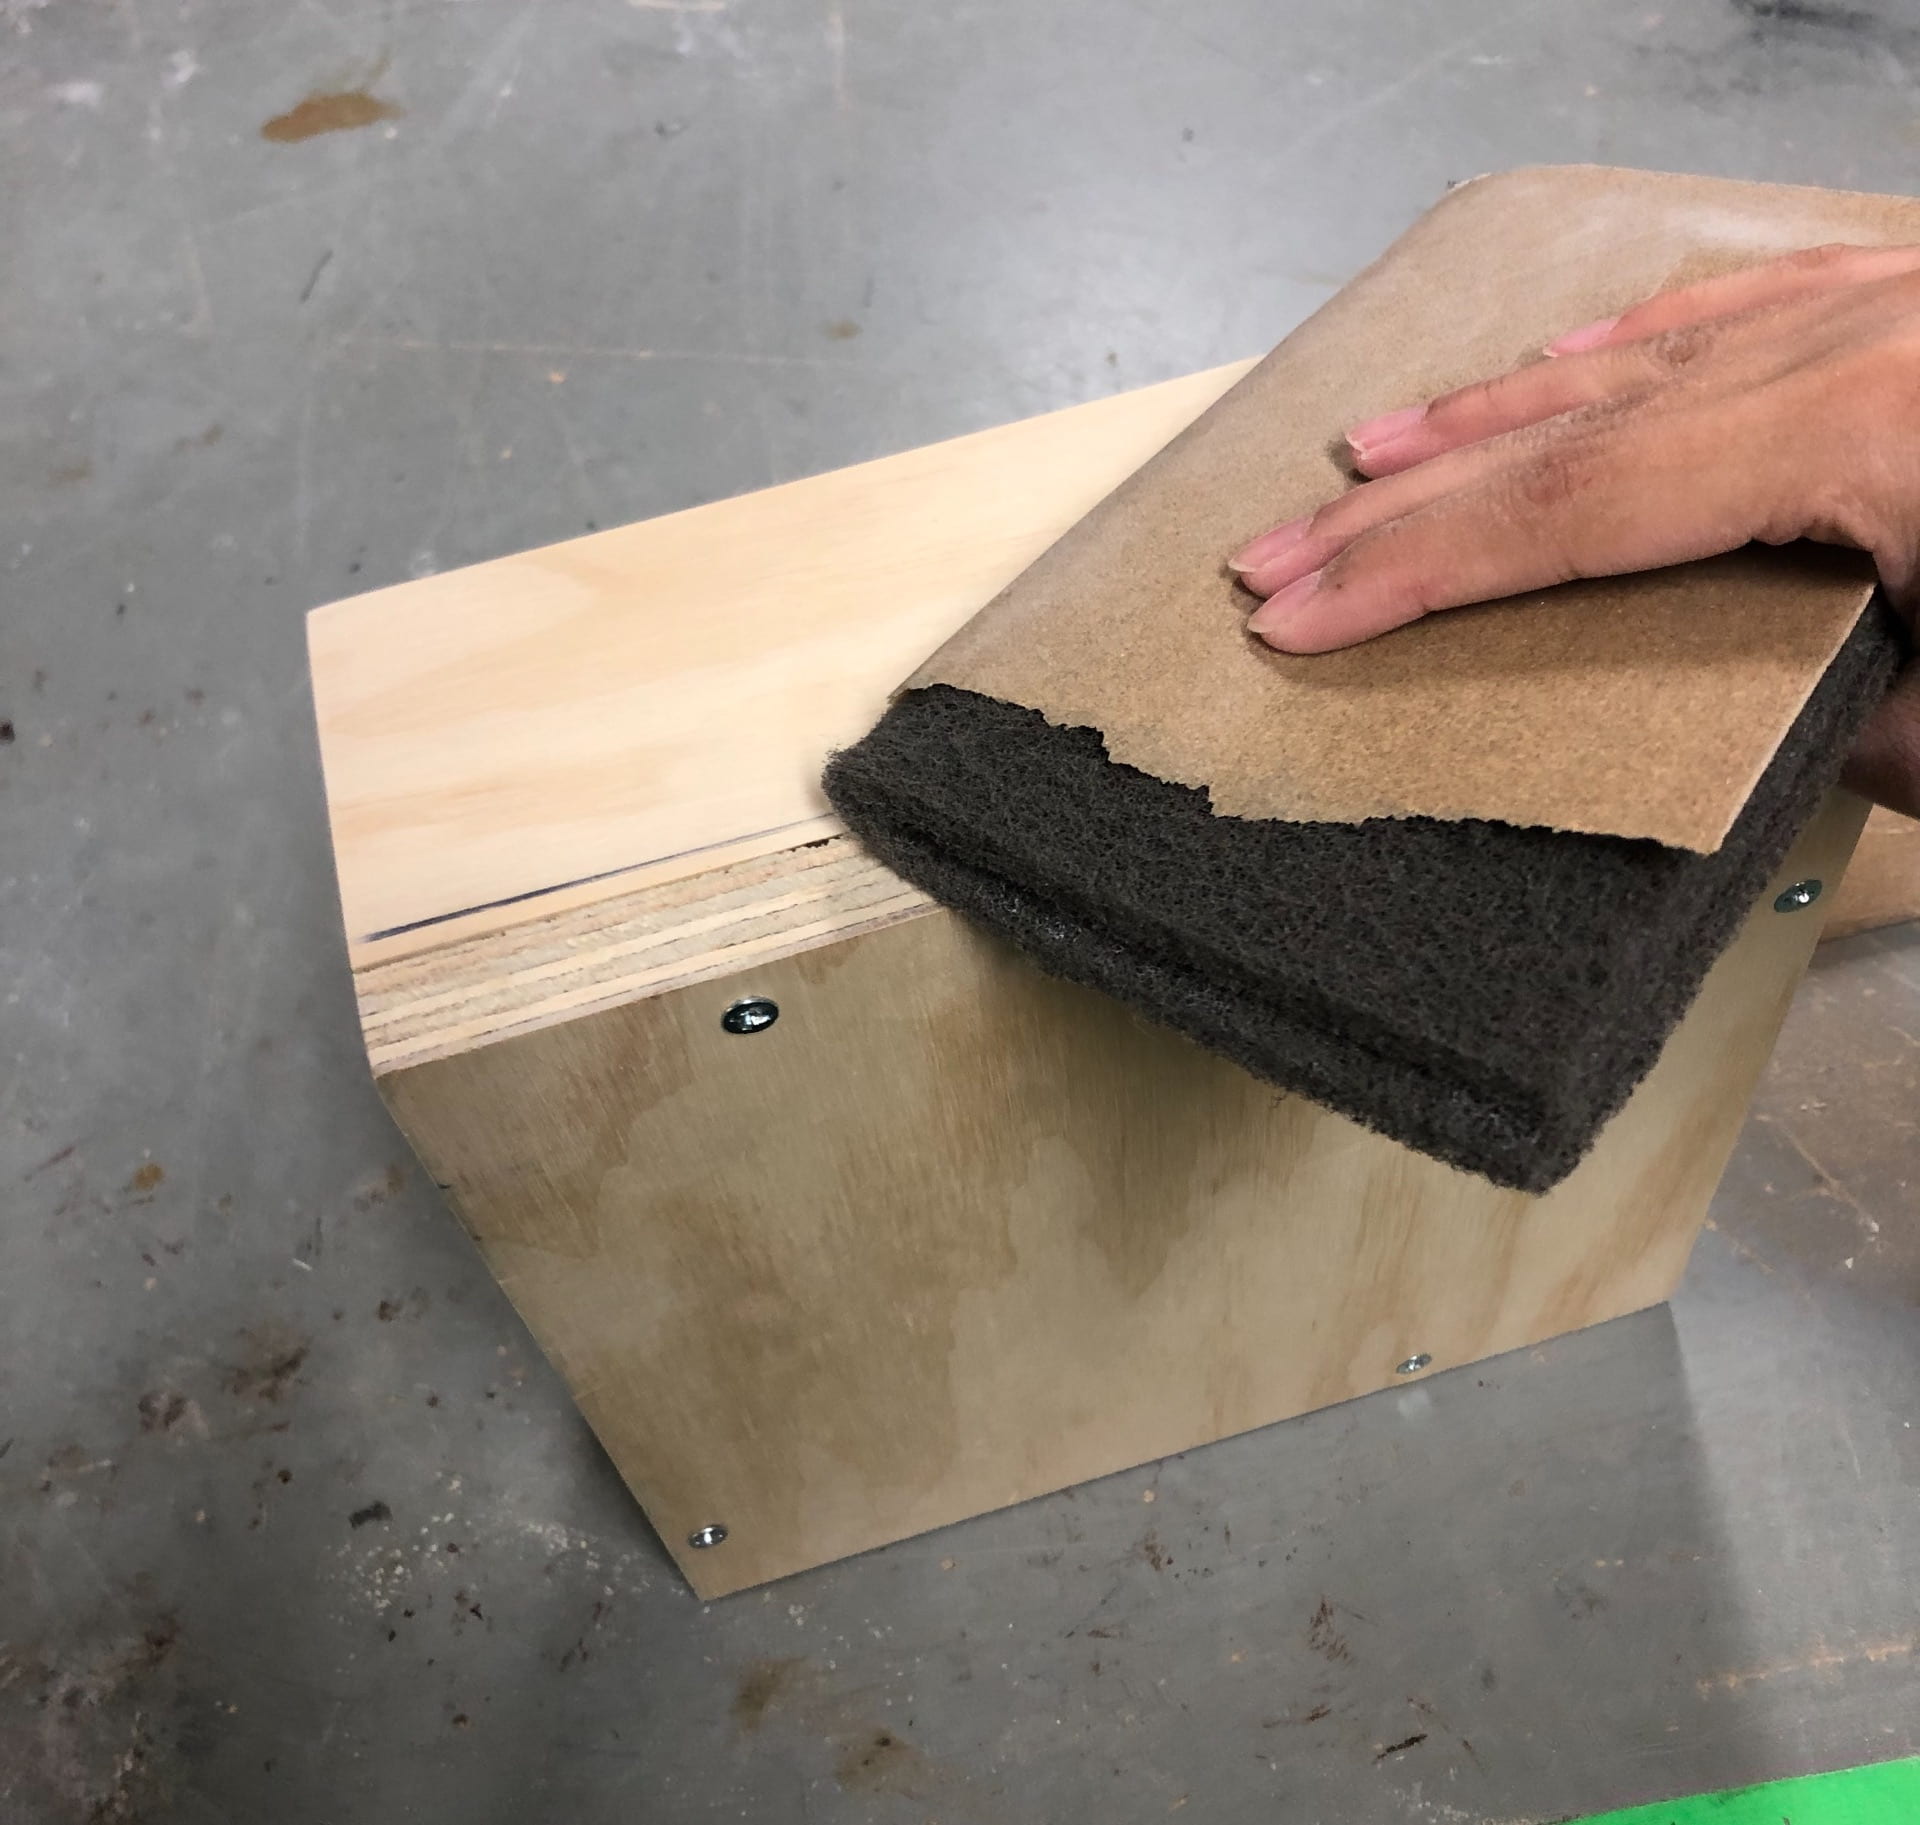
At the end, the box still seemed to be a little rough around the edges, so I used sandpaper to sand down each surface to reduce protrusions.
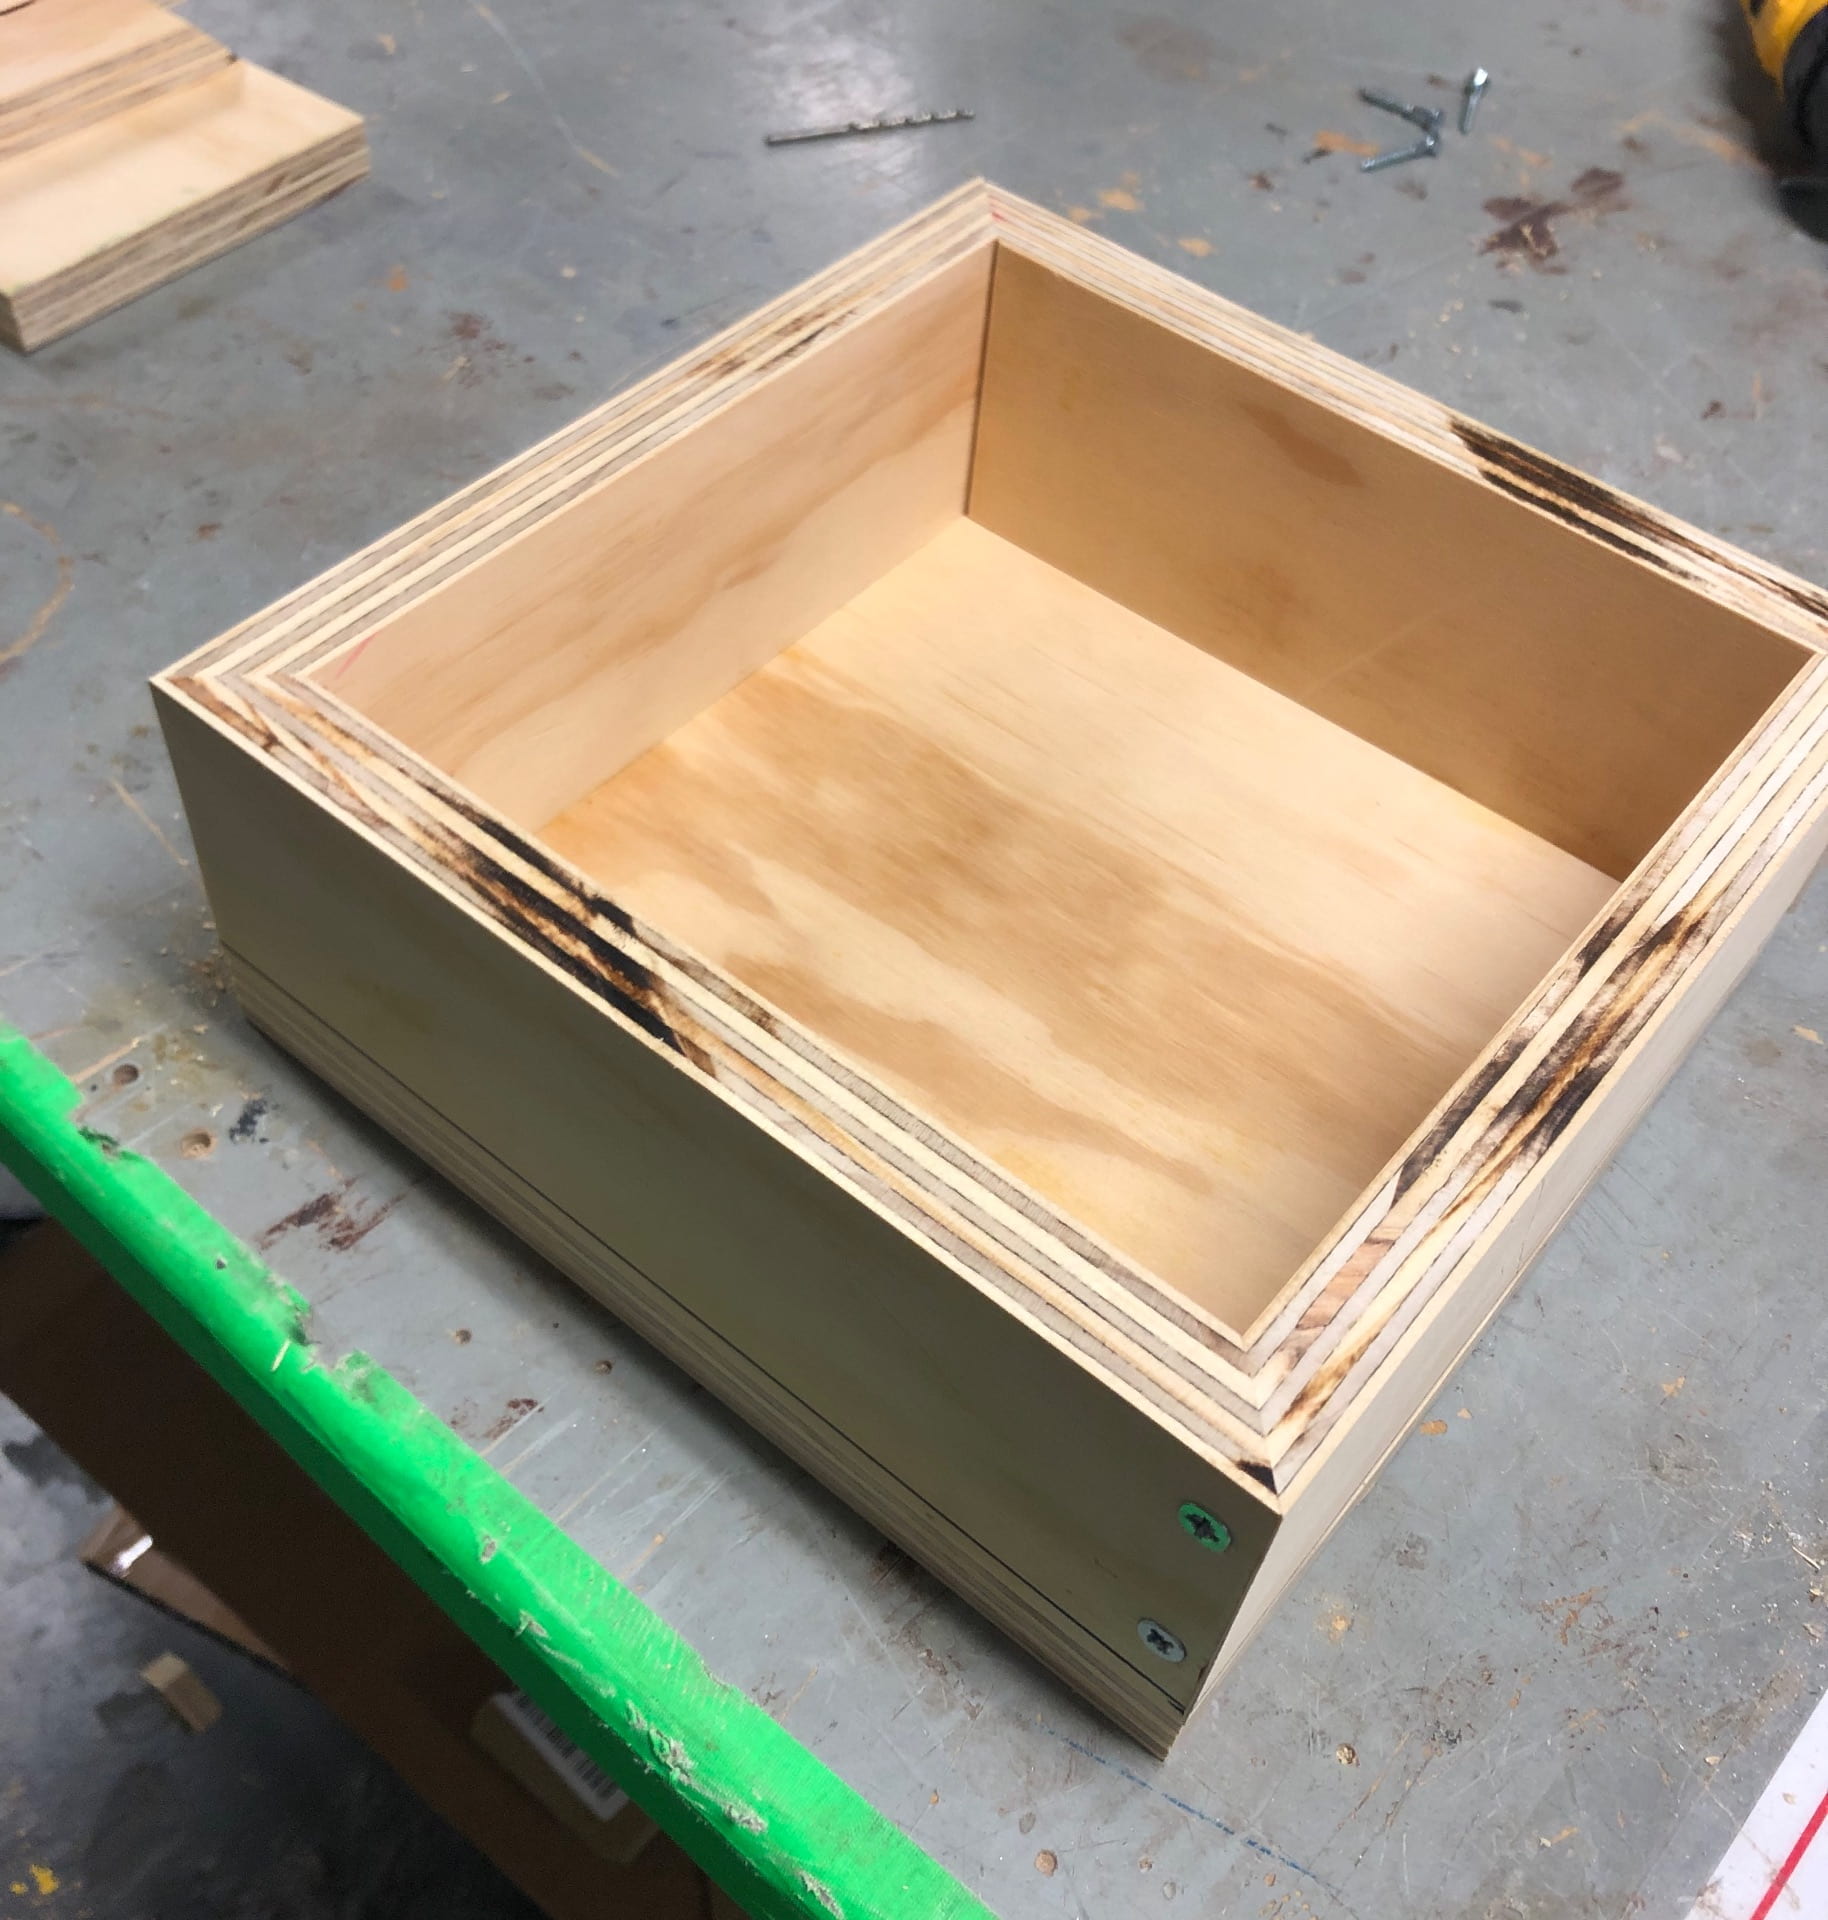
This was the end result! 😀 (it was a journey but I’m so proud I made it)
This object would probably only have a value of $5 in the real world, but to me, this box costs $60 dollars. I spent approximately 4 hours in building this box ($10/hour), the material costs a maximum of $10, and the wear and tear of the machines and tools used is probably around $10.
