The task at hand was that of creating a new box, the only thing this time was that we had to use the laser cutter to cut it out and online software to design it. Unsurprisingly, this turned out to be far far far far easier than making the box by hand.
Step 1: Designing the Box
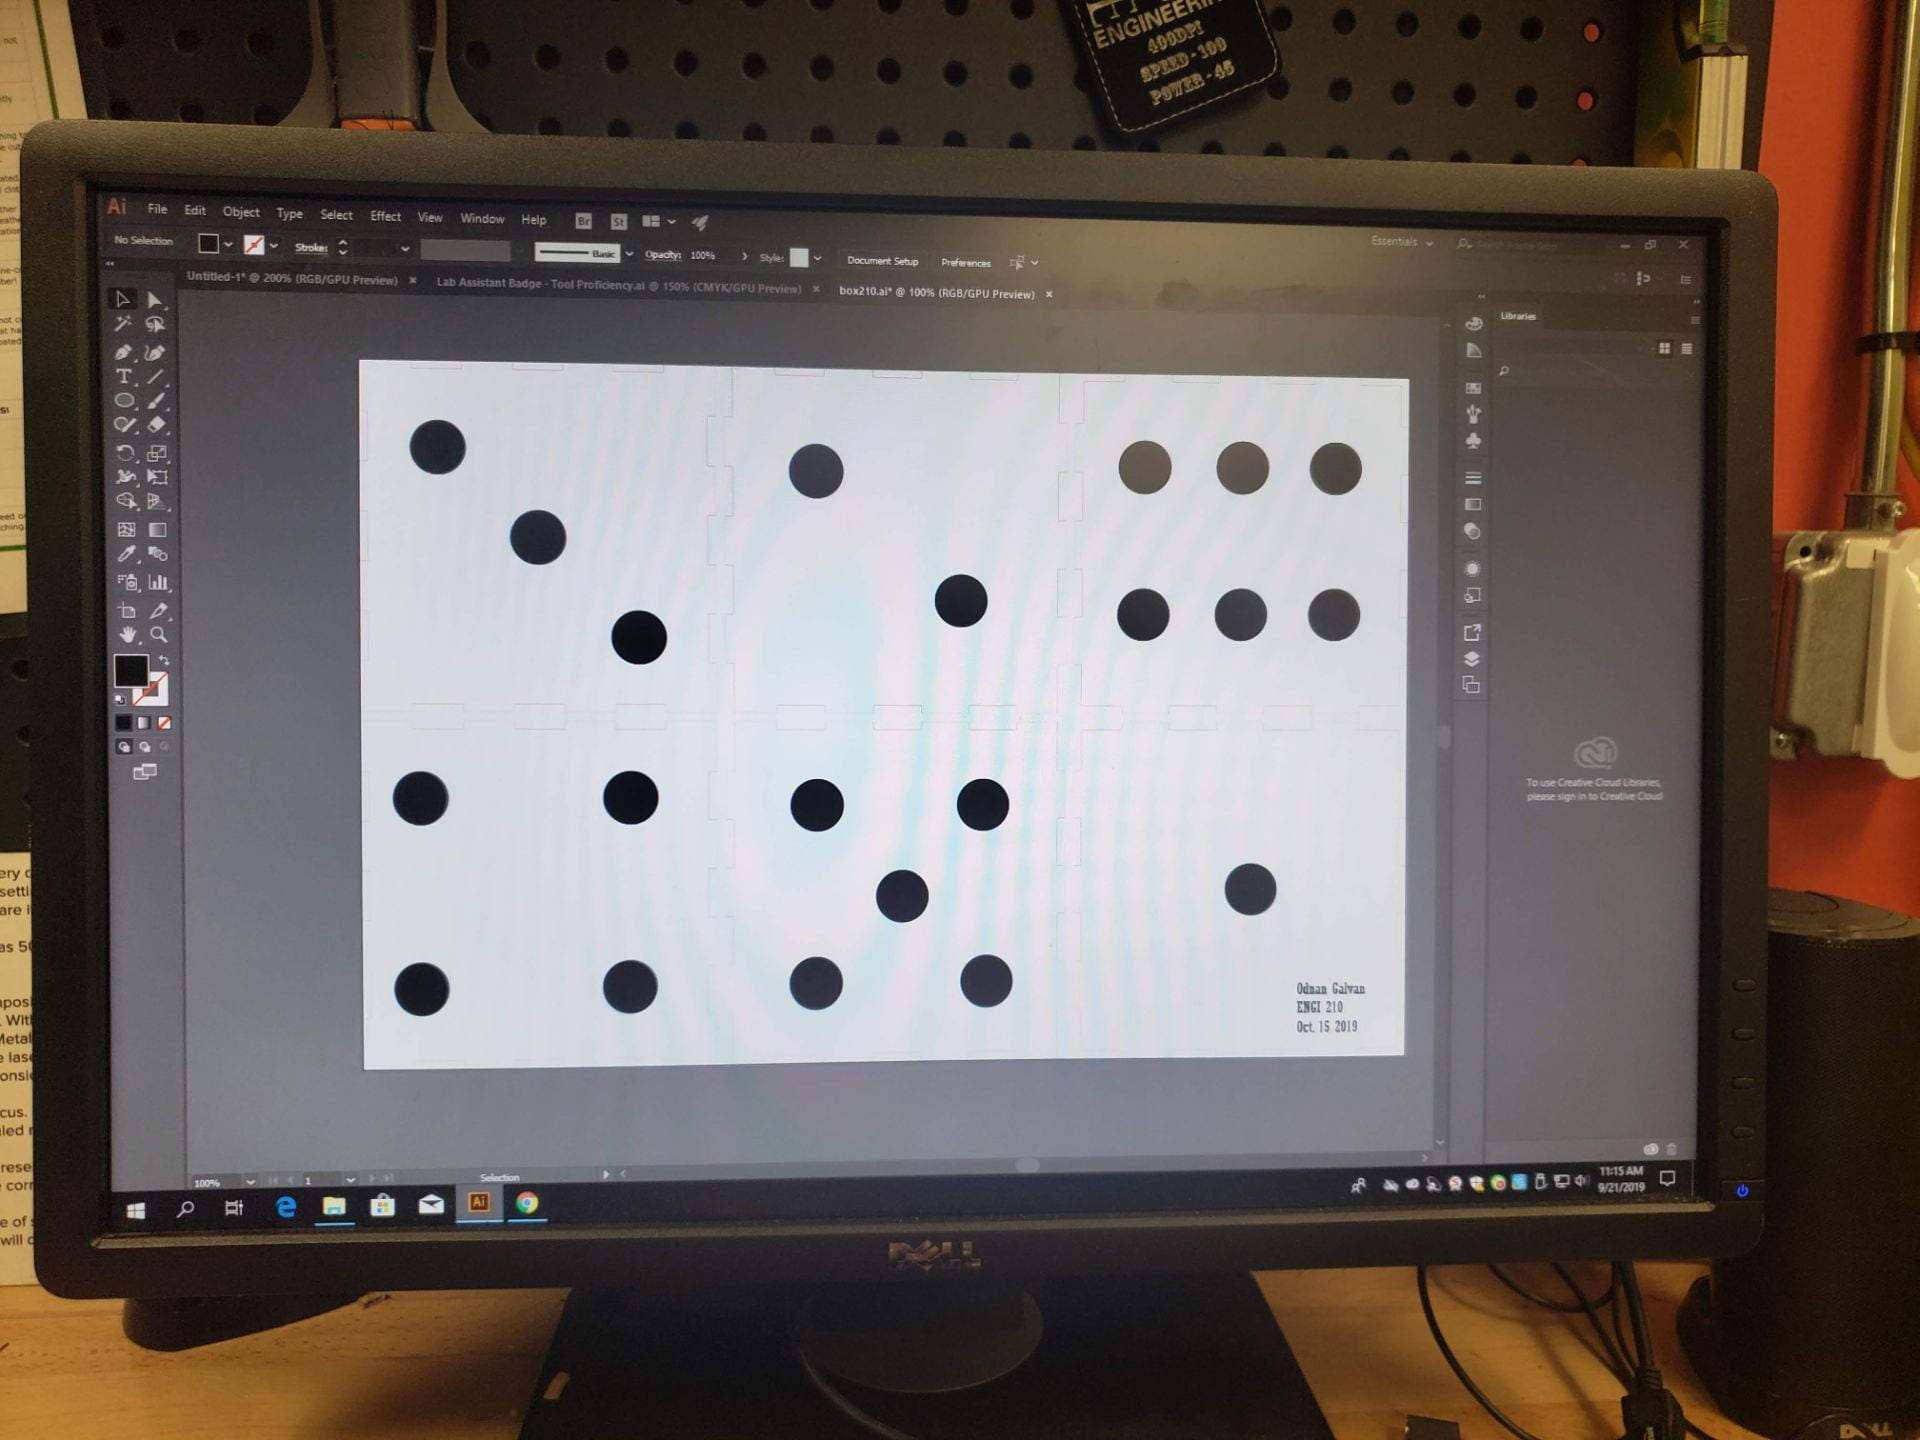
After reading the rubric and noticing that aesthetics would play a part in our grade, I opted to make my box a 6″ x 6″ x 6″ cube, so I could make it look like a big die.
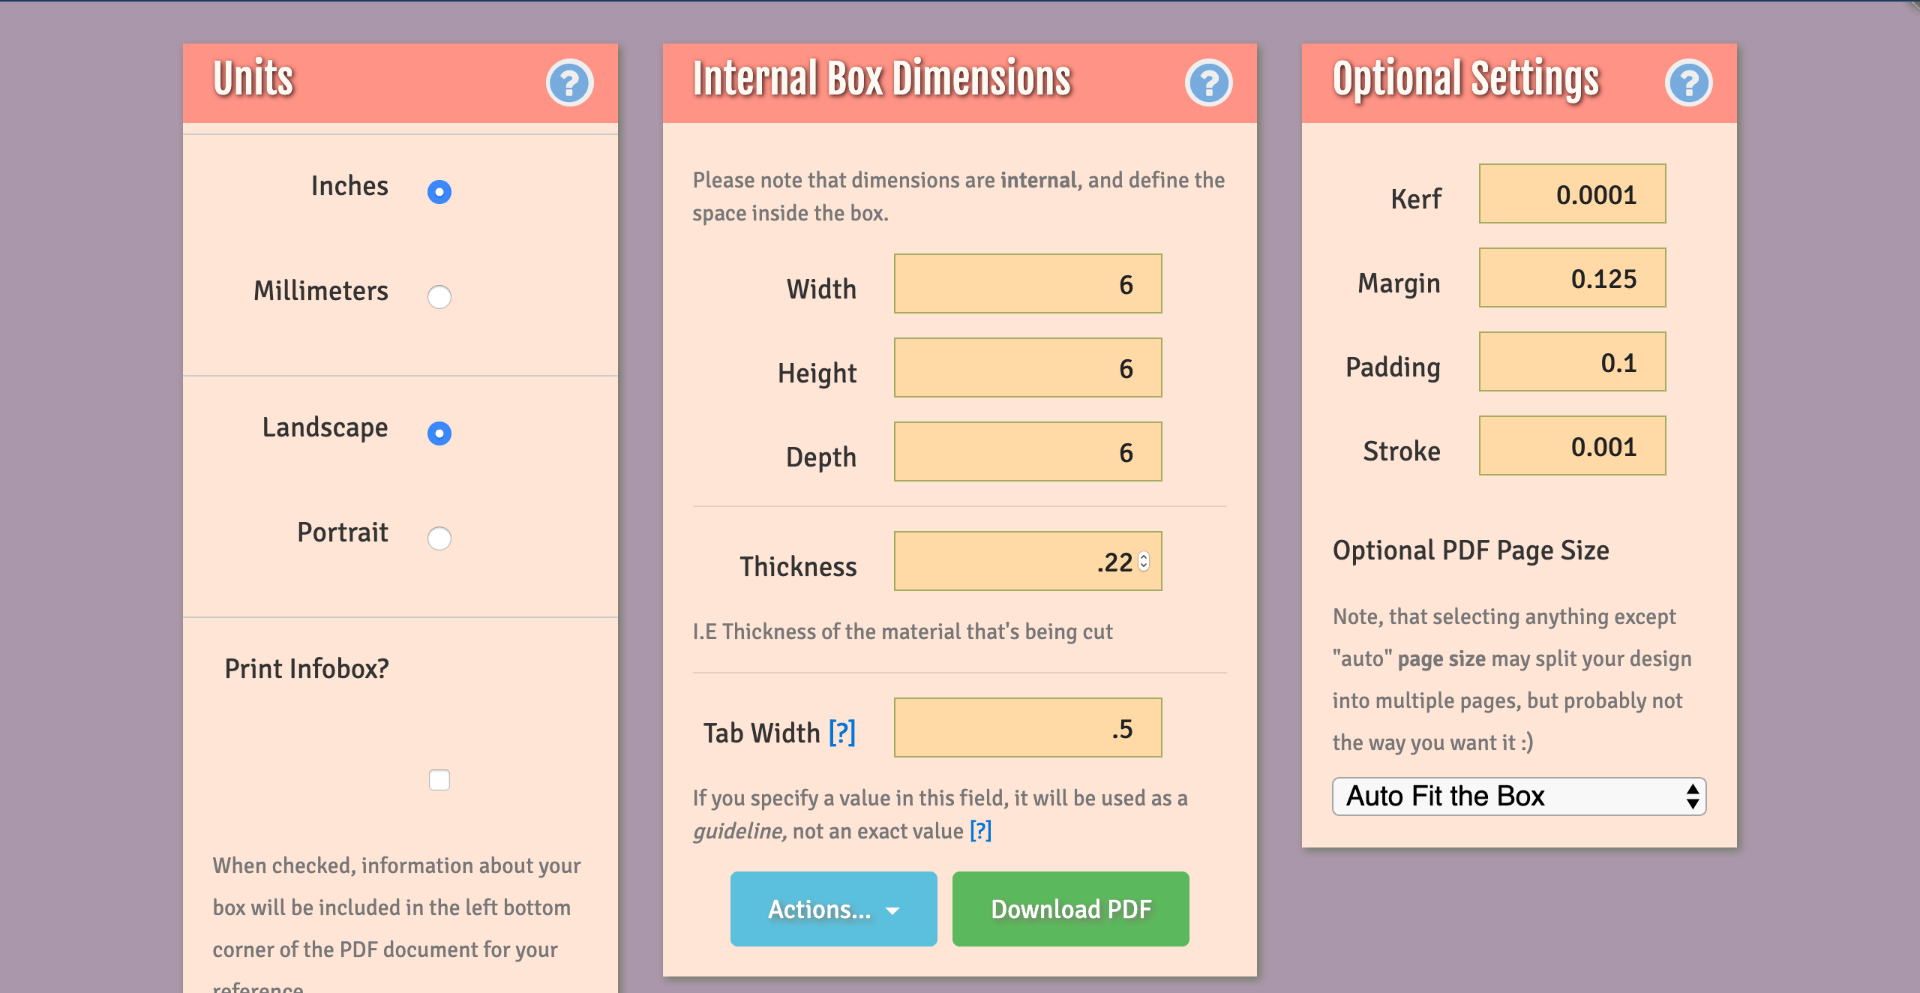
From here, all I had to do was go on makeabox.io to create a file to use. I probably would have run in to issues with the kerf, but there was a line to use the laser cutter, and by the time it was my turn to cut it out, others had already determined that the kerf should be about .0001″.
Step 2: Cutting the Box
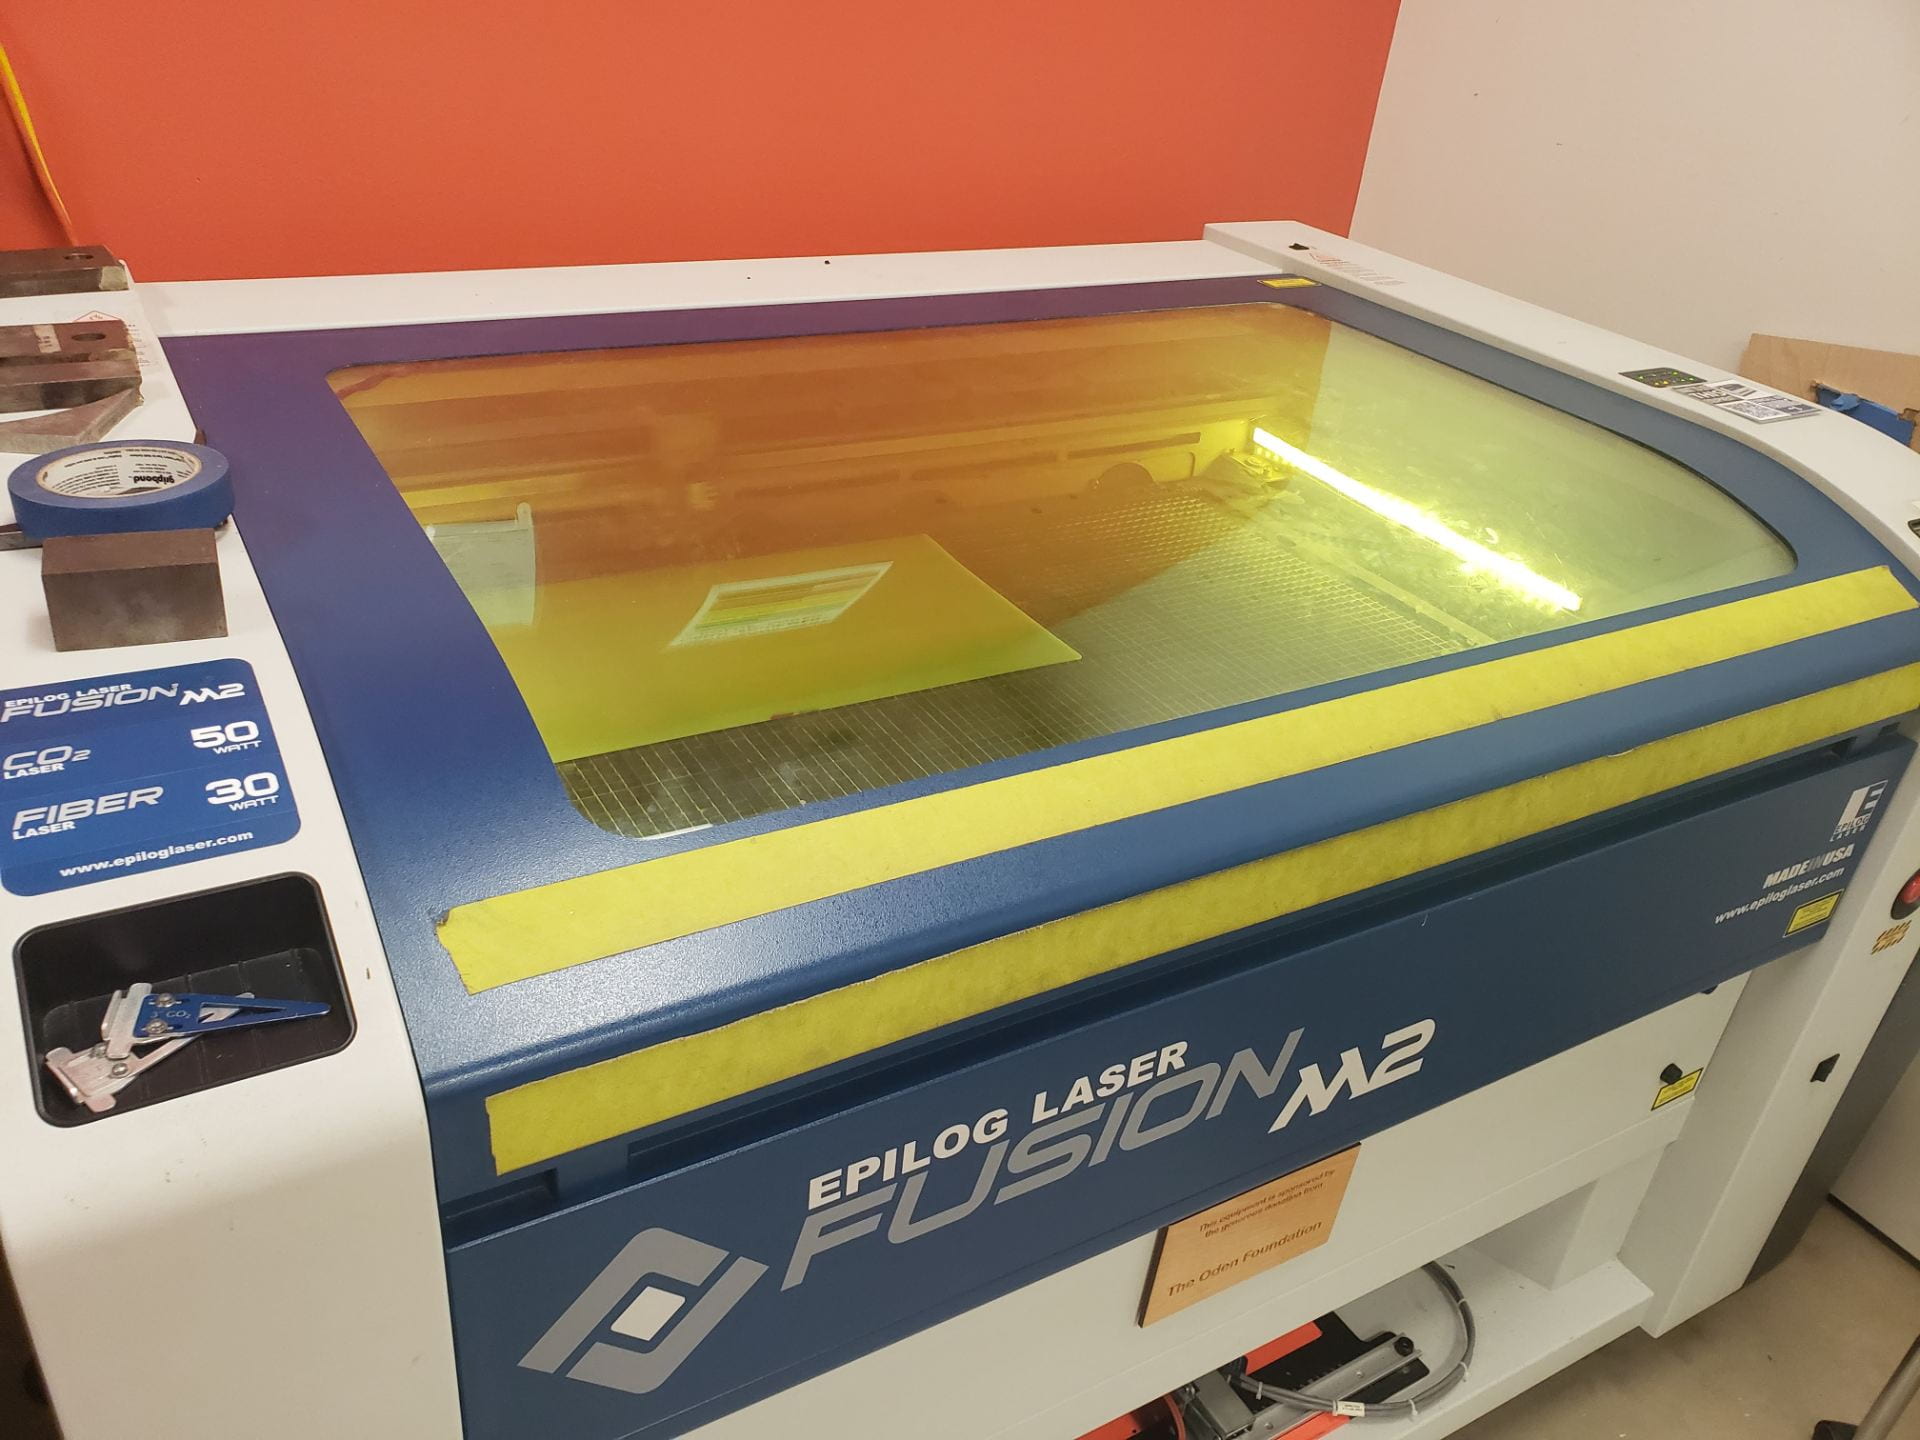
I used this measurement and cut my box out of 1/4″ plywood at 100 Power, 3 Speed, and 10 Frequency; and rastered it with 80 Power, 80 Speed, and 10 Frequency.
I ran in to a problem while cutting because the sheet of plywood I was using wasn’t big enough for all my pieces, so I had to get a new sheet and cut again. This time, things worked our very well.

Step 3: Assembling
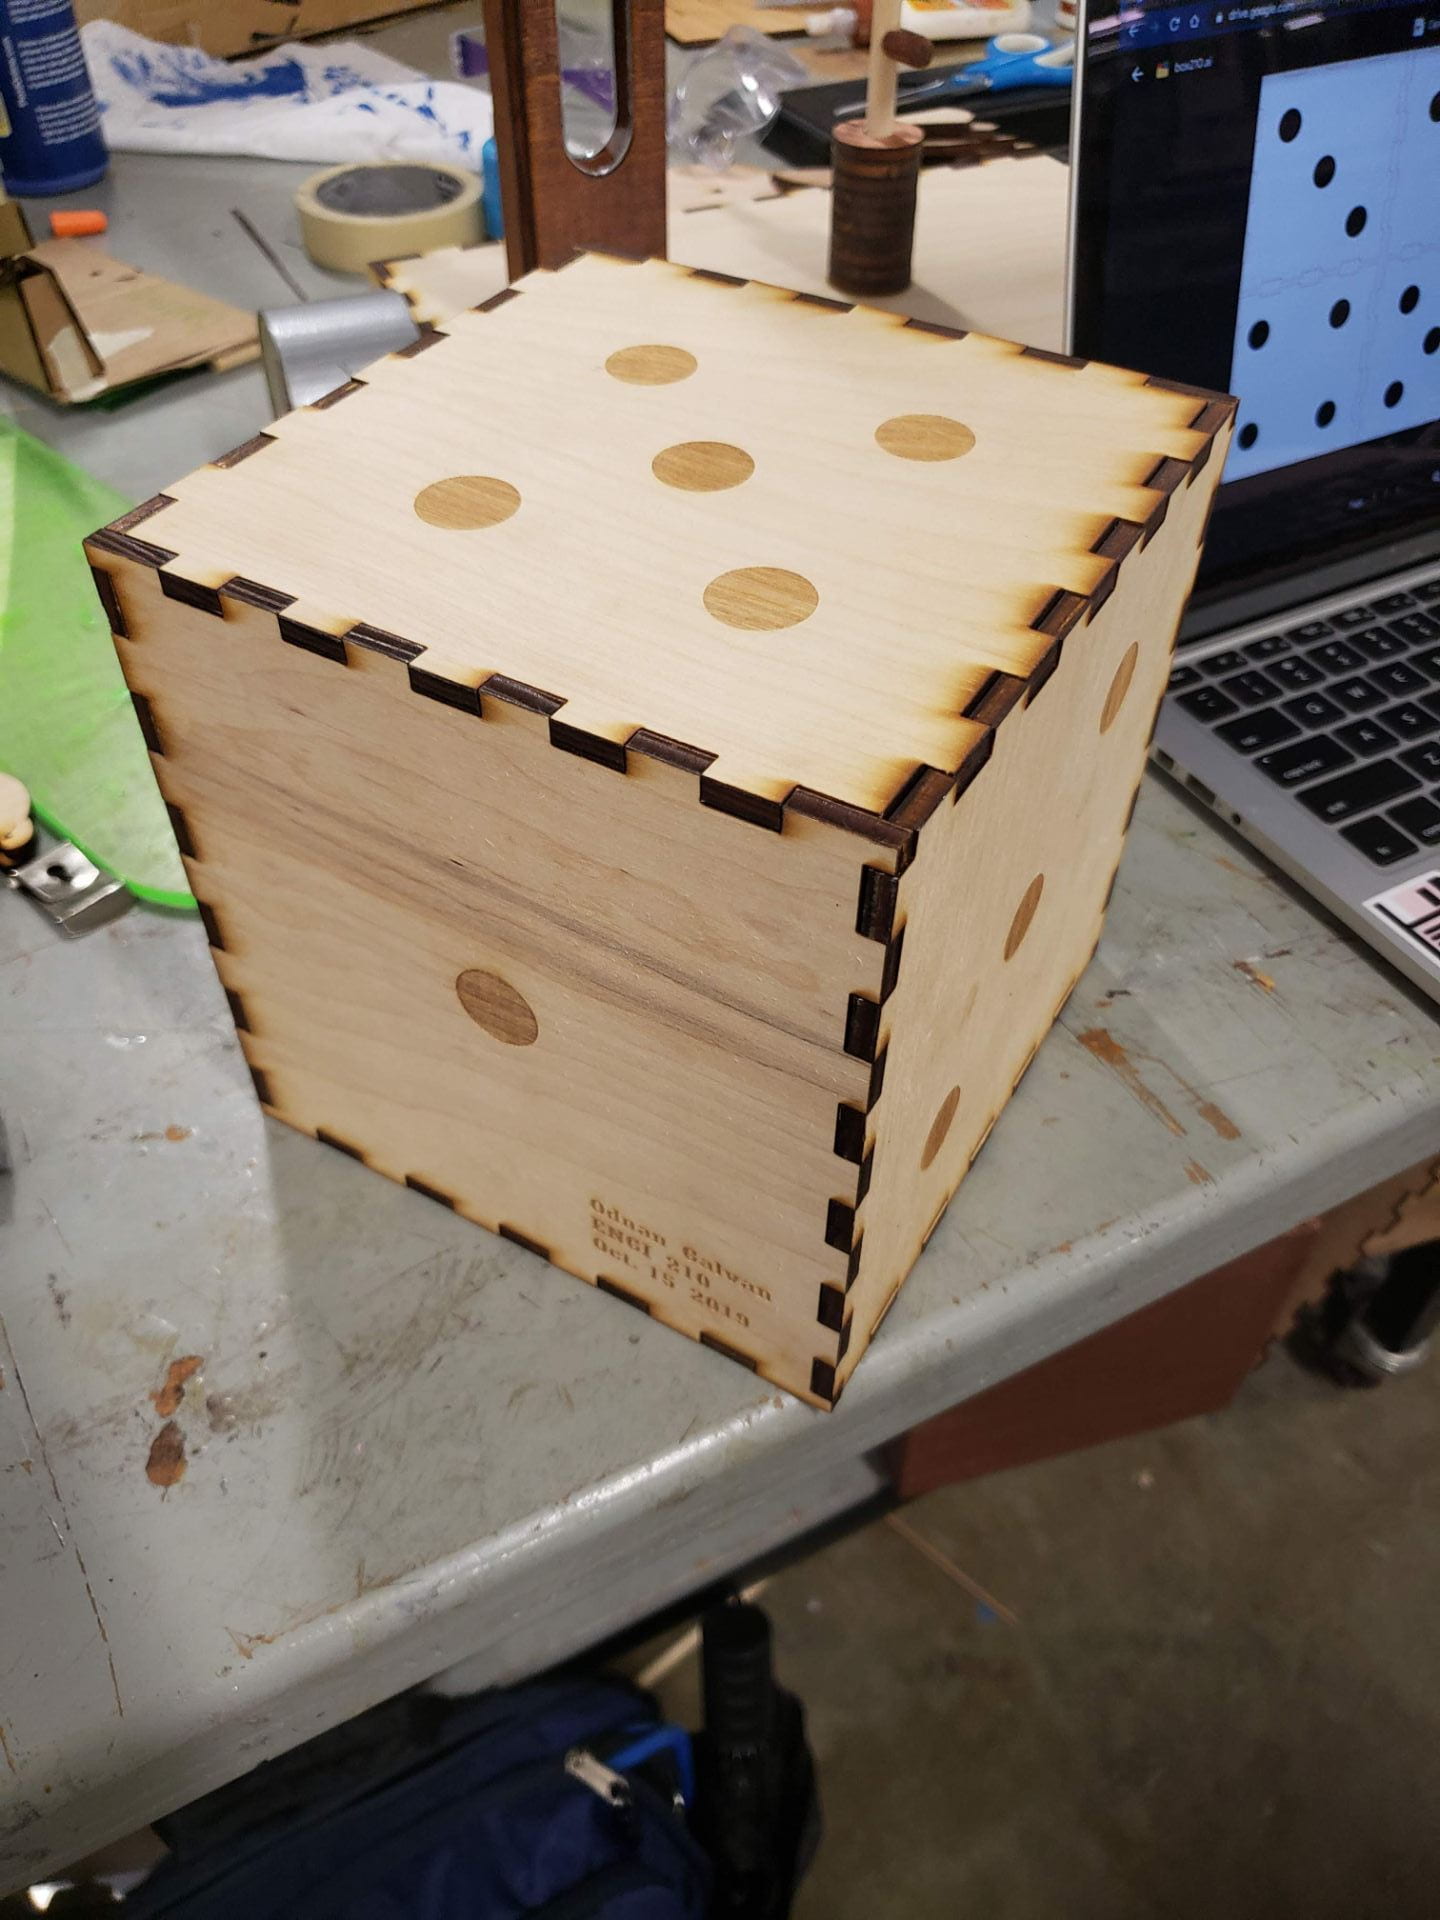
The final step was to assemble the box, this proved to be more difficult than anticipated because of how small my kerf was, but the small kerf also meant that my box stayed together without any glue at all. I used a glass jar I have in my dorm to hammer the pieces in to place. After a long while of hammering and worrying about getting a noise complaint, I had completed my box.
Cost:
Material:
- Plywood: $5 (One Sheet of Plywood)
Machine Usage
- Plasma Cutter: $22.5 (at 135 per hour, HercRentals)
Software:
- Make a box: Free
Labor:
- Me: $10 (At $10/hr)
- Someone who knows what they’re doing: $10 (I know what I’m doing)
Total Cost: $37.5
