For our next project, we will be using the plasma cutter to cut out a diamond shape from metal with any design on it and then post-process it. We had to make 2 identical diamonds in order to prove that all choices we made on the diamond were intentional and fully replicable.  My first design was going to the SEGA logo cut out of the diamond and then I would move on from there. However, the plasma cutter was having trouble actually figuring out what parts of the diamond to cut and I kept getting some random rectangle in the middle of my diamond. Instead, I decided to go with a more geometric design:
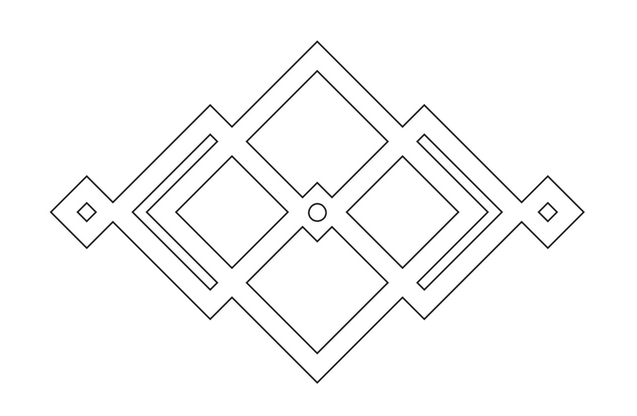
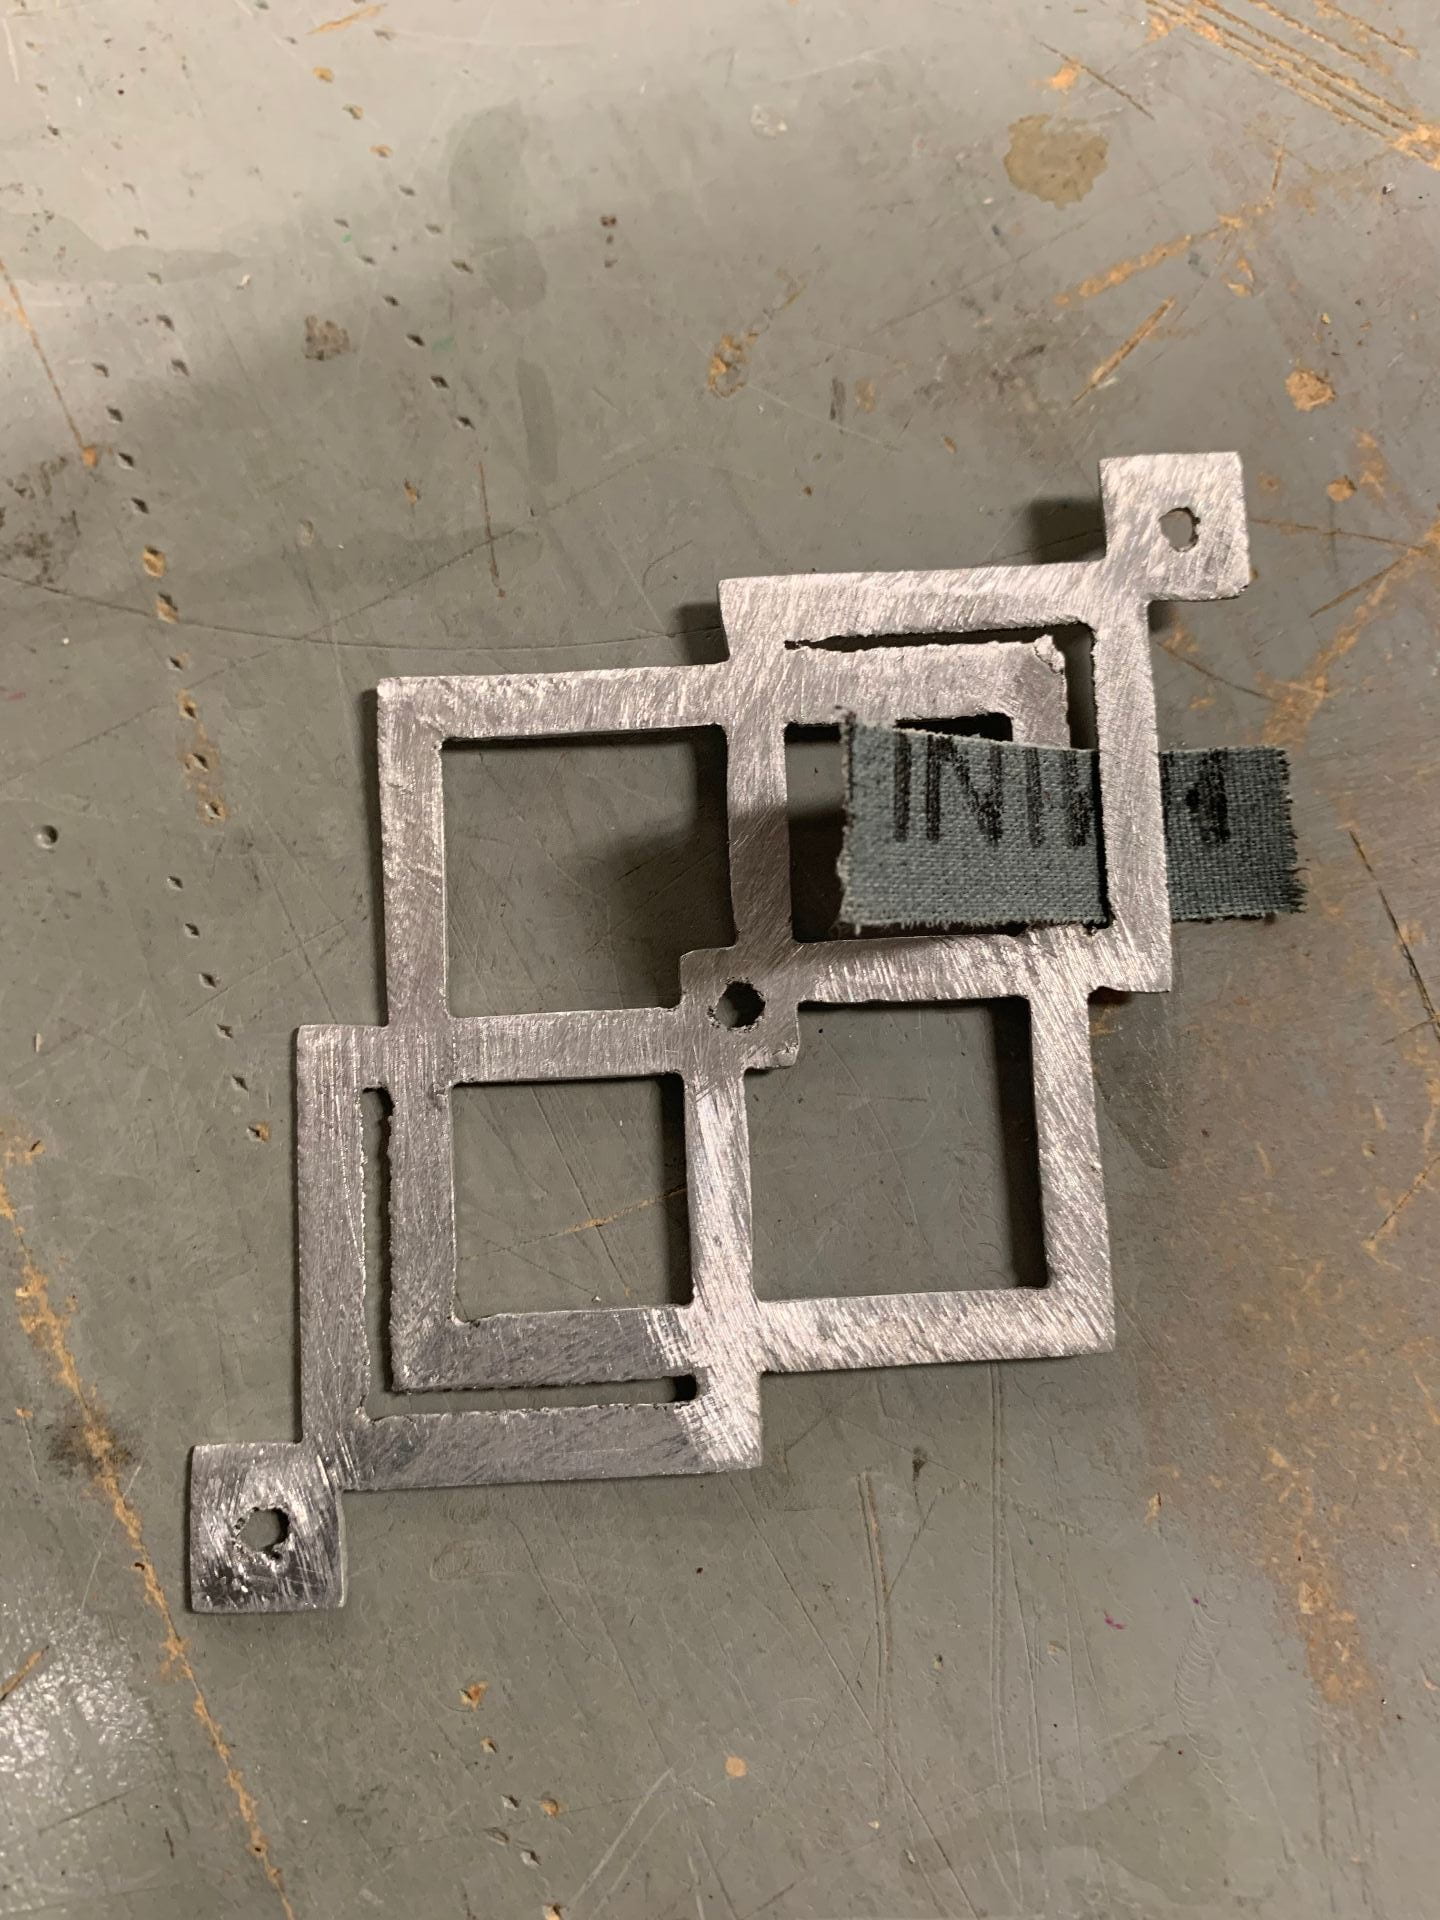
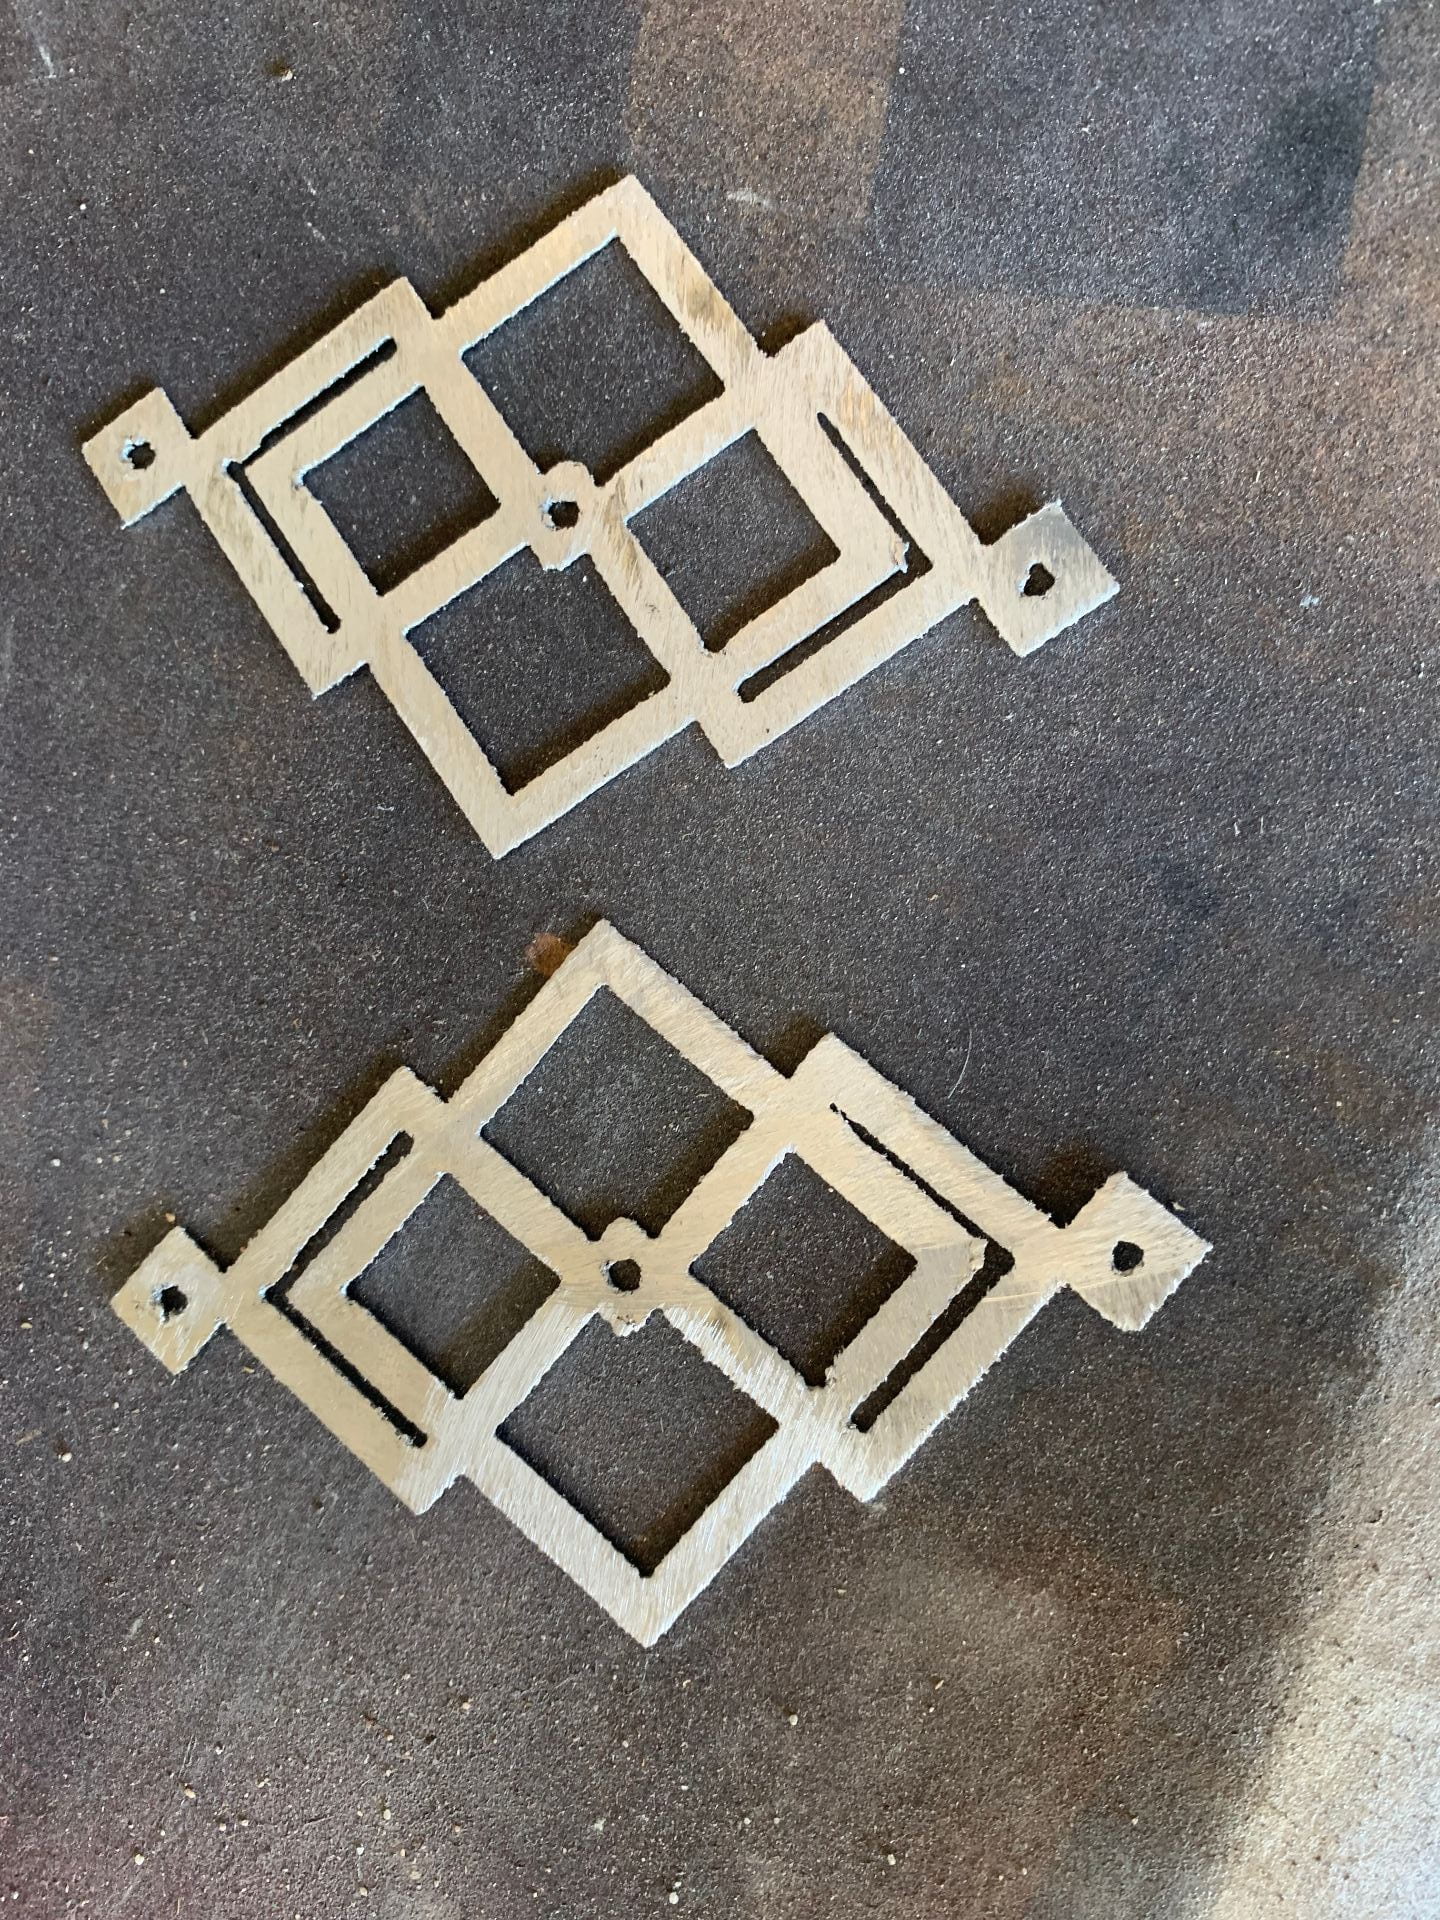 The geometric design was chosen because it was fairly easy to design, it looked cool, and it wouldn’t be all that hard to post process. It also didn’t cause many problems for the plasma cutter because I ended up with these two beauties:
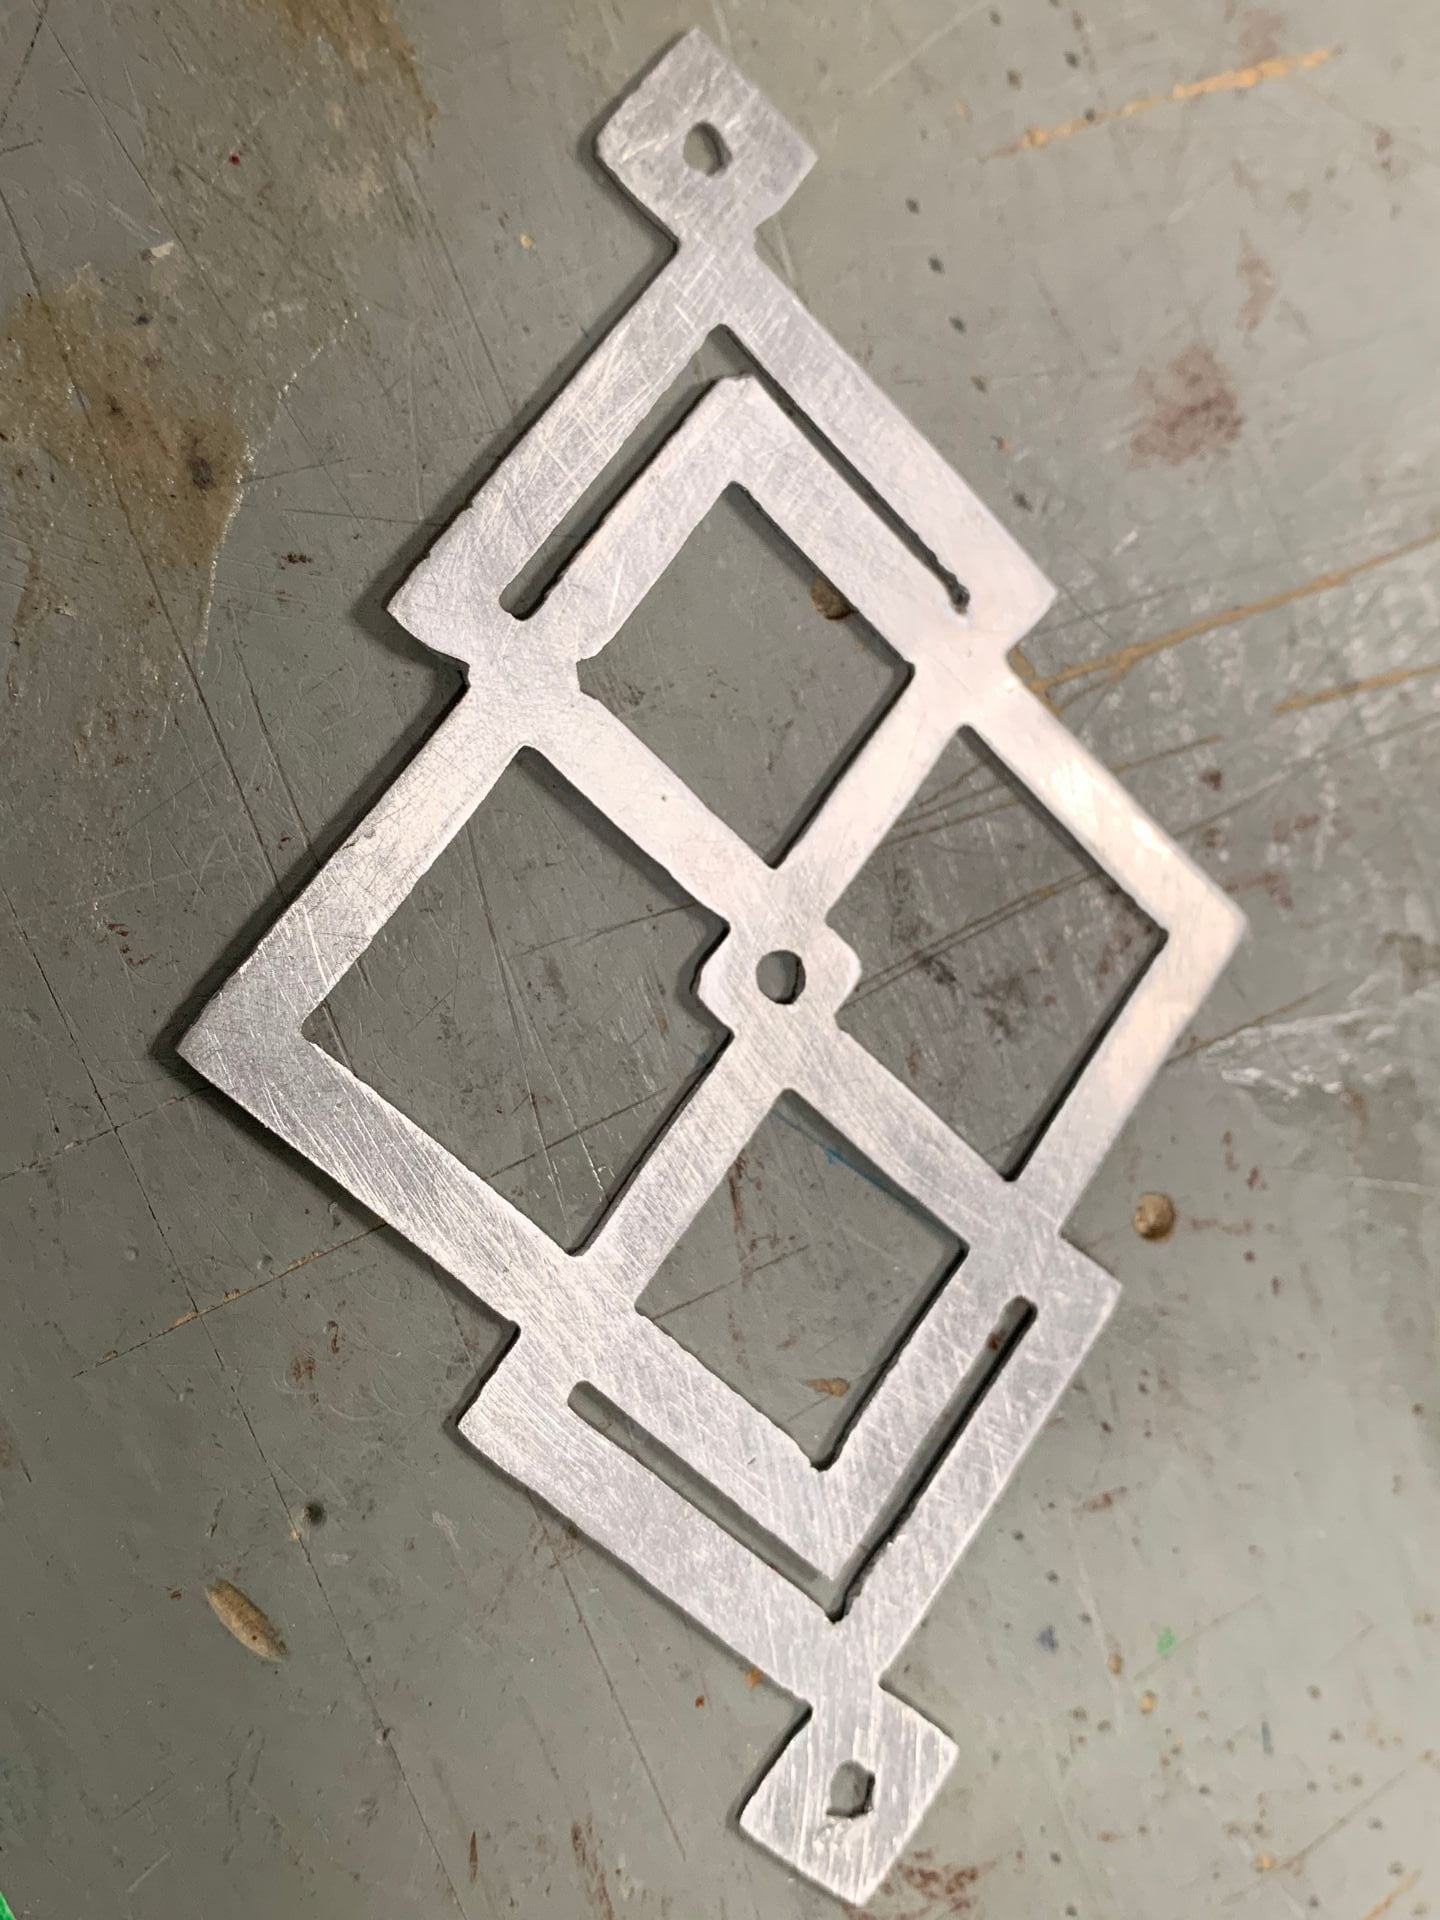
The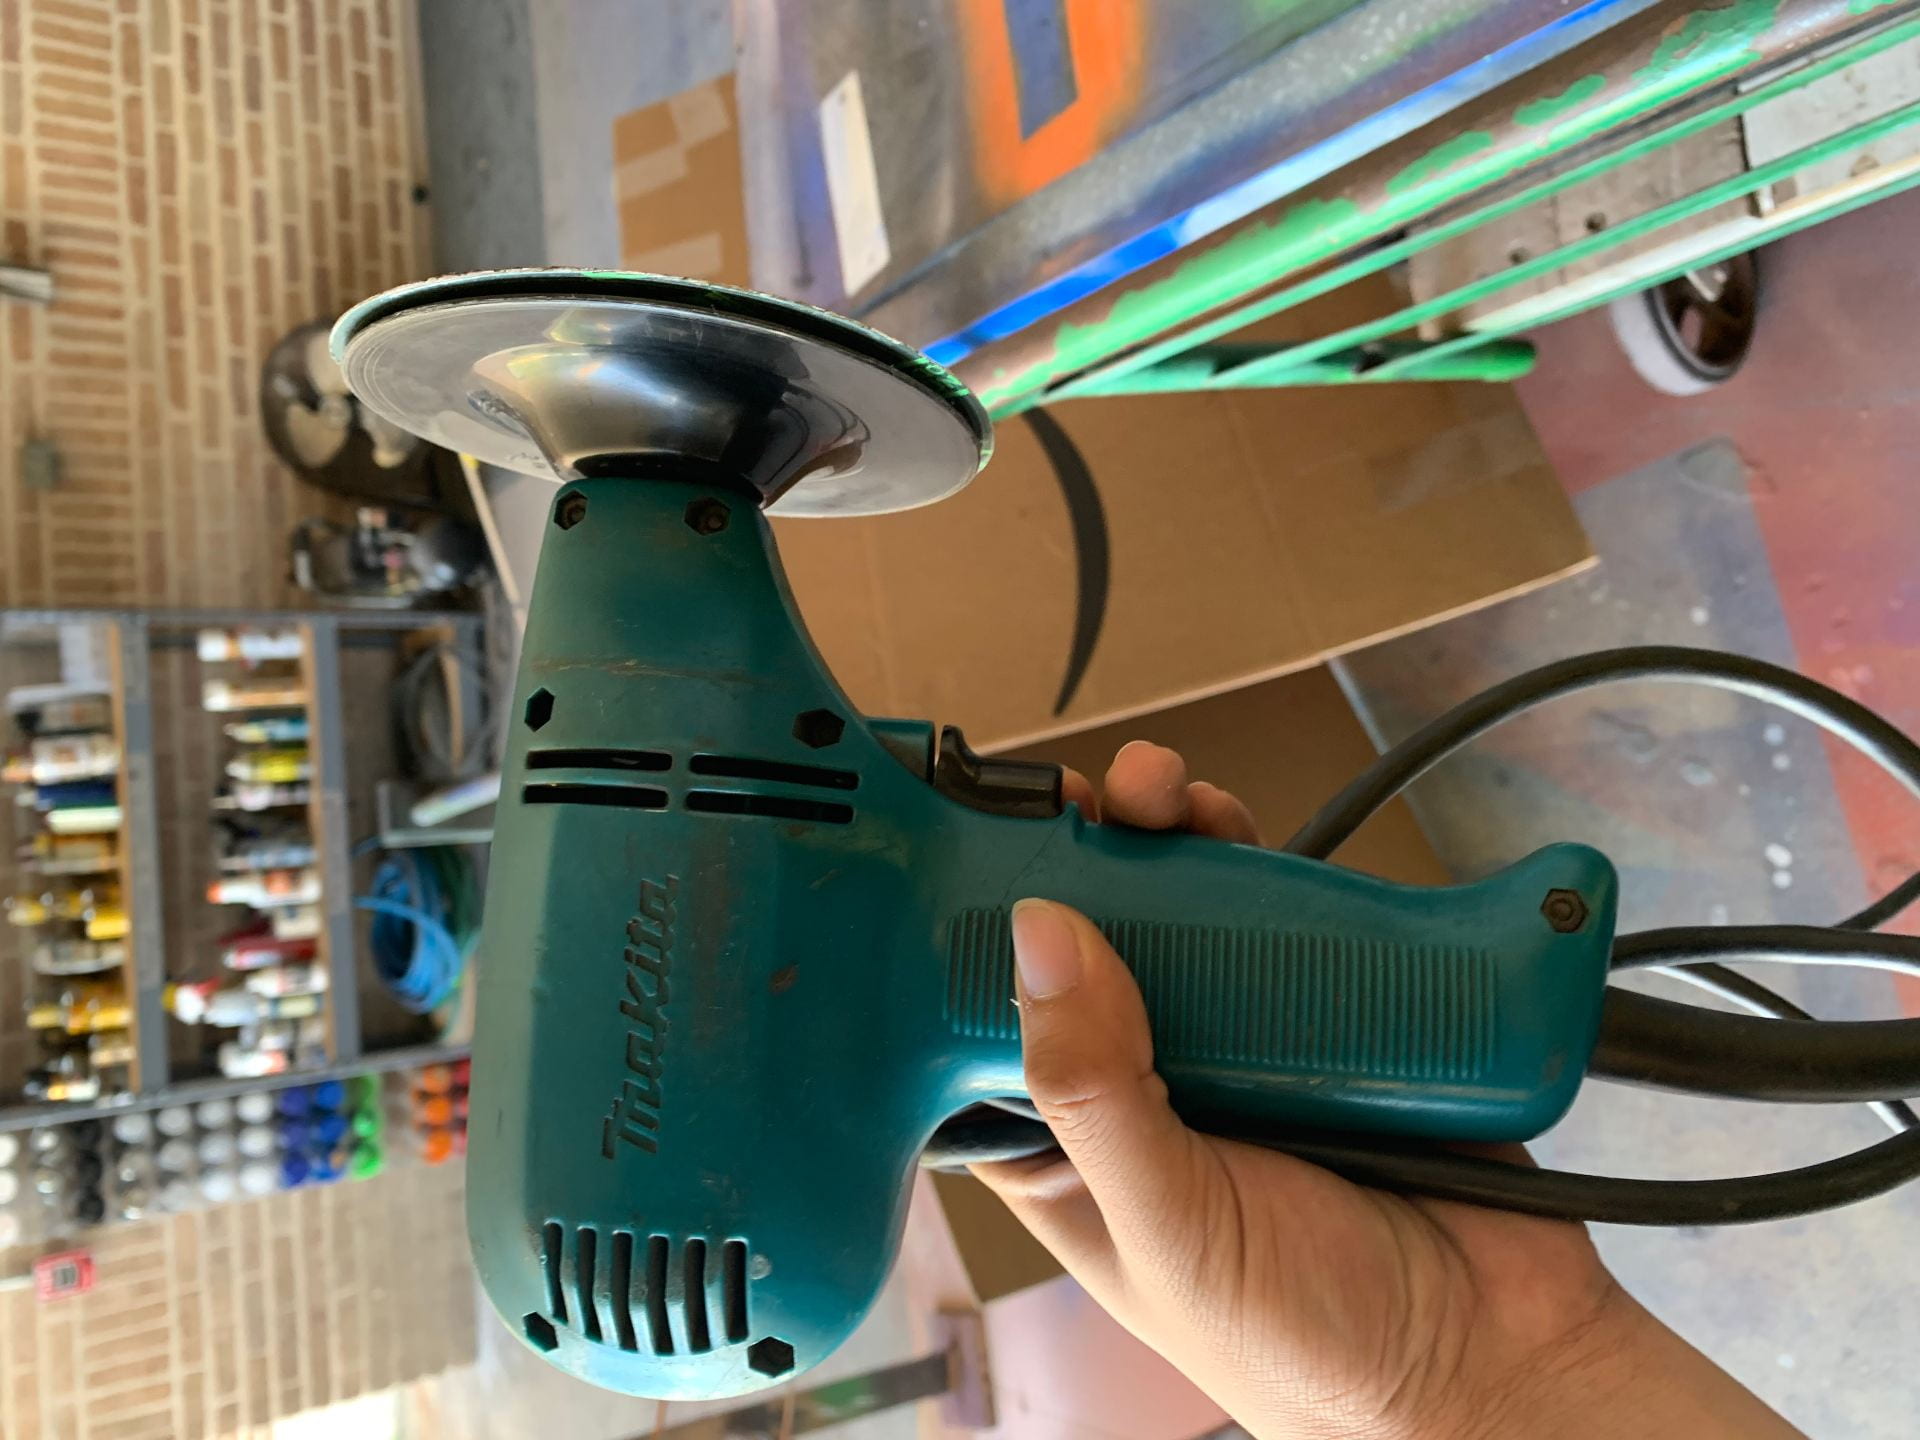 y don’t look great at the moment, but that’s what post processing is for! I started by angle grinding both of them to get rid of all of the dross, excess metal, that the plasma cutter leaves on the pieces. I was left with the pieces below:
 The pieces look all scratch up now, but that will be fixed later with sandblasting! For now, we need to get rid of the sharp edges. To begin, you can begin by using a file to smooth out the outer edges and some sandpaper to get in the hard to reach places.
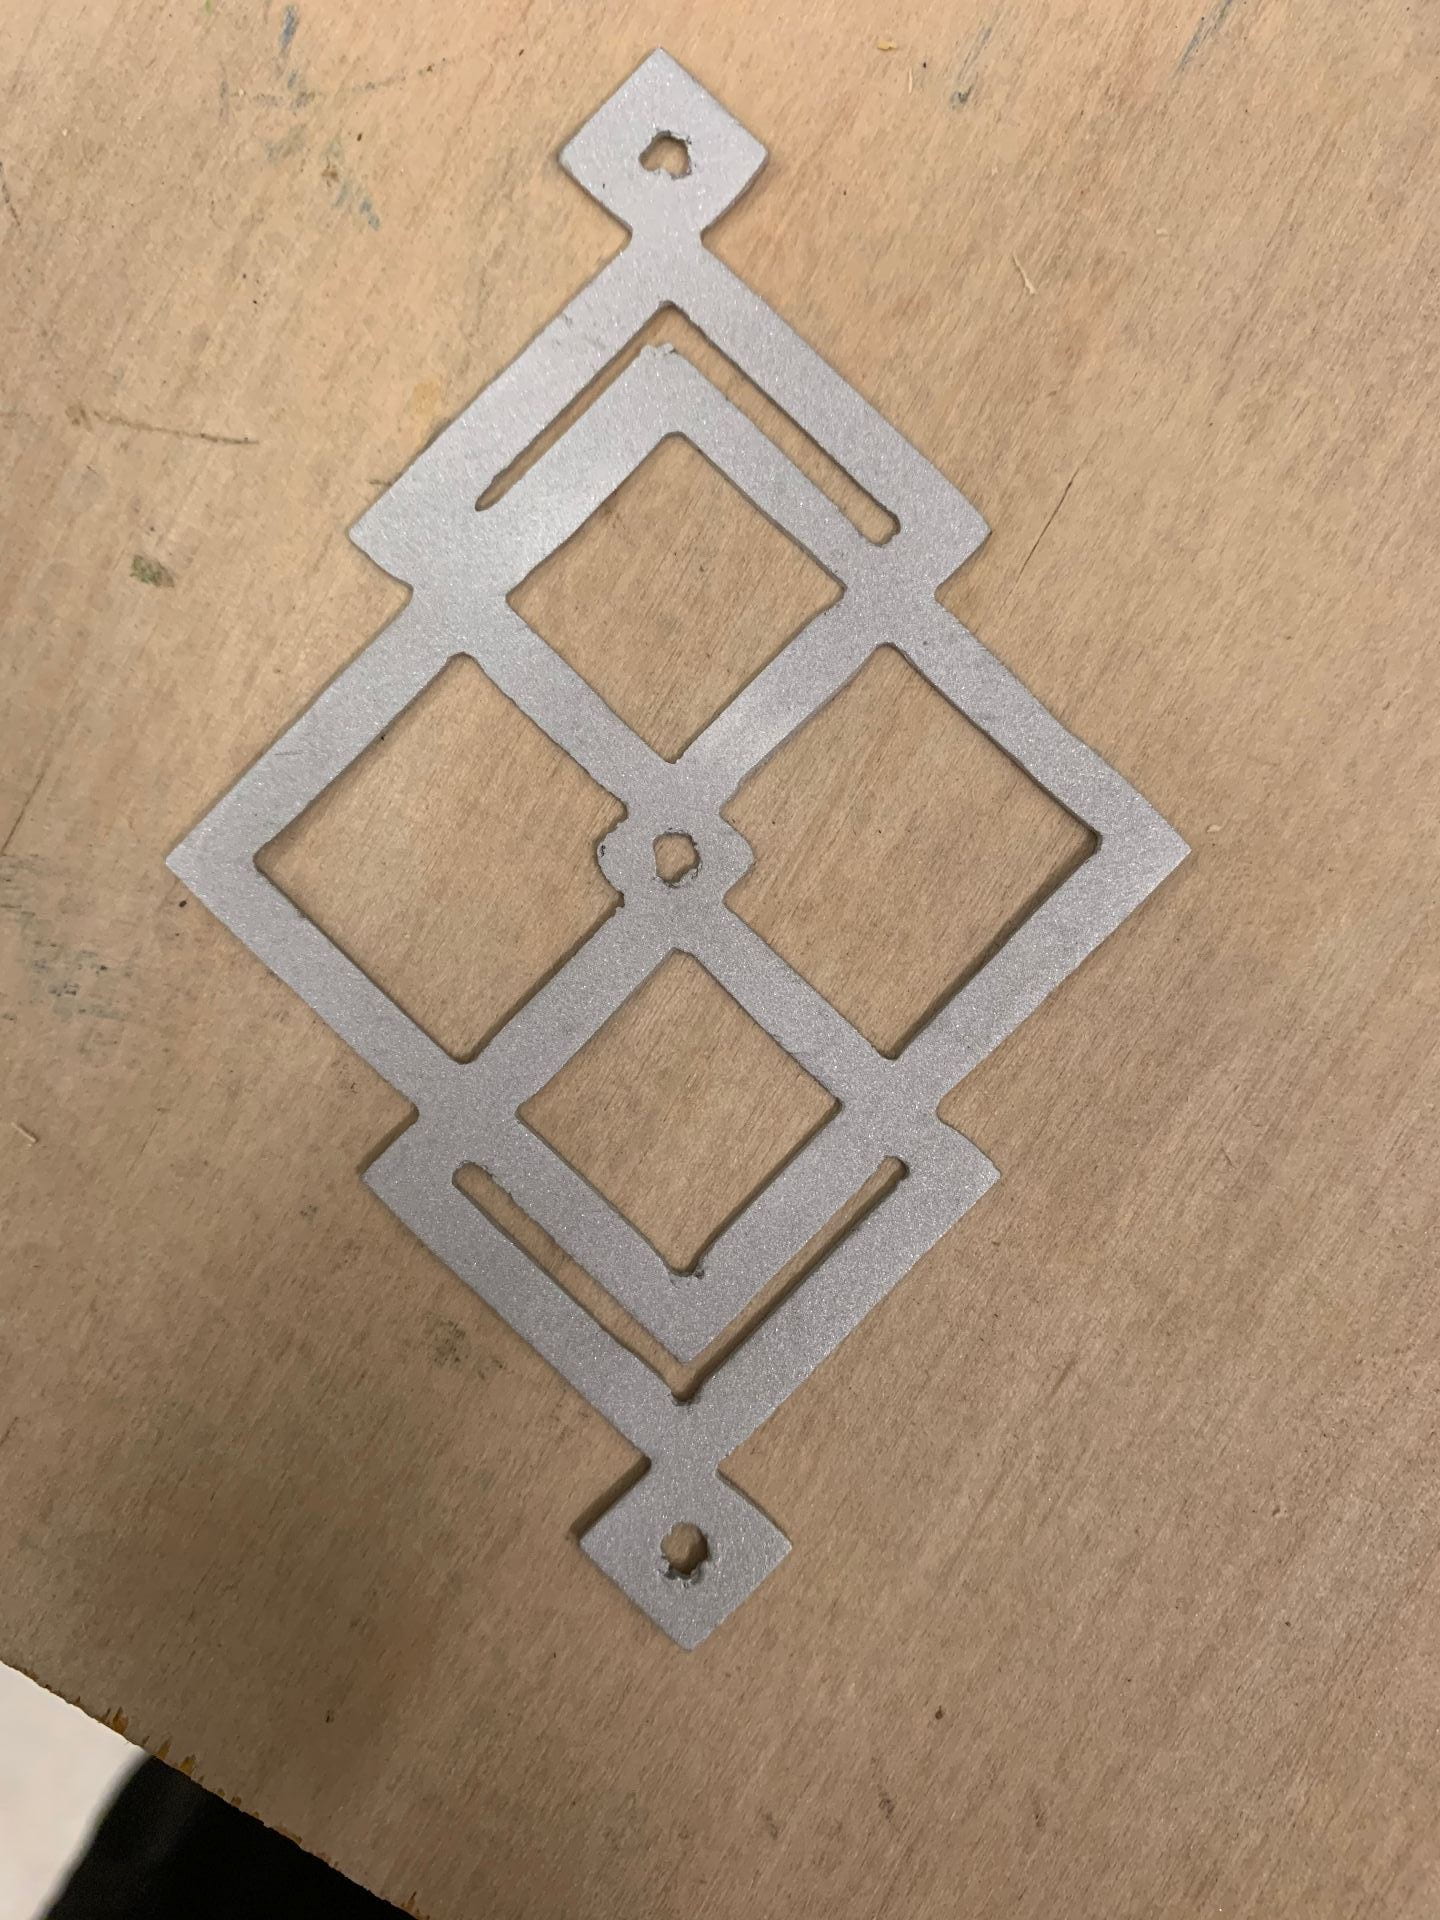
When that’s all done, we get to finally have some smooth pieces, but at the cost of a bunch of scratches. We can fix this by sandblasting the metal so that the abrasion looks uniform. It will make the metal look matte and give it a textured finish.
Once that’s done, I just labelled the processes I used and then diamond is all finished!
Before Sandblasting
After Sandblasting
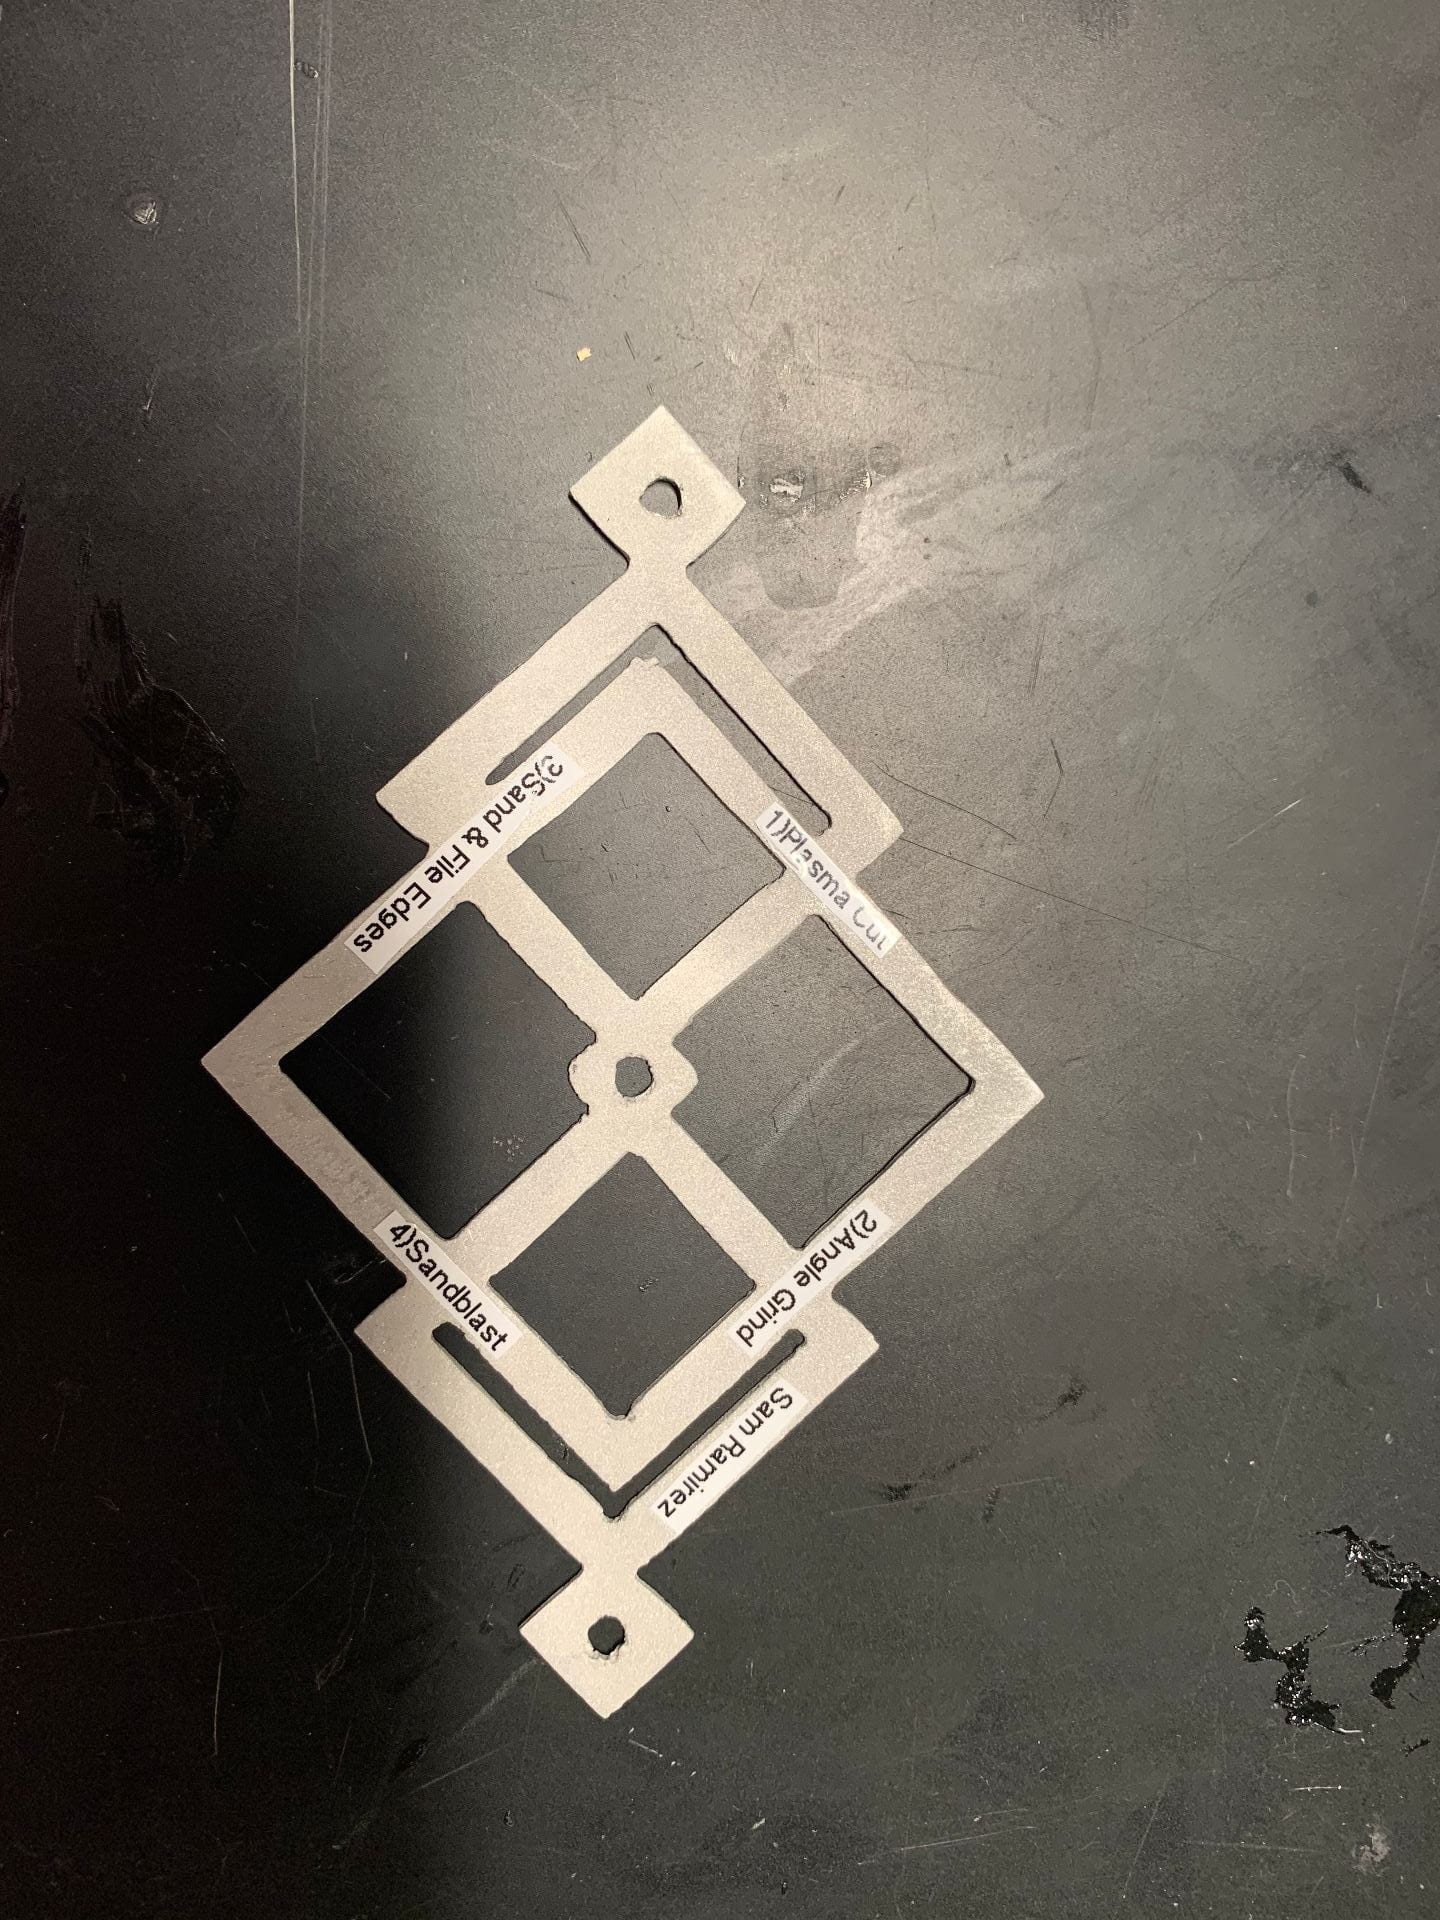
Done!
