I was tasked with creating a crate with a base of 16″x16″ and a height of 12″. When I first started I looked up many ideas for different types of crates, so I had a very general idea of what I wanted. I decided on two opposite sides with slats, so the crate could be carried by holding onto the top slat. I wanted the other side to be solid without any gaps, so I could practice a different skill. I wanted the base to also be solid. I was not sure how I was actually going to put all this together and how it would look until I started finding wood in the wood shop. As I found different pieces of wood, my idea became more fully thought out. I decided the top piece on the slatted side would be shorter than the other slats, so it would be easier to grab. On the solid sides, I decided to have 3 thinner and 2 thicker pieces to fit the measurements. I found a solid piece of wood that I was able to use for the whole base. I also decided to have interior corner posts to help with support of the sides.
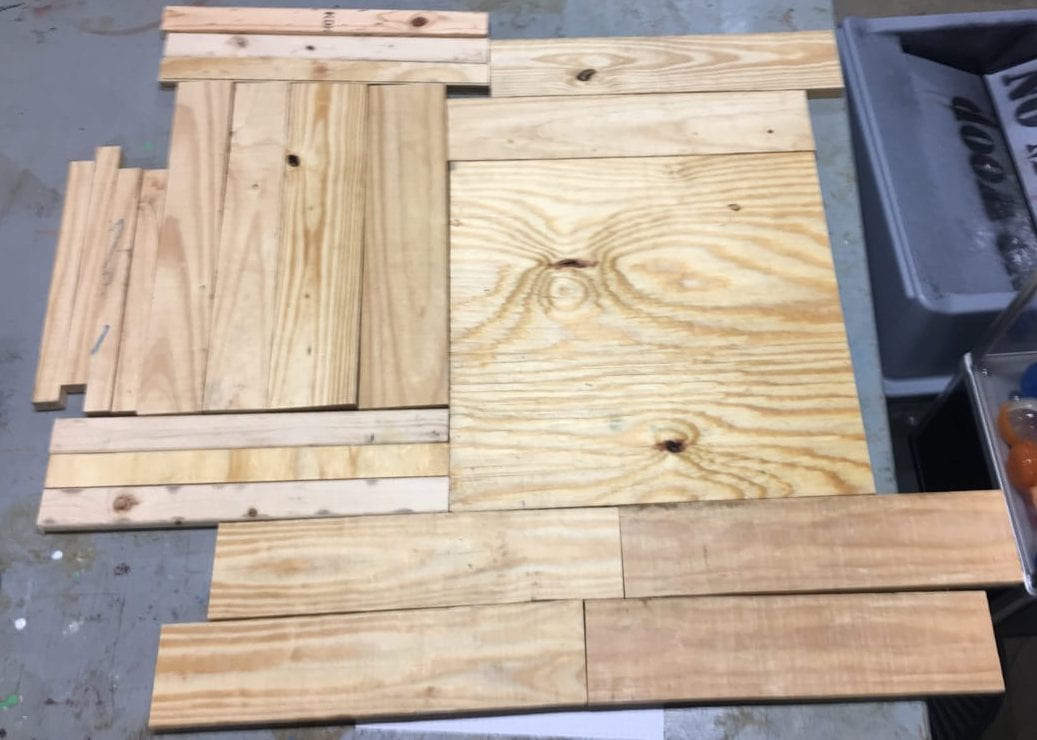
All the wood pieces used
After cutting all my wood, I routed what would become the outside edges of my box. I also routed the side of each post that would not be connected to a side of the box. I then quickly used the orbital sander at a grit of 150 on all the large sides of the pieces to start the process of making them smoother. I then hand sanded the pieces with the pieces of sand paper of low, medium, and high grit.
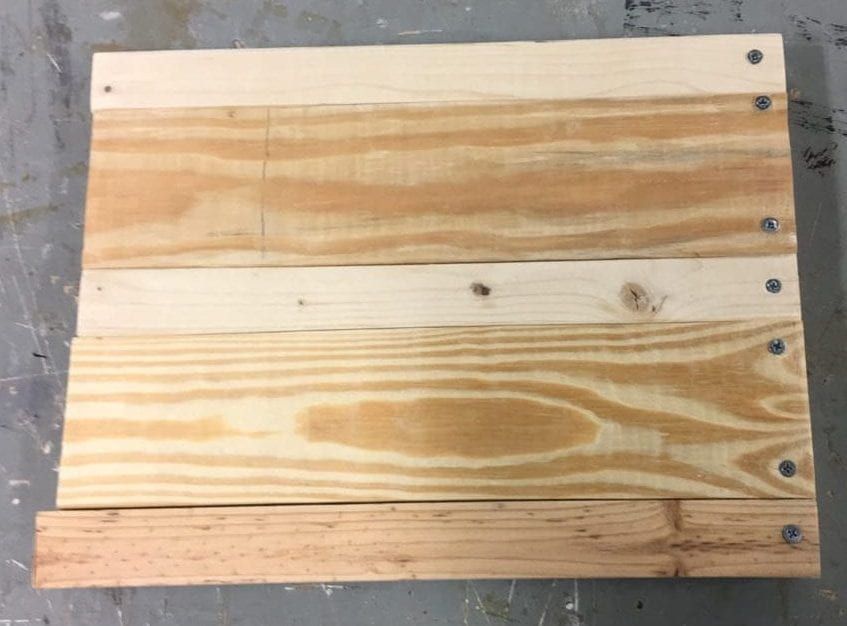
Next I started on my first side, which was a solid one. I attached all the pieces of this side to one of the posts. I was then able to attach the second post to the other end of the side. I then used the belt sander to remove extra wood outside of the posts. I repeated this process for the second side.
Side one on one post
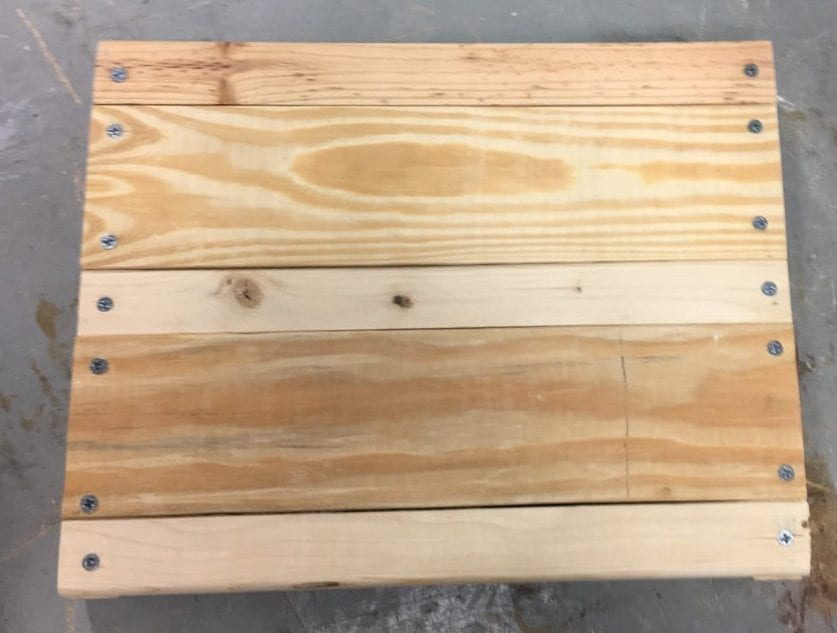
Side one with both posts
Opposite side of side one
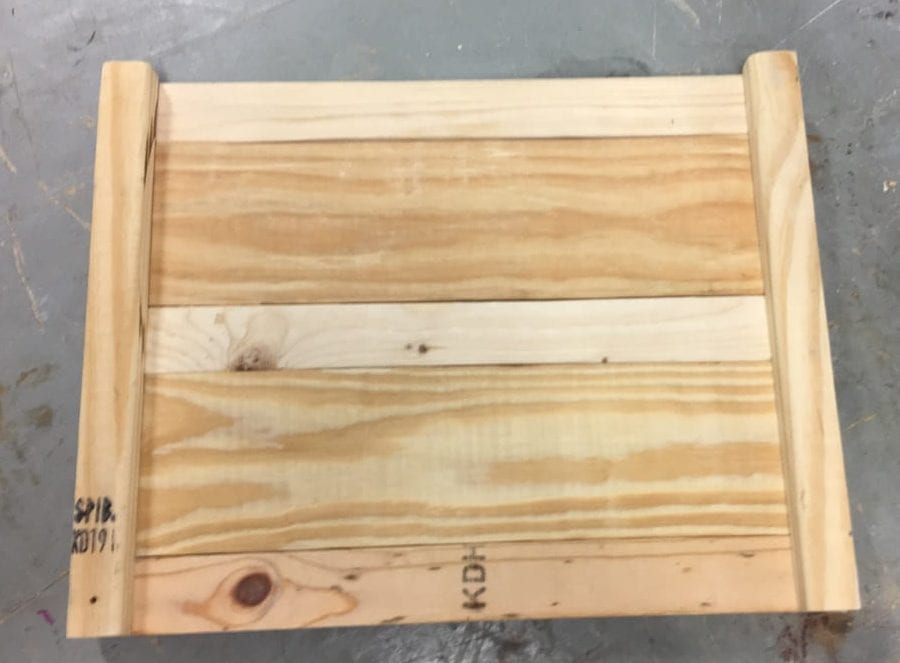
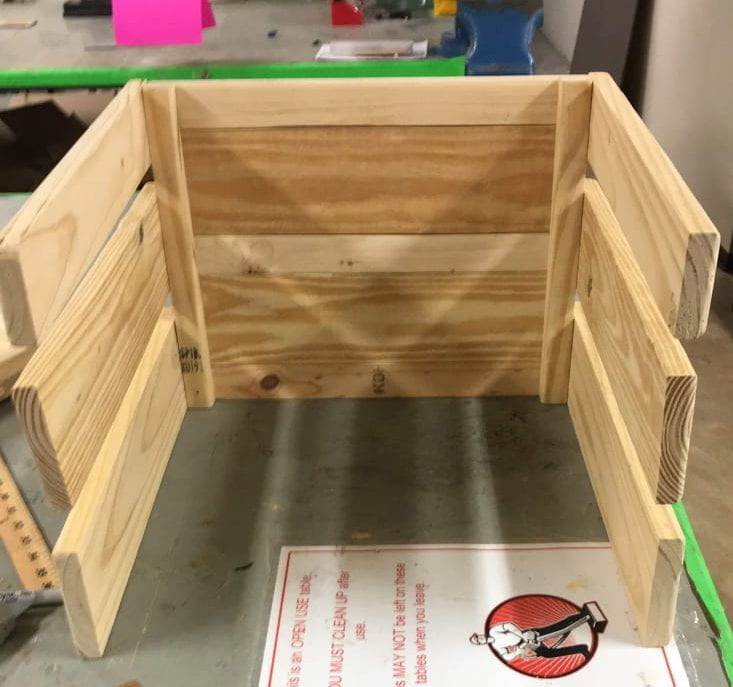
After completing the two solid sides, I needed to add the slatted sides. I attached three slats to one side of the completed sides.
Two connected sides
I then added the three other slats to the other side of the same piece.
3 sides connected
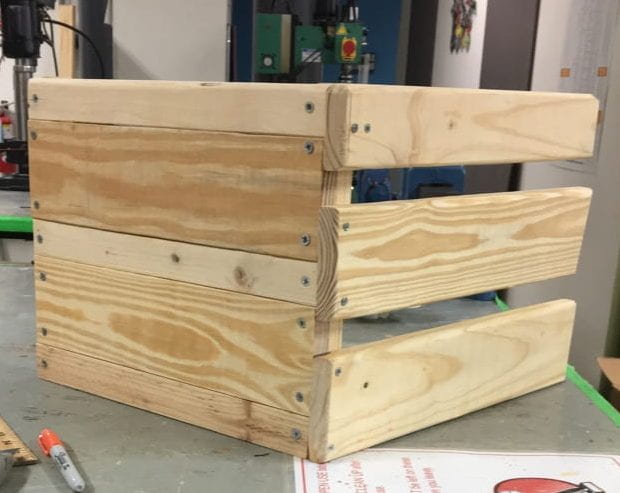
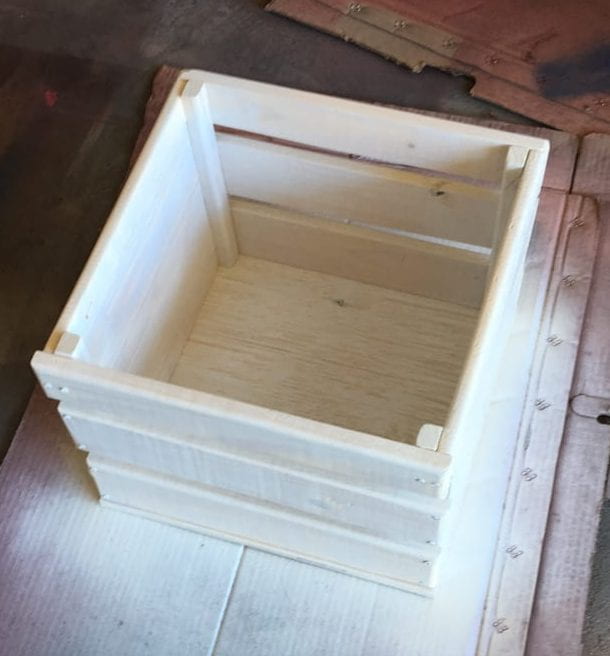
After this I slid the fourth side between the slatted sides.
4 sides together
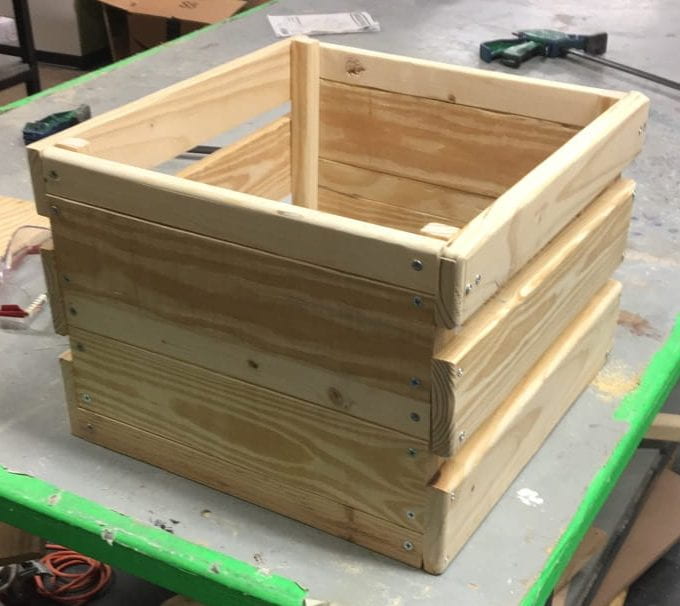
I then added the base to the completed sides.
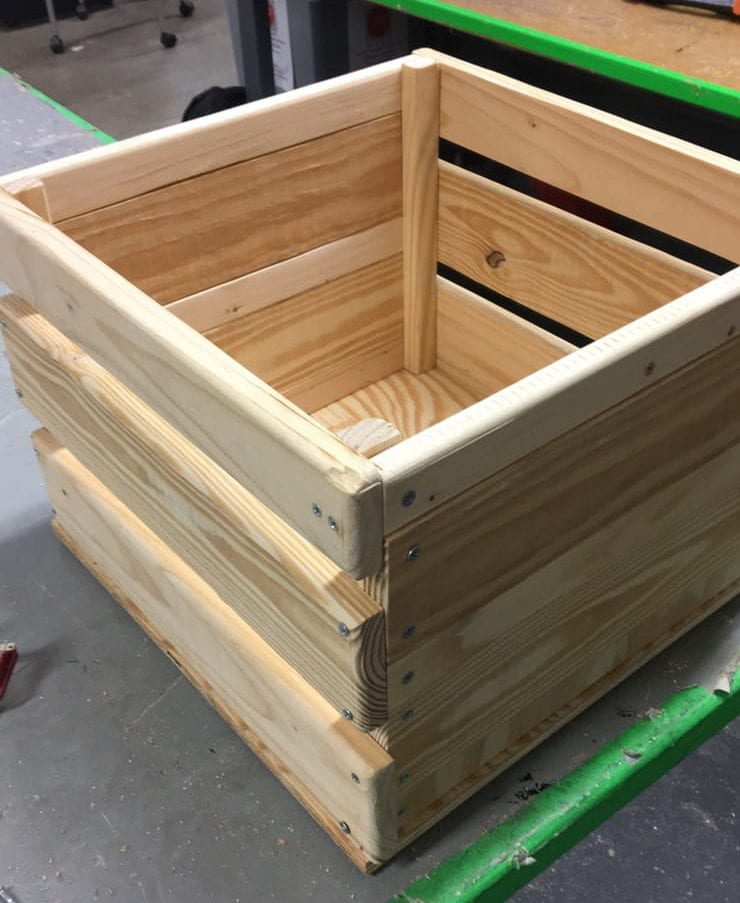
Complete box
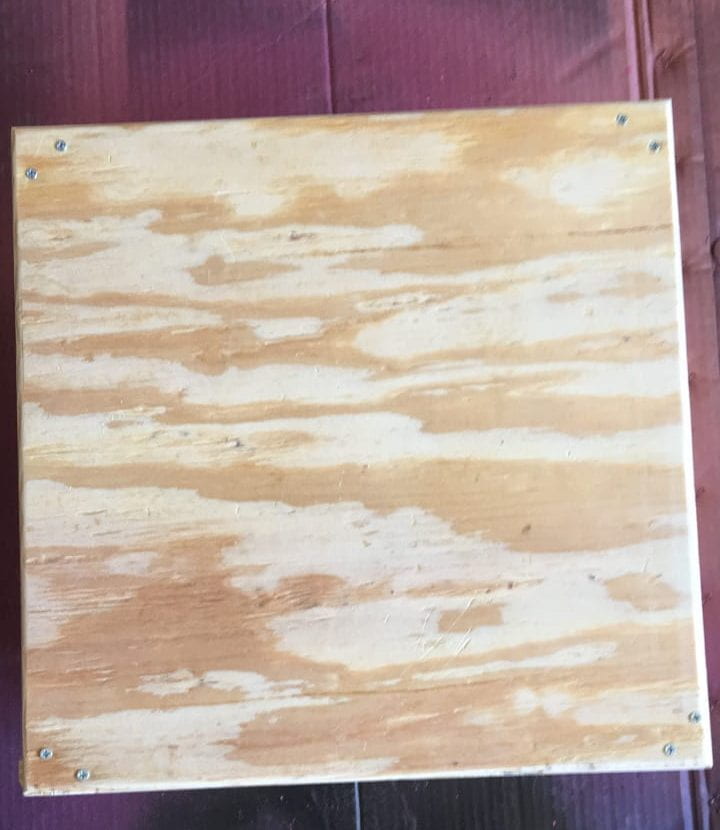
Bottom piece screwed on
Next, was spray painting. I chose the color white because it still allows some of the grain to be seen while having a finished look.
Spray painting the box
I finished it off with a clear protective layer. I now have a completed crate.
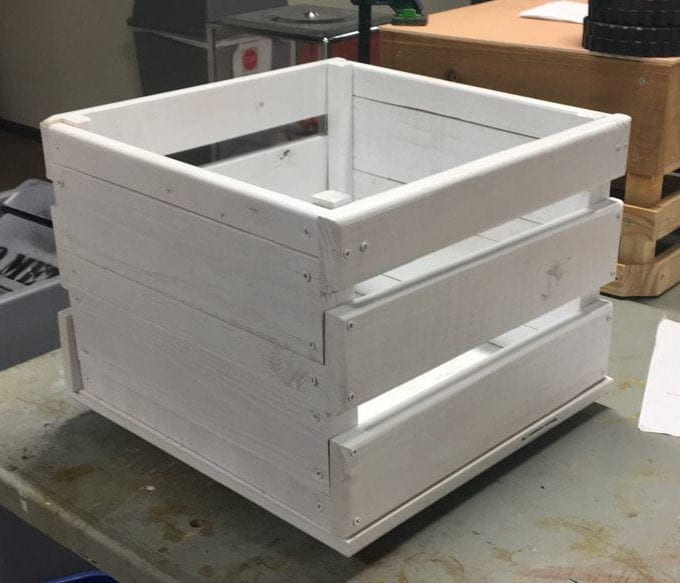
My Final Crate
While I was building, I tried to countersink all of my screws. I also using many different types of wood, and the countersinking worked better on some pieces than others. Overall, the screws are flush or close to flush with the wood.
If I were to do this project again, I would pay better attention to the type of wood I was choosing. Some of the wood I chose was warped which made it difficult to screw flat. Other pieces were more difficult to screw into. Also a few pieces came with a few small cracks. I would also make sure to cut the wood to the correct measurements initially. Some of the wood pieces vary in length slightly.
If I had to buy all the machinery and was paying myself, the total cost would be around $620.50
Orbital Sander: $59
Belt Sander: $78
Miter Saw: $88
Sandpaper: $5.50
Wood: ~$200
Screws: ~$10
About 12 hours of work: ~$180
If I only needed to buy the materials the total cost would be around $215.50
