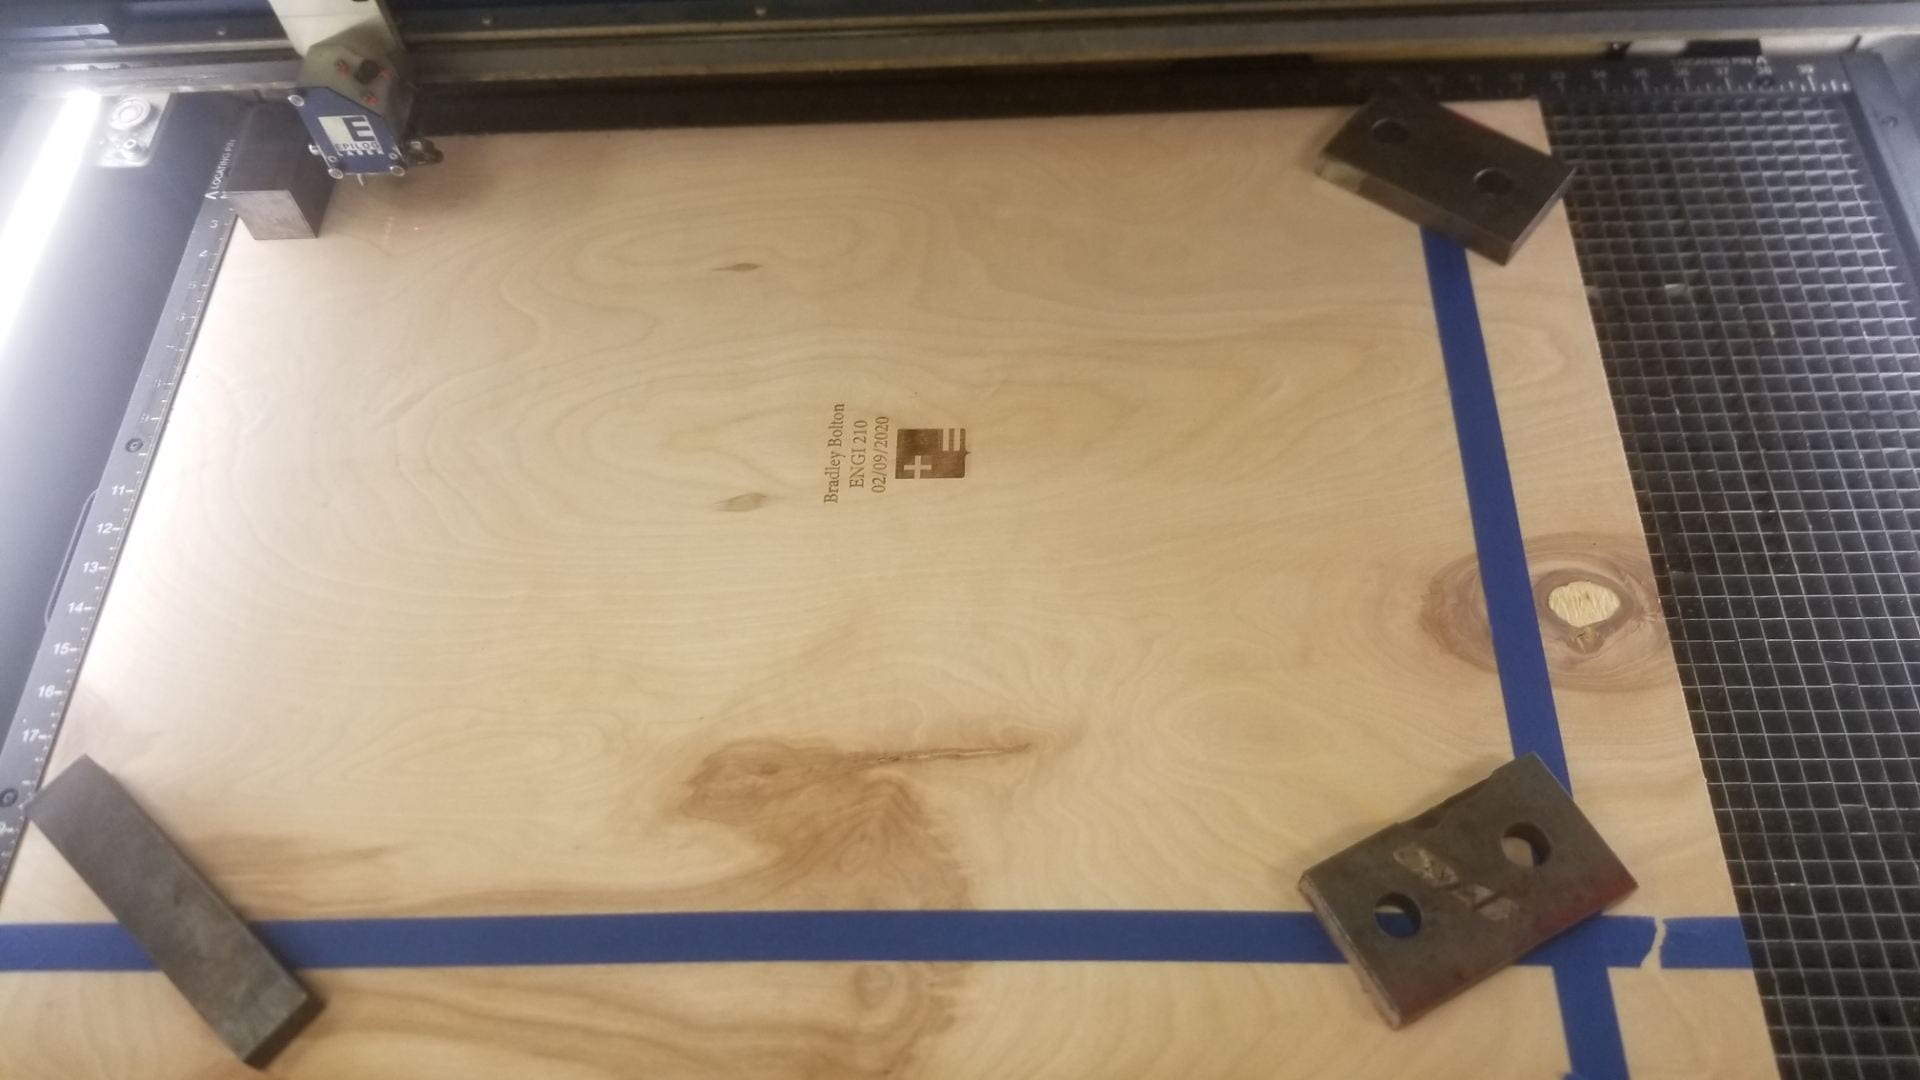
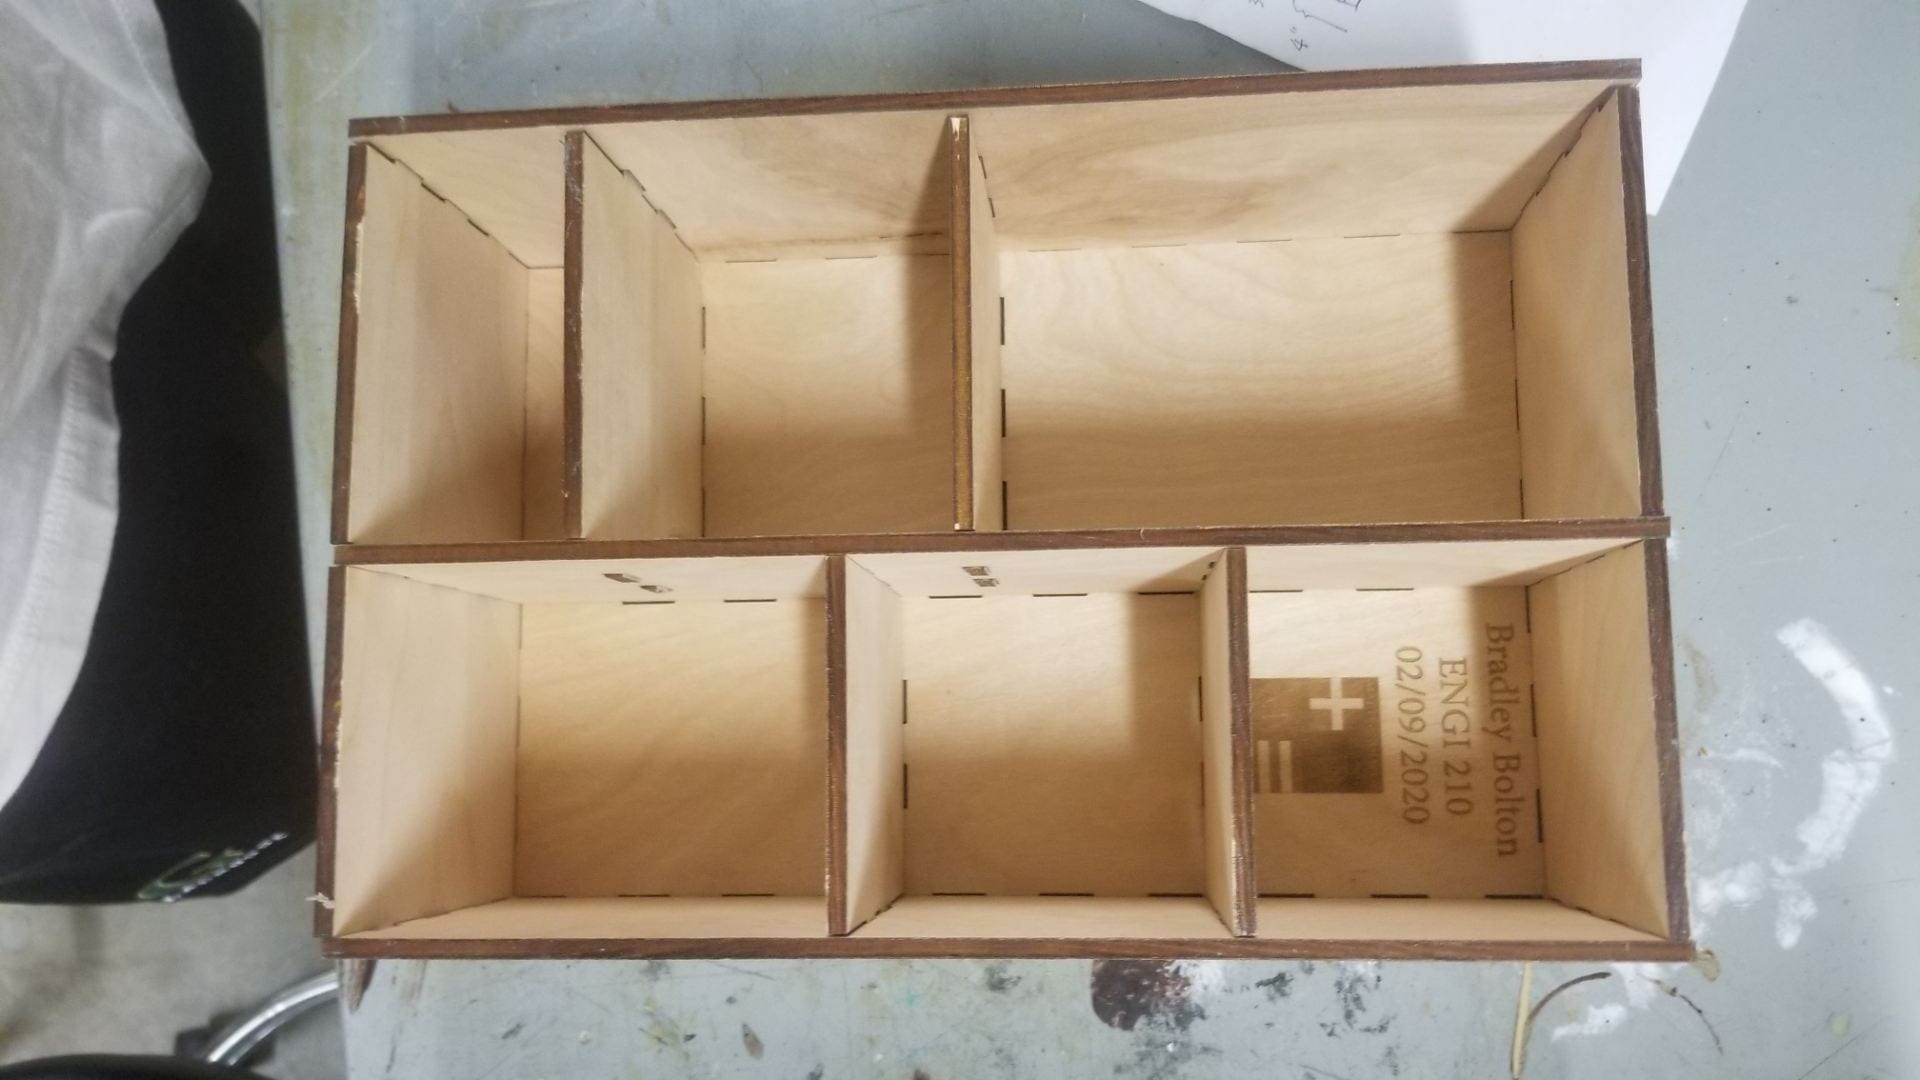
I started the project by designing the layout of my box on paper to decide where the various sized compartments would be. Only using the provided dimensions results in an irregular figure, so I decided to increase the name plate compartment to 3.5″ x 3″ and the 3D print compartment to 3.5″ x 3″. This allows for a rectangular base that is 7.5″ x 11.5″ before adding material thickness. For material thickness I measured the plywood to be .23″ with a caliper. I had planned to test a kerf of .01 as I had seen others used it in previous years, however I found someone else had already done a kerf .01 test fit with the plywood and was satisfied with the joint it created so I moved forward with a kerf of .01. I used makeabox.io to generate the designed outer box with a depth of 4″, then used Adobe Illustrator to edit the file and create the internal dividers to form compartments. These dividers were made by copying sections of the generated box walls, then scaling them to fit desired interior dimensions. With the pieces and male finger joint pieces made, I made placed parallel guidelines within the base of the box with a distance between them equal to the thickness of plywood used, along the path where the internal walls would be placed. To determine placement of holes for finger joints to be inserted, I temporarily copied the fingers and placed them tangent to but outside the sets of parallel lines, then placed rectangles of the width as the fingers spanning between the parallel lines such that they lined up with the male section of the joint. For a tight fit, these rectangles were then downsized by twice the kerf of the laser cutter. To decrease the risk of damage during assembly, these holes were slightly increased in size wherever it would not compromise structural integrity. I then added some engraving details to the base, and exported the finished design as a PDF. [Lazer cutting template] I had forgotten to add two sets of holes for this, and manually added them later when I was setting the print up on the laser cutter. I did this incorrectly the first time, luckily I had enough excess material to remake the 2 incorrect pieces after making a quick correction.
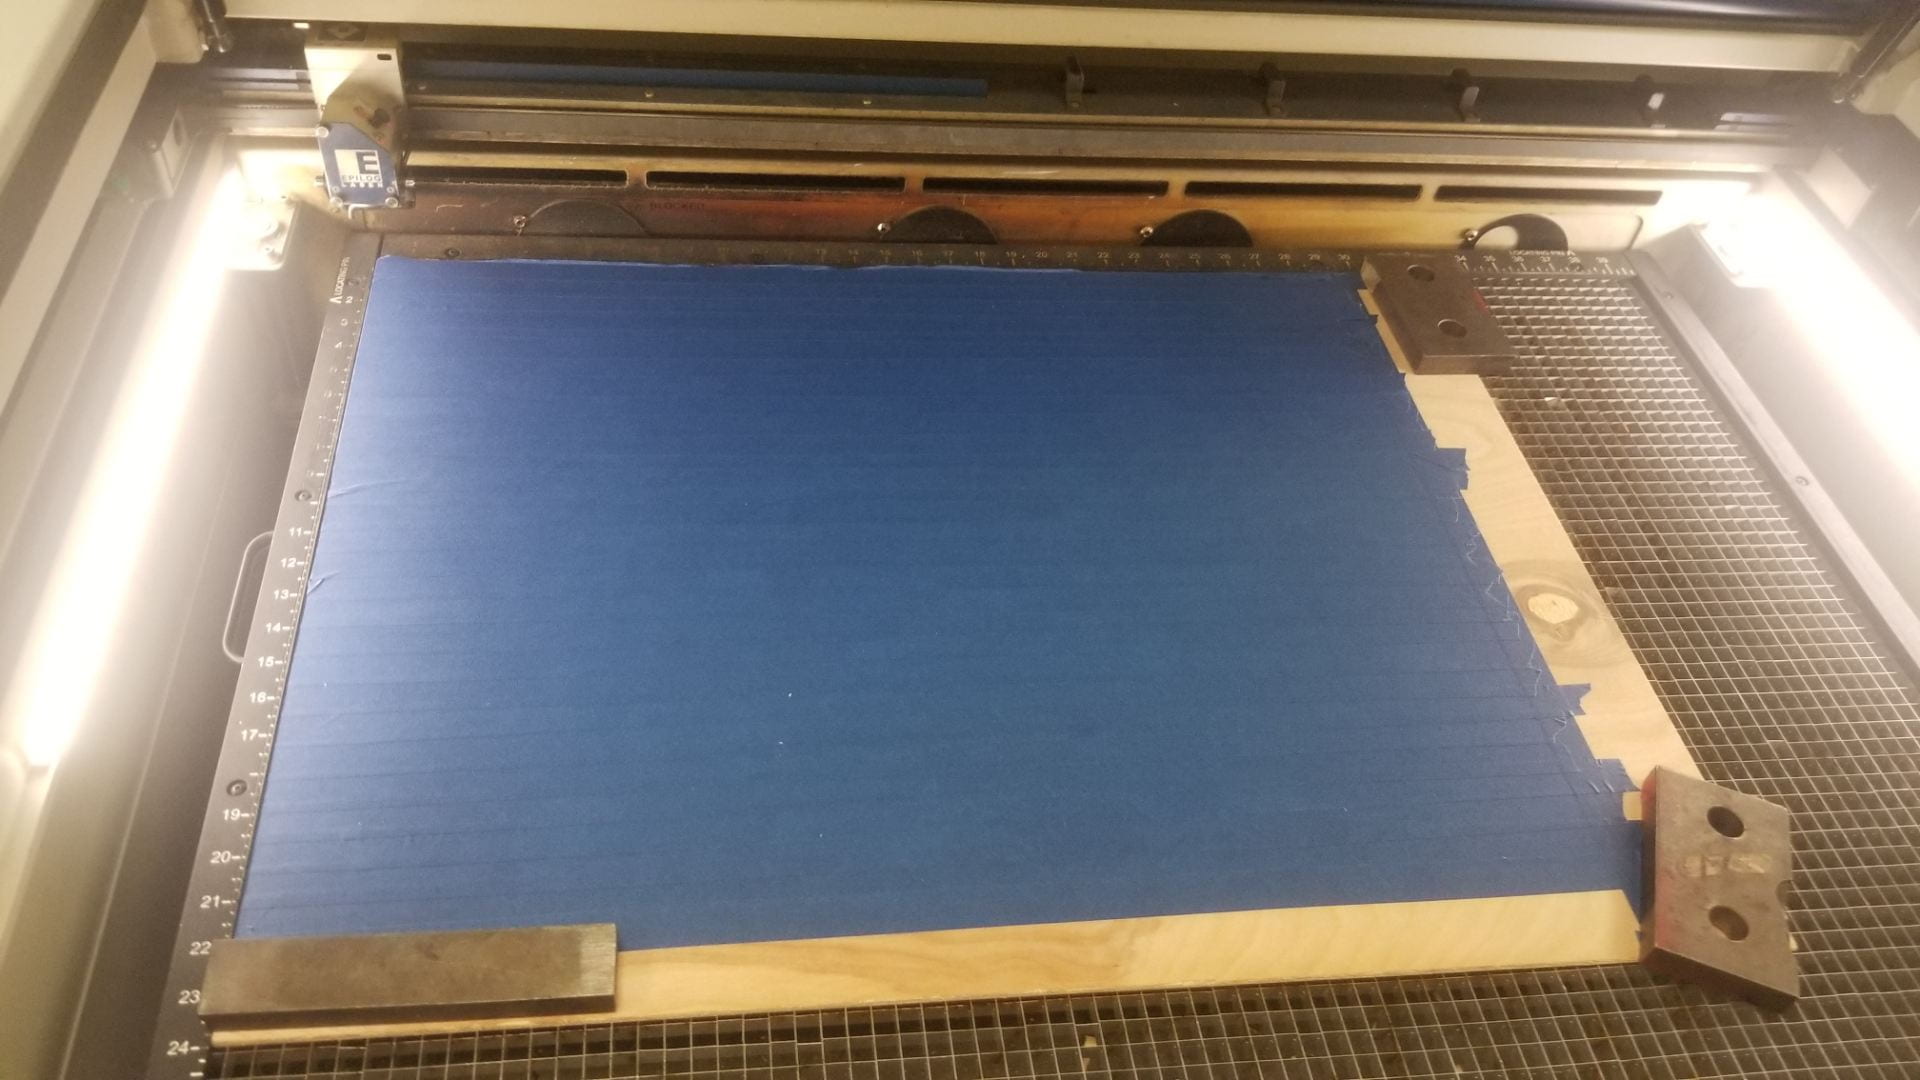
I tested my engraving on a piece of scrap wood to check that the settings worked well, was satisfied with the test, and began making the box by running the engravings from my PDF onto my plywood. I then masked the plywood with blue painter’s tape to protect it during cutting, replaced it exactly where it was in the laser cutter, and ran the cutting vectors from my PDF on the plywood. With the pieces cut, all that I had to do was peel off the masking, do a light sanding as the tape had pulled up some splinters, and put the pieces together. Some finger joints had very tight fits, but they came together just fine with a few taps from a rubber mallet. The assembled box faces some issues from warping, but it holds together well aside from some slight separation at the corners.
This project took me 6 hours and used one sheet of 1/4″ plywood with a half roll of painters tape for a total material and labor cost of $57. Further boxes could be made for a cost of $9 materials and $8 labor, as it took one hour to engrave, cut, and assemble the box. For machine and software costs, Adobe Illustrator access costs $21/month, and the laser cutter has a posted price of $25k-45k
Cost Breakdown
6 hours * $8/hr (wage I make at the Hoot) = $48
1/4″ plywood ~ $5 from OEDK
Painter’s tape = $4 at Home Depot
