I haven’t had any prior experience to using the laser cutter. Up until now, in every engineering design project, I would always delegate away the opportunity to use the laser cutter for fear of not using it correctly.
I decided I was going to create a decorative box that would have several of my favorite video games on the cover as well a cover of Batman vs Superman. First things first, I had to get the parameters of the box.
In the beginning I first had to measure the thickness of the wood so that when I created my box, it would still be able to fit snugly.

Measurement Of Wood
After doing that measurement, I decided to also wrap the outside of the wood in masking tape so that I would be able to reduce the effect of scorch marks on my wood.
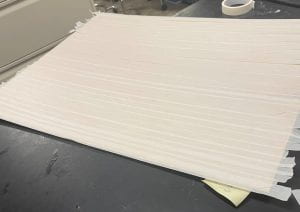
TAPED WOOD
After doing that, I went on to the MakerBox software and inputted all of the parameters that I had measured. While doing this project, I was working with other classmates, and we discovered that a good kerf fit was 0.001″ on the Epilog Laser Cutter (the one on the left as soon as you walk into the laser cutter room).
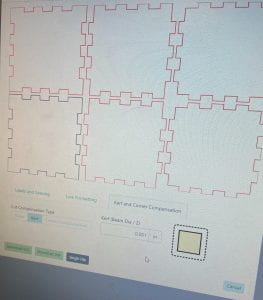
Inputting Parameters Into The Software
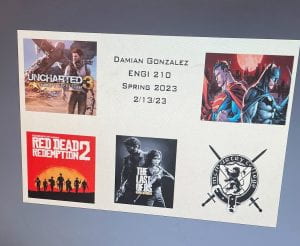
After that, I went into the computer room so that I would be able to work on Adobe Illustrator and create the box that I would want. After ungrouping and then creating shapes from the lines using the hot keys, the hardest part came next. I had from the beginning wanted to create essentially my love letter to gaming and essentially everything nerdy about me. I knew I had to leave off two squares for the information about myself and one for the college logo. I then went online and used Adobe SVG converter, so that I could convert images into vectorized forms. This was the hardest part because I couldn’t pick any random picture. I had to convert an image and then check to see the quality of the vectorized image. If the quality was too low, I would have to continue looking for another of the same image. An example of converting an image to an SVG file is shown below.

Converting Image To SVG File
How It Looks In Adobe Illustrator
Once thing that I forgot to take a picture of was that I converted all of the images into greyscale. I had to do this step so that the laser cutter could know what the intensity should be for the raser-etching of each image.
After that, it was time for cutting. I ran the first job, and it initially looked good. However, upon further inspection, I found that the tape had created to thick of a layer that the etching was only on the tape, and the cut did not make it through half the wood. I had to remove the tape and then try again.
GG’s for first try
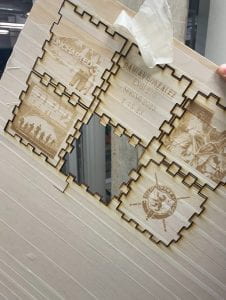
Before doing the next two cuts, I increased the intensity of both the etching and the cut to make sure it went through. I also did a better job of making sure my wood was flat with the provided weights. Using those weights, I was able to achieve a semi flat surface (it should be noted that my wood was really warped).
Below is how the box and the images turned out. I also made a second box to show that my process was repeatable.
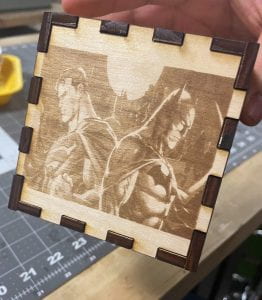
Batman vs Superman
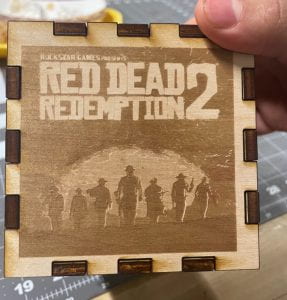
Read Dead Redemption 2 Cover
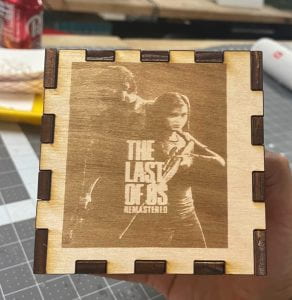
Last Of Us Cover (I swear I was a fan before the show)
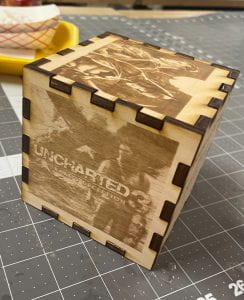
Uncharted 3 Cover
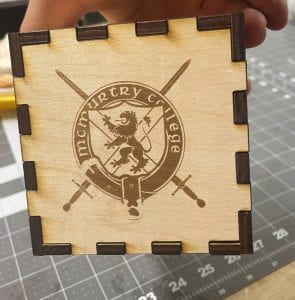
McMurtry Logo
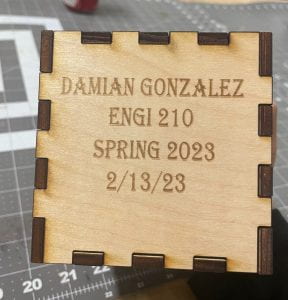
Info
After this project, I have to say that I learned how to proficiently use the laser cut and laser cut software. I learned what are some good practices to use when doing work with the laser cutter and its associated software. I really liked how my boxes came out. If there was one thing I could change, it would be for me to make the images to fit and flush each panel. Not only that, I wished that I did more work on the kerf, because my boxes did come out a little loose. Not only that, I wished that I changed the orientation of my wood so that the warped aspect about it would have had less than an effect.
As for the cost estimate,
It would have cost around 25 dollars for a 1/4″ by 2′ by 4′ of Birch Plywood. This was found by checking Home Depot.
It costs around 50 dollars for calipers. This was found on Home Depot as well.
An average Epilog Laser Cutter costs 29,900 dollars.
Adobe Illustrator is 20.99 dollars for one month.
It should be noted that the Box maker software was free.
The Cost of Labor is $7.25 for 3 hours so $21.75 in total.
In total, it costs around $67.74 to manufacture (to get the wood) and $30,017.74 to get all of the supplies and software needed to manufacture this box.
