The molding and casting assignment saw us creating a plastic cast of a human finger. This involved making a negative mold and filling it with casting material, which would take the shape of the finger. the fingers will serve as jacket hooks in the OEDK, so they have to be bent a certain way in order to be useful.
First step is creating the mold. The prescribed method is mixing alginate powder with water. When the two compounds come in contact with one another, they form a soft paste that eventually hardens into a plastic-gel substance. This material is flexible and can easily break apart if necessary, which makes it ideal for molding a more complicated shape, such as a hooked finger.
After a couple of text mixes, I made an alginate mold that I was initially satisfied with.
The first alginate mold.
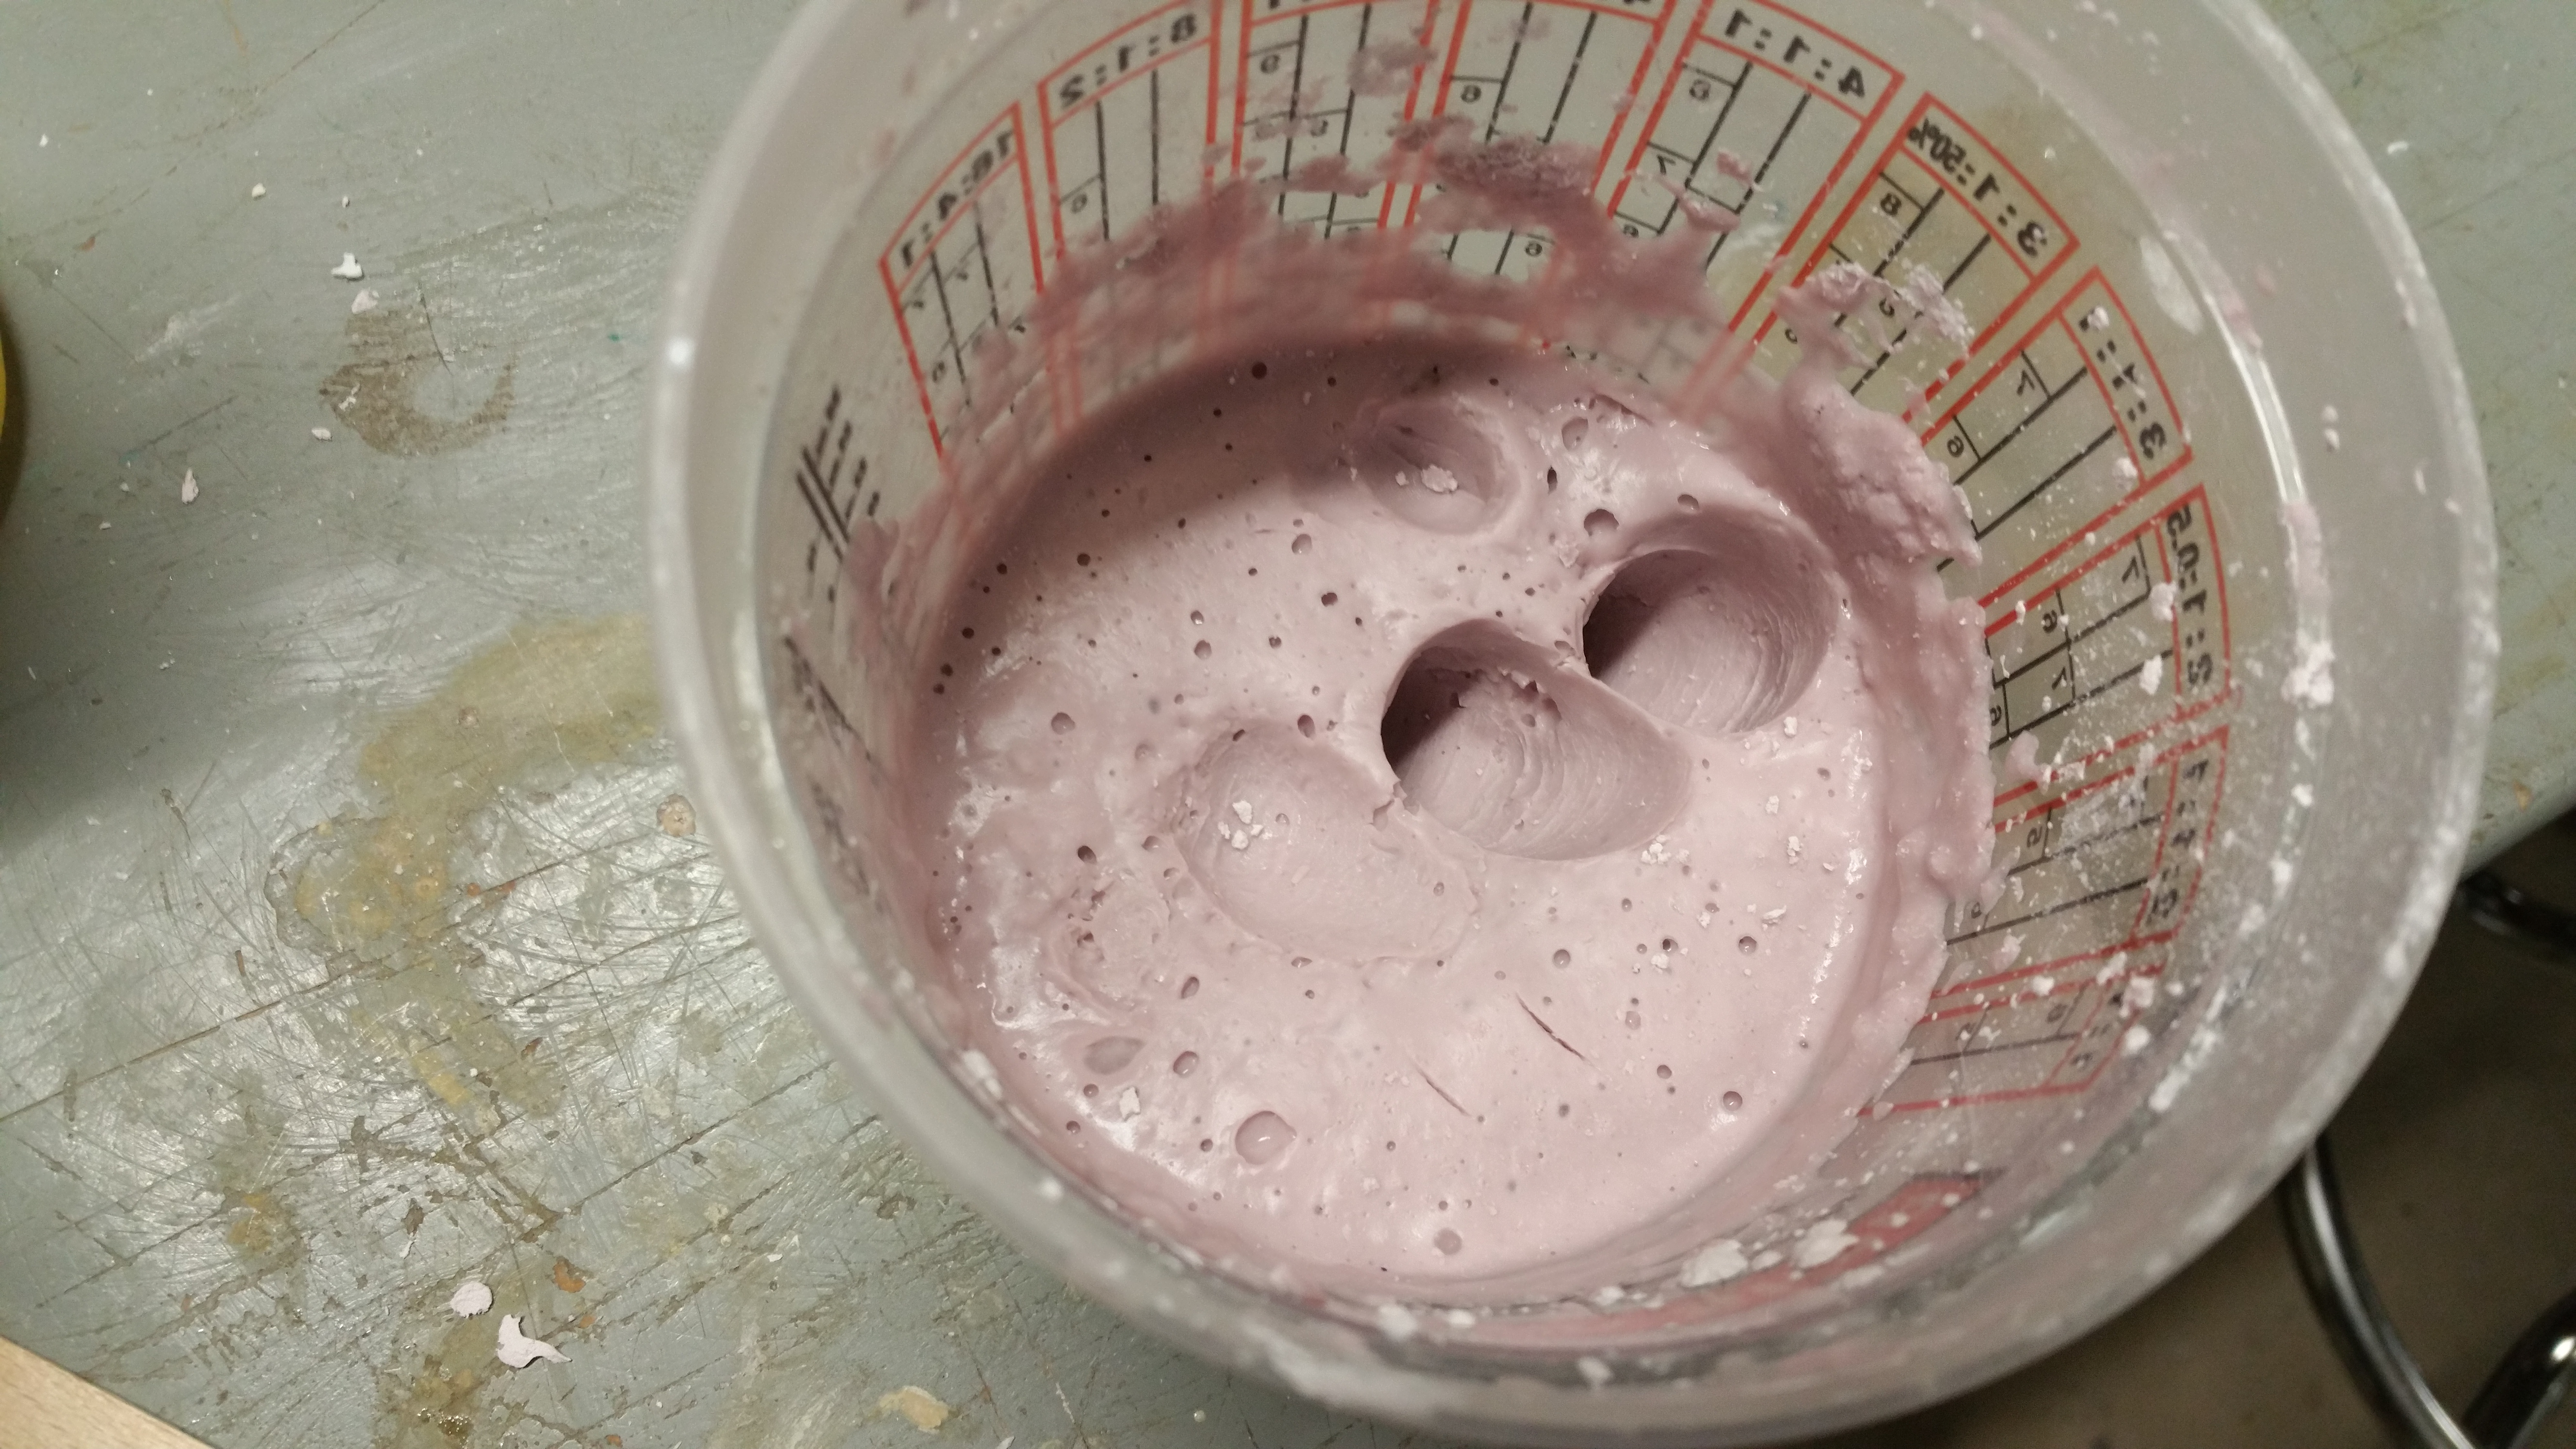
Next step is creating the casting material. In this case, the material we used is Smooth-On 300Q liquid plastic mix. The formula comes in two bottles containing two separate compounds. Each compound has to be poured out an stirred in separatel cups, but in equal volume amounts. When the two ingredients are mixed, they form a compound that hardens into a plastic material within minutes. This is very fast, so there is little room for error once the two ingredients are mixed.
Unfortunately, I inadvertently made two much mix for this mold, and had leftover plastic harden in the paper mixing cup I used. This happened even after extra mix pooled in every indent in the surface of the alginate mold.

I made too much plastic; it’s everywhere.
However, much worse than the wasted plastic was the result of this cast.
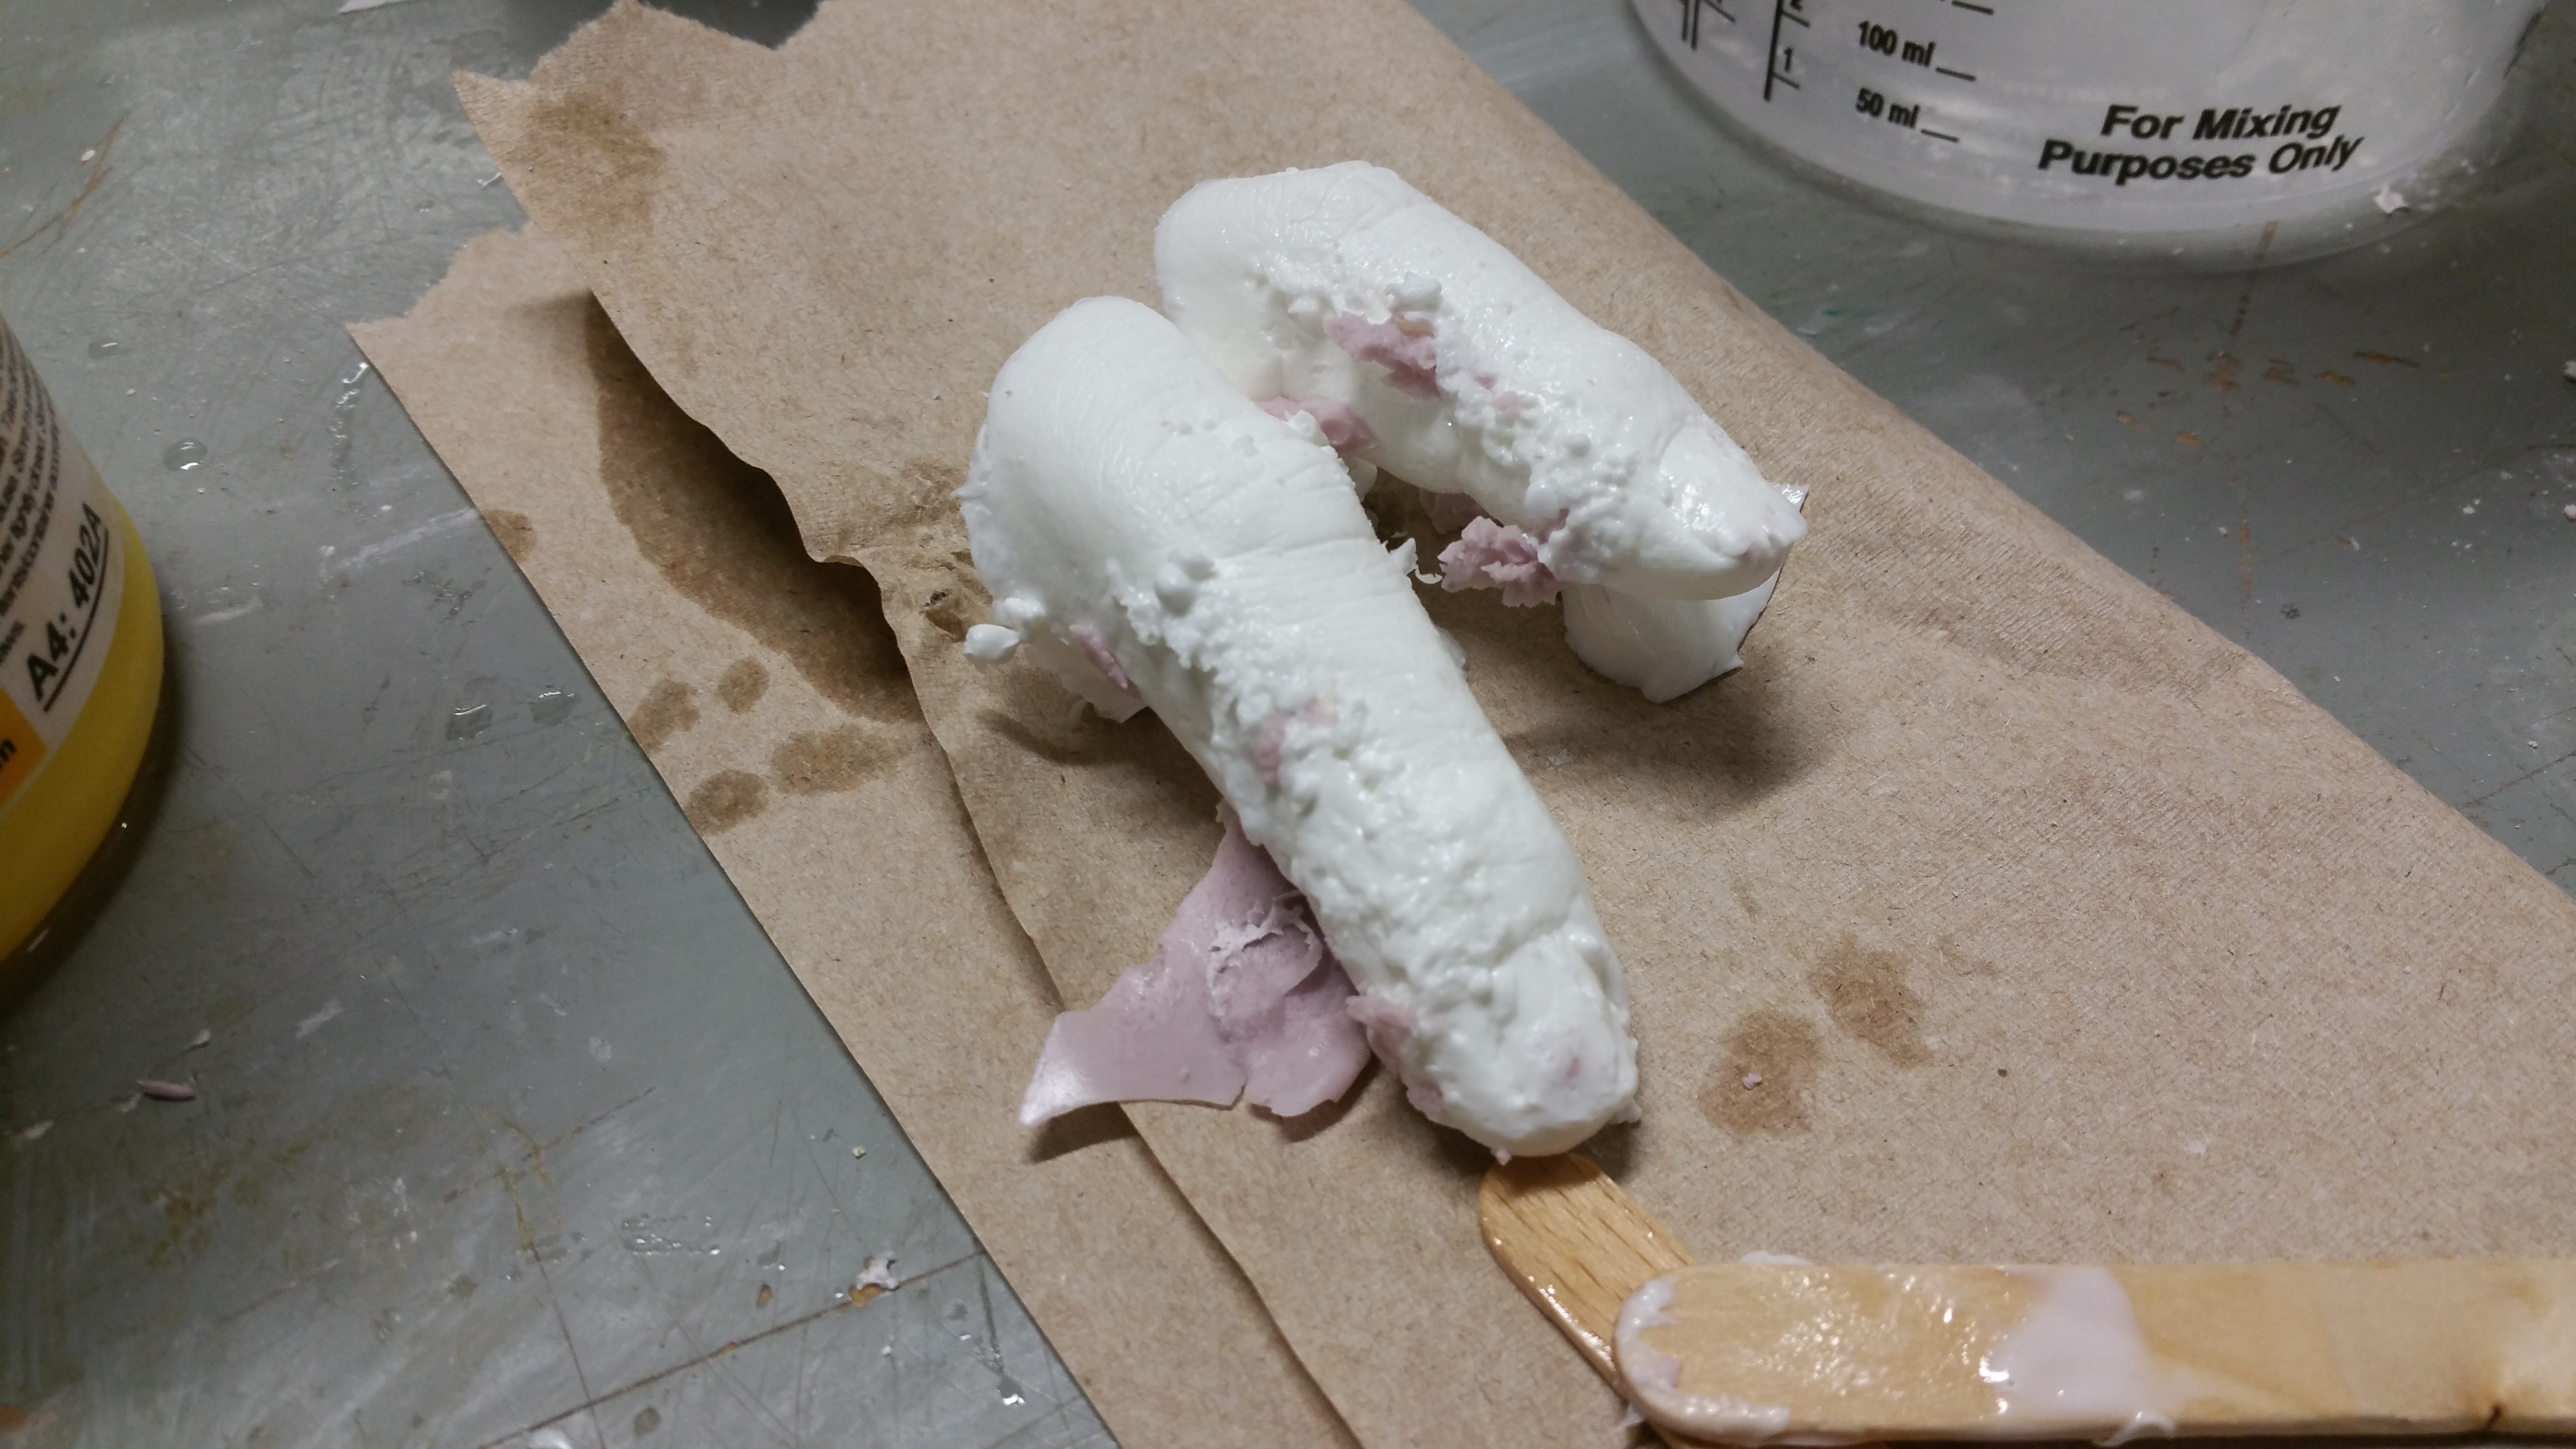
The fingers made from the first alginate mold.
The leading theory for why these fingers turned out the way they did is because I did not sit still enough when I stuck my fingers in the alginate mold. After attempting to post-process this set of fingers, I decided instead to just make a second mold.

The second alginate mold.
I liked the second mold much better. I stayed very still while my fingers were submerged in the alginate, and the results can be seen in the second set of fingers that were casted from it.
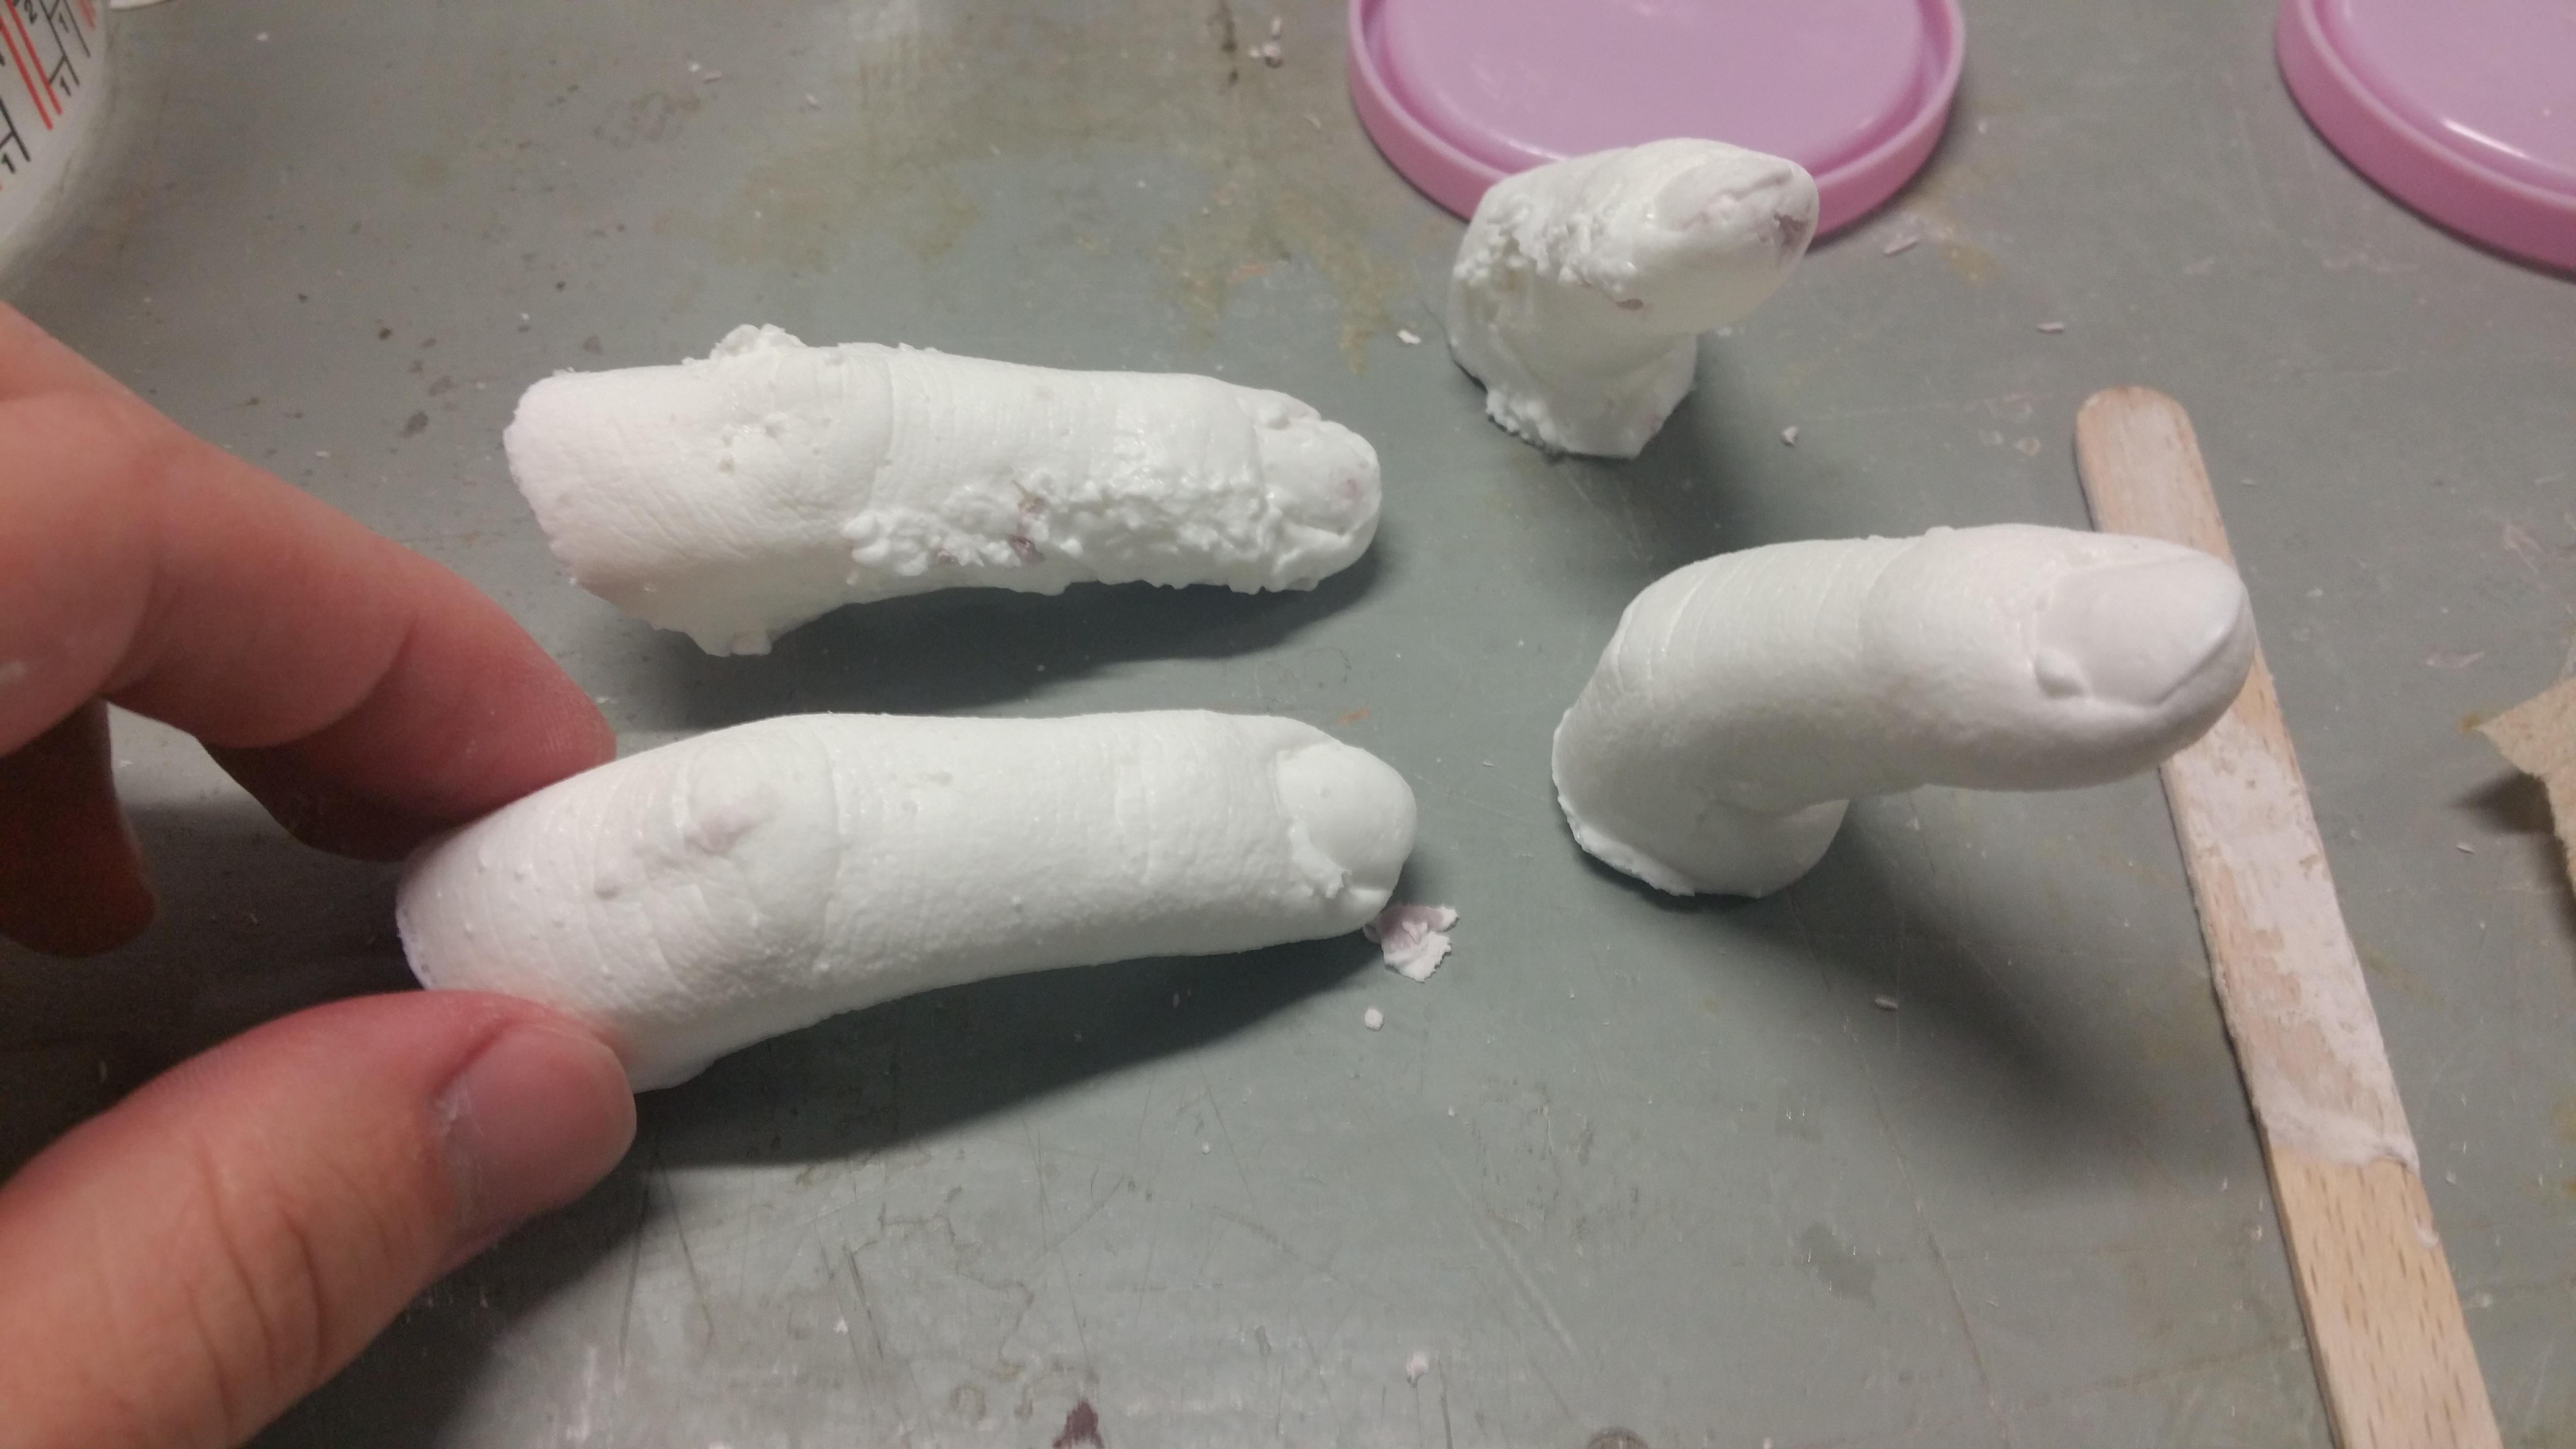
First set of fingers on top, second set on bottom.
I got to work post-processing this nicer looking set of fingers. I lightly sanded them to take off noticeable bumps and rough edges, as well as to remove the obvious artifacts that revealed how the fingers were made. The final result is shown below.
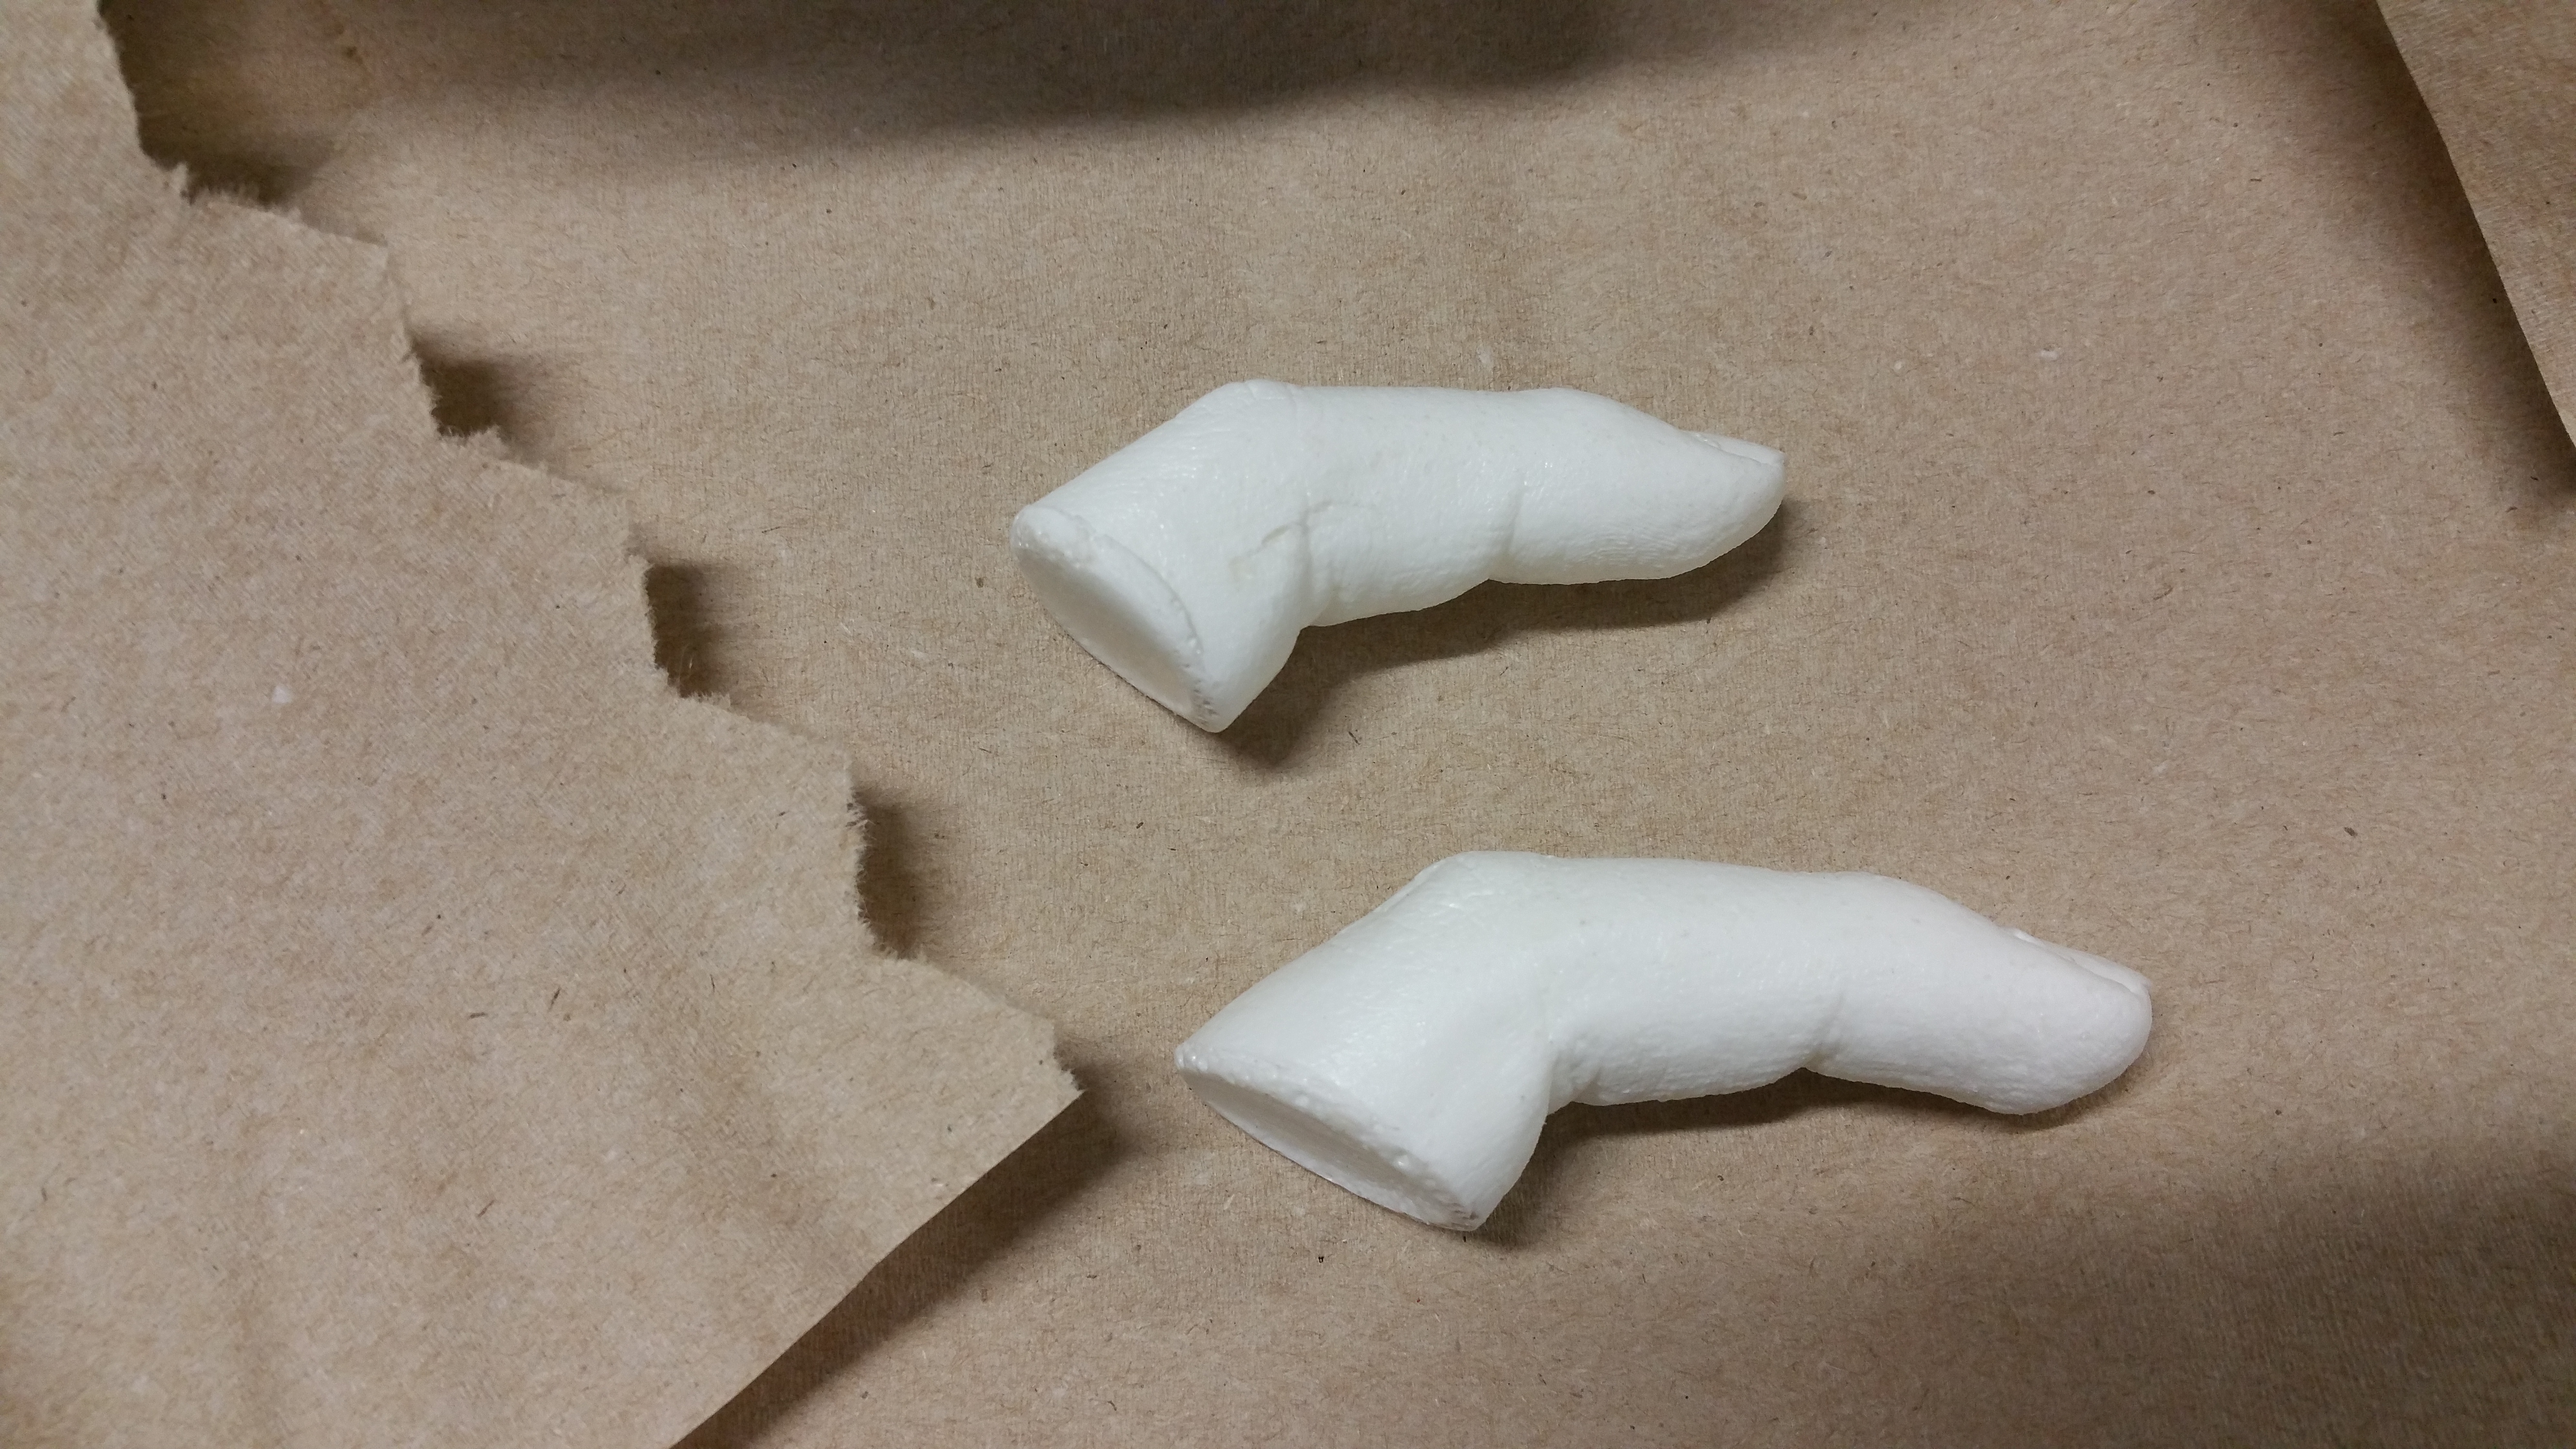
Final form for the fingers.
The directions state that I only had to make one finger, but I wanted to make two so I could choose the best between them. I did not expect to mess up the first mold bad enough that I would need to do it again. However, through trial and error I learned a lot about the molding process, and I had fun working with these materials.
