To cast the mold of my finger, I placed my finger in a mixture of warm water and alginate powder. In order to get the right ratio of powder to water I kept slowly sifting in more powder until the water could not absorb more powder and the consistency of the mixture became more gelatinous. I held my finger in the mold slightly flexed so it dried on a curved finger that could be set into a wall and used as a hook. I kept my held still and let the mold sit for 15 minutes, then removed my finger.
To cast the mold, I mixed equal parts of the parts A and B of Oomoo 300Q and poured in into the mold in two pours. On the first pour I filled half the mold, then shook and tapped it against the table to clear out any air bubbles. I repeated the same process after filling the entire mold on the second pour. I let the cast set overnight and removed the finger the next day. Doing two pours resulted in a high quality mold on my first try.
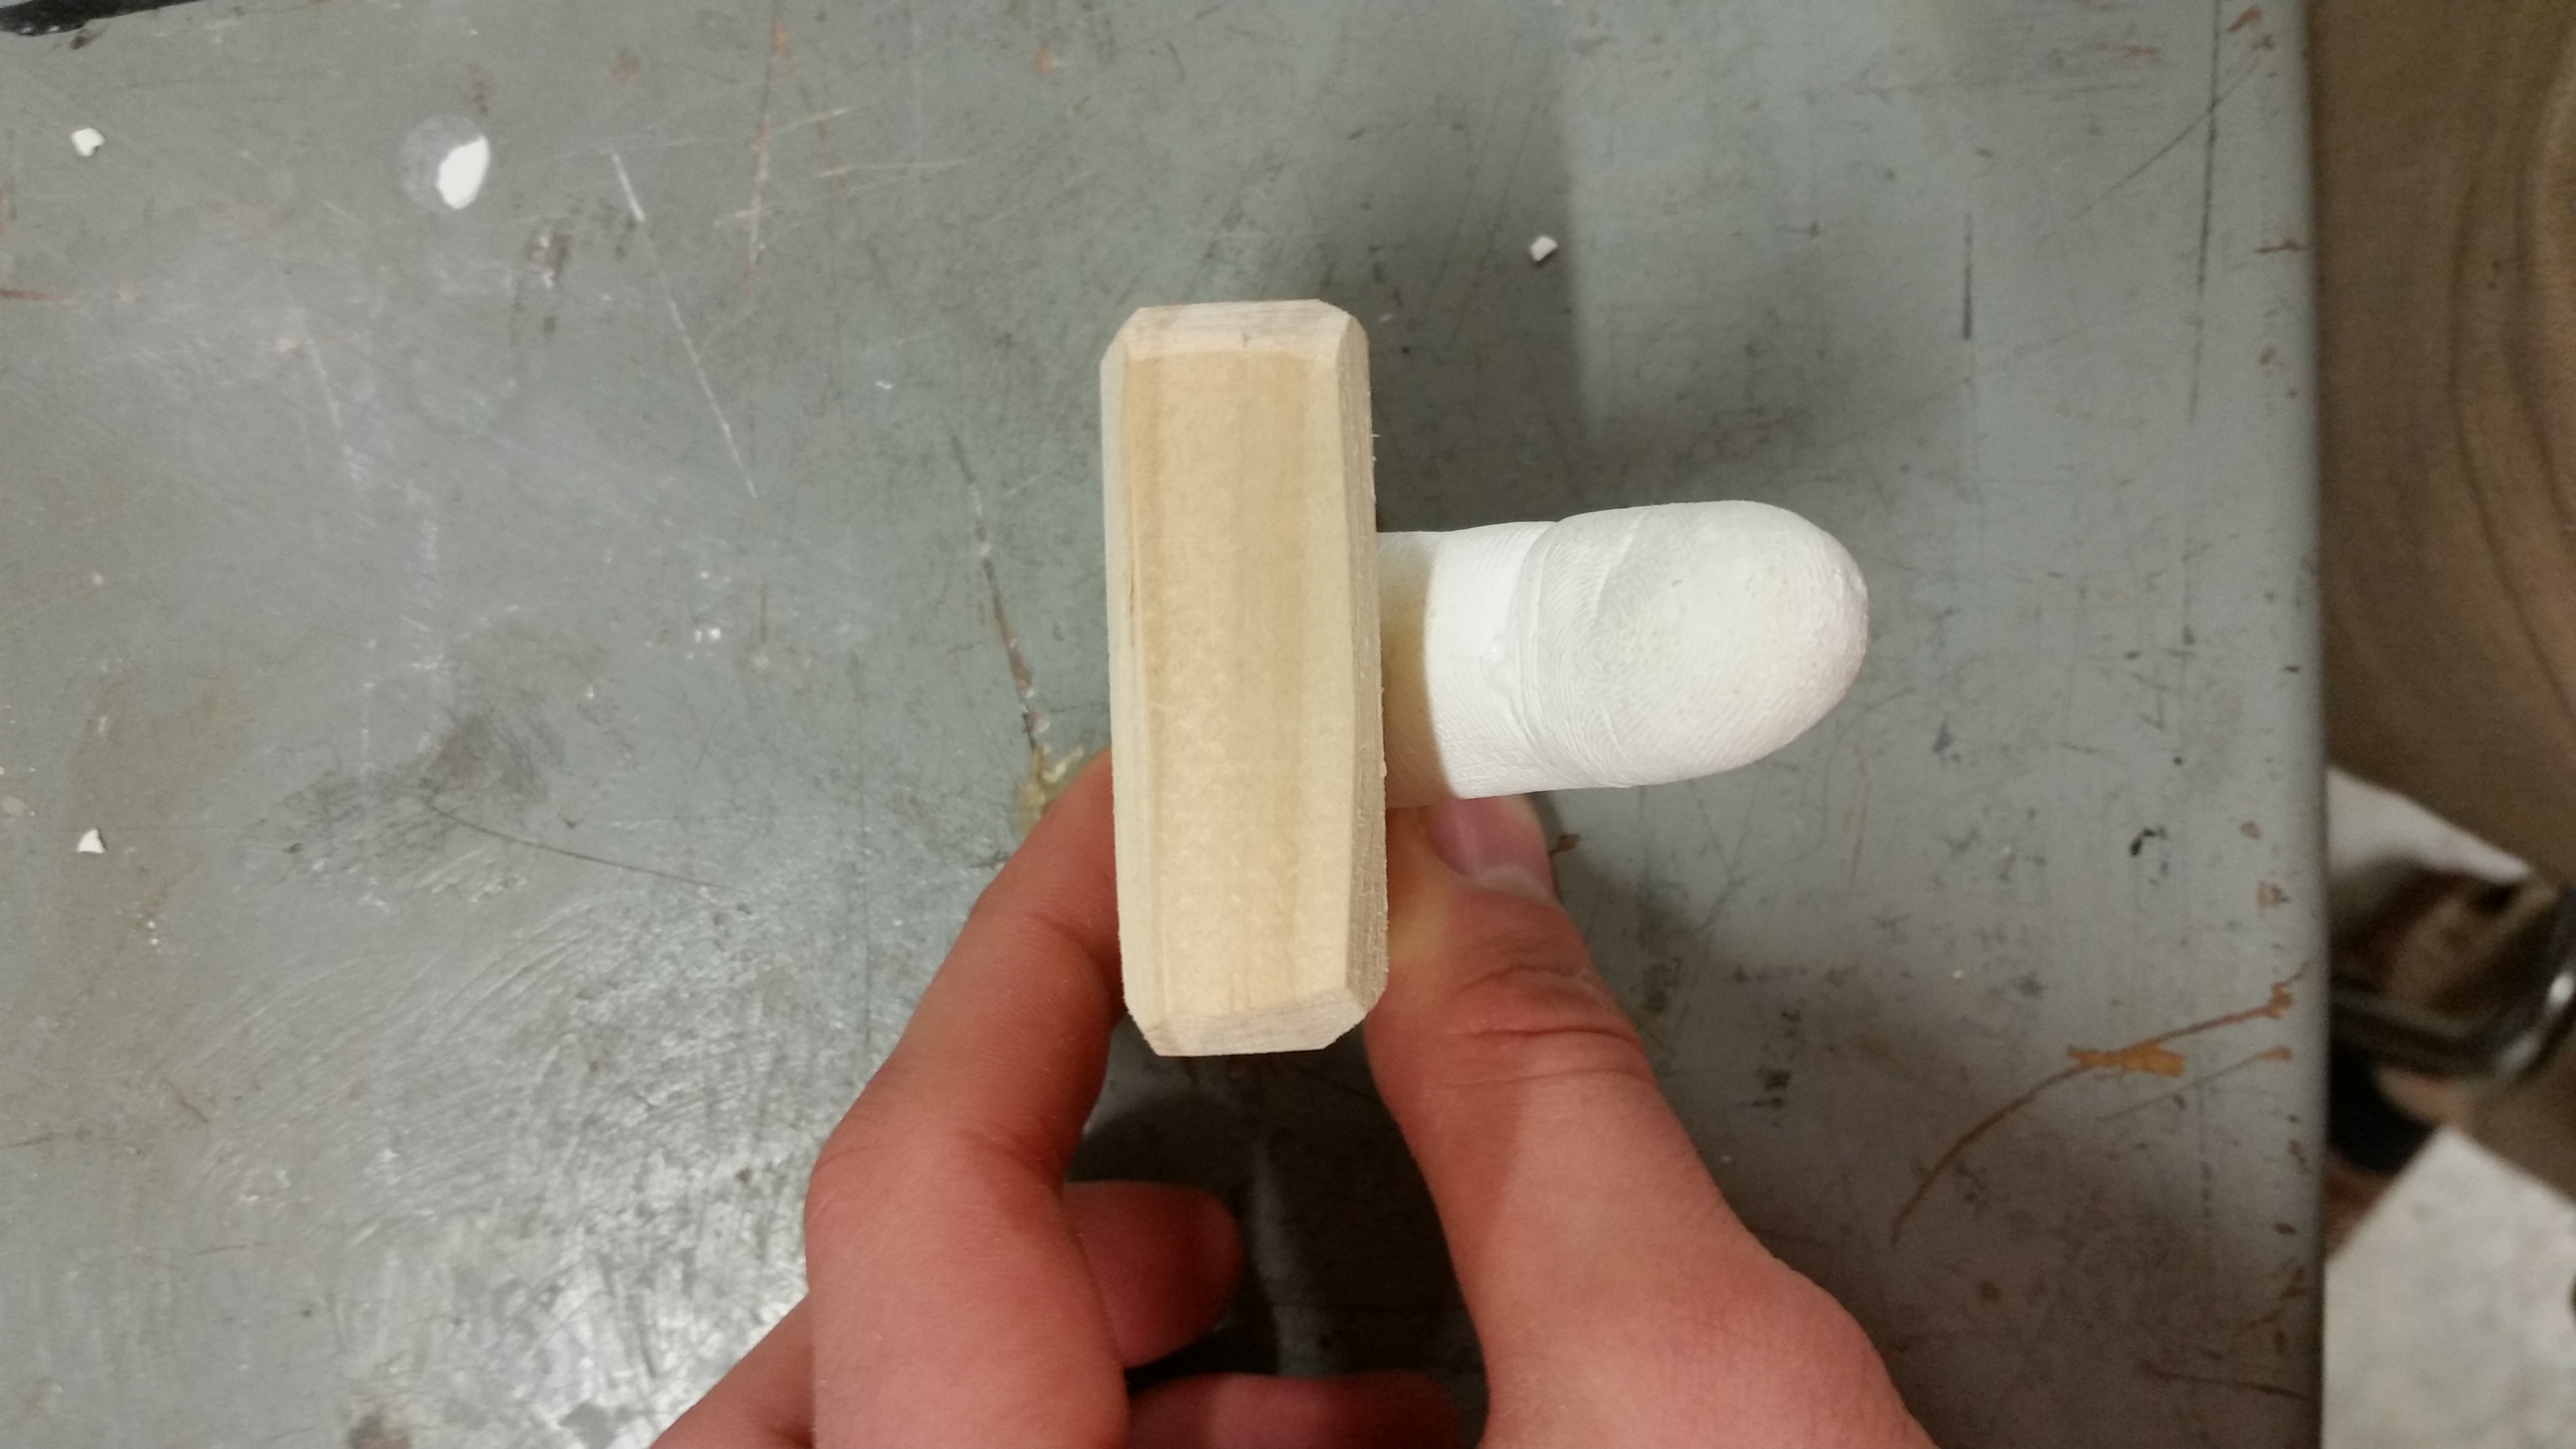
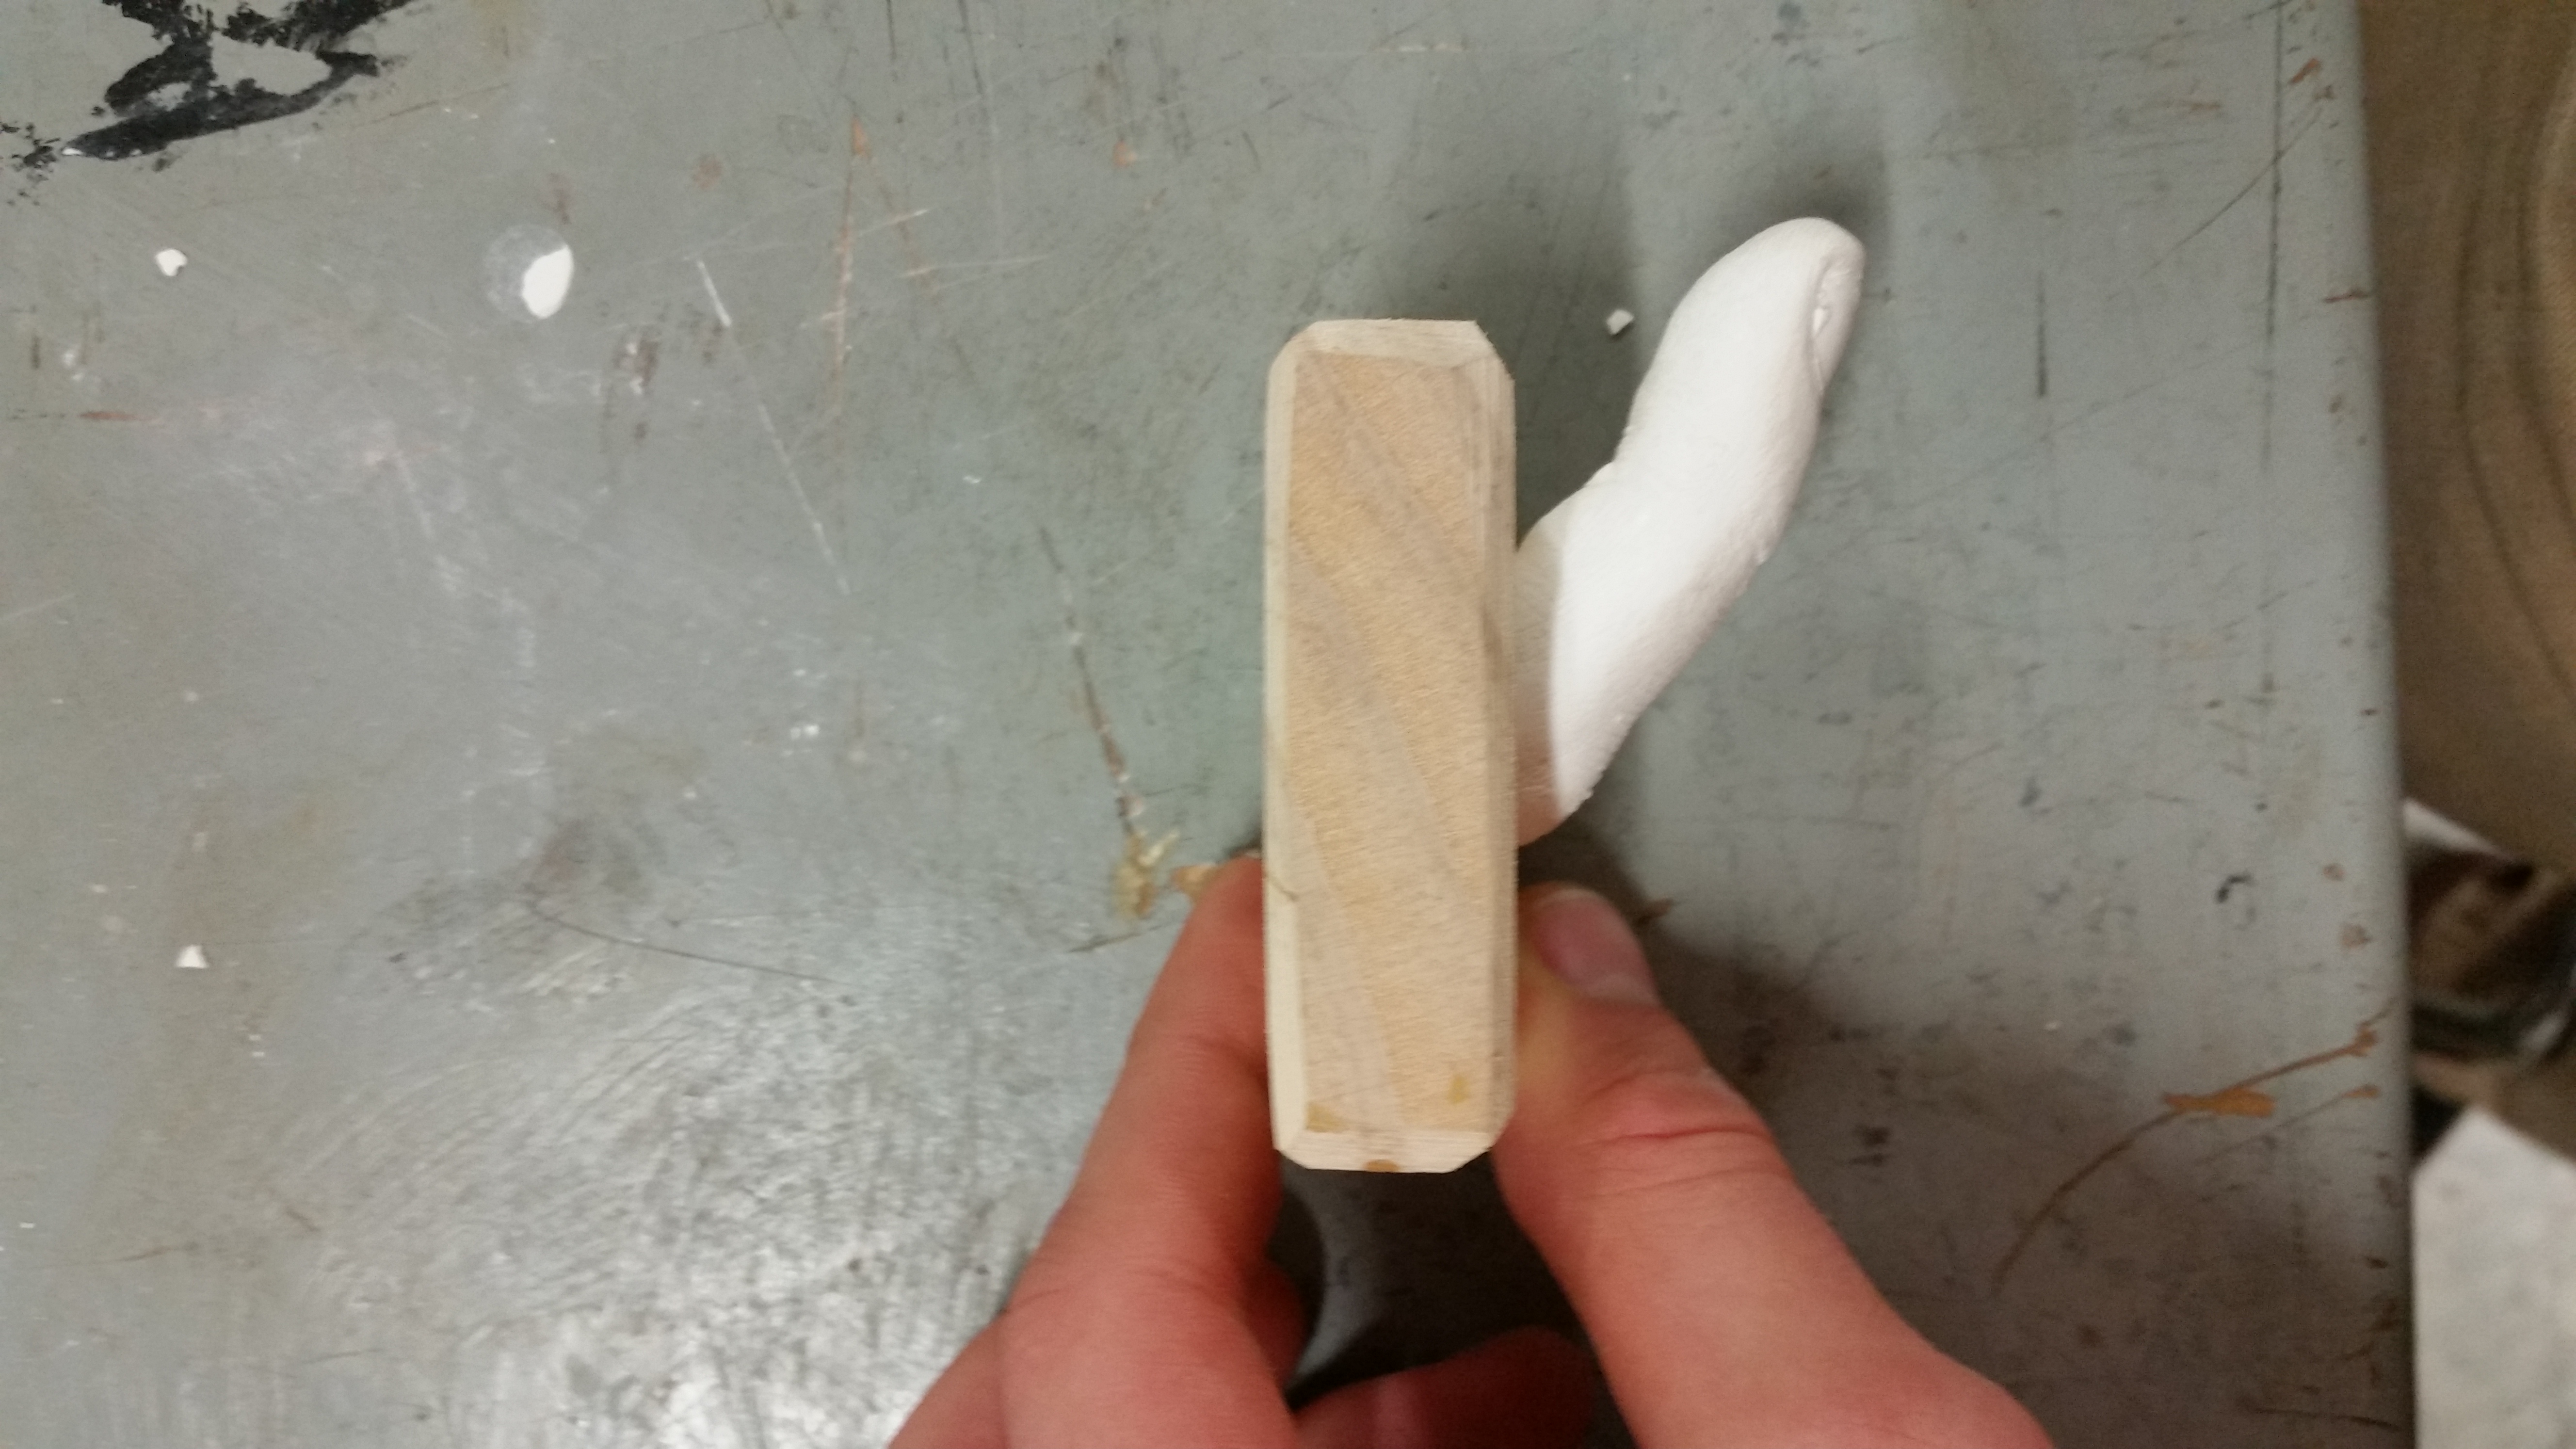
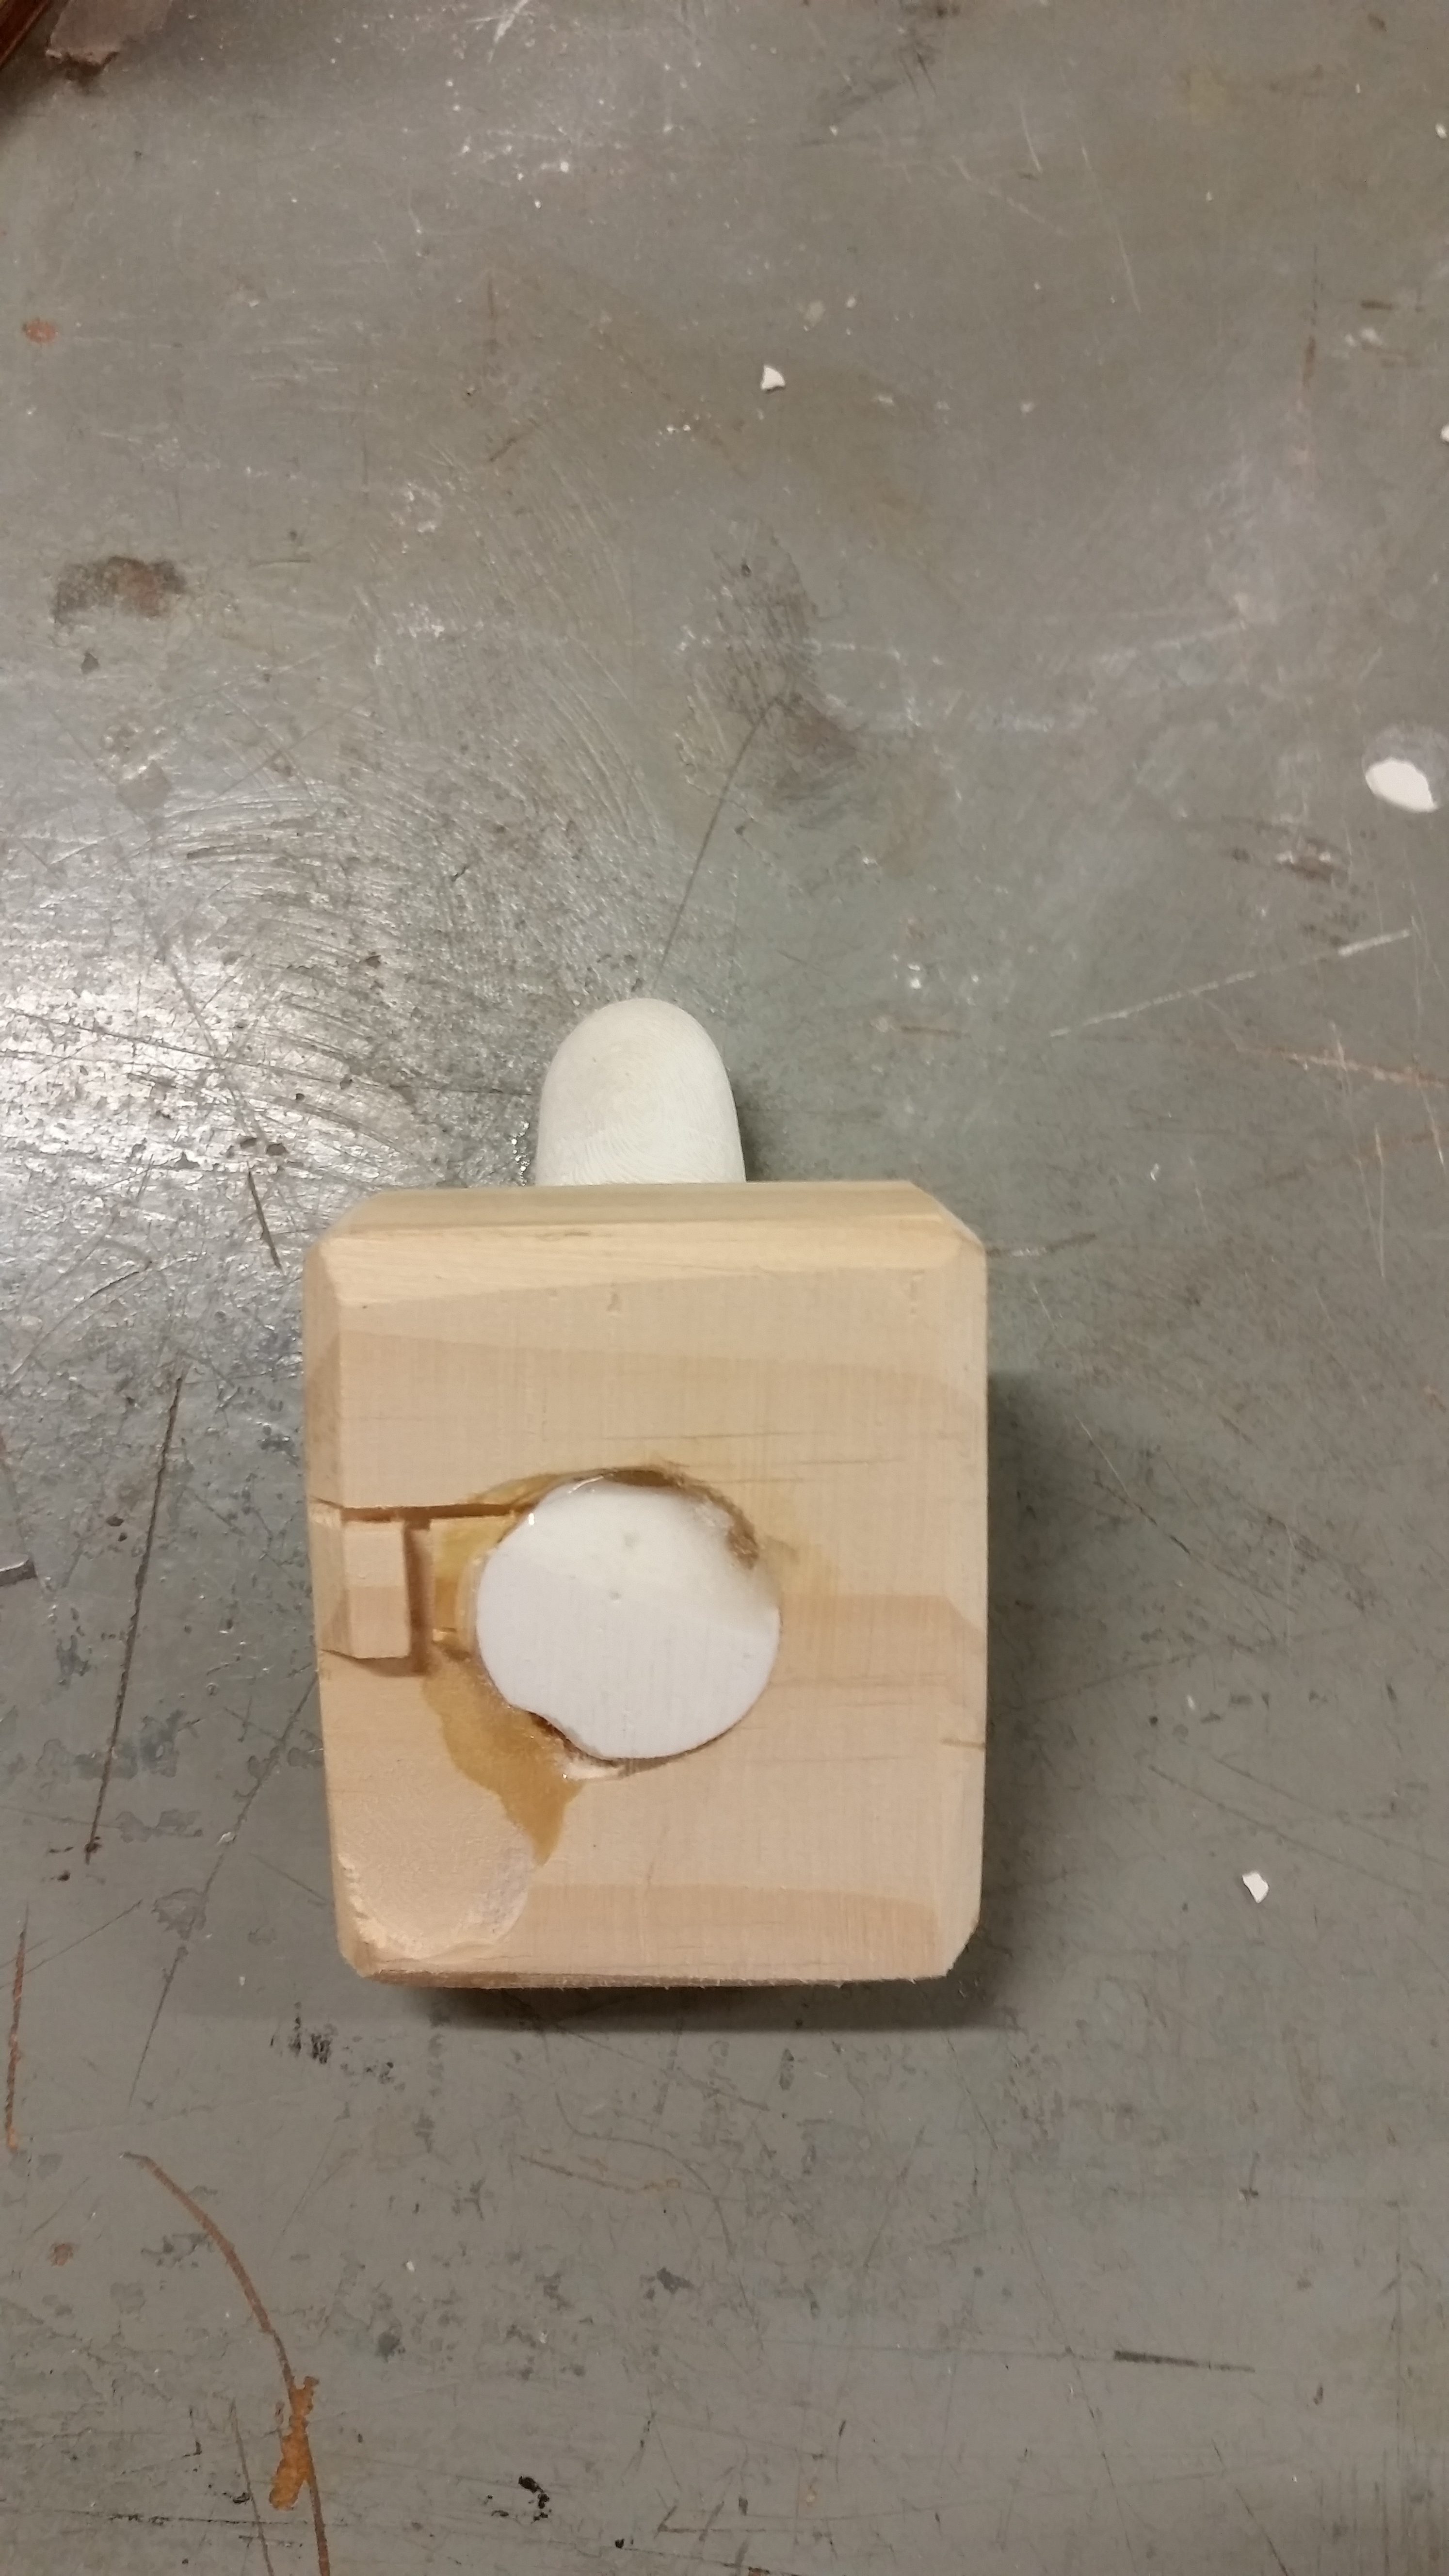
In order to turn my cast finger into a wall hook, I cut a hole in a block of scrap wood using a hole saw and put my finger through it. I had to play with the hole size a little to make sure the more slender part of my finger passed through the hole, but friction fit the thicker base part of my finger. I ended up using a mallet to get the final positioning in my block of wood. I then trimmed and sanded the block to be presentable and epoxied the base part of the finger in the hole to create a more secure attachment. Lastly, I used a belt sander to sand the back of the base, removing some excess mold to create a flat mounting surface. Now the hook could be attached to a wall via a wood screw through the wooden mounting block.