Dr. Wettergreen was right. Post-processing takes forever.
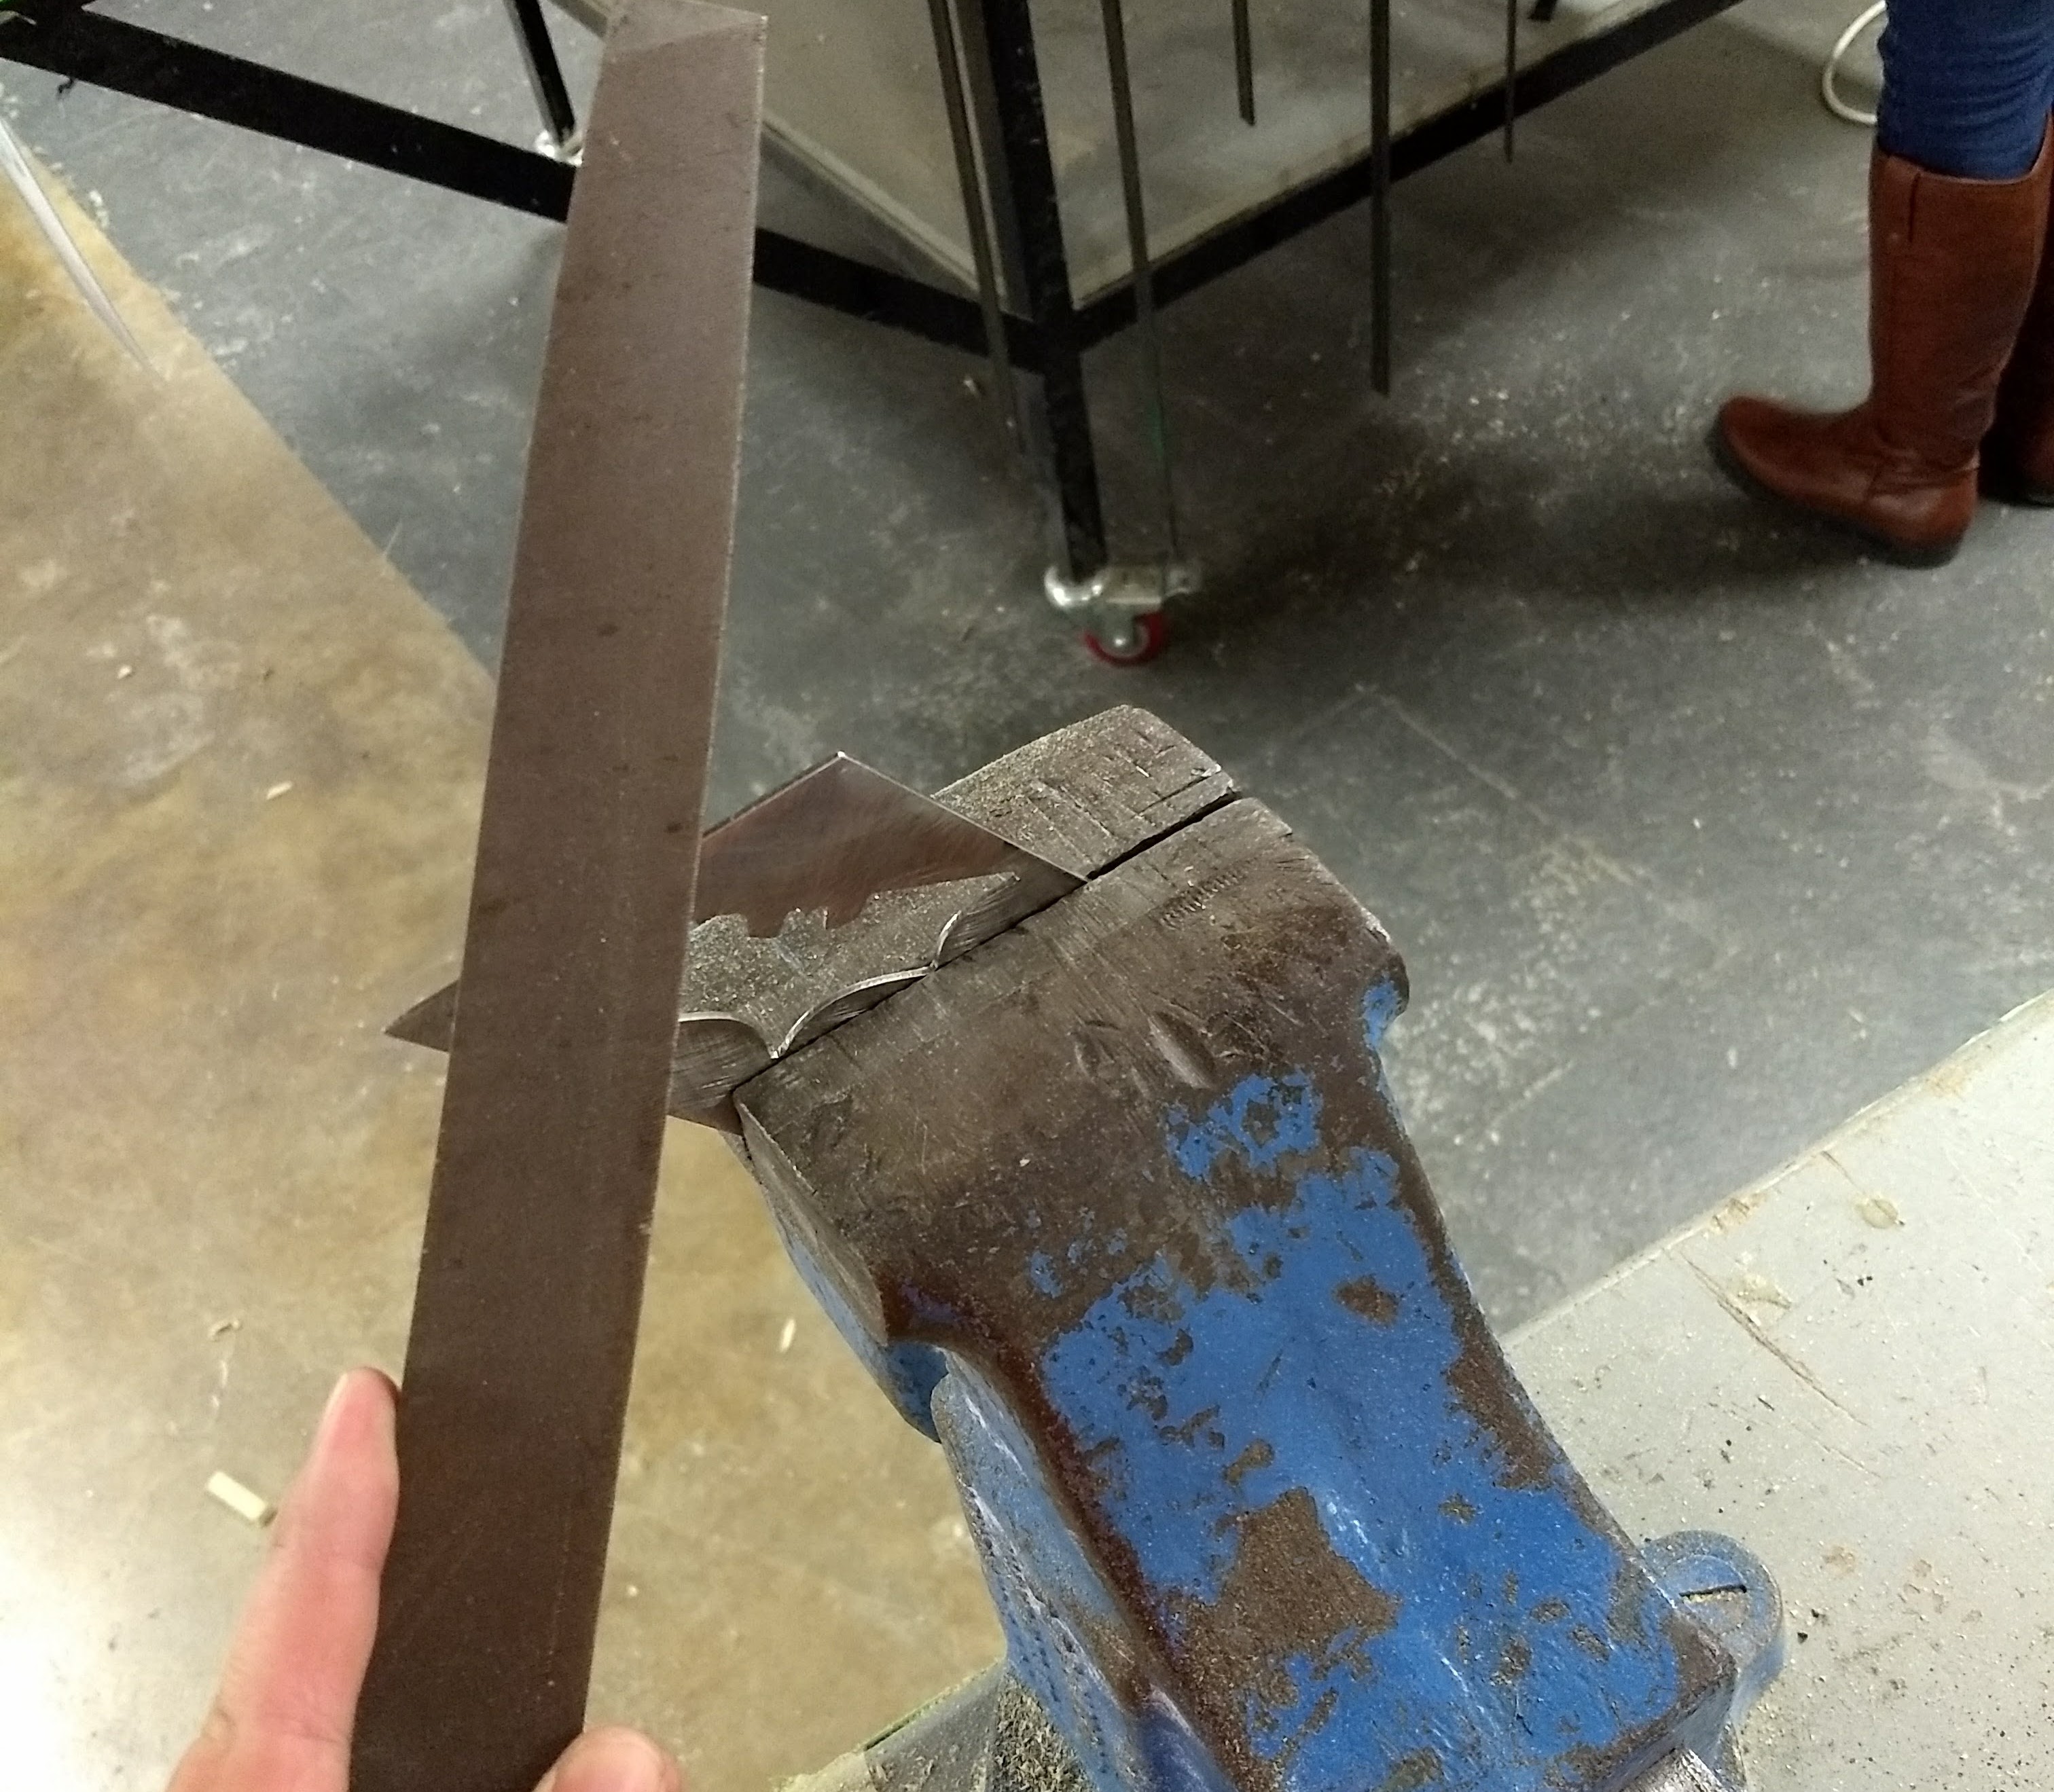
As an avid Christopher Nolan fan, and even more a Batman fan, the Dark Knight was easily the best muse for this project. Obviously, I started off at the plasma cutter, and made the masterpiece you can see below.
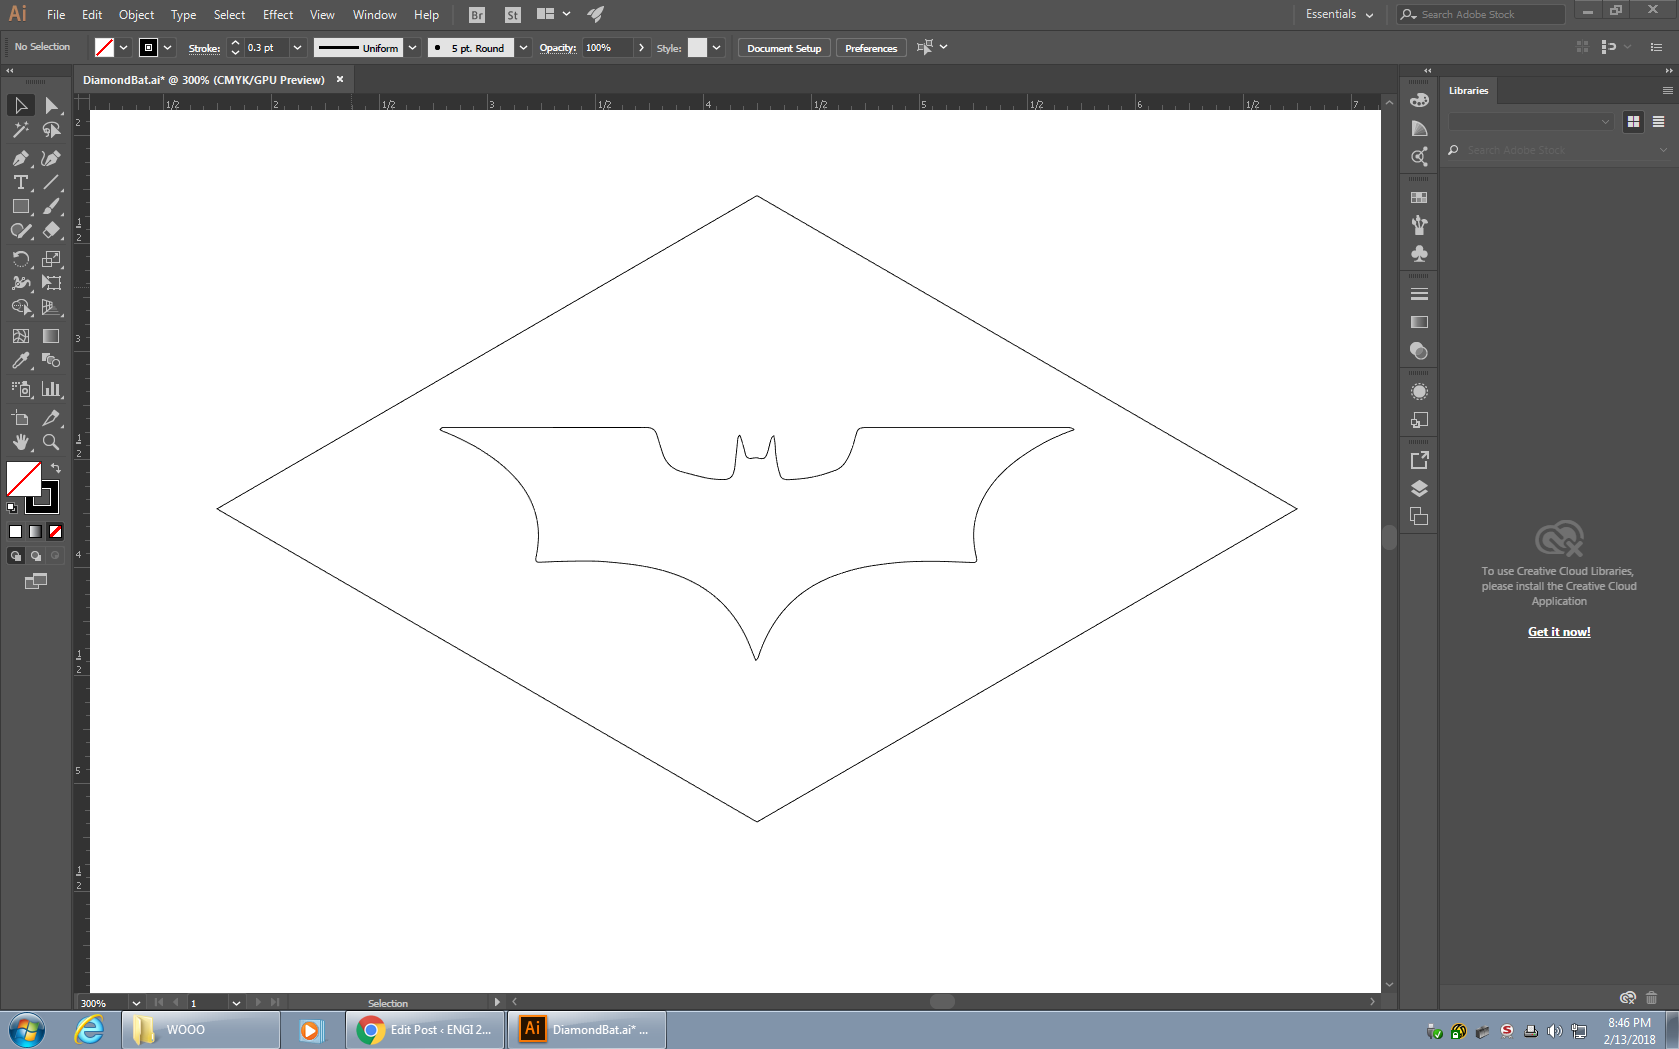
Batman Drawing
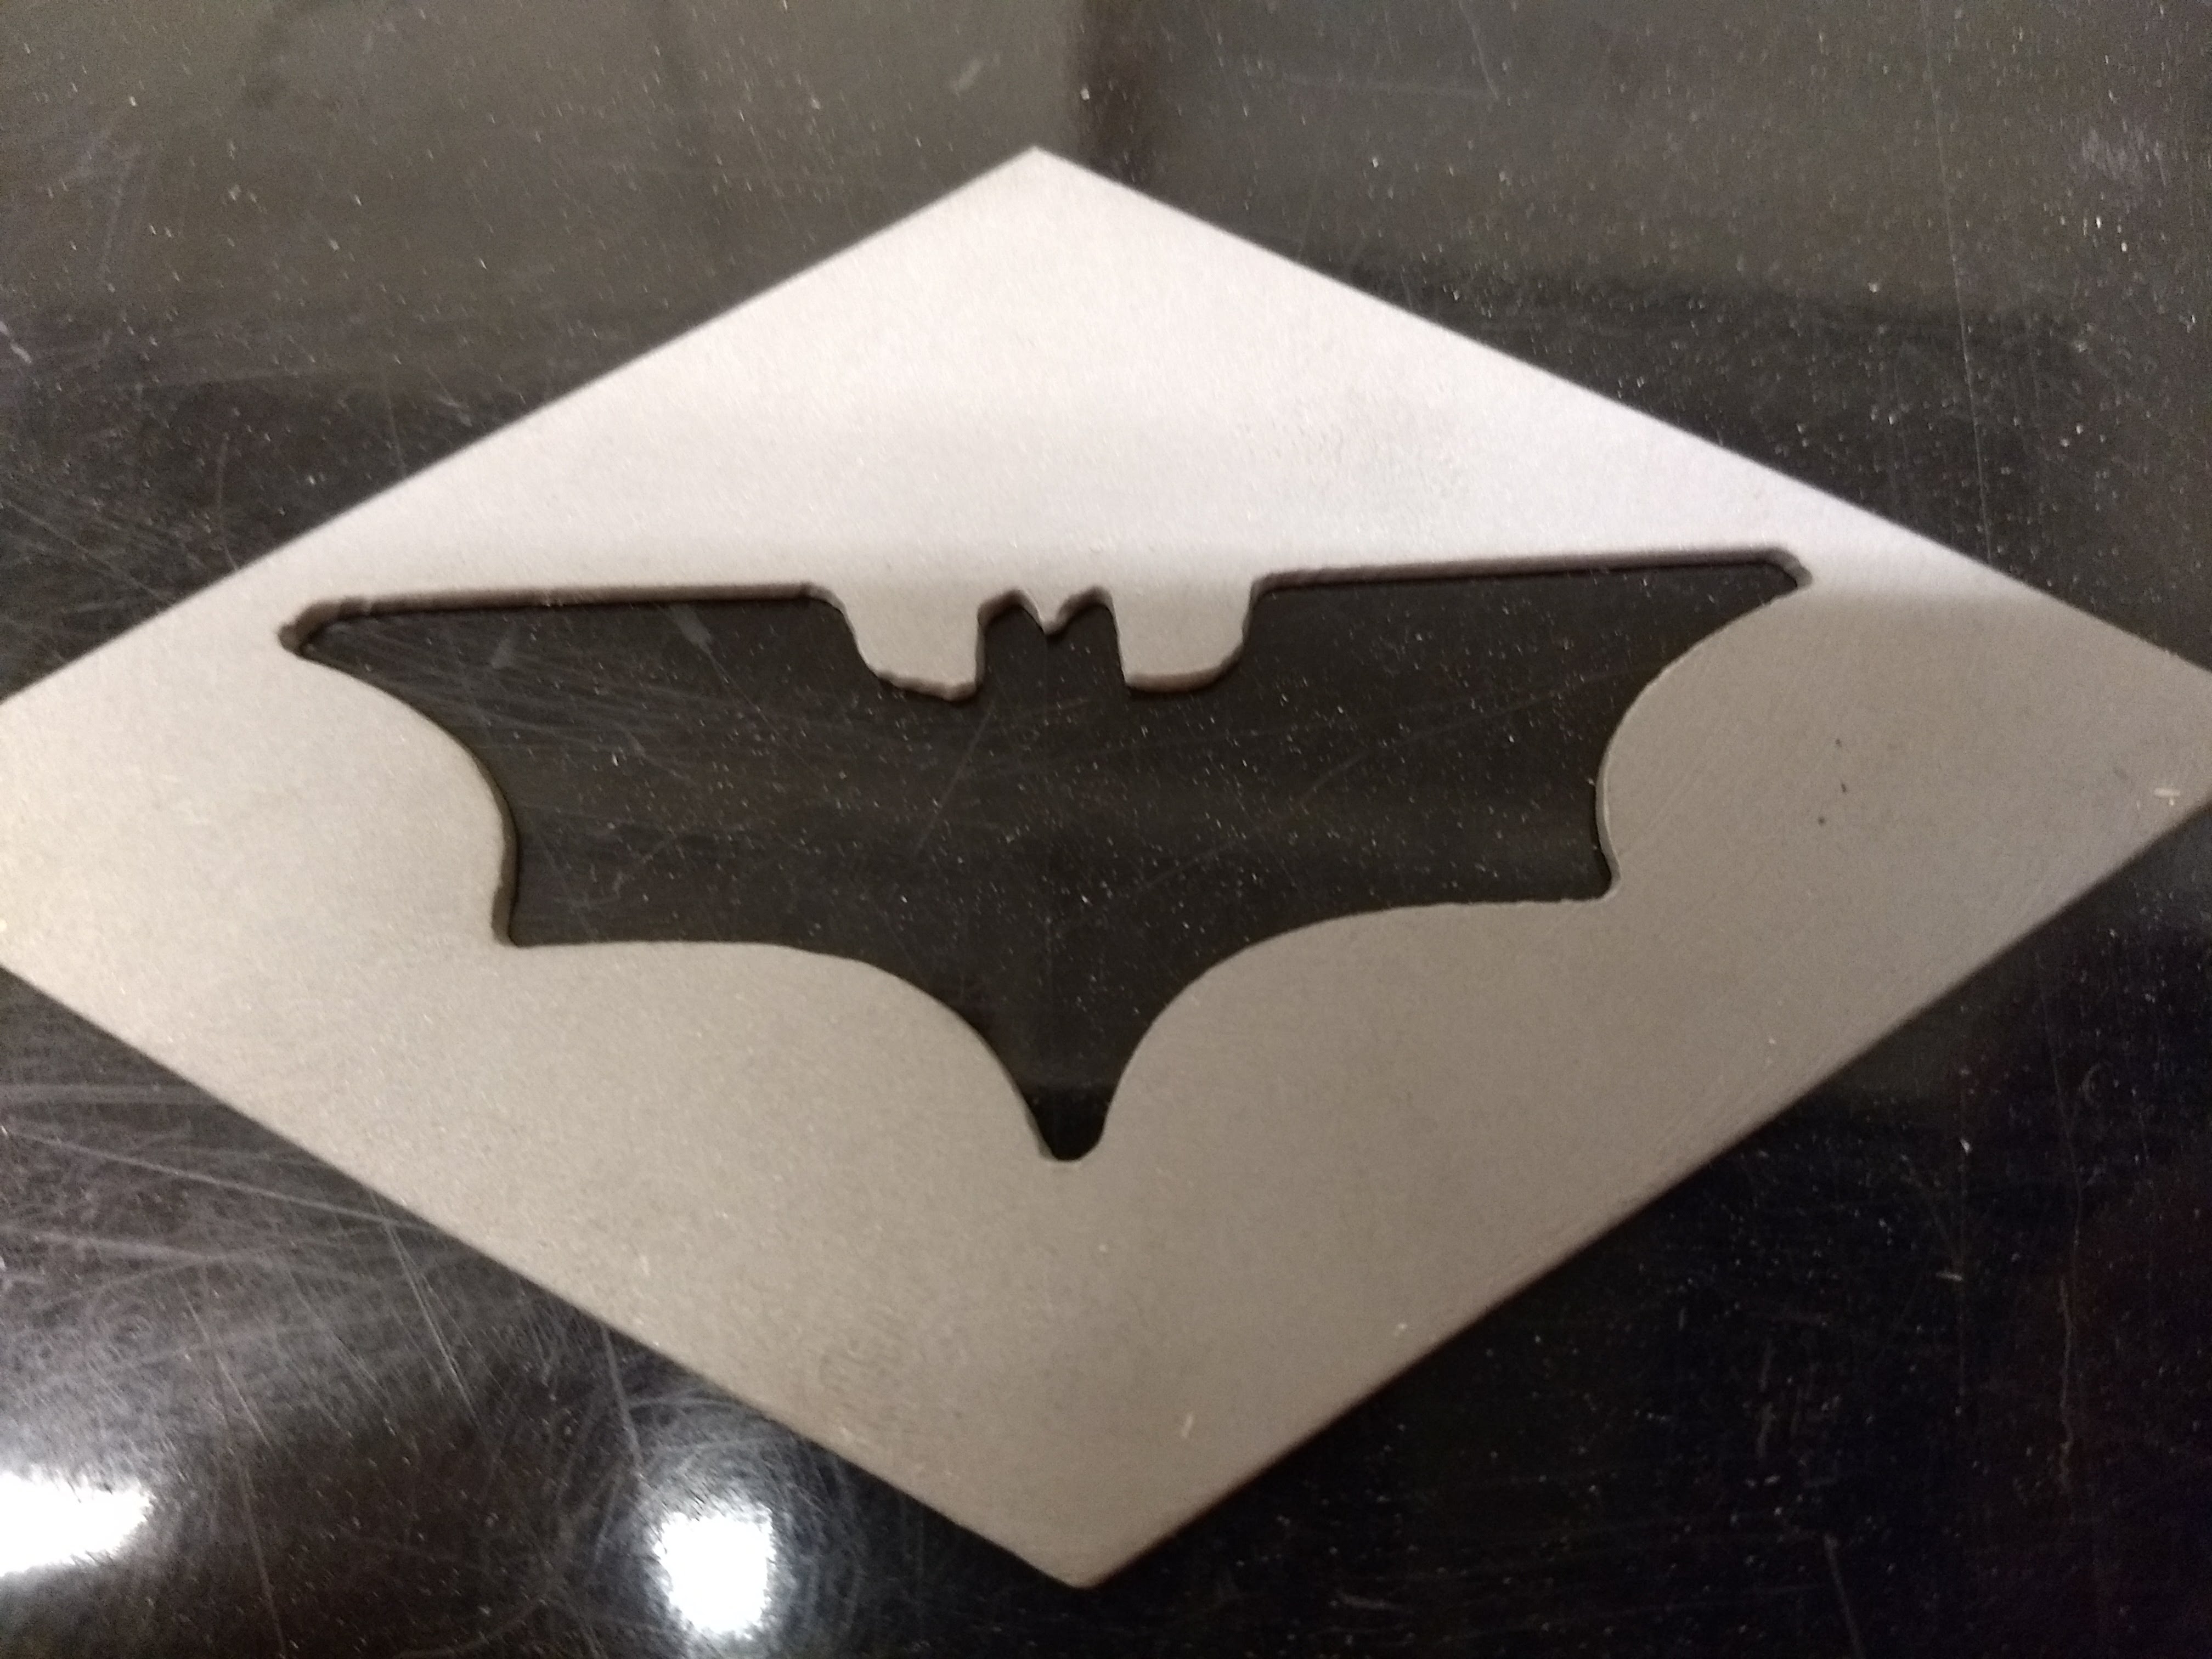
At first I had trouble getting the plasma cutter to cut the piece fully, because the Batman logo would cut first, fall partially out so that it stuck up vertically and stop the plasma cutter. To fix this, I rearranged the cut so that the bat would fall through the slots of the plasma cutter without interference. Then, I cut my five pieces, extras so that I could make sure my post processing would work.
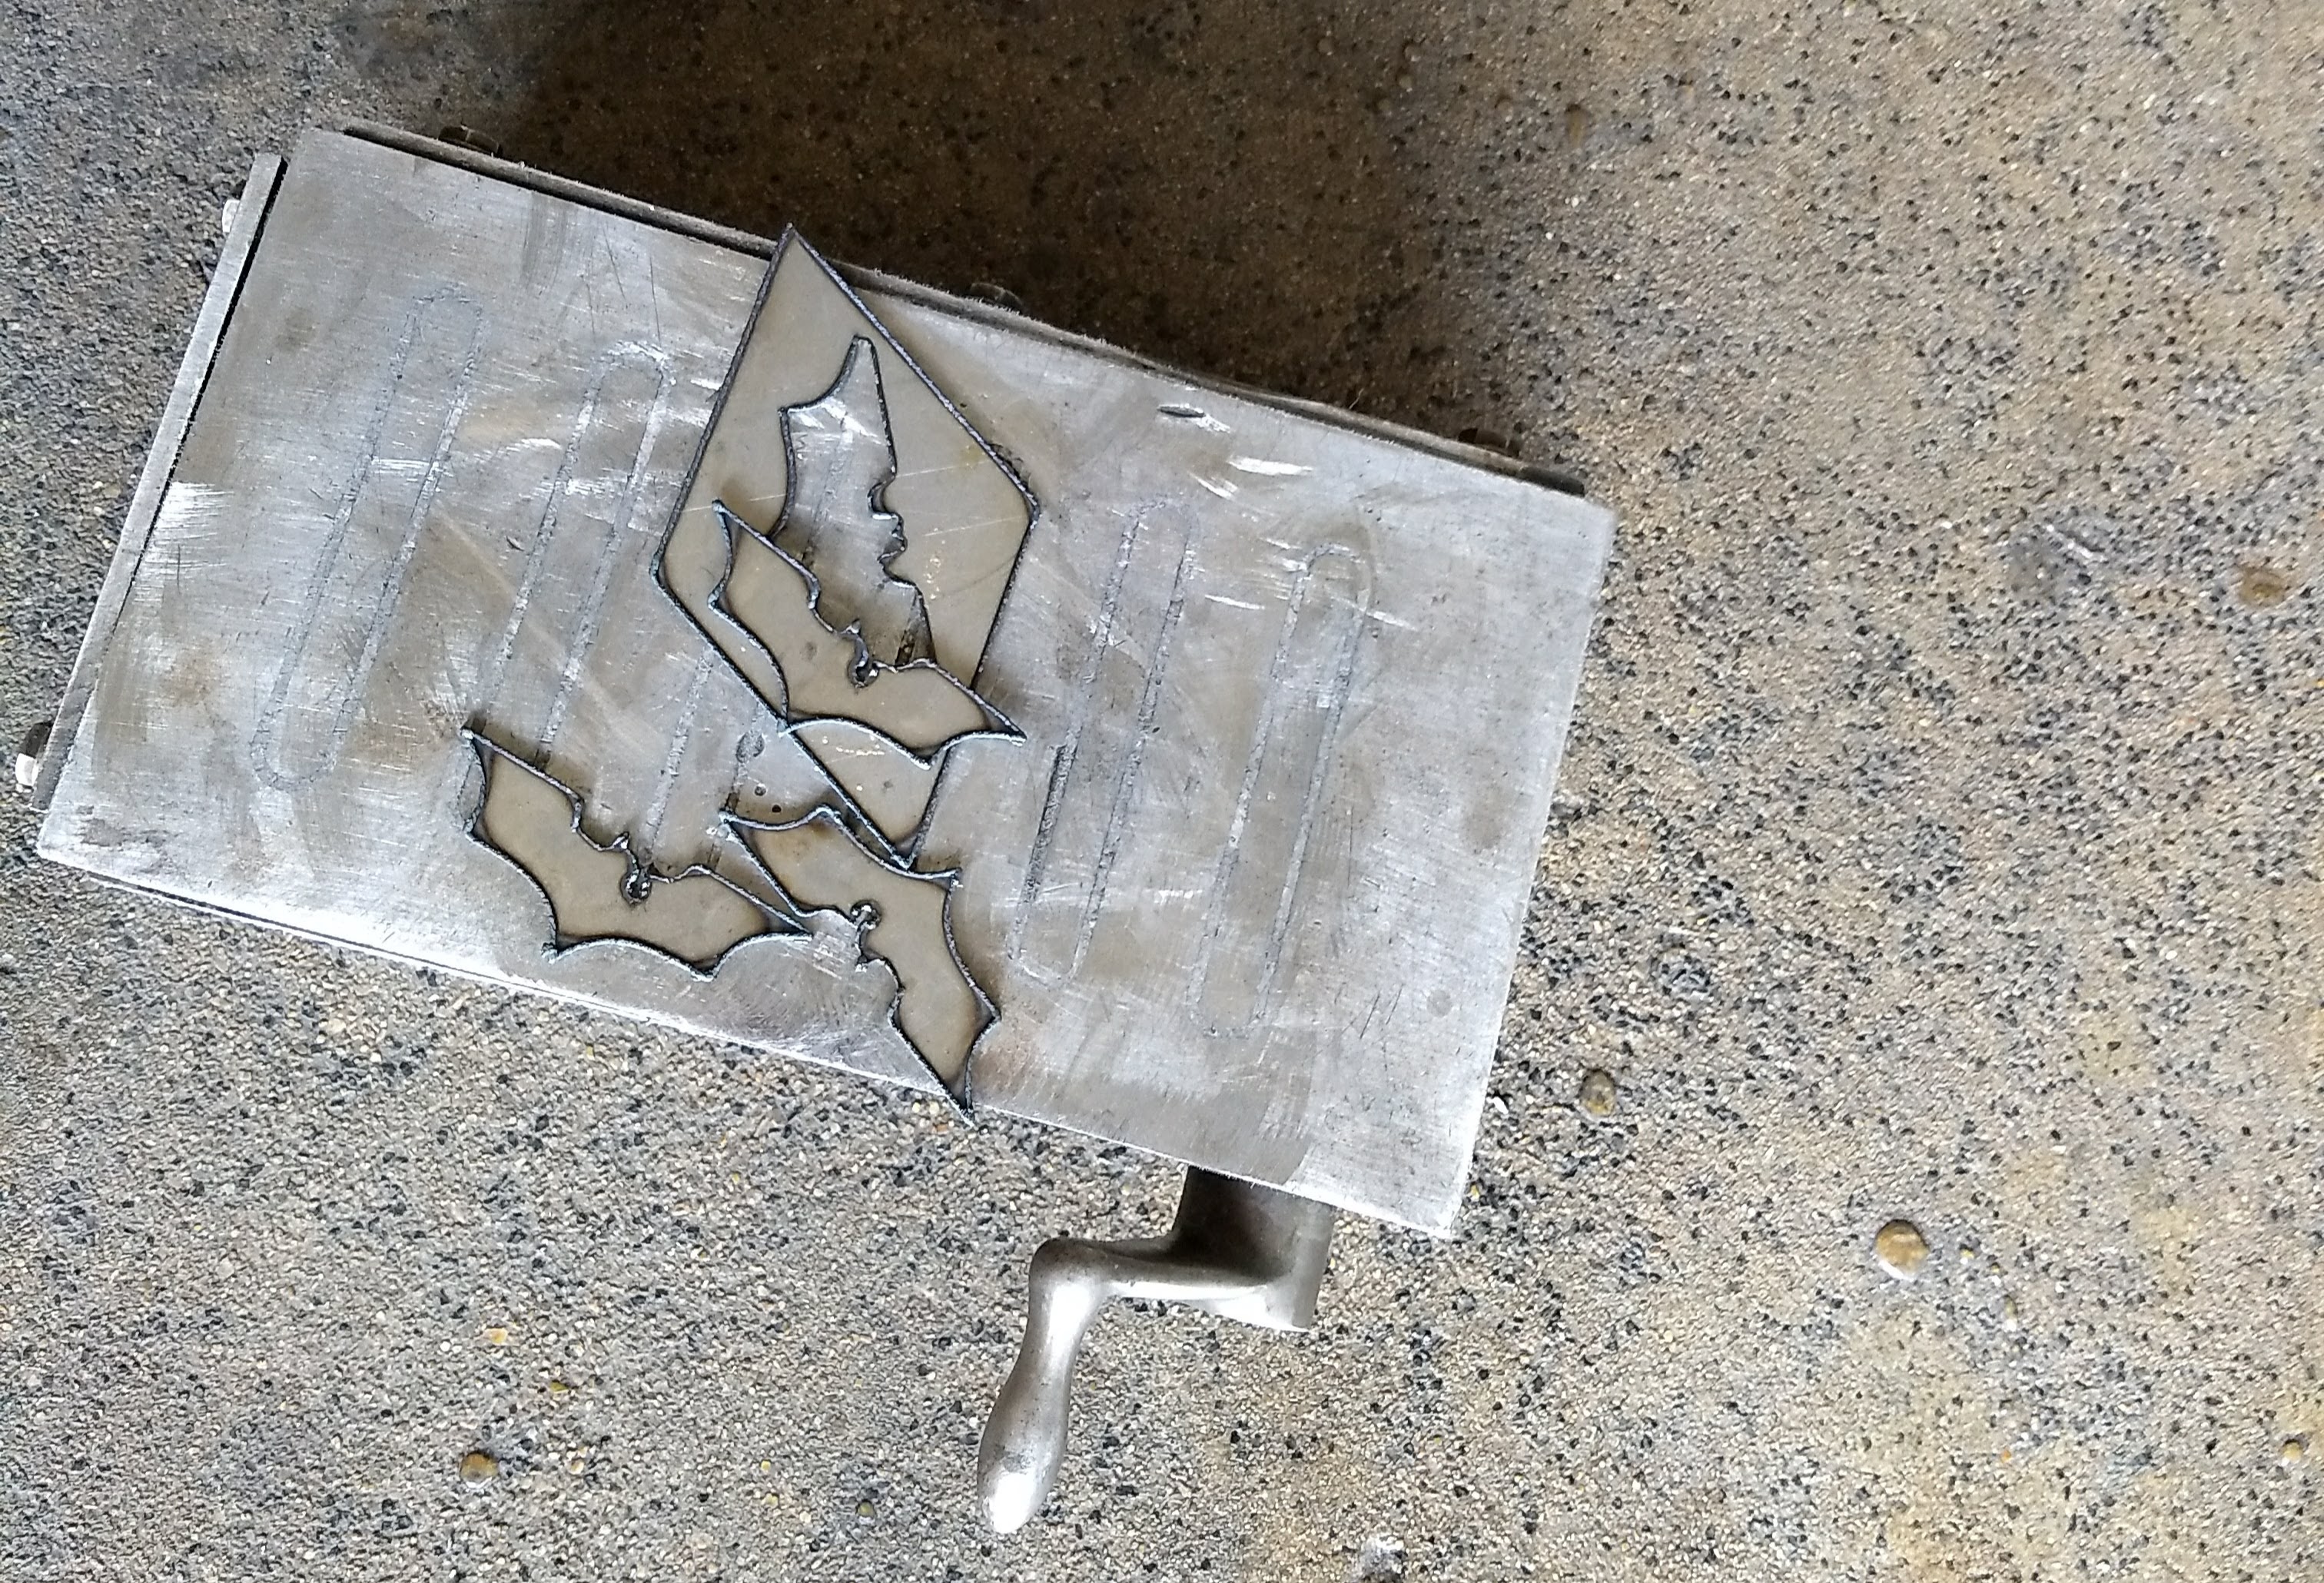
Batman Diamond with Cutouts
These guys had no clue they were about to be shredded to bits by the angle grinder, or at least cleaned up a bit. The angle grinder made quick work of the slag/dross on my pieces.
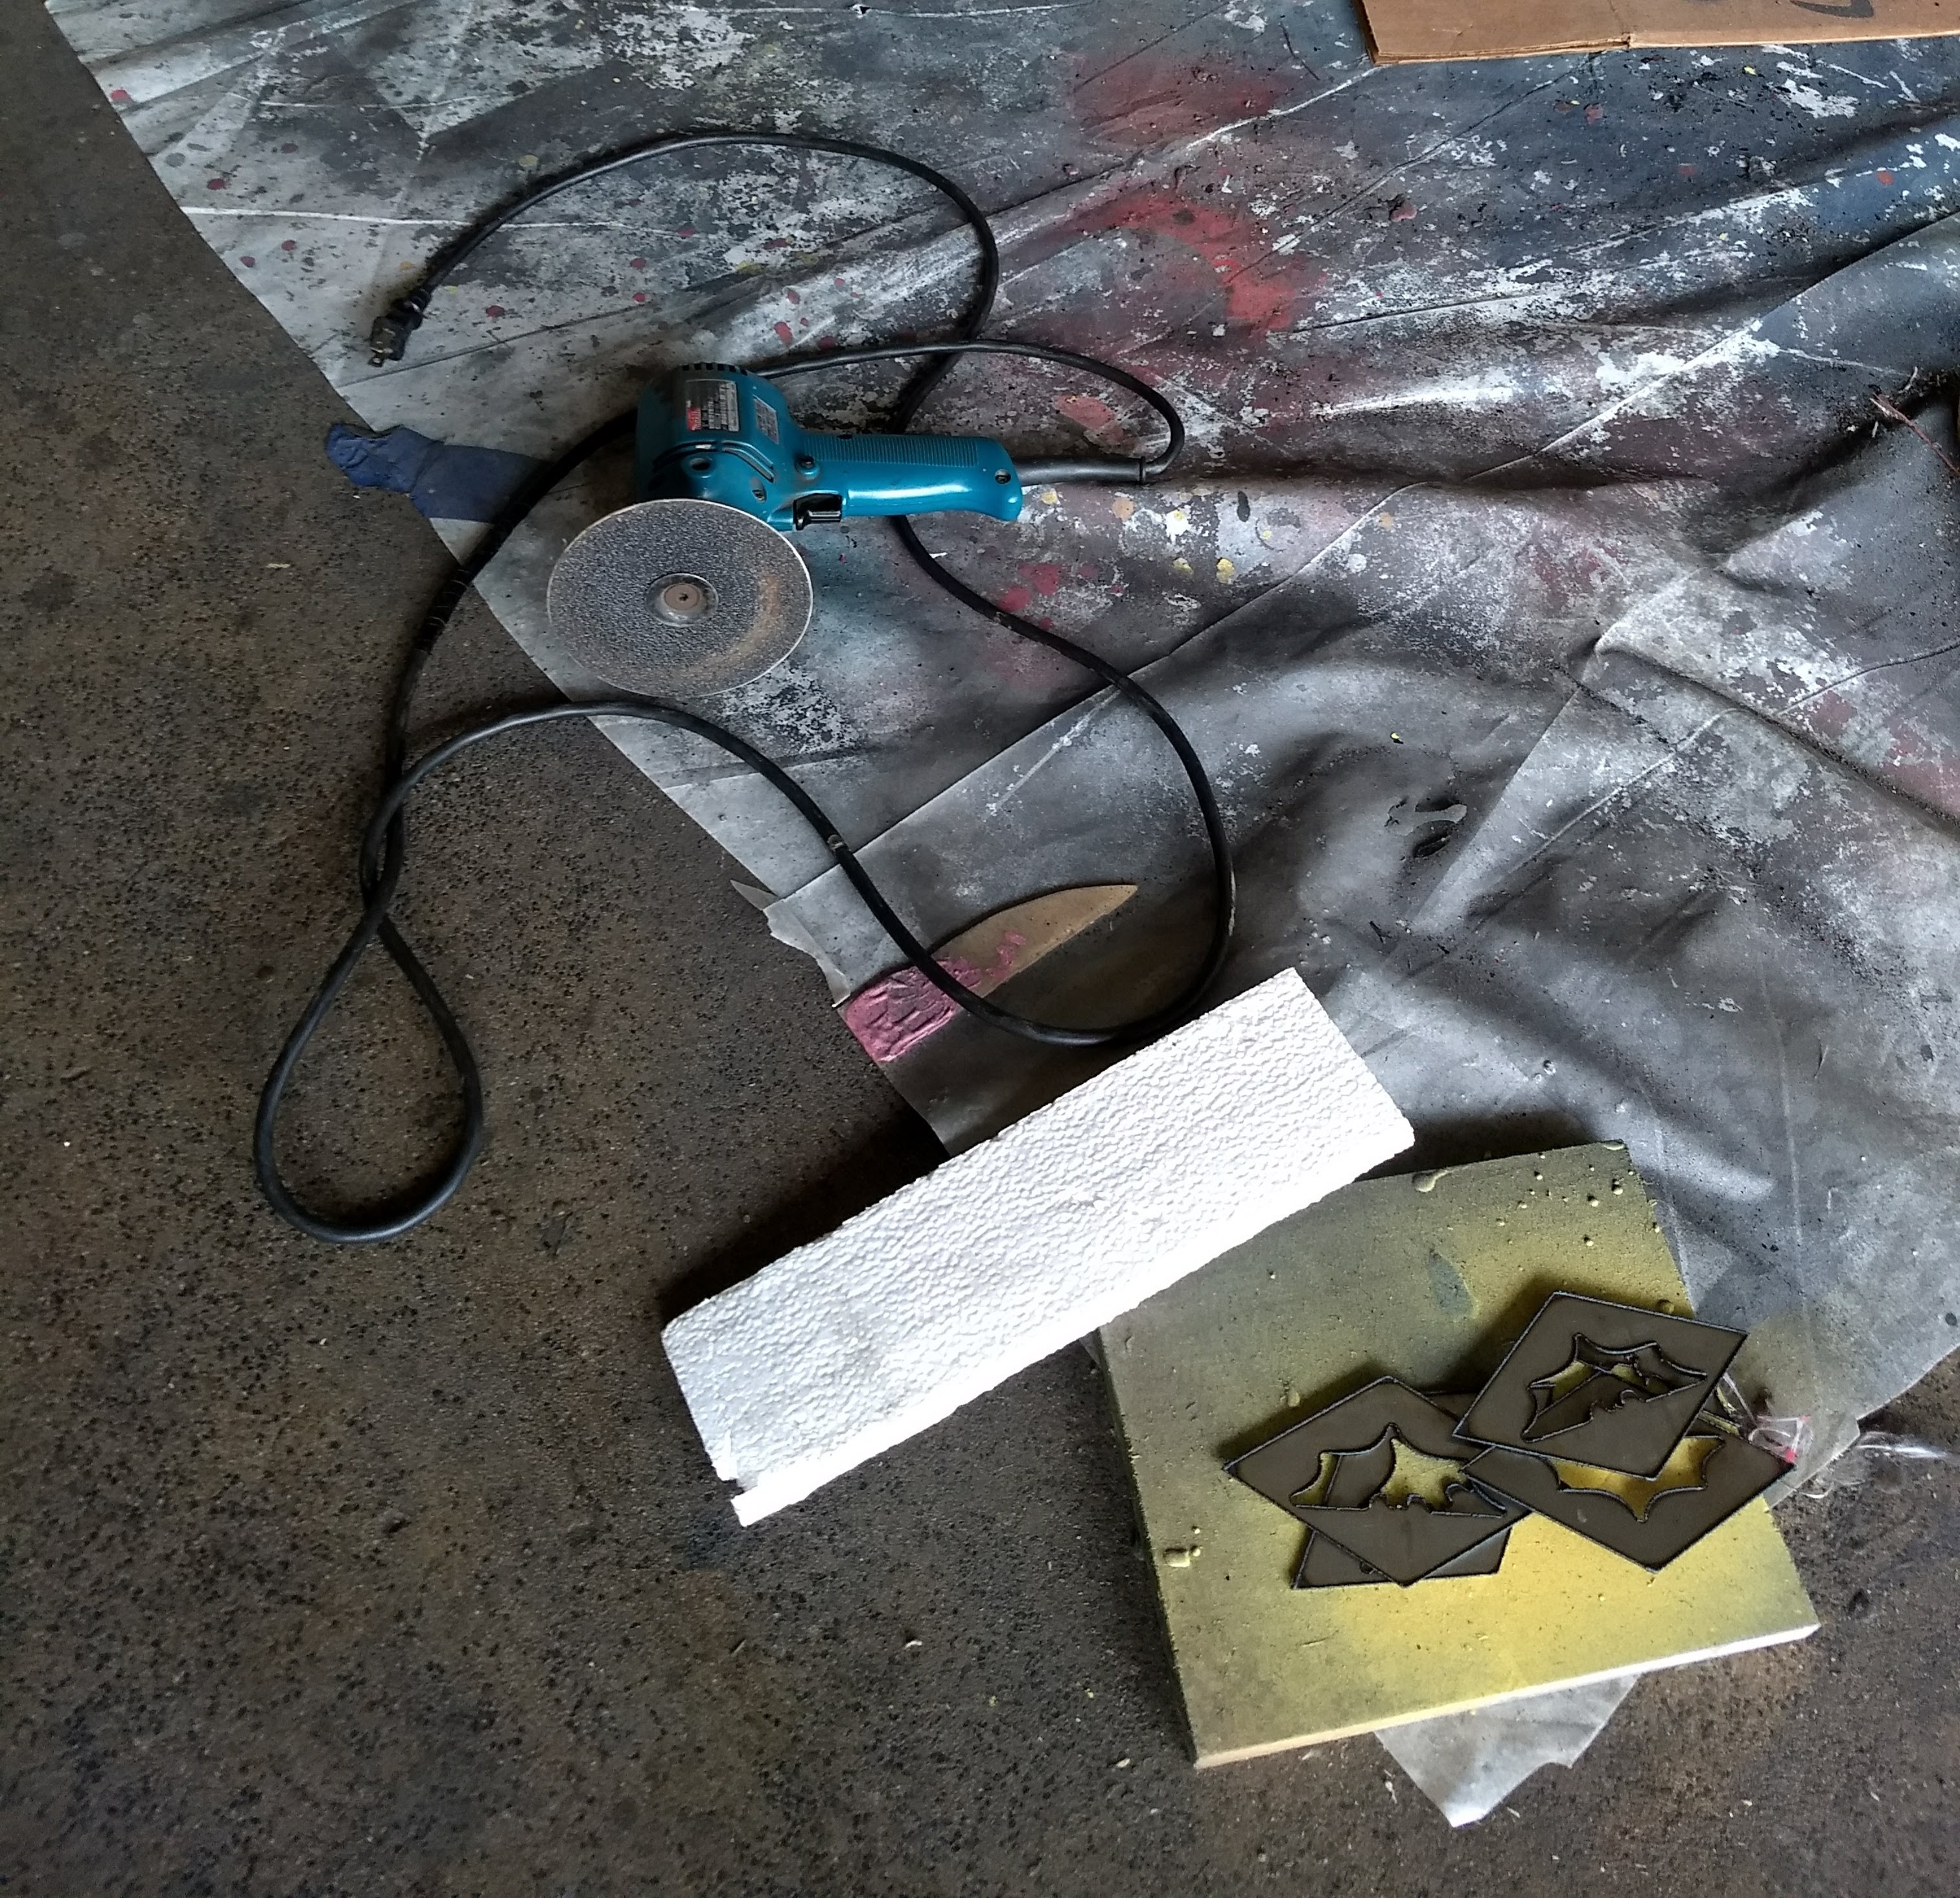
Preparing for the grind
After thoroughly removing all of the slag and blemishes from my pieces, they were nice and shiny.
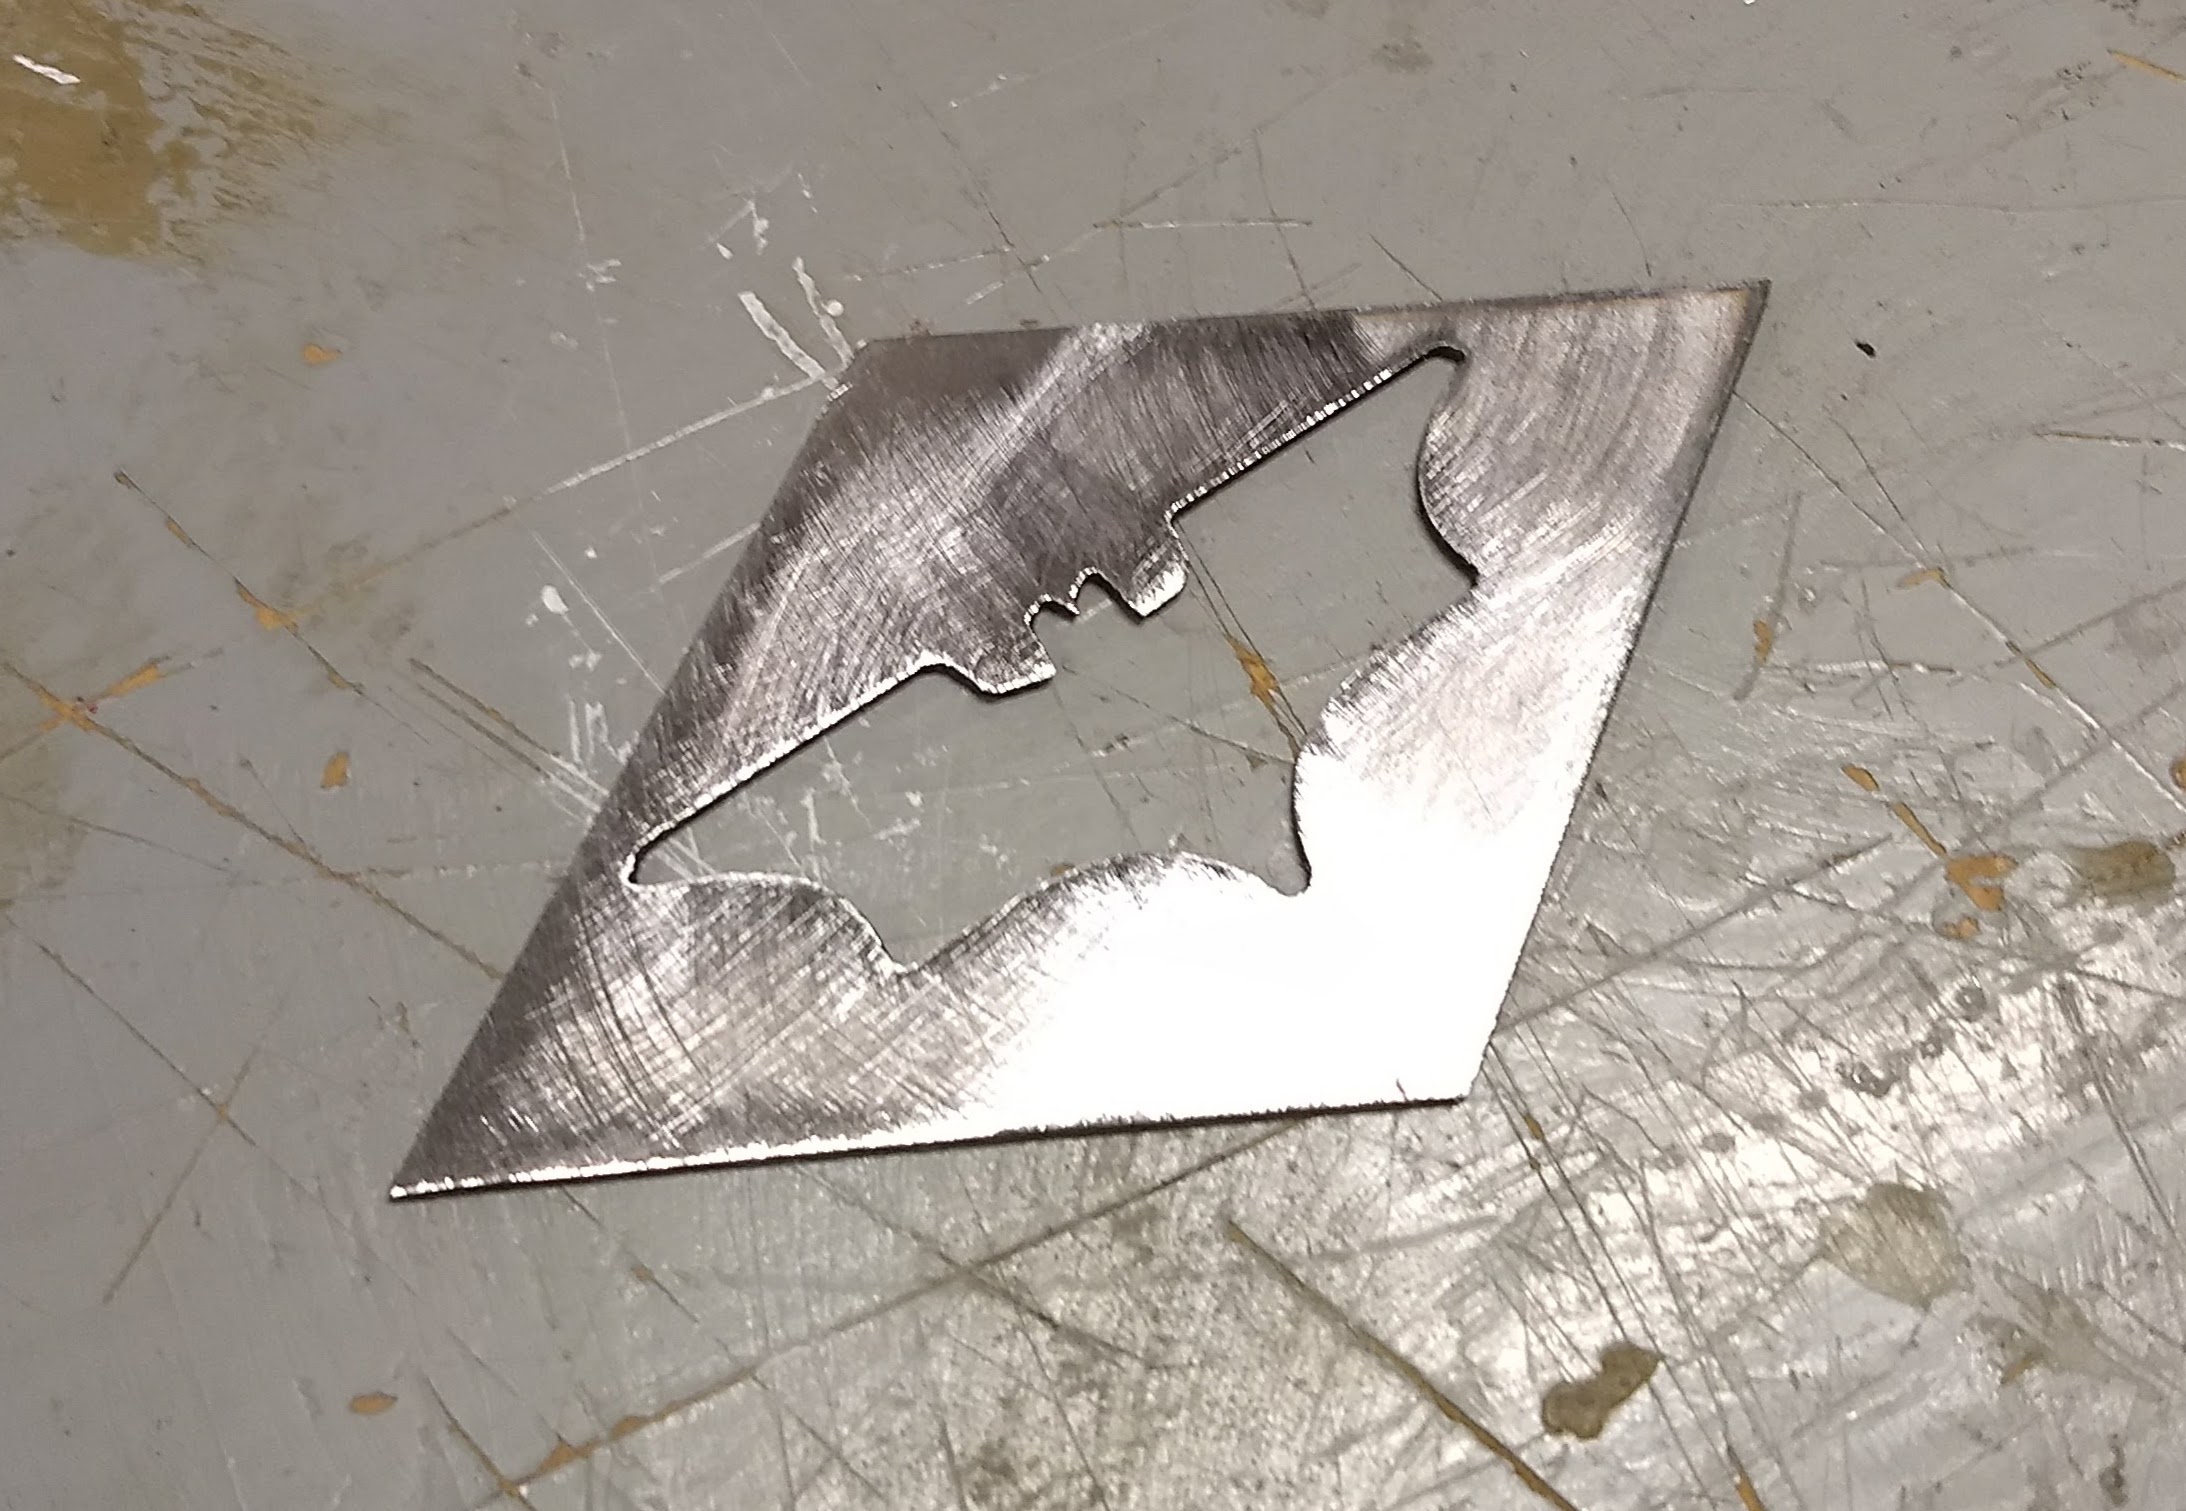
Post Angle Grinding
Next I began filing my pieces to remove sharp edges. I used a very large, broad file to quickly smooth out the outside of the diamond, and a small triangular file to get all of the tight spots on the inside of the bat.
Filing (and Tori’s shoe)
After I cleaned up the piece a little bit, I decided I wanted to sand-blast the piece, because I liked the way the sand-blasted metal looked. It took me an hour or two, but I eventually managed to sand-blast four of my five pieces. The sand-blasted finish was very nice, but didn’t last very long.
Sand-blasted diamond
After leaving the pieces alone for a day in my box, I came back to find many blemishes on the sand-blasted surface that I wasn’t able to wipe off easily. At this point, I decided to spray paint my pieces instead. The sand-blasted surface provided an excellent surface for spray paint. I decided to paint one side of the diamond black, and the other side green. I started with green.
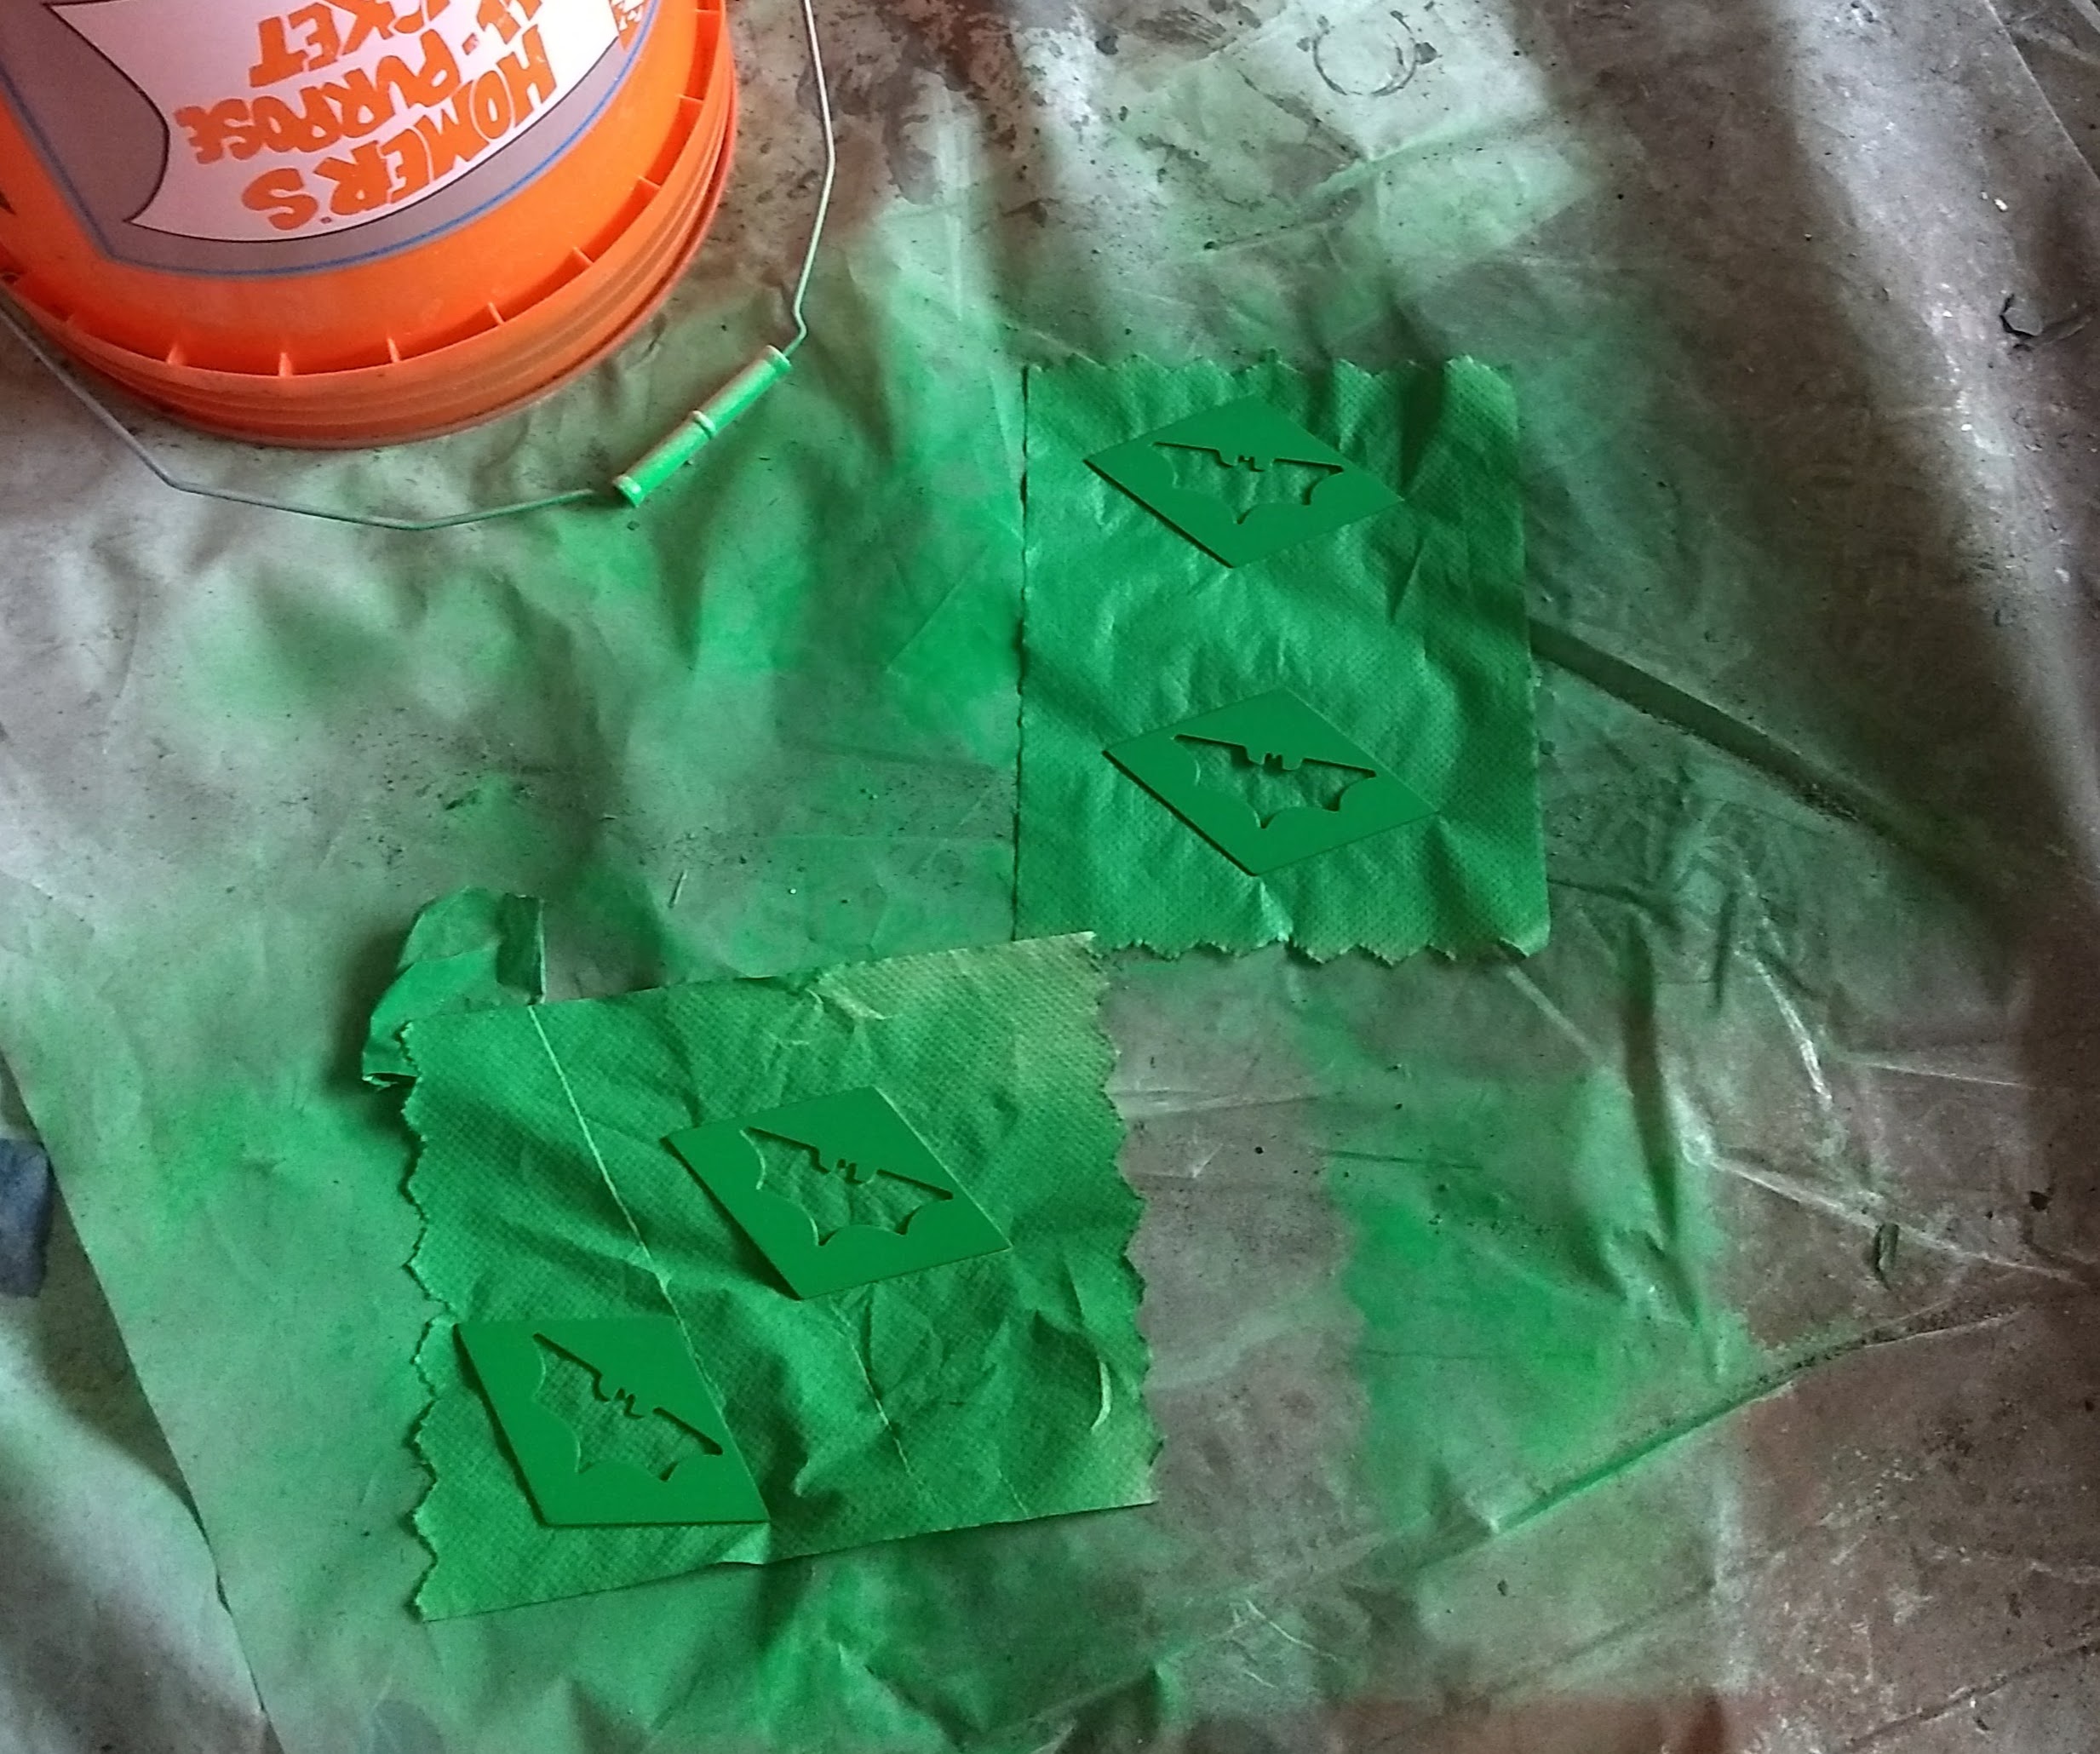
First green coat
I did a total of three coats of each color. I did the first coat on the sand-blasted surface, let it dry, sanded it down, and repeated. This was by far the longest process.
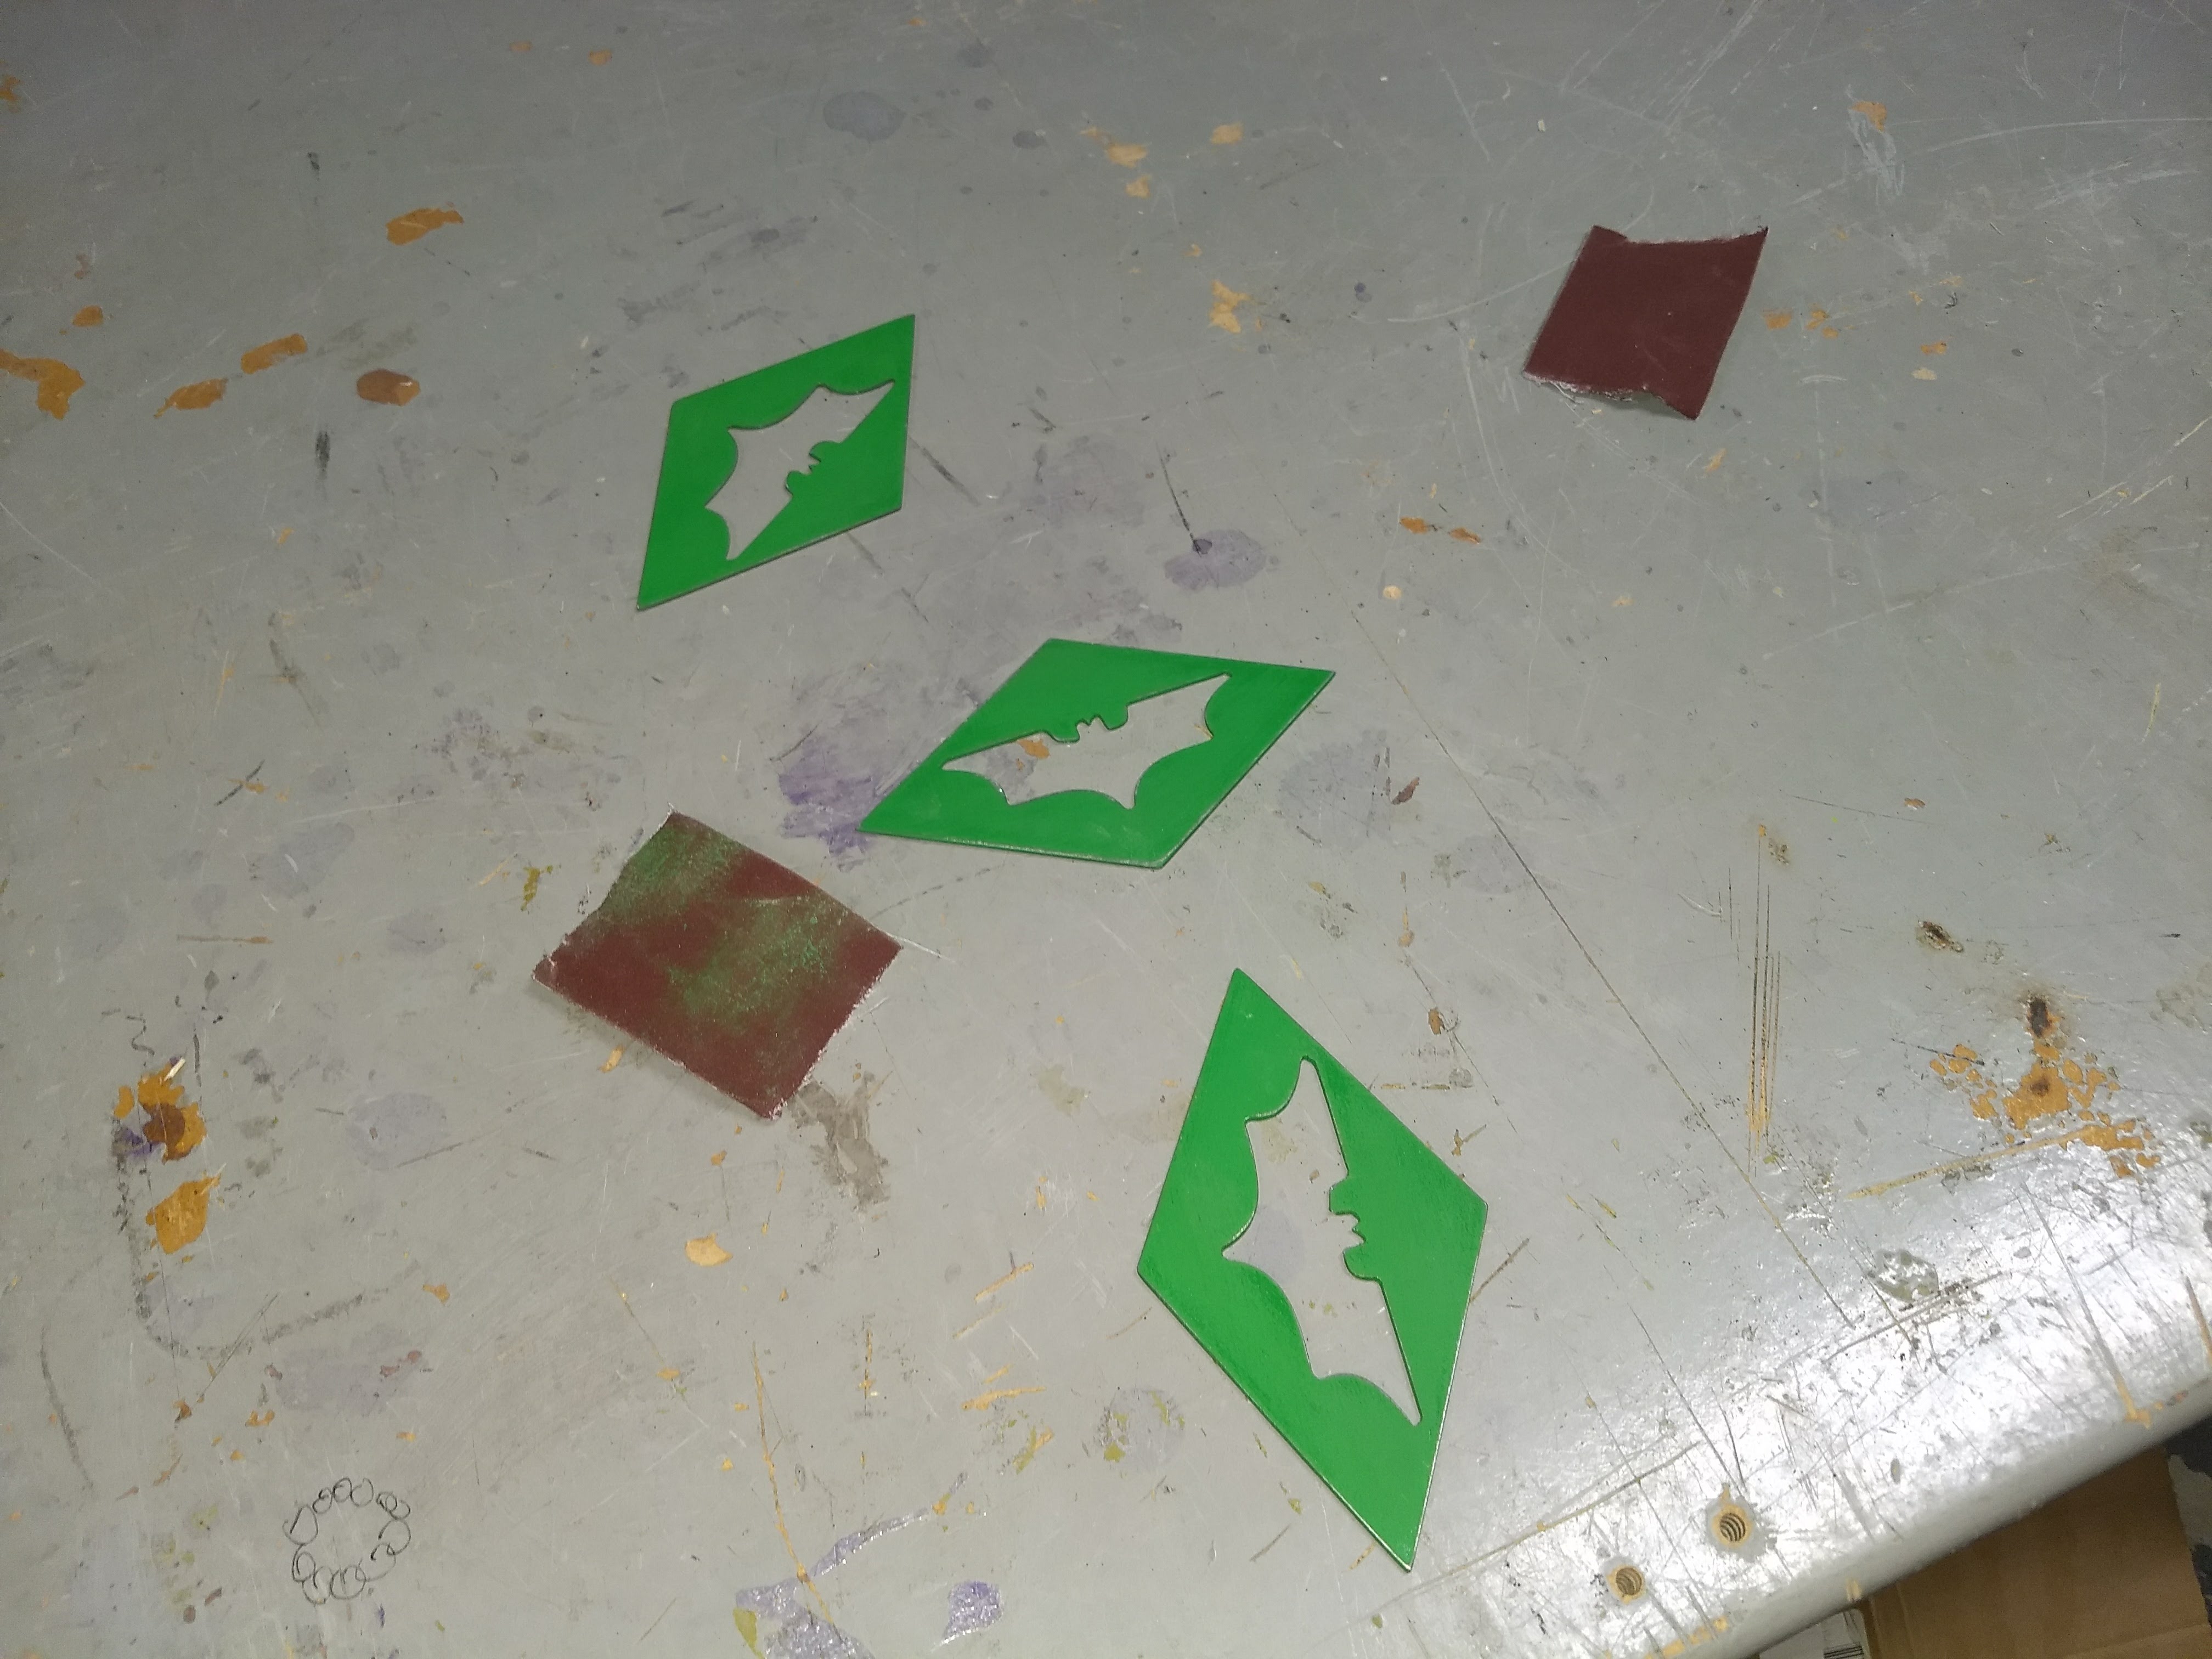
Sanding
After my second coat of green, during my first coat of black, I had some trouble. The green paint stuck to the paper towels I was using for a back drop, and some fibers ripped off and stuck to the paint. This is ultimately why I chose to do a third coat. After this, I used a cardboard backdrop which didn’t mess up the paint.
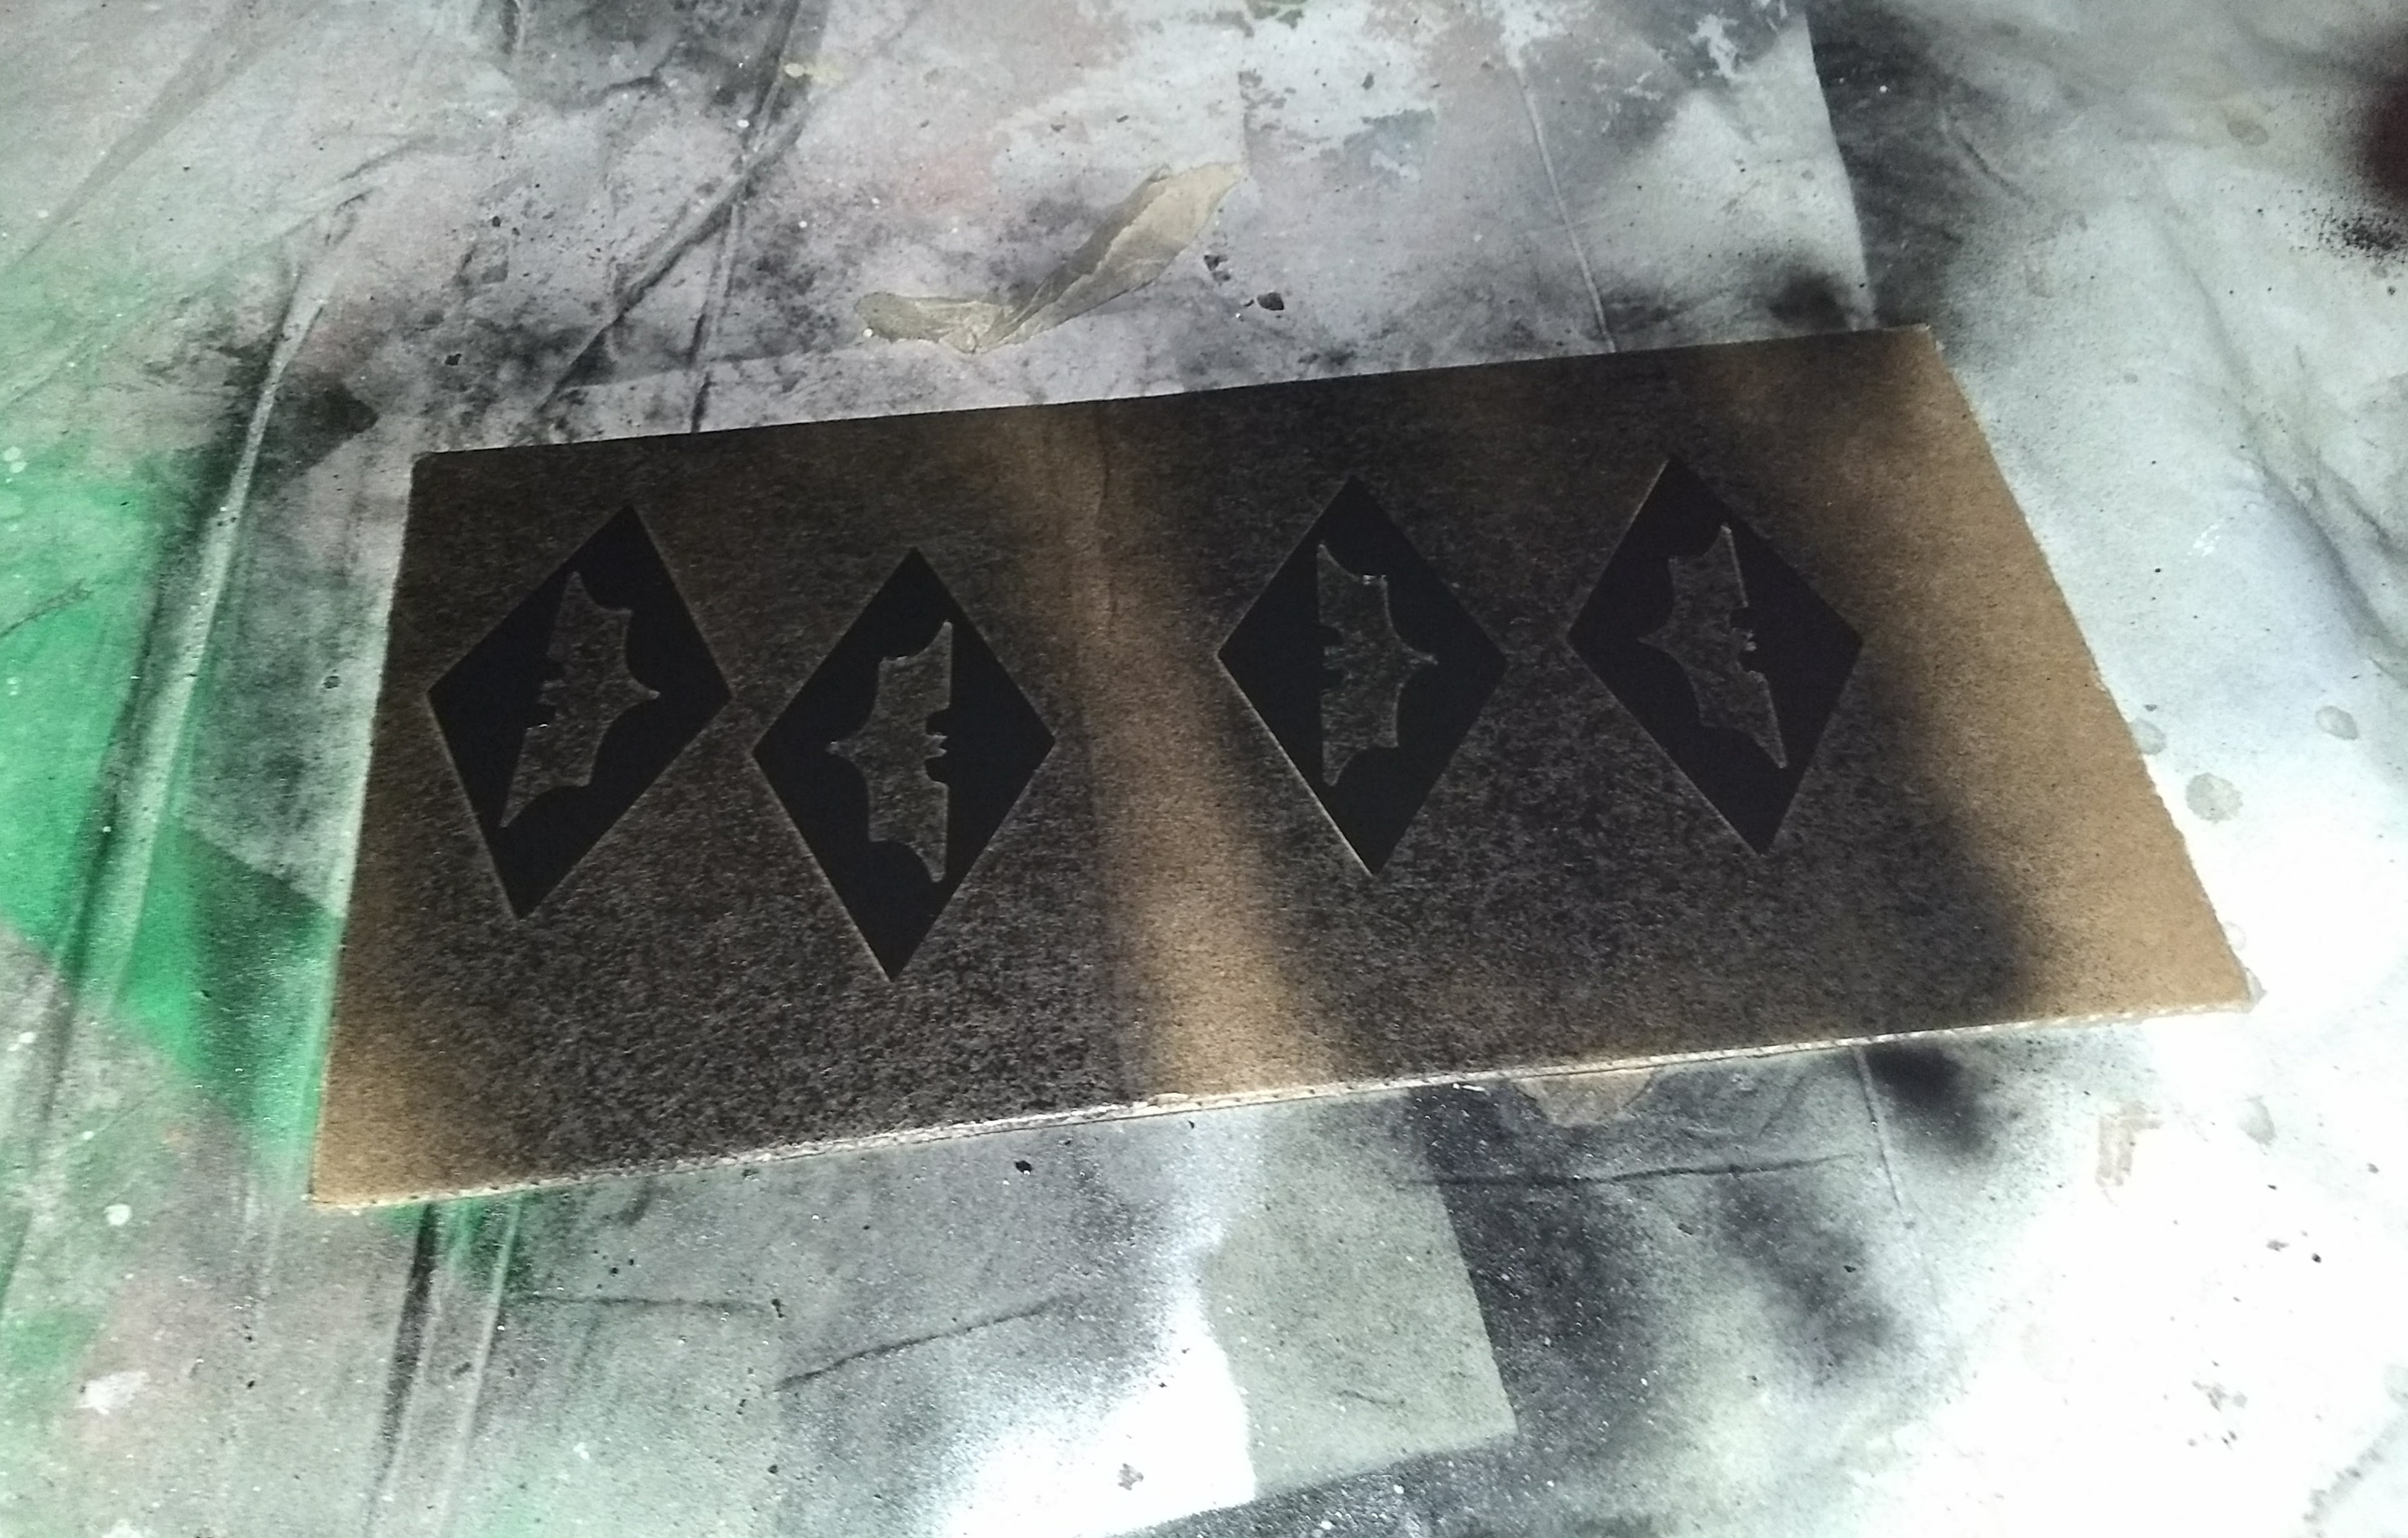
Black Spray Paint
Finally, I wrote an abbreviated step-by-step guide for the part on the green side using a Sharpie.
Overall, this lab took much longer than expected, mostly due to the time for paint to dry. I learned a lot about different finishing methods, and got to experience many of them. If I re-did this project, I probably would have put on a clear coat after sandblasting to protect the finish.
