One of our two homework assignments this week in Engi 210 was to 3D print an impossible object that we found on thingiverse with two different printers at the OEDK. So I did the impossible, and finished this project before Sunday night.
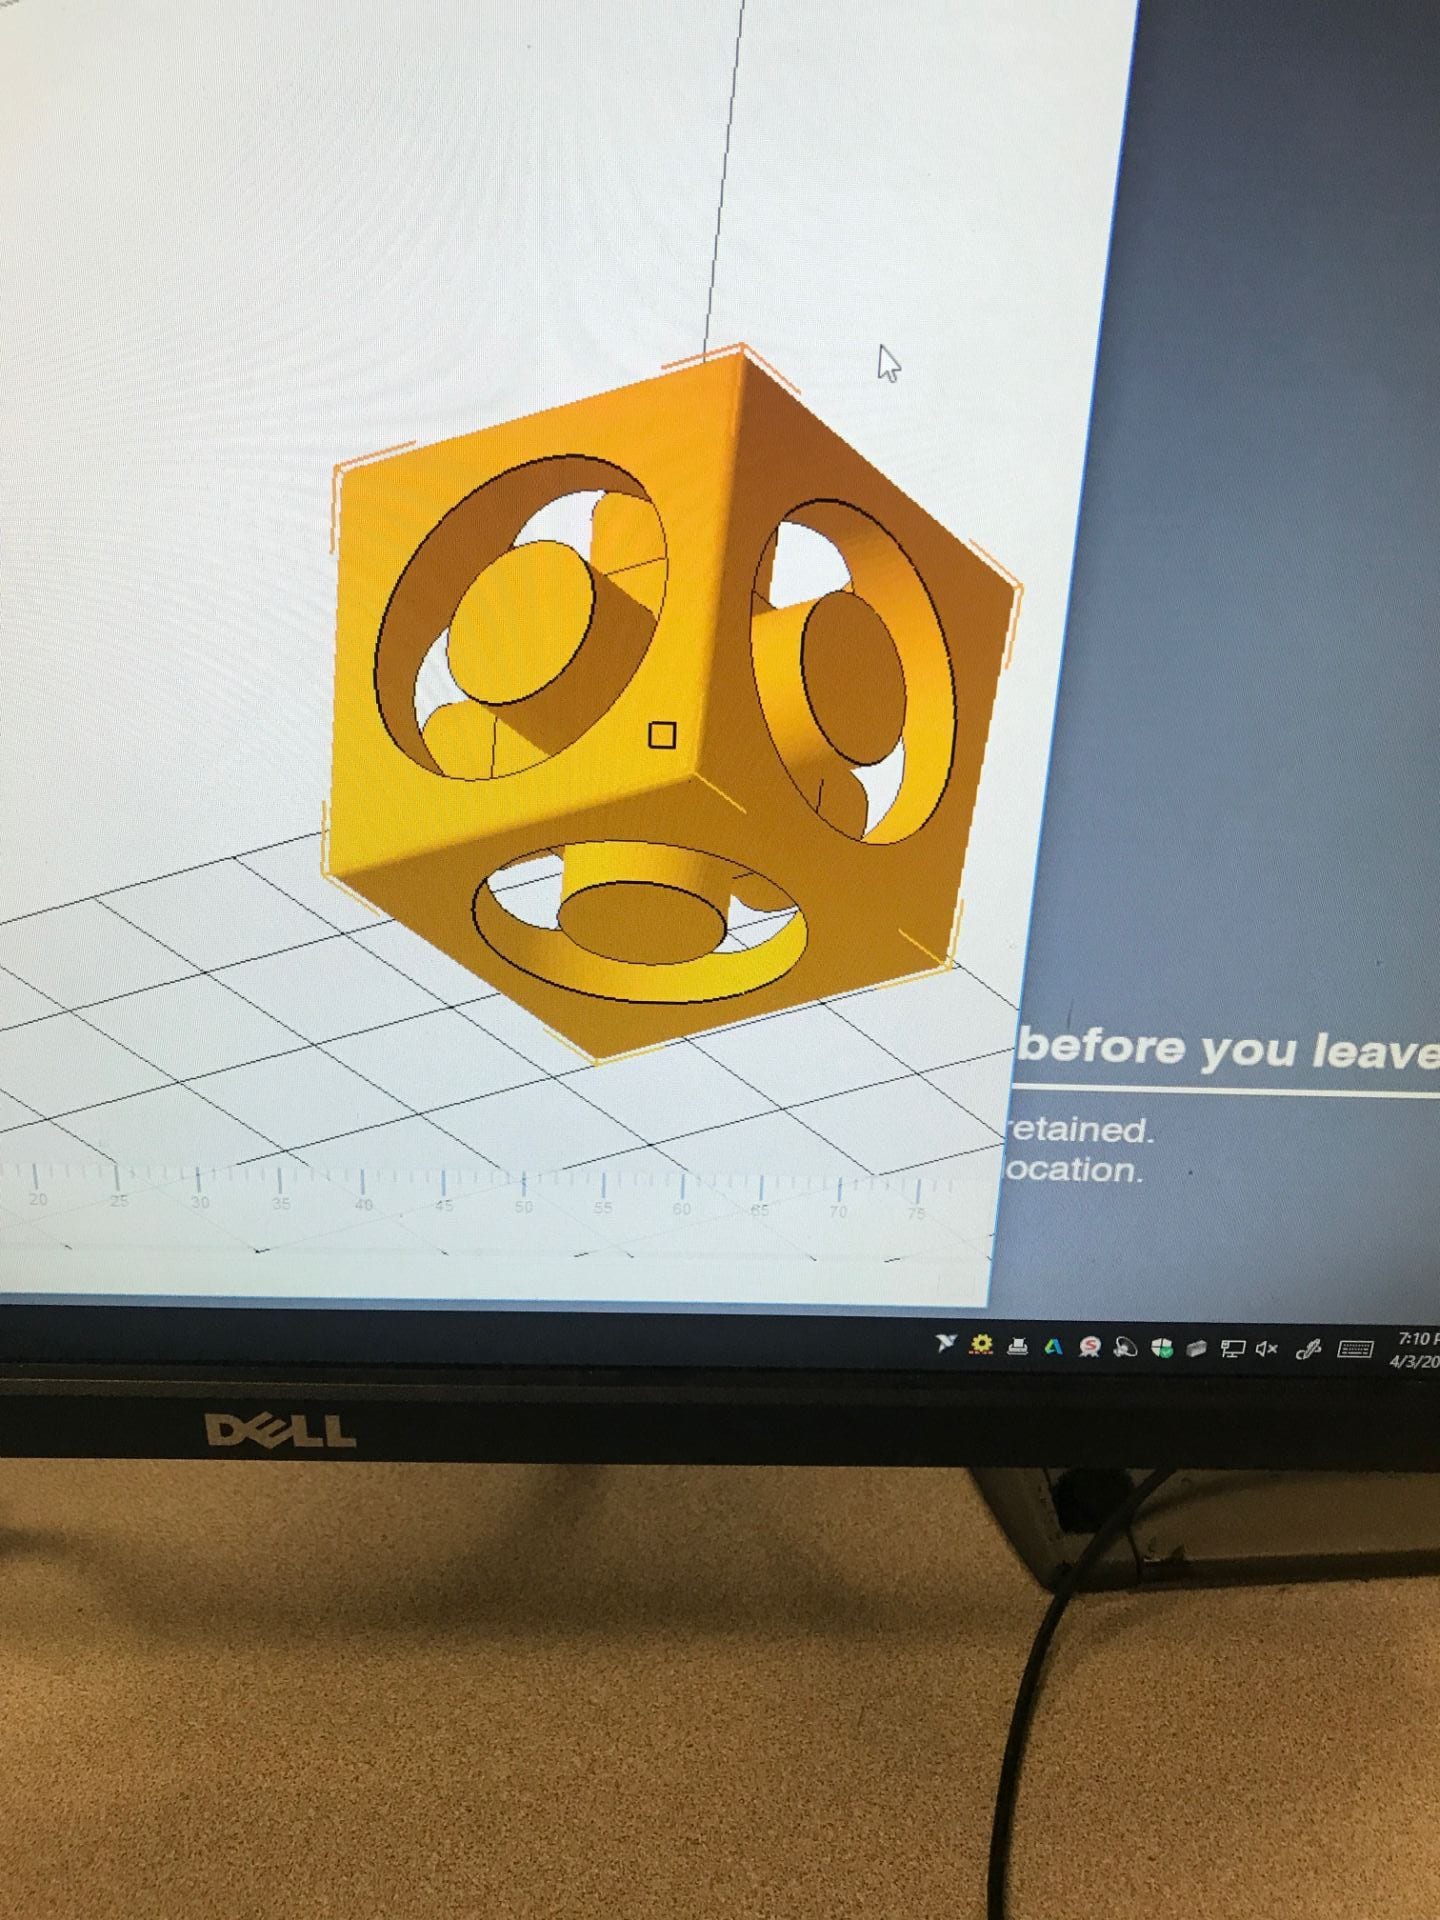
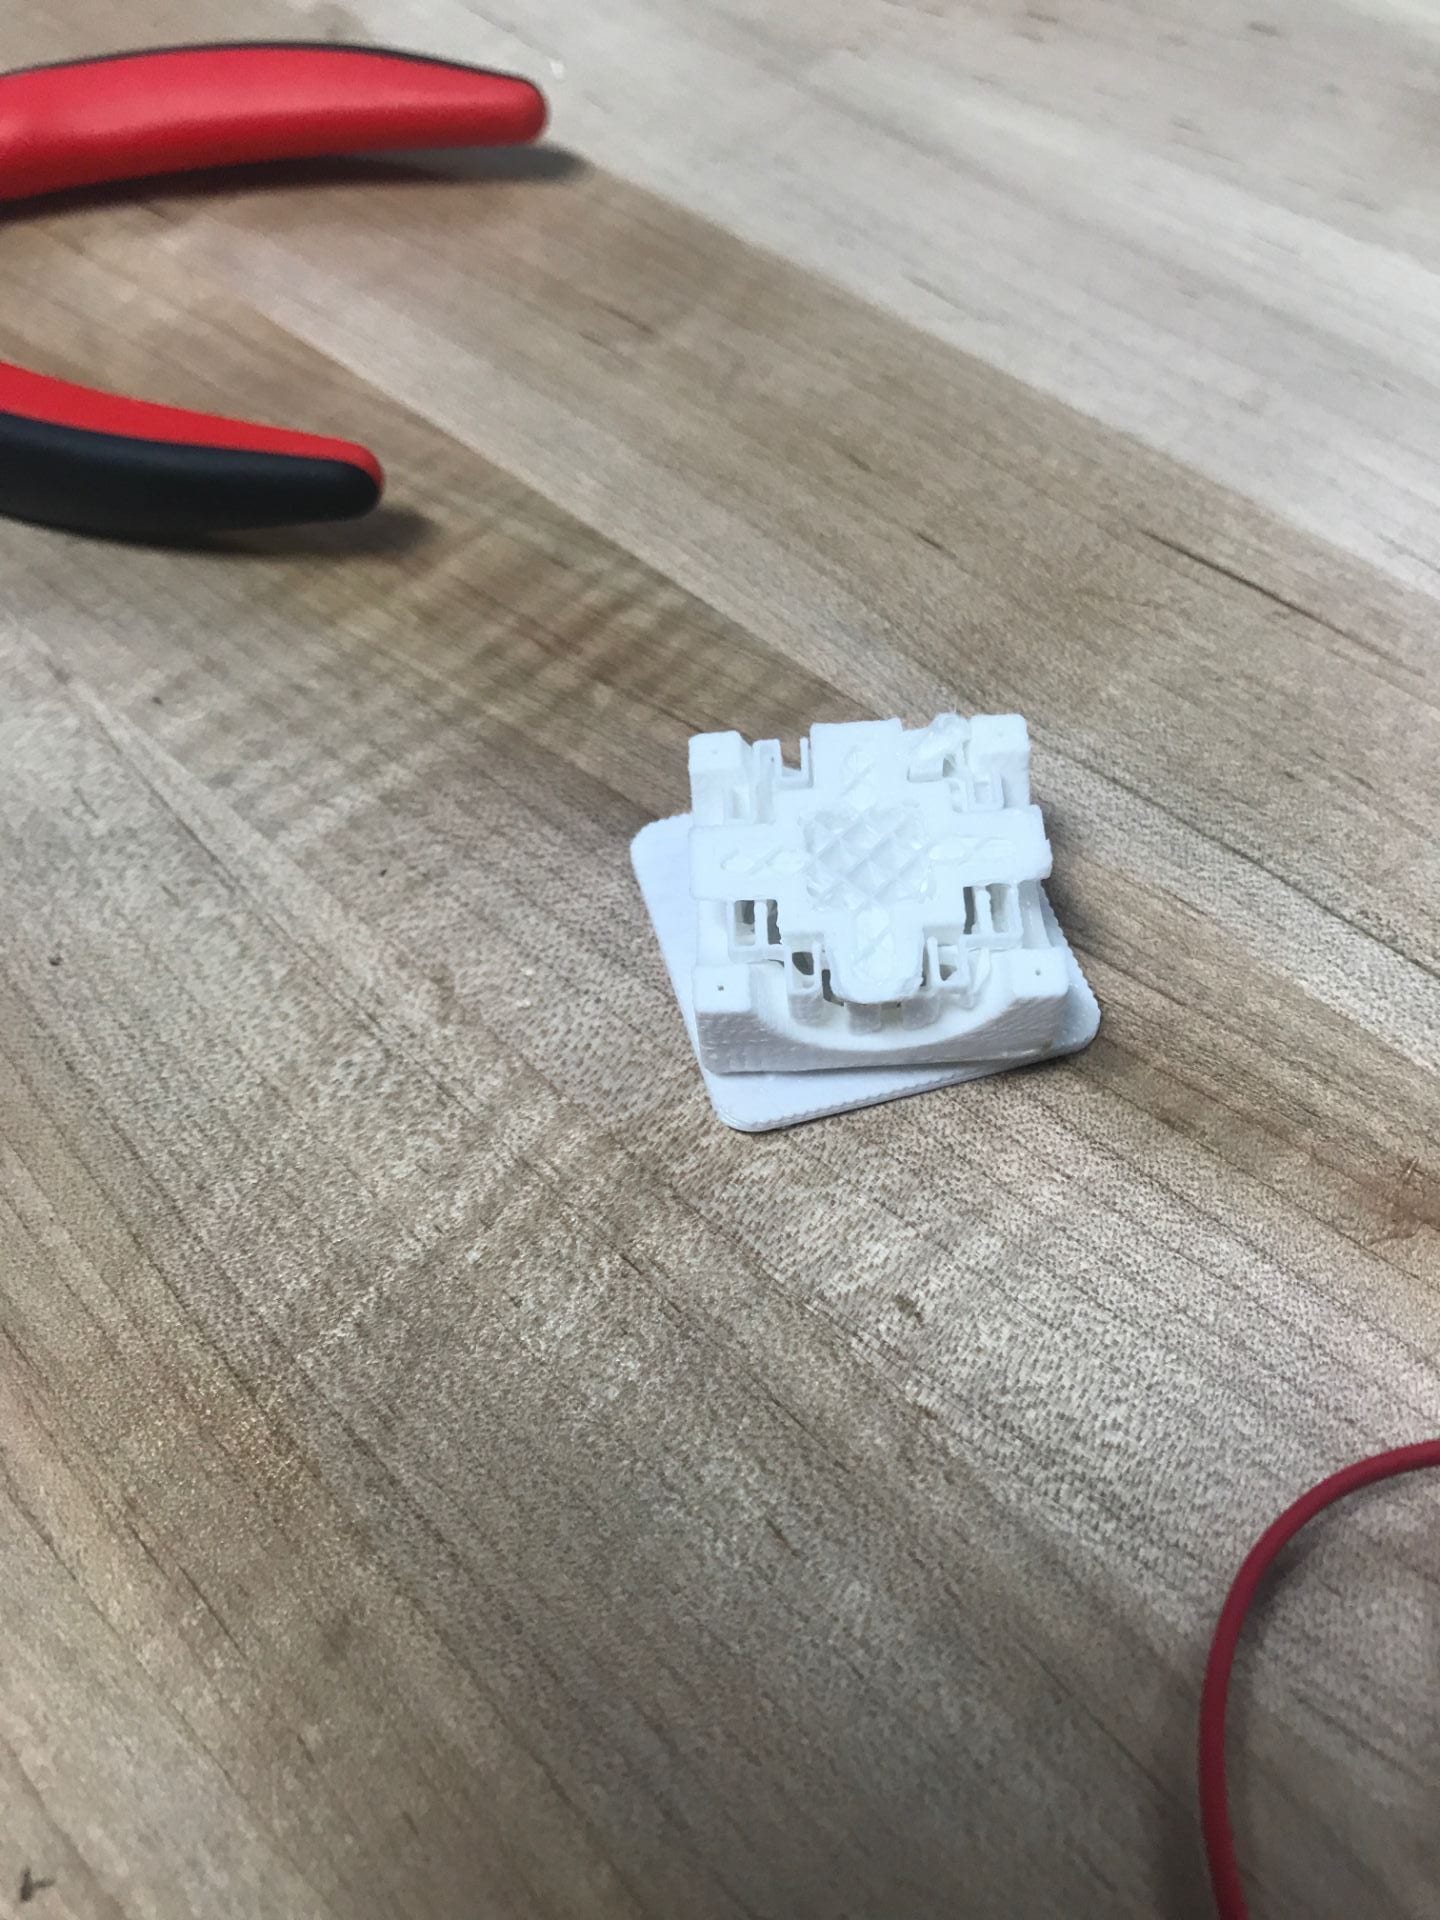
My first step was to find an object that was impossible that I wanted to print. After quite a lot of digging, I came across this design that was a six-sided fidget trapped inside of a cube. The CAD download of this object is shown below.
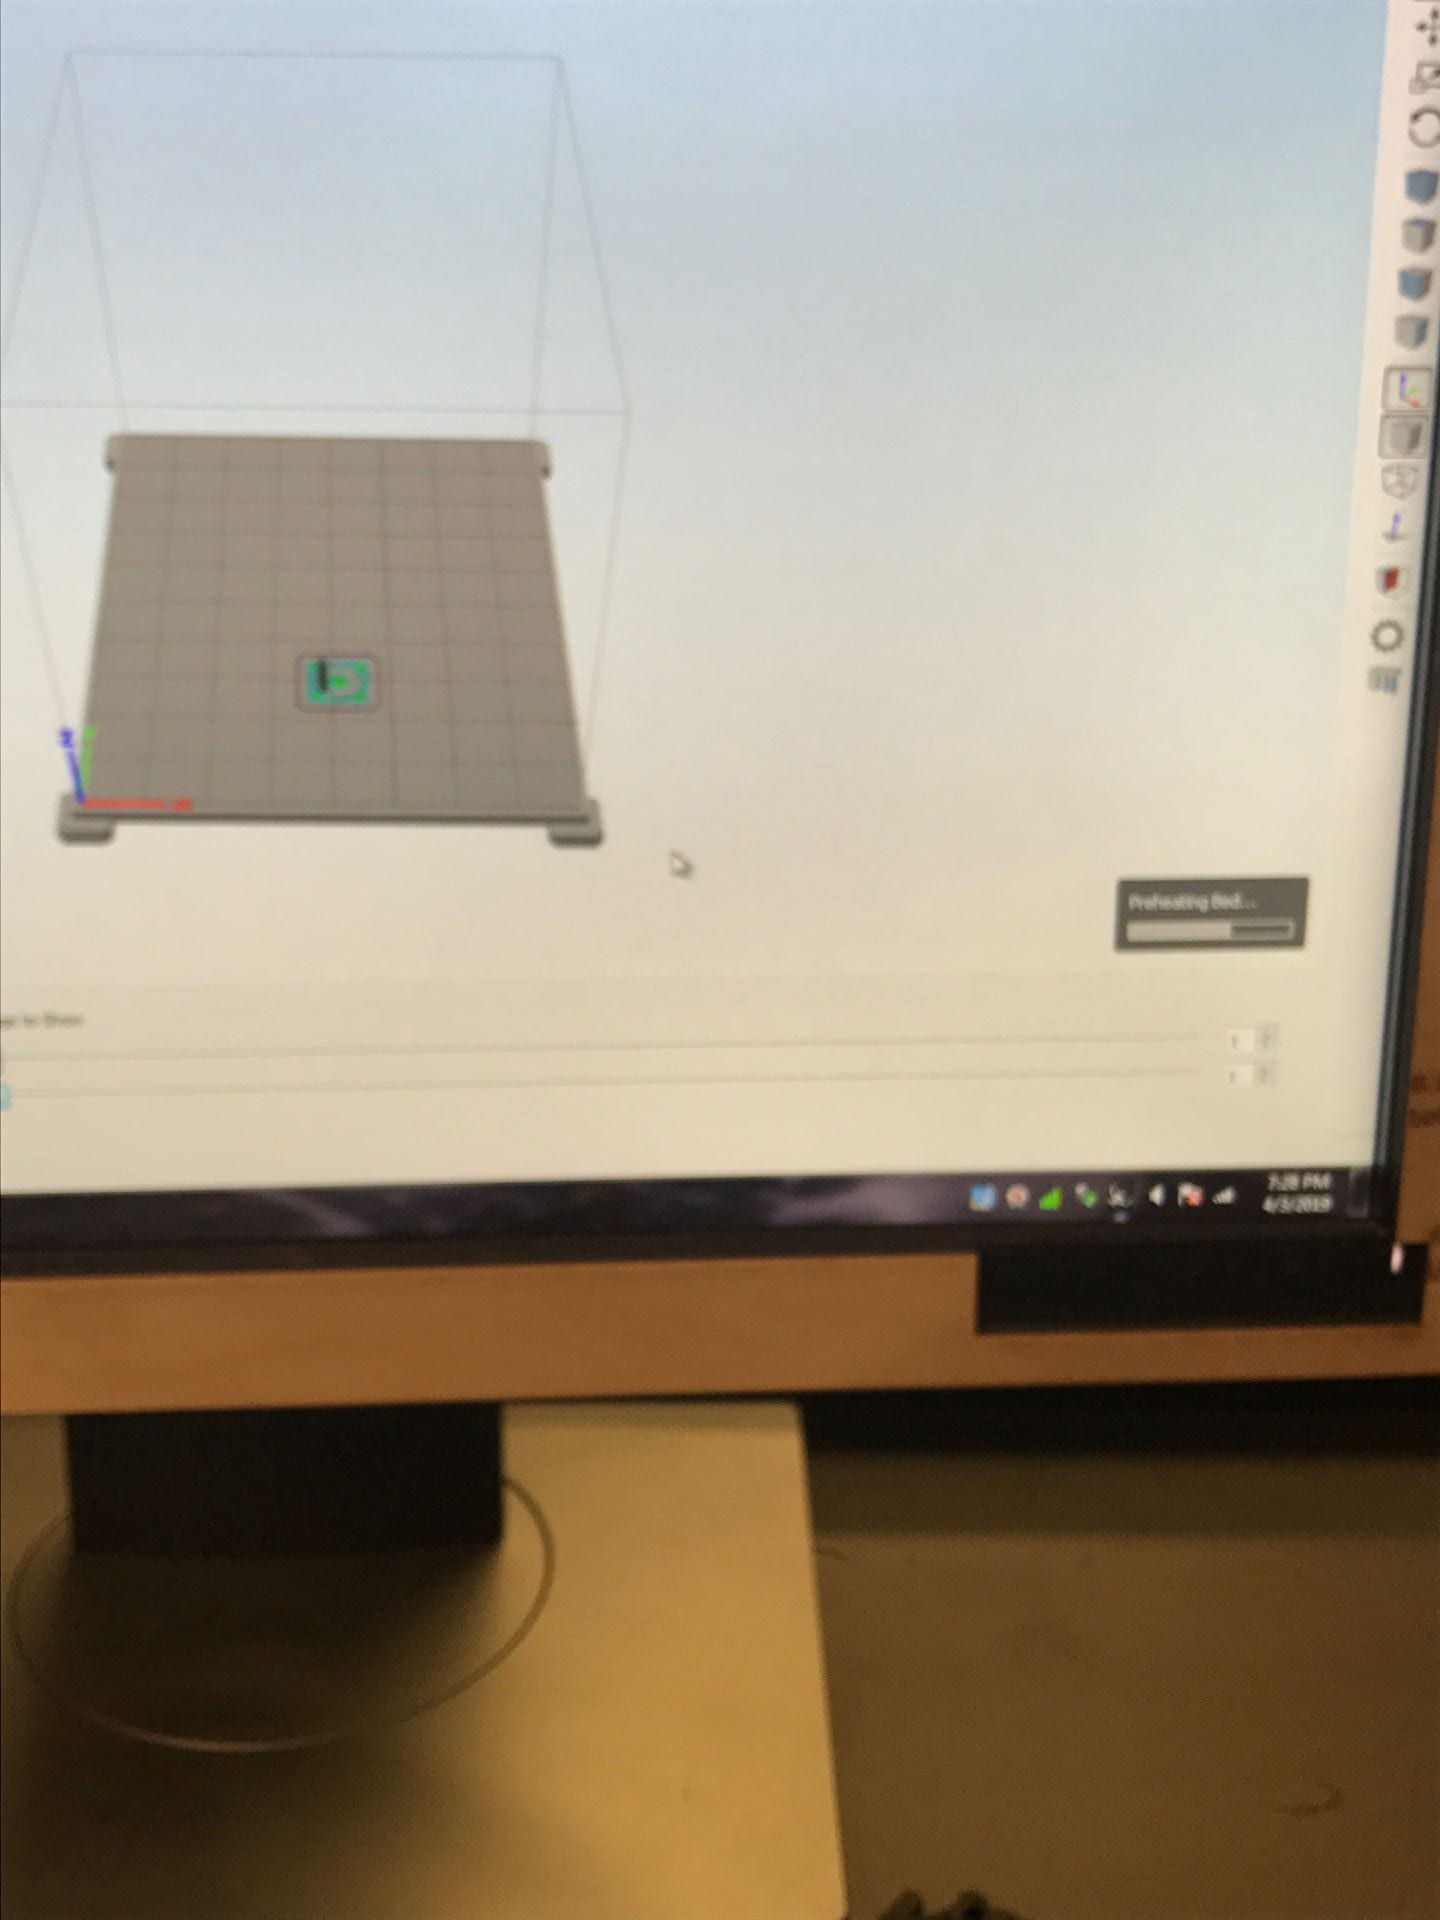
Okay, object found. Now time to print. I decided to use the Makergear in the Maker Bar and the Fortus inside of the Wet Lab to make my prints. Because the support from the Fortus takes up to 24 hours to dissolve, I decided to use this printer first. I got a lab tech to help me set it up and fill out the form for payment, and let it do its thing for an hour and a half.
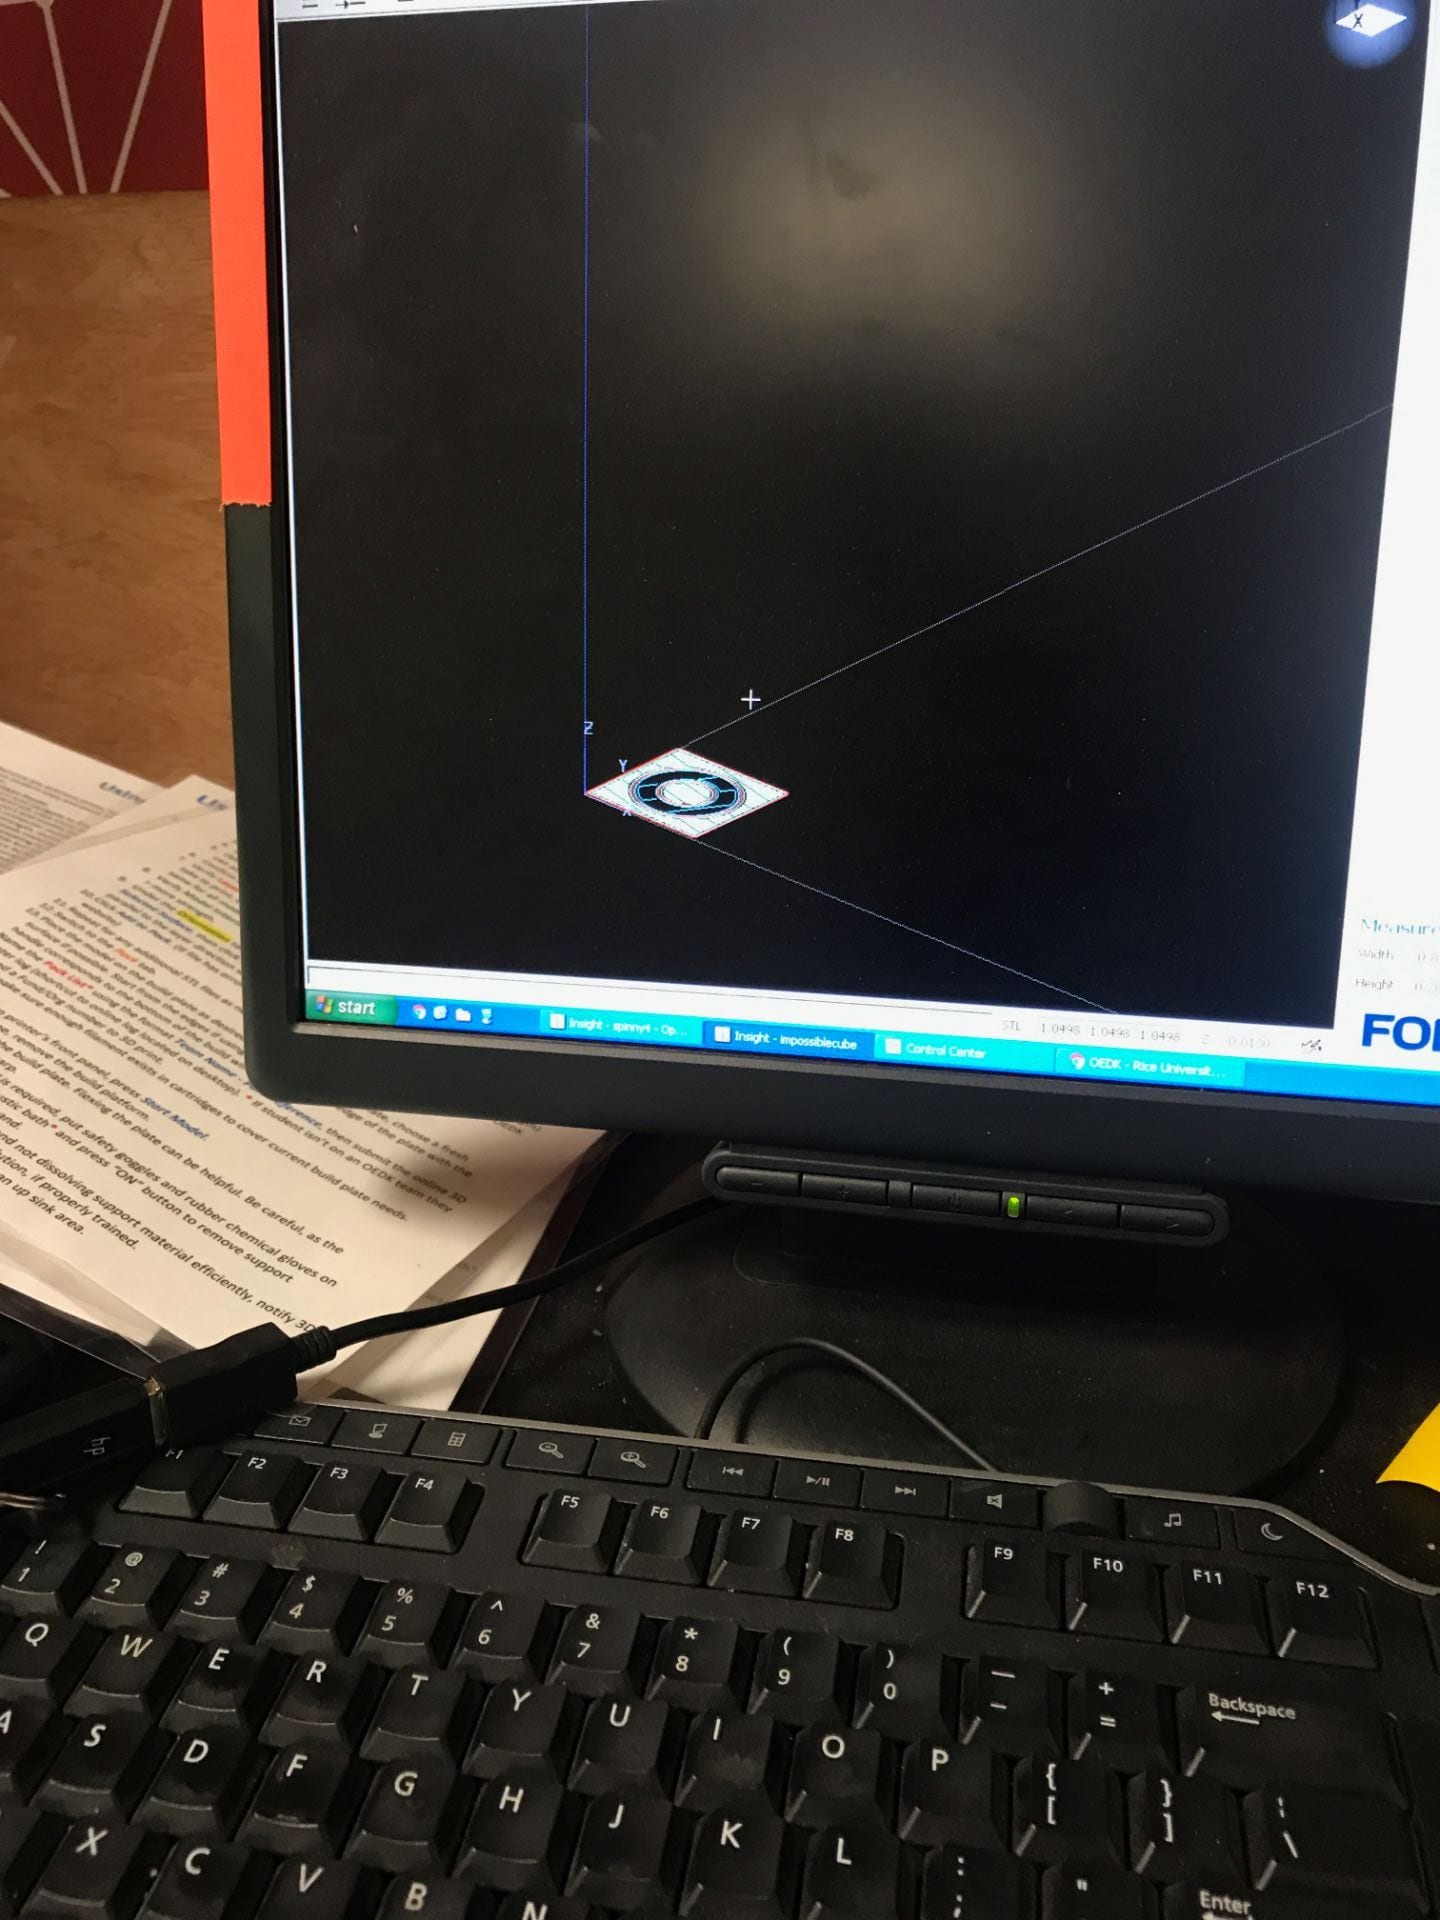
Now it was time to start the other print on the Makergear. I loaded the file, and using the default settings then printed the object (which took 30 minutes).
Unfortunately, this print didn’t turn out as well as I had hoped. Although the object printed completely, it was very deformed on some of the sides and overall looked ugly. I asked a lab assistant for advice, and they said to lessen the thickness. I changed it from 0.3 to 0.1 (I think milimeters, but I’m not confident), making it now take an hour and a half.
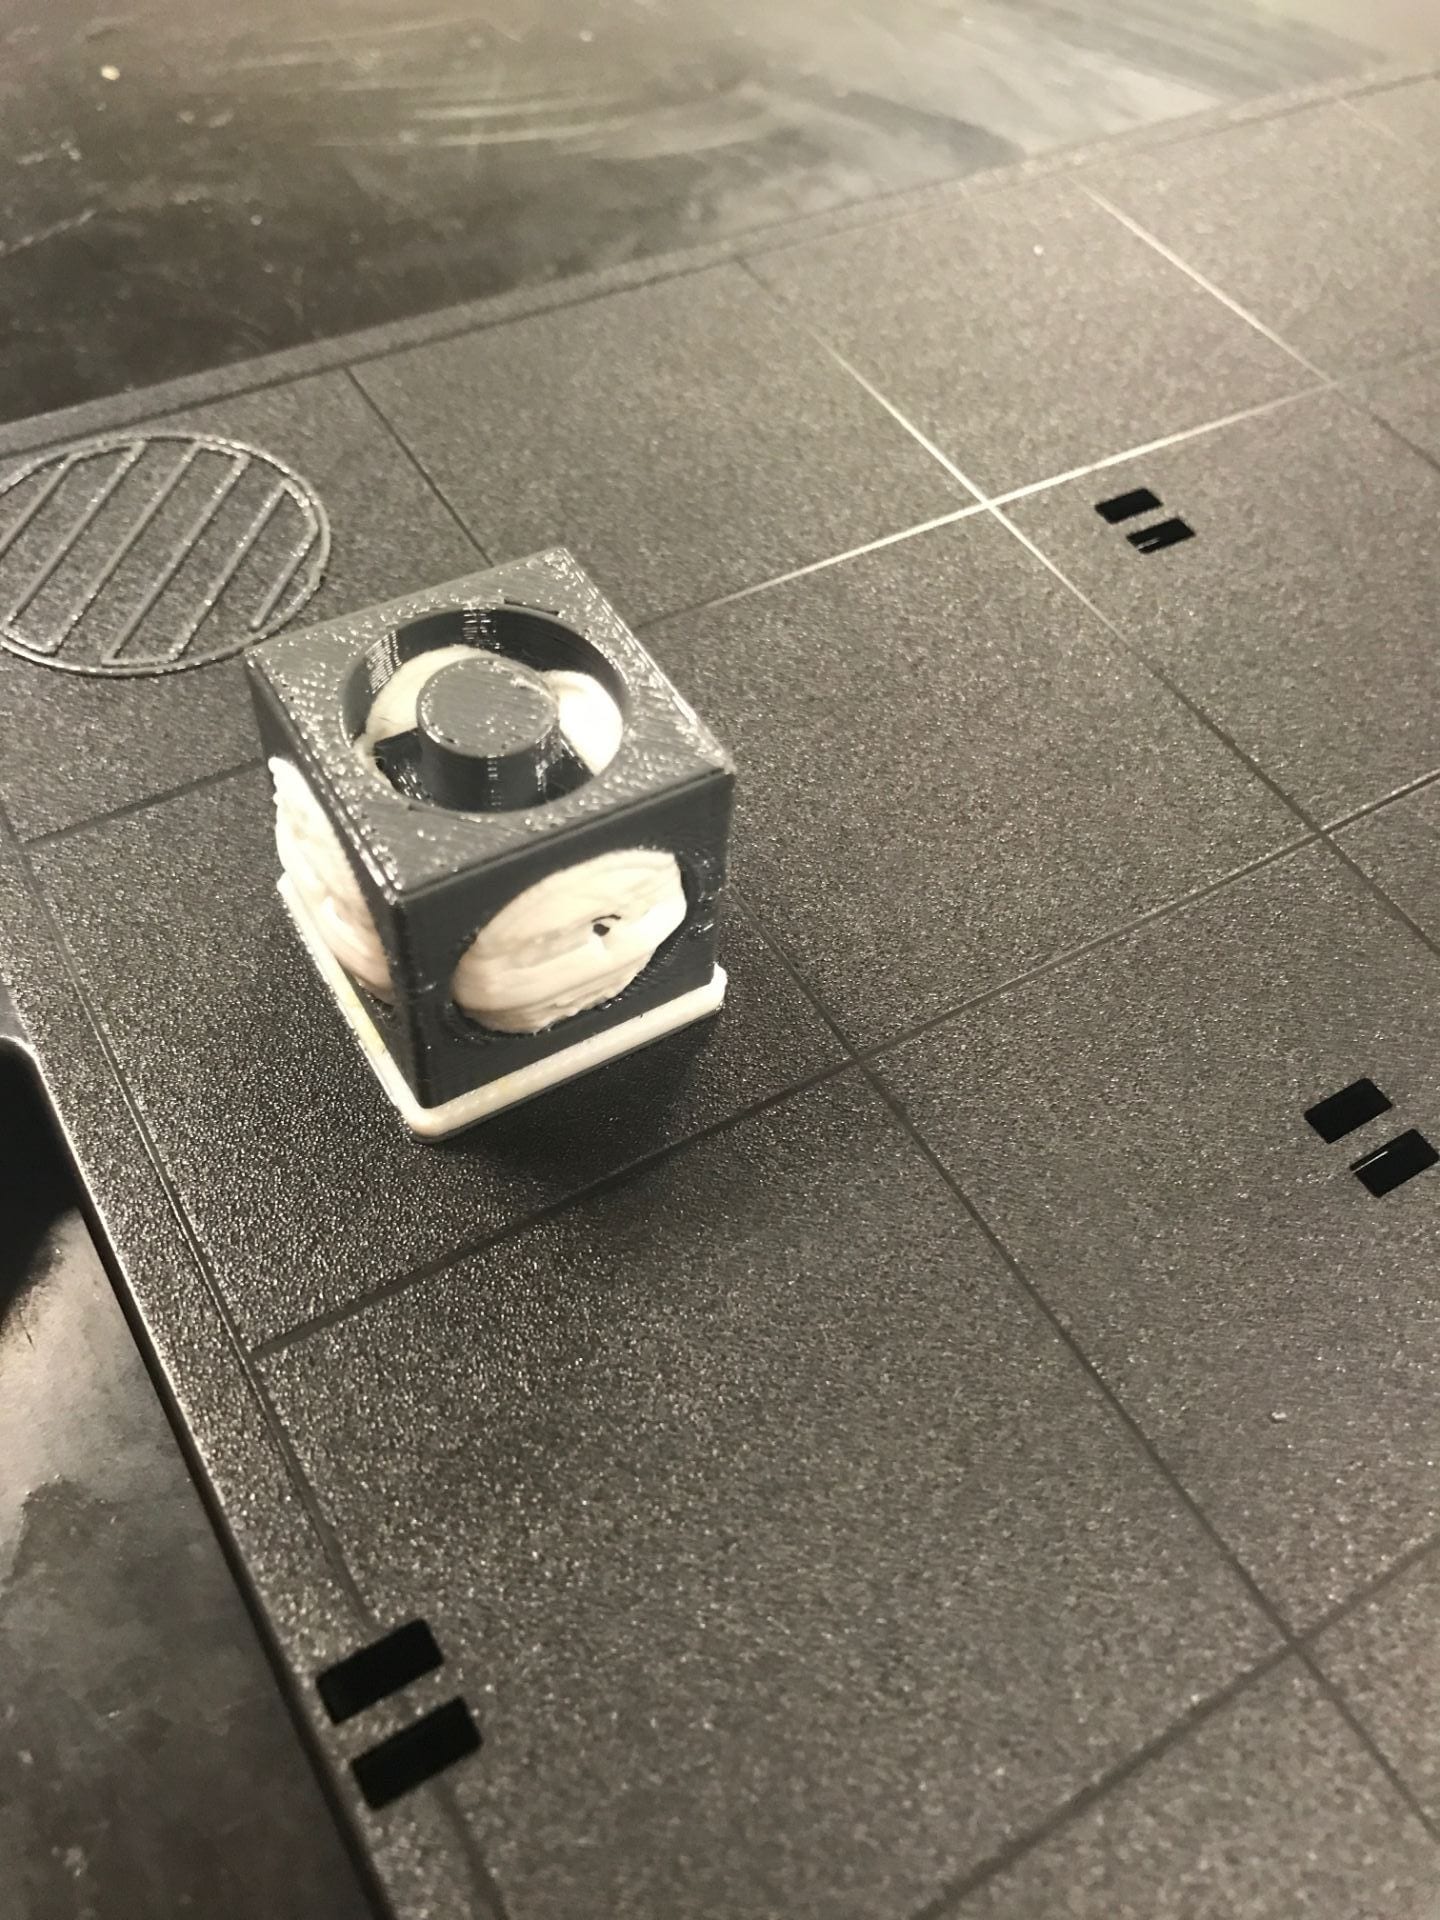
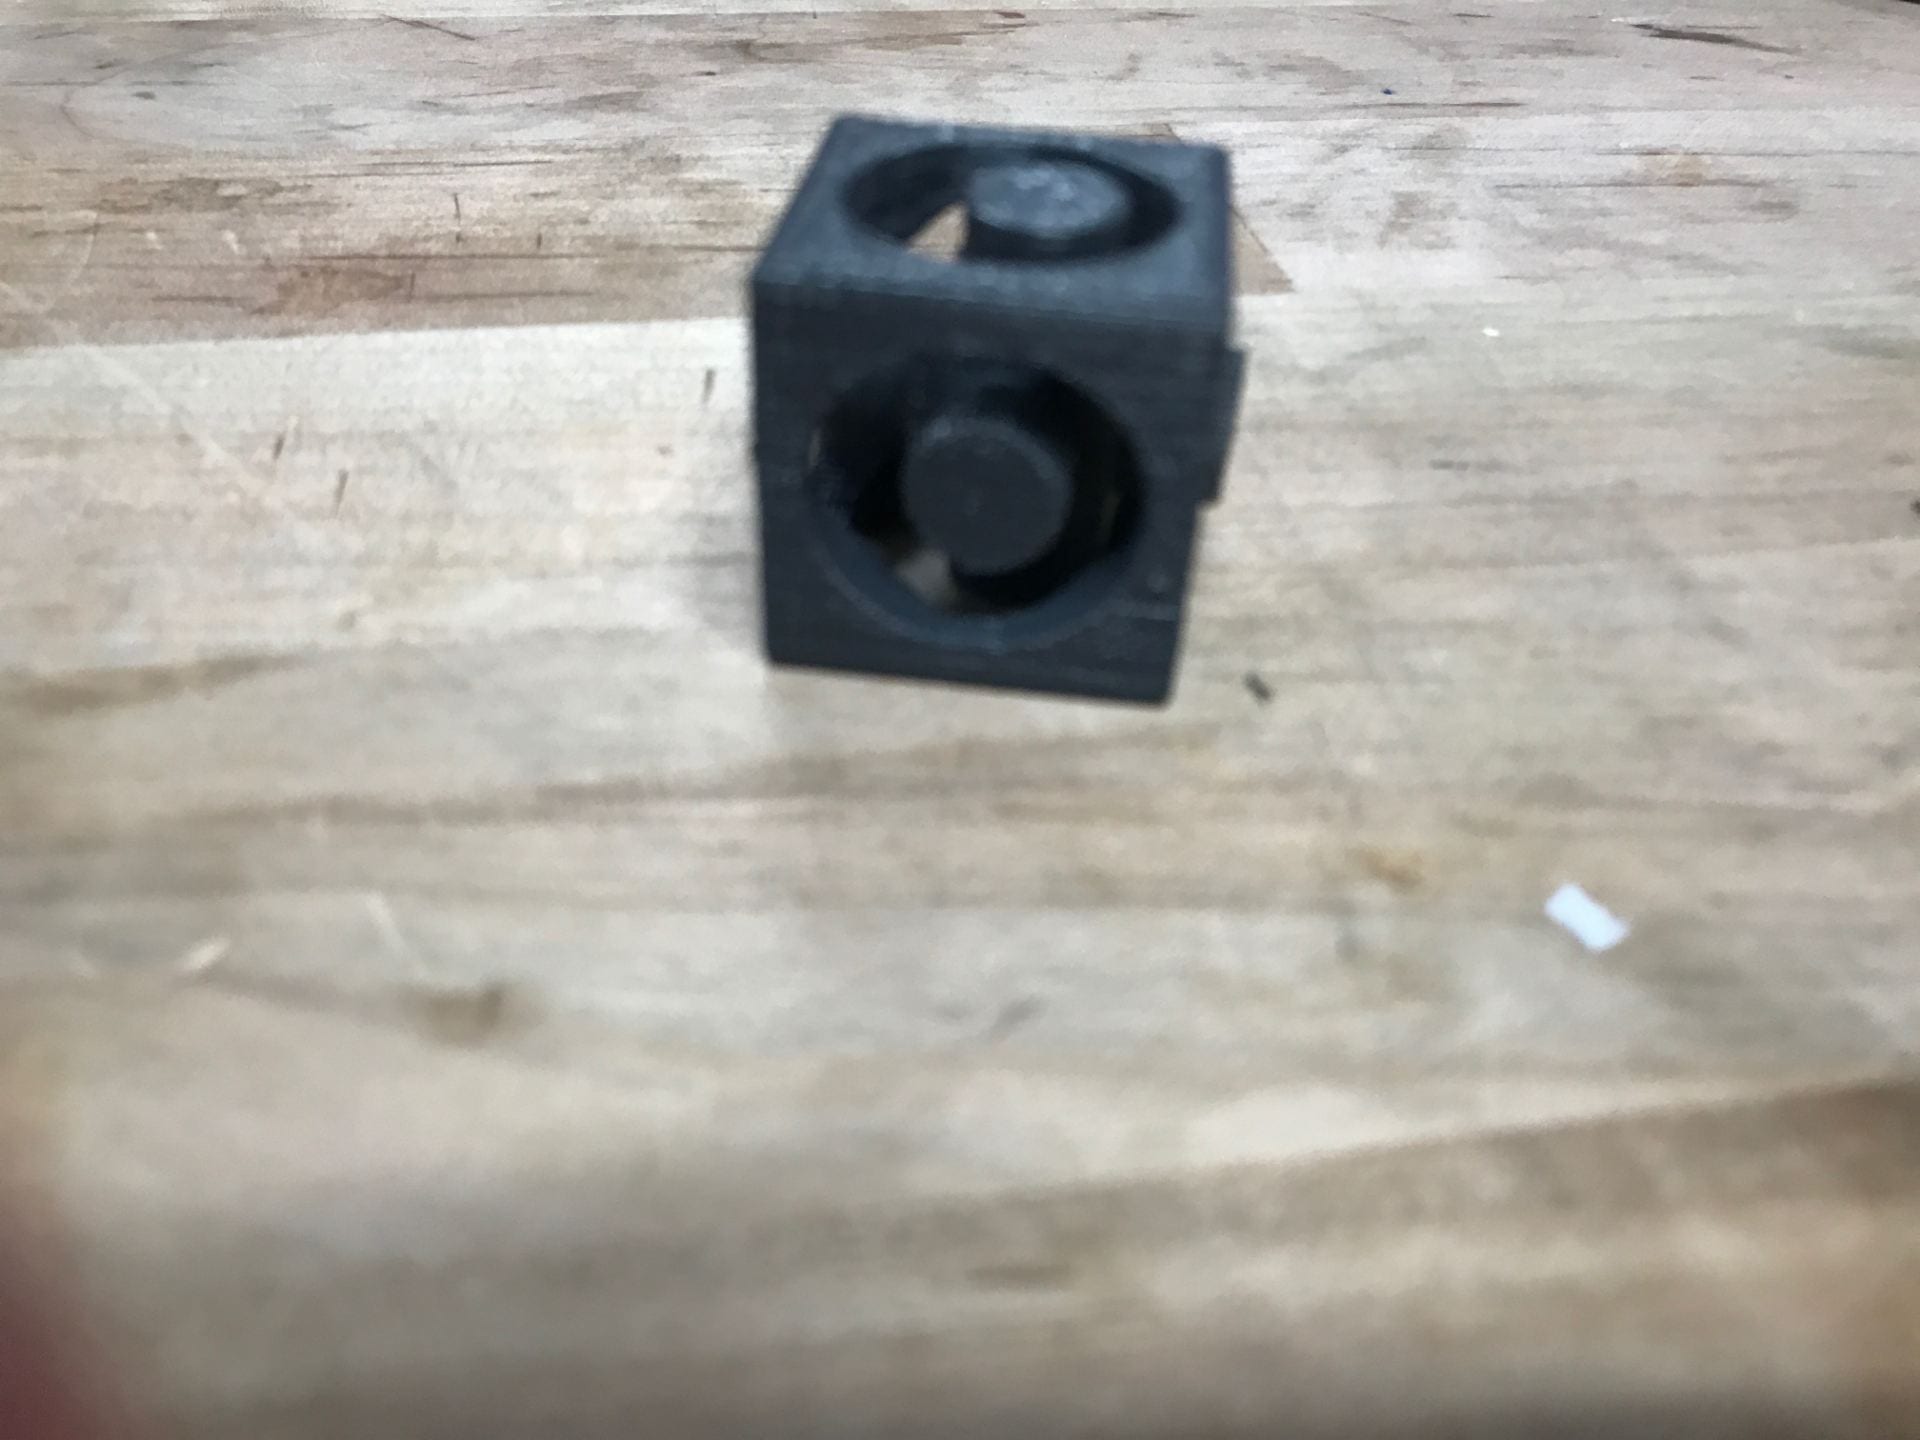
Unfortunately, my next two prints didn’t go so well either. In the middle of the each print, the cube started sliding and this messed everything up entirely. I only have one picture, but this happened twice in a row.
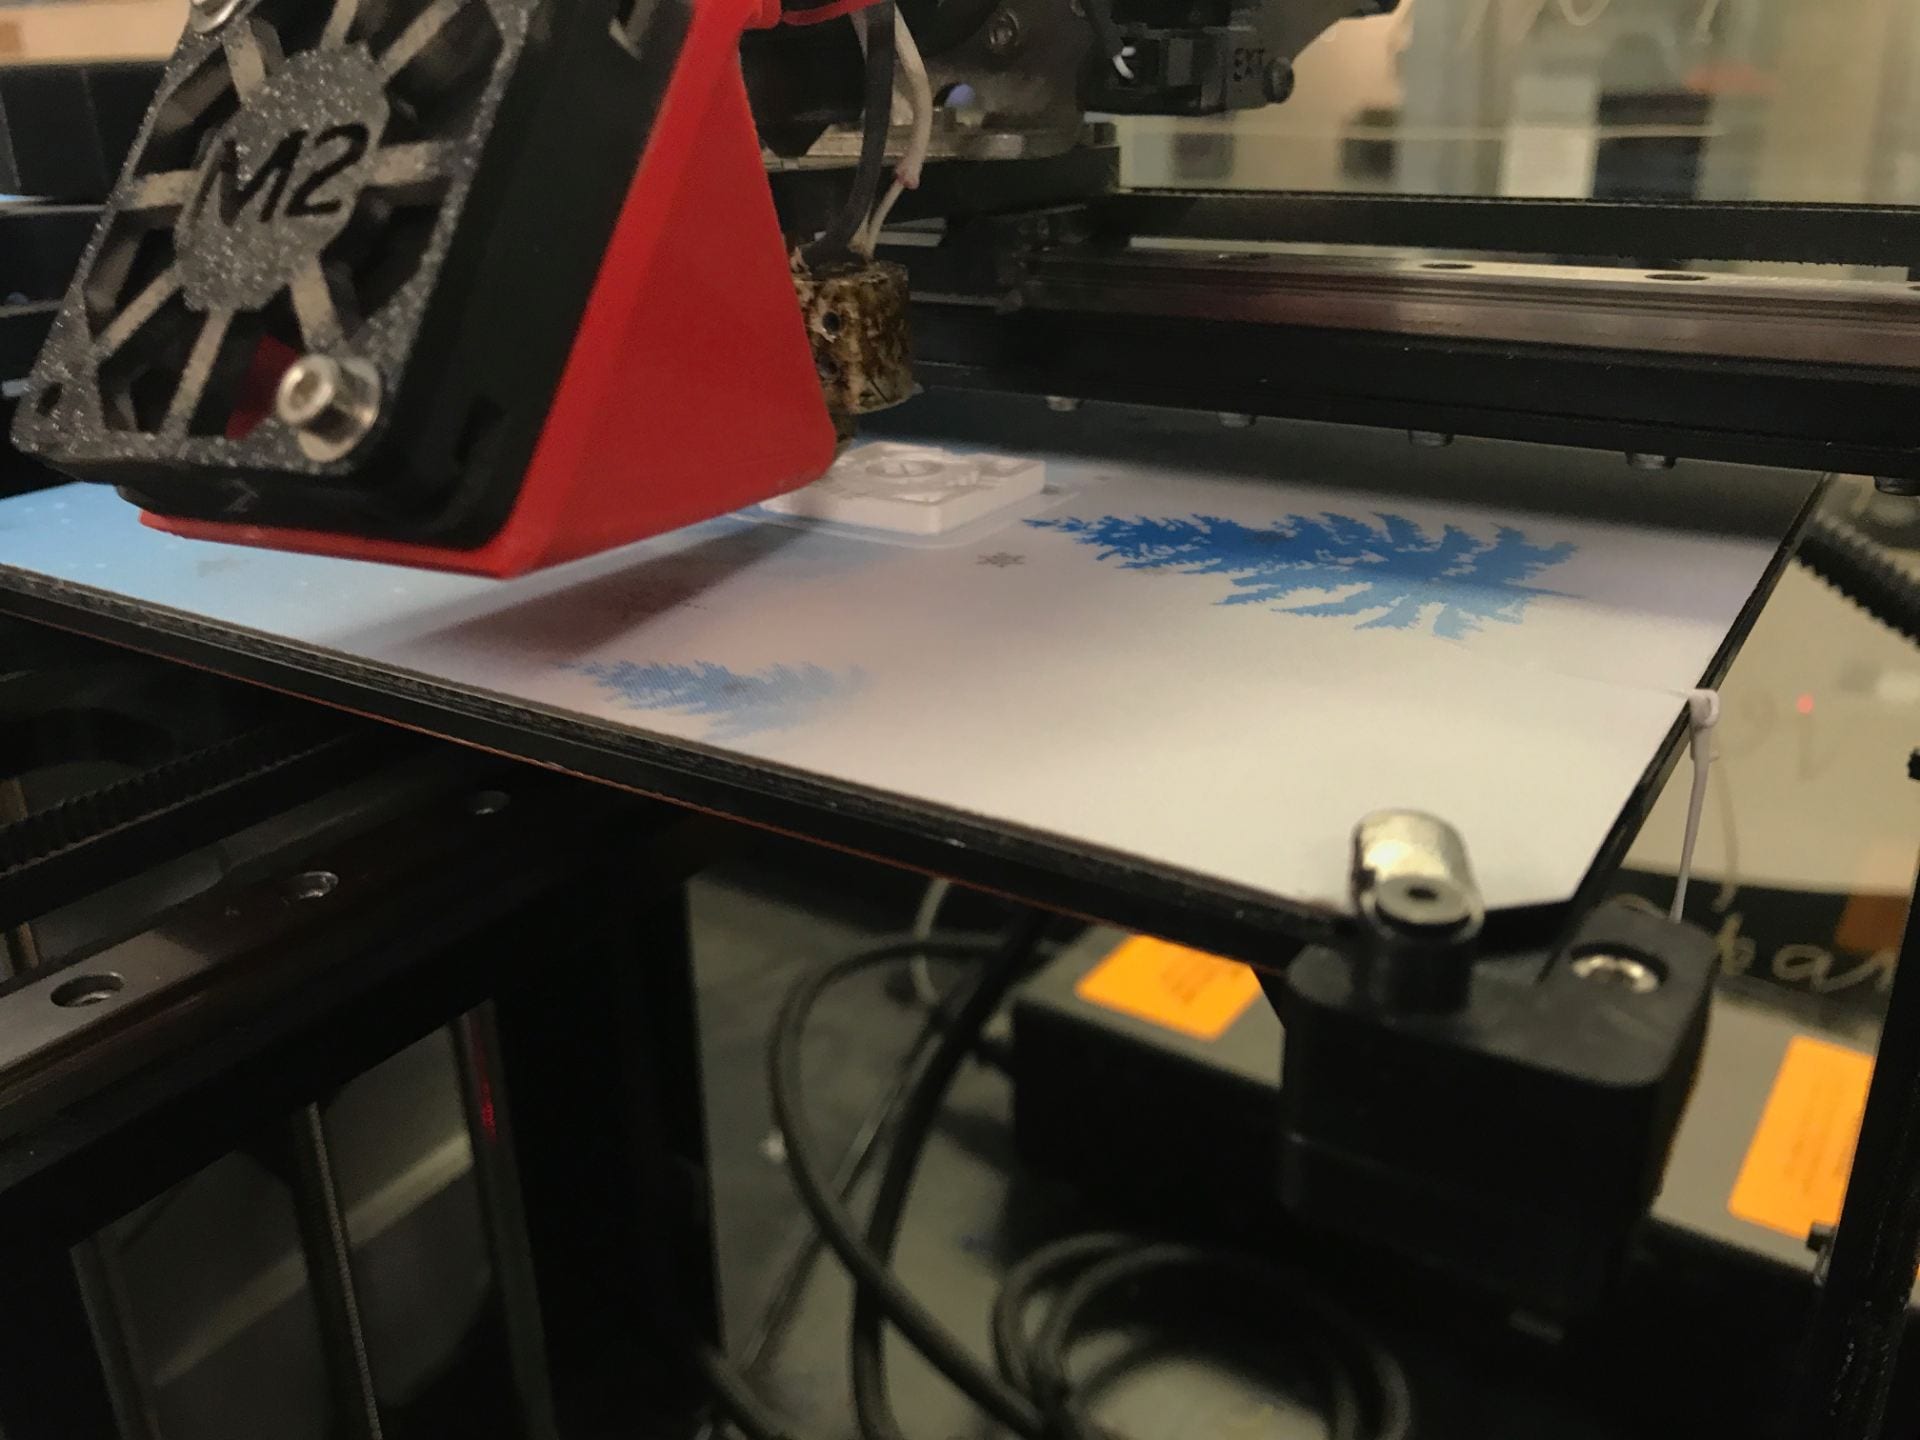
By this time, my print on the Fortus was ready. It looked really good, so I put it straight into the chemical tub in the wet lab and went home.
When I came back the next day, the Fortus print was ready and looked really good. I then did another print on the makergear using the thin thickness and applying glue to the base beforehand to prevent it from slipping. An hour and a half later, I had two good looking prints.
My last step was post-processing. The Fortus print already looked really good so I mostly left it alone, but I cleaned up the Makergear print with the Cutra. After this, my prints were ready to go!

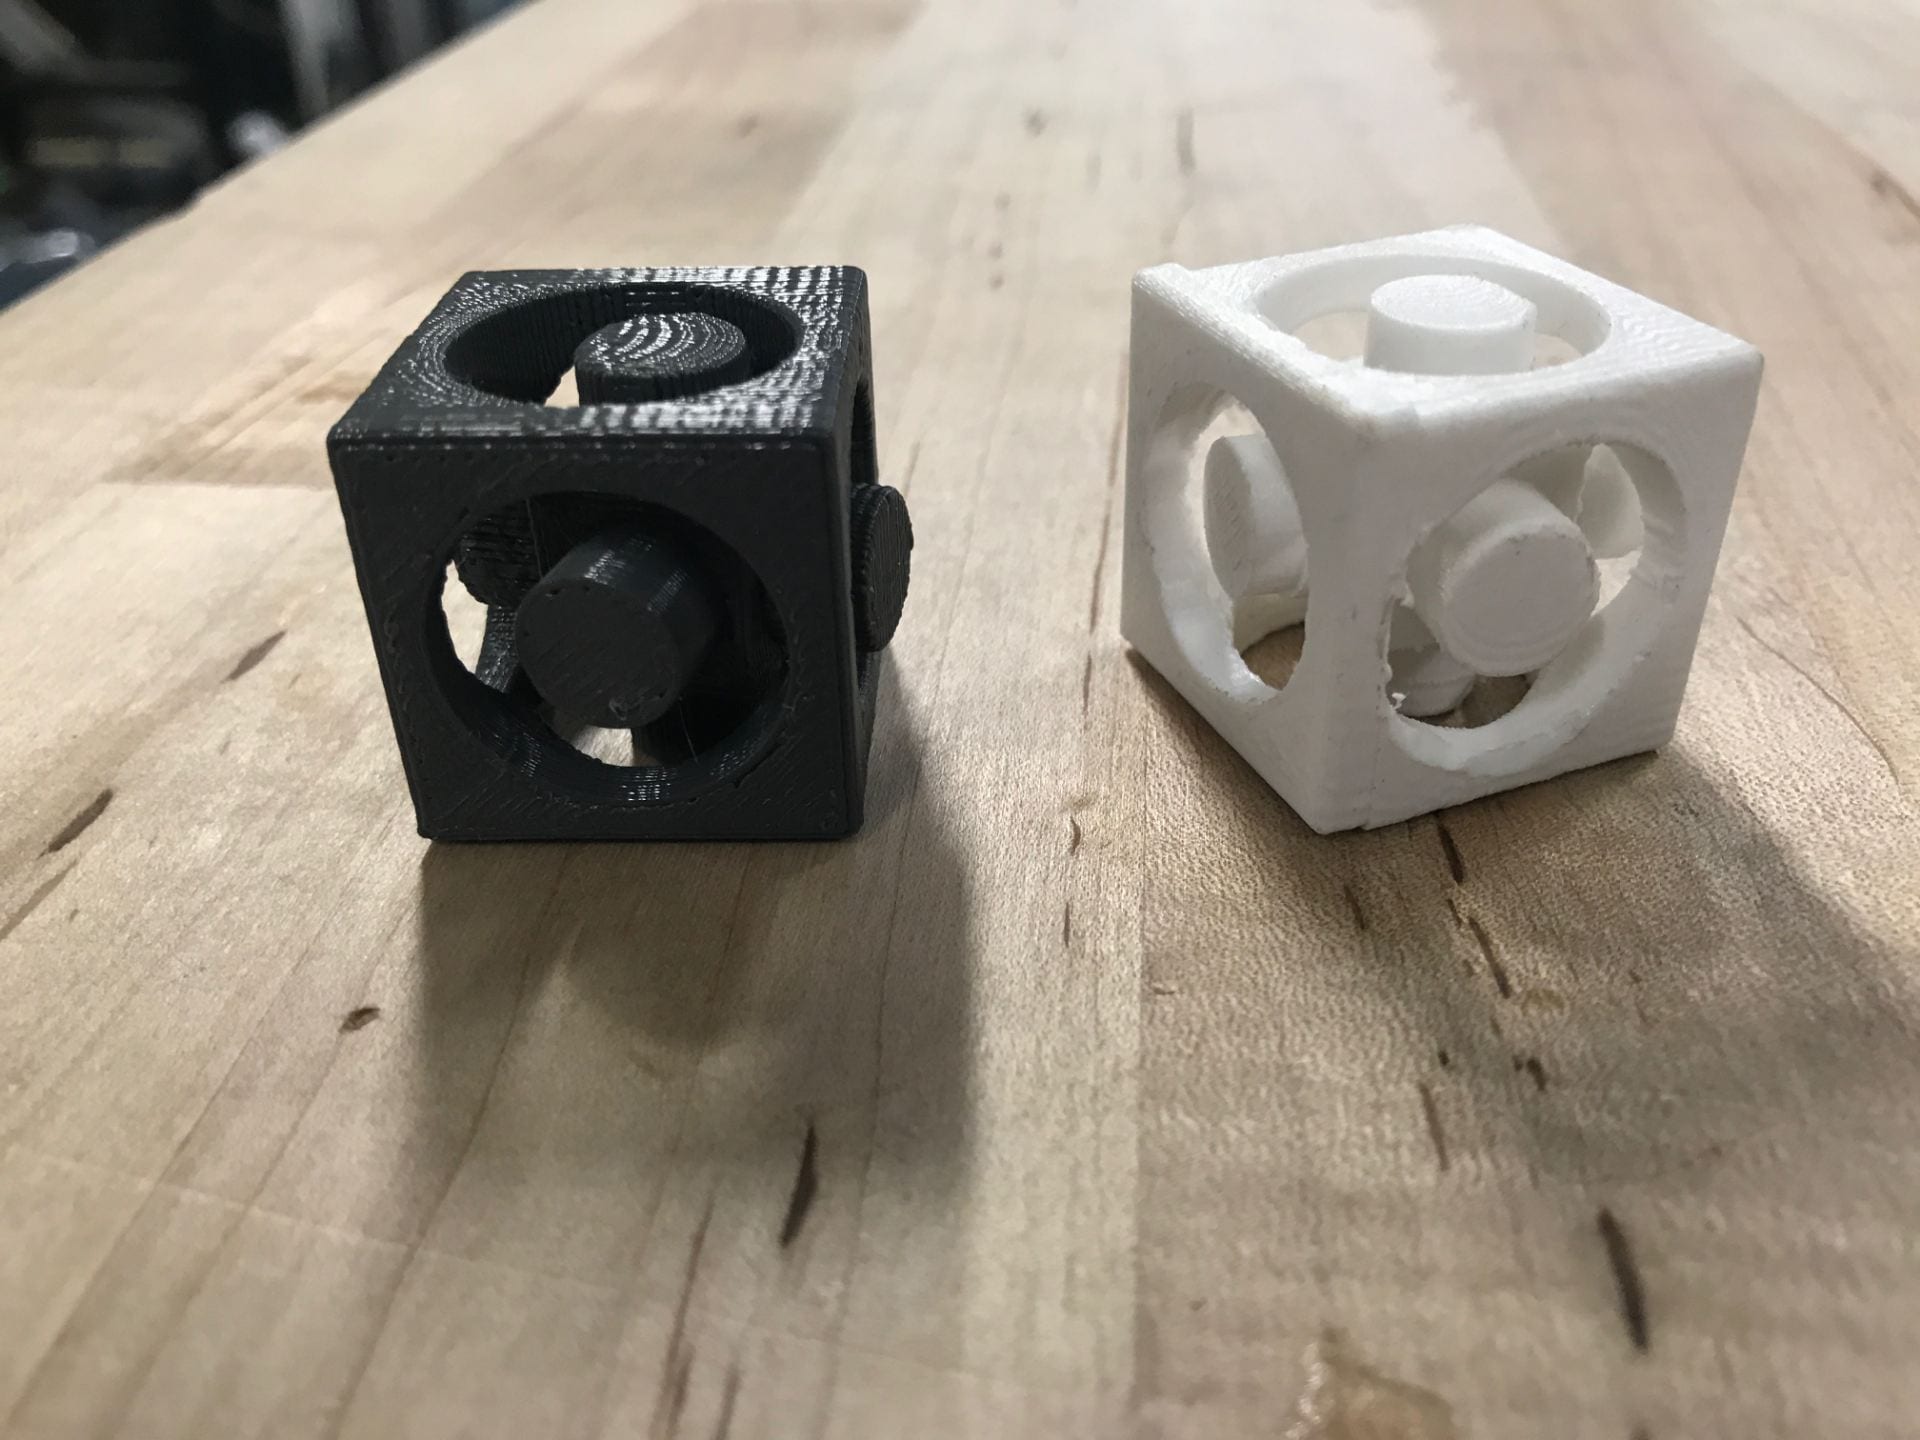
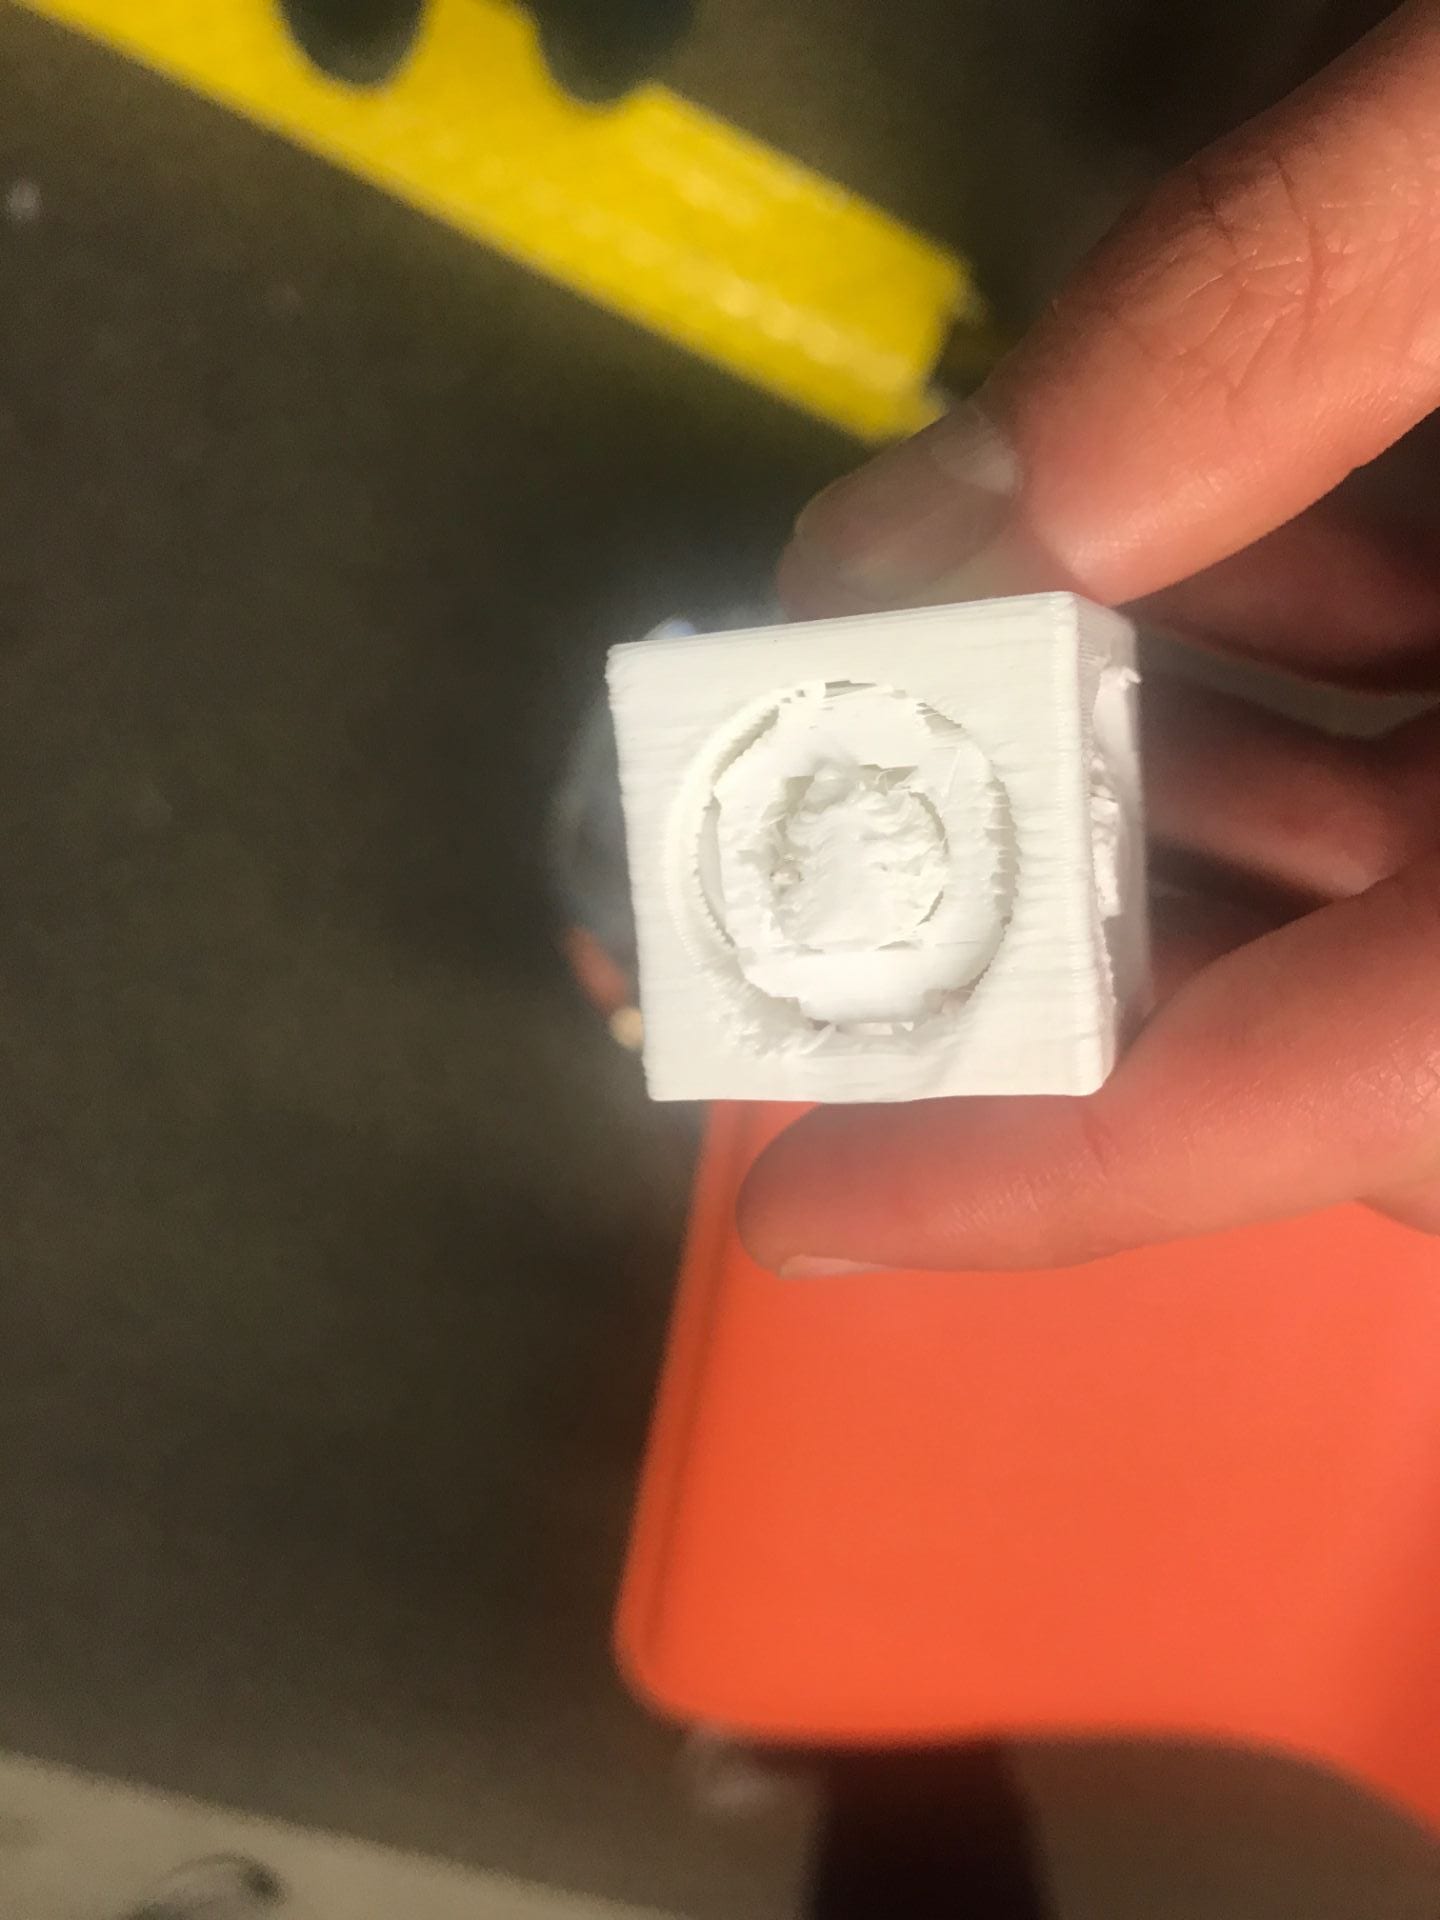
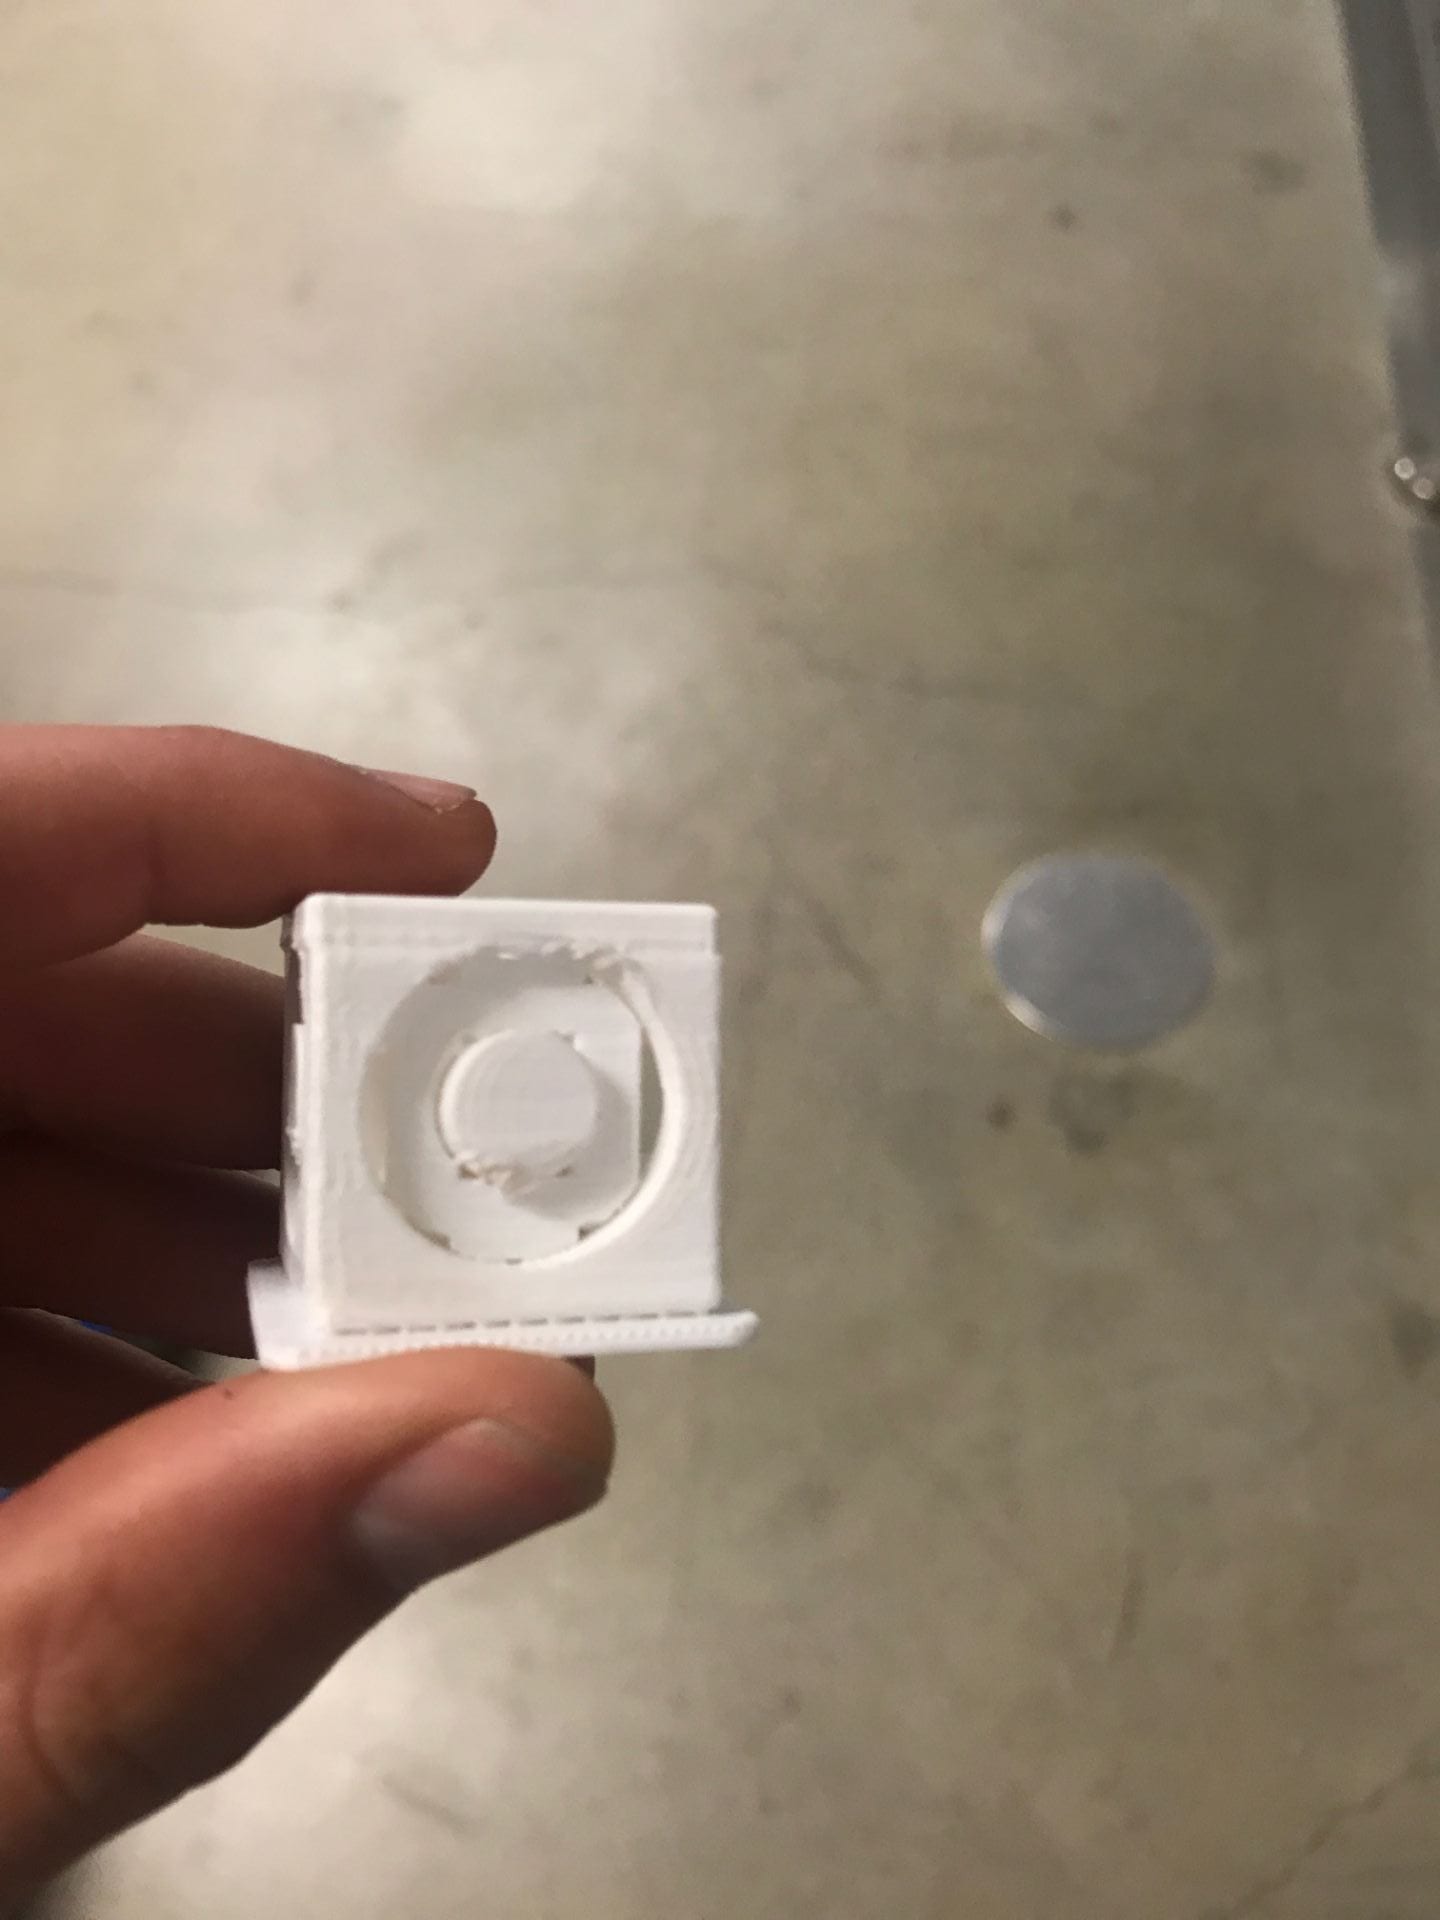
I am happy with how my prints turned out. They both look really cool and have the fidget stuck inside of the box, but able to shake up and down. However, they’re not perfect. The Fortus print has a few very minor defects but overall looks awesome. The Makergear print on the other hand has some more noticable defects that I wasn’t able to clean up entirely with the Cutra, and near the end it slipped a tiny bit so the top section is over so slightly off center.
Cost: In total, this project took me about 4 hours of work time. My Fortus print was calculated to cost $11, and a lab assistant told me that the Makergear prints cost roughly $2 each. I tried it four times on the Makergear, so putting my time at $15 an hour this project costs $79.
