For our midterm project, we wanted to create a simple orrery that represented the way the Earth and moon move around the sun to some degree. After looking through the 507 Mechanical Movements, we found that the movements that best represented what we wanted were 24 and a variation of 55. We started our design by finding an accurate gear generator online and creating both a planetary gearset and a regular gearset. We initially wanted to have the moon rotate freely of the Earth, but we soon realized that would prove difficult. In the end, we settled on just having the moon tidally-locked to the Earth.
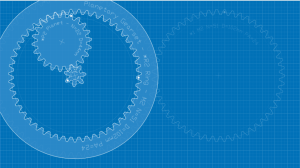
Our finalized gear design
Once we had our gear design, we made a low-fidelity prototype of our model. We initially made the mistake of using some higher-fidelity materials in our first prototype, which did not work, so we went back and cut everything out of cardboard. Once we used cardboard, we were able to fix our Illustrator files and make a better medium-fidelity prototype.
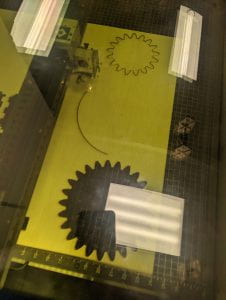
Cutting our our gears for our medium and high-fidelity prototypes
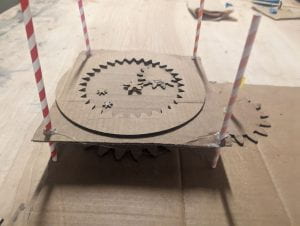
Our final low-fidelity prototype
For our medium fidelity-prototype, we decided to cut out our wooden gears while using cardboard for our base. Once we finished our medium-fidelity prototype, it was time to make our high-fidelity prototype.
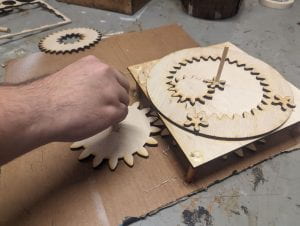
Our final medium-fidelity prototype
For our high-fidelity prototype, we used wood for our base and cut our some aluminum for our handle. We used the laser cutter to cut the base and the water jet to cut the aluminum. Once those were cut, we drilled some holes into our base so we could place bearings to help the gears rotate better. Once everything was put together, we decided to add a white finish to our prototype so that our vinyl-cut stars might pop out better.
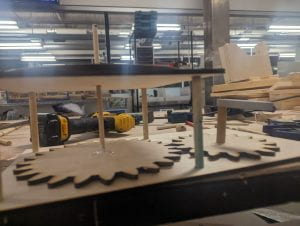
Putting the final prototype together
When we were painting, we ran into the issue of the paint blocking the holes where the connecting rods went, which caused our prototype to stop spinning. To solve this, we wiped away what paint we could and sanded down the connecting rods. When we went to remove the connecting rod with the sun, one of our gears broke, so we had to rush to replace it. In the end, we were able to get the final prototype working and added our stars all around the device.
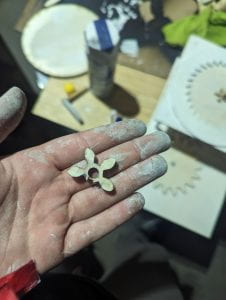
Our gear broke as we were removing the main connecting rod!
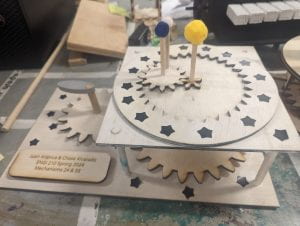
Still image of our final prototype
From Midwest Steel and Aluminum, a half-inch thick piece of aluminum with the dimensions for our handle would cost around $14. For the wooden sheets we used for our bases and gears, we found that they would cost around $10 given that they were 1/5″ sheathing, which is $27 for a 4’x8′ sheet. We estimate that the wooden dowels and wool balls would cost around $1.50 for the lengths we had of each. As for the vinyl, we estimate that it would cost around $.21 given that a pack of 150 8.5x11in vinyl sheets costs $34 on Amazon. In total, we estimate that our project would have cost around $25.71 for all the included materials.
