In this week’s lab, we learned about using the Epilog laser-cutter to cut or etch a piece of wood. As for the assignment, we played with different settings in the cutter to modify a Rice War Owl to its best look.
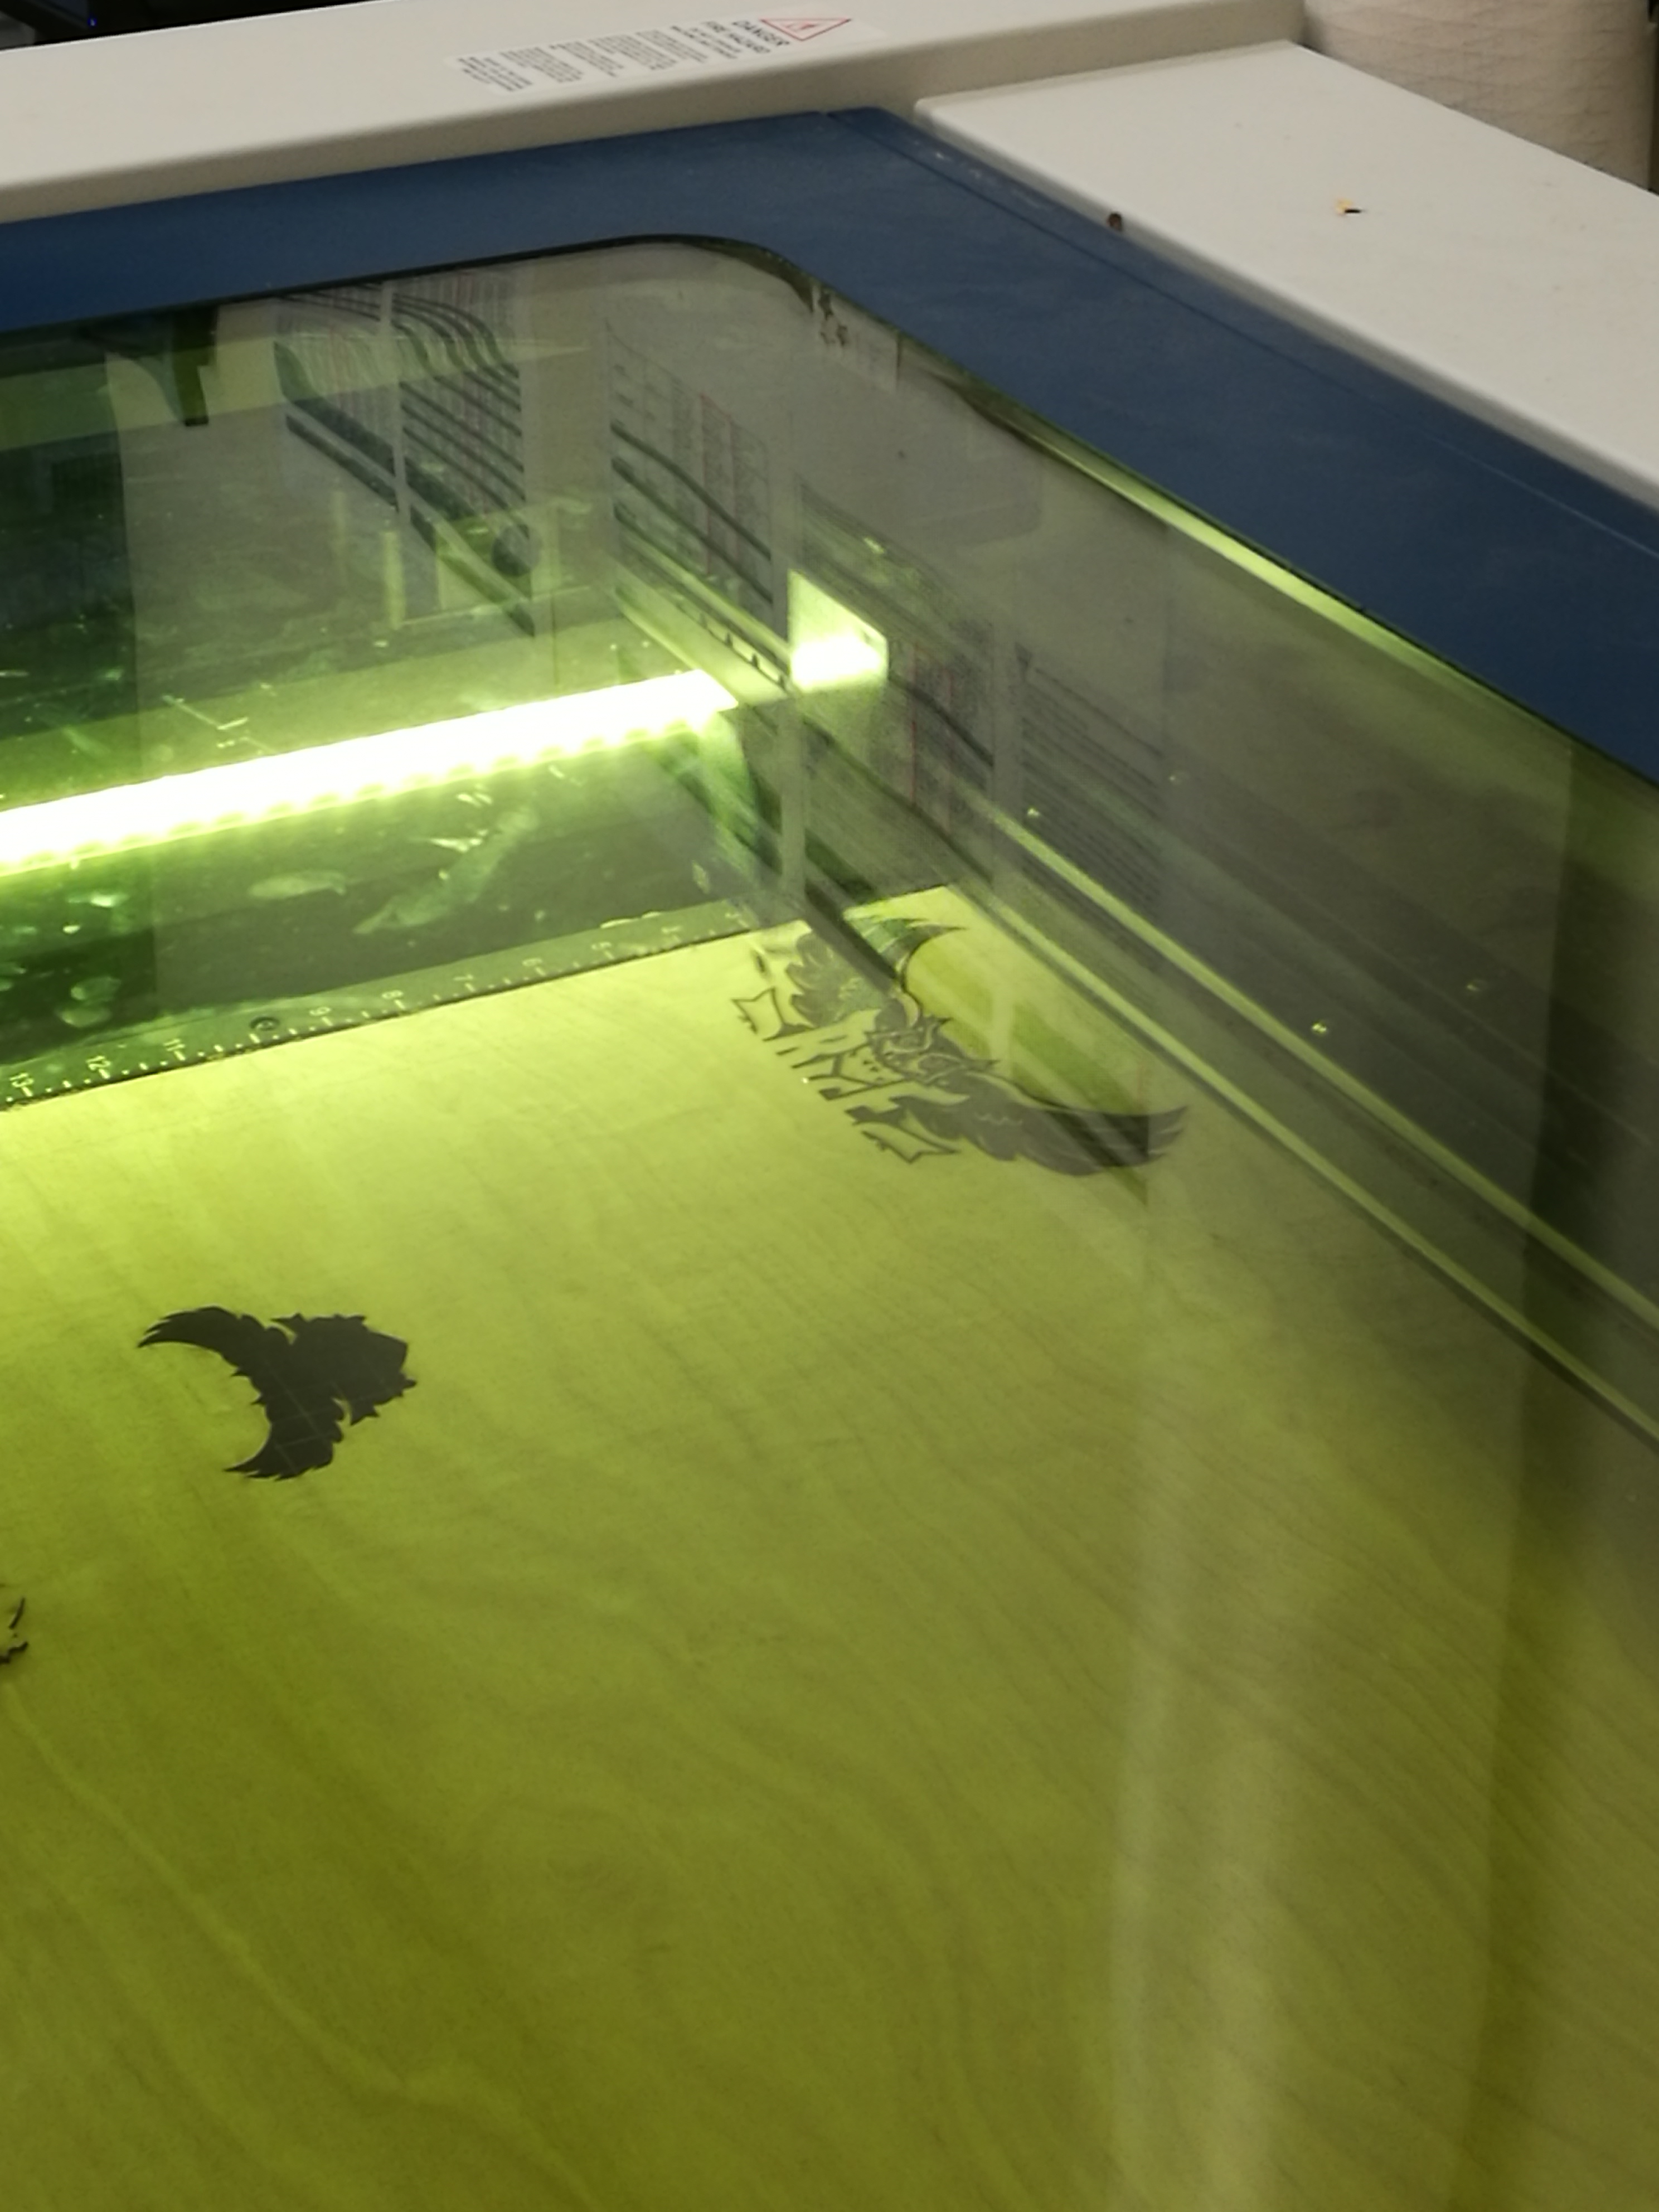 At first glance of the .ai file, we thought since its really complicated to set the device to cut and engrave at the same time, we could etch the Owl pattern first and than cut its outline. When we started running the machine, we realized that we forgot to adjust the size of the Owl and it took a long time to etch such a ‘giant’ Owl. Also, because we need to cut the Owl at the exactly same place, we can not change any setting of the machine. However, since we happened to jog the cutter’s head to other place, we had to let the first Owl go.
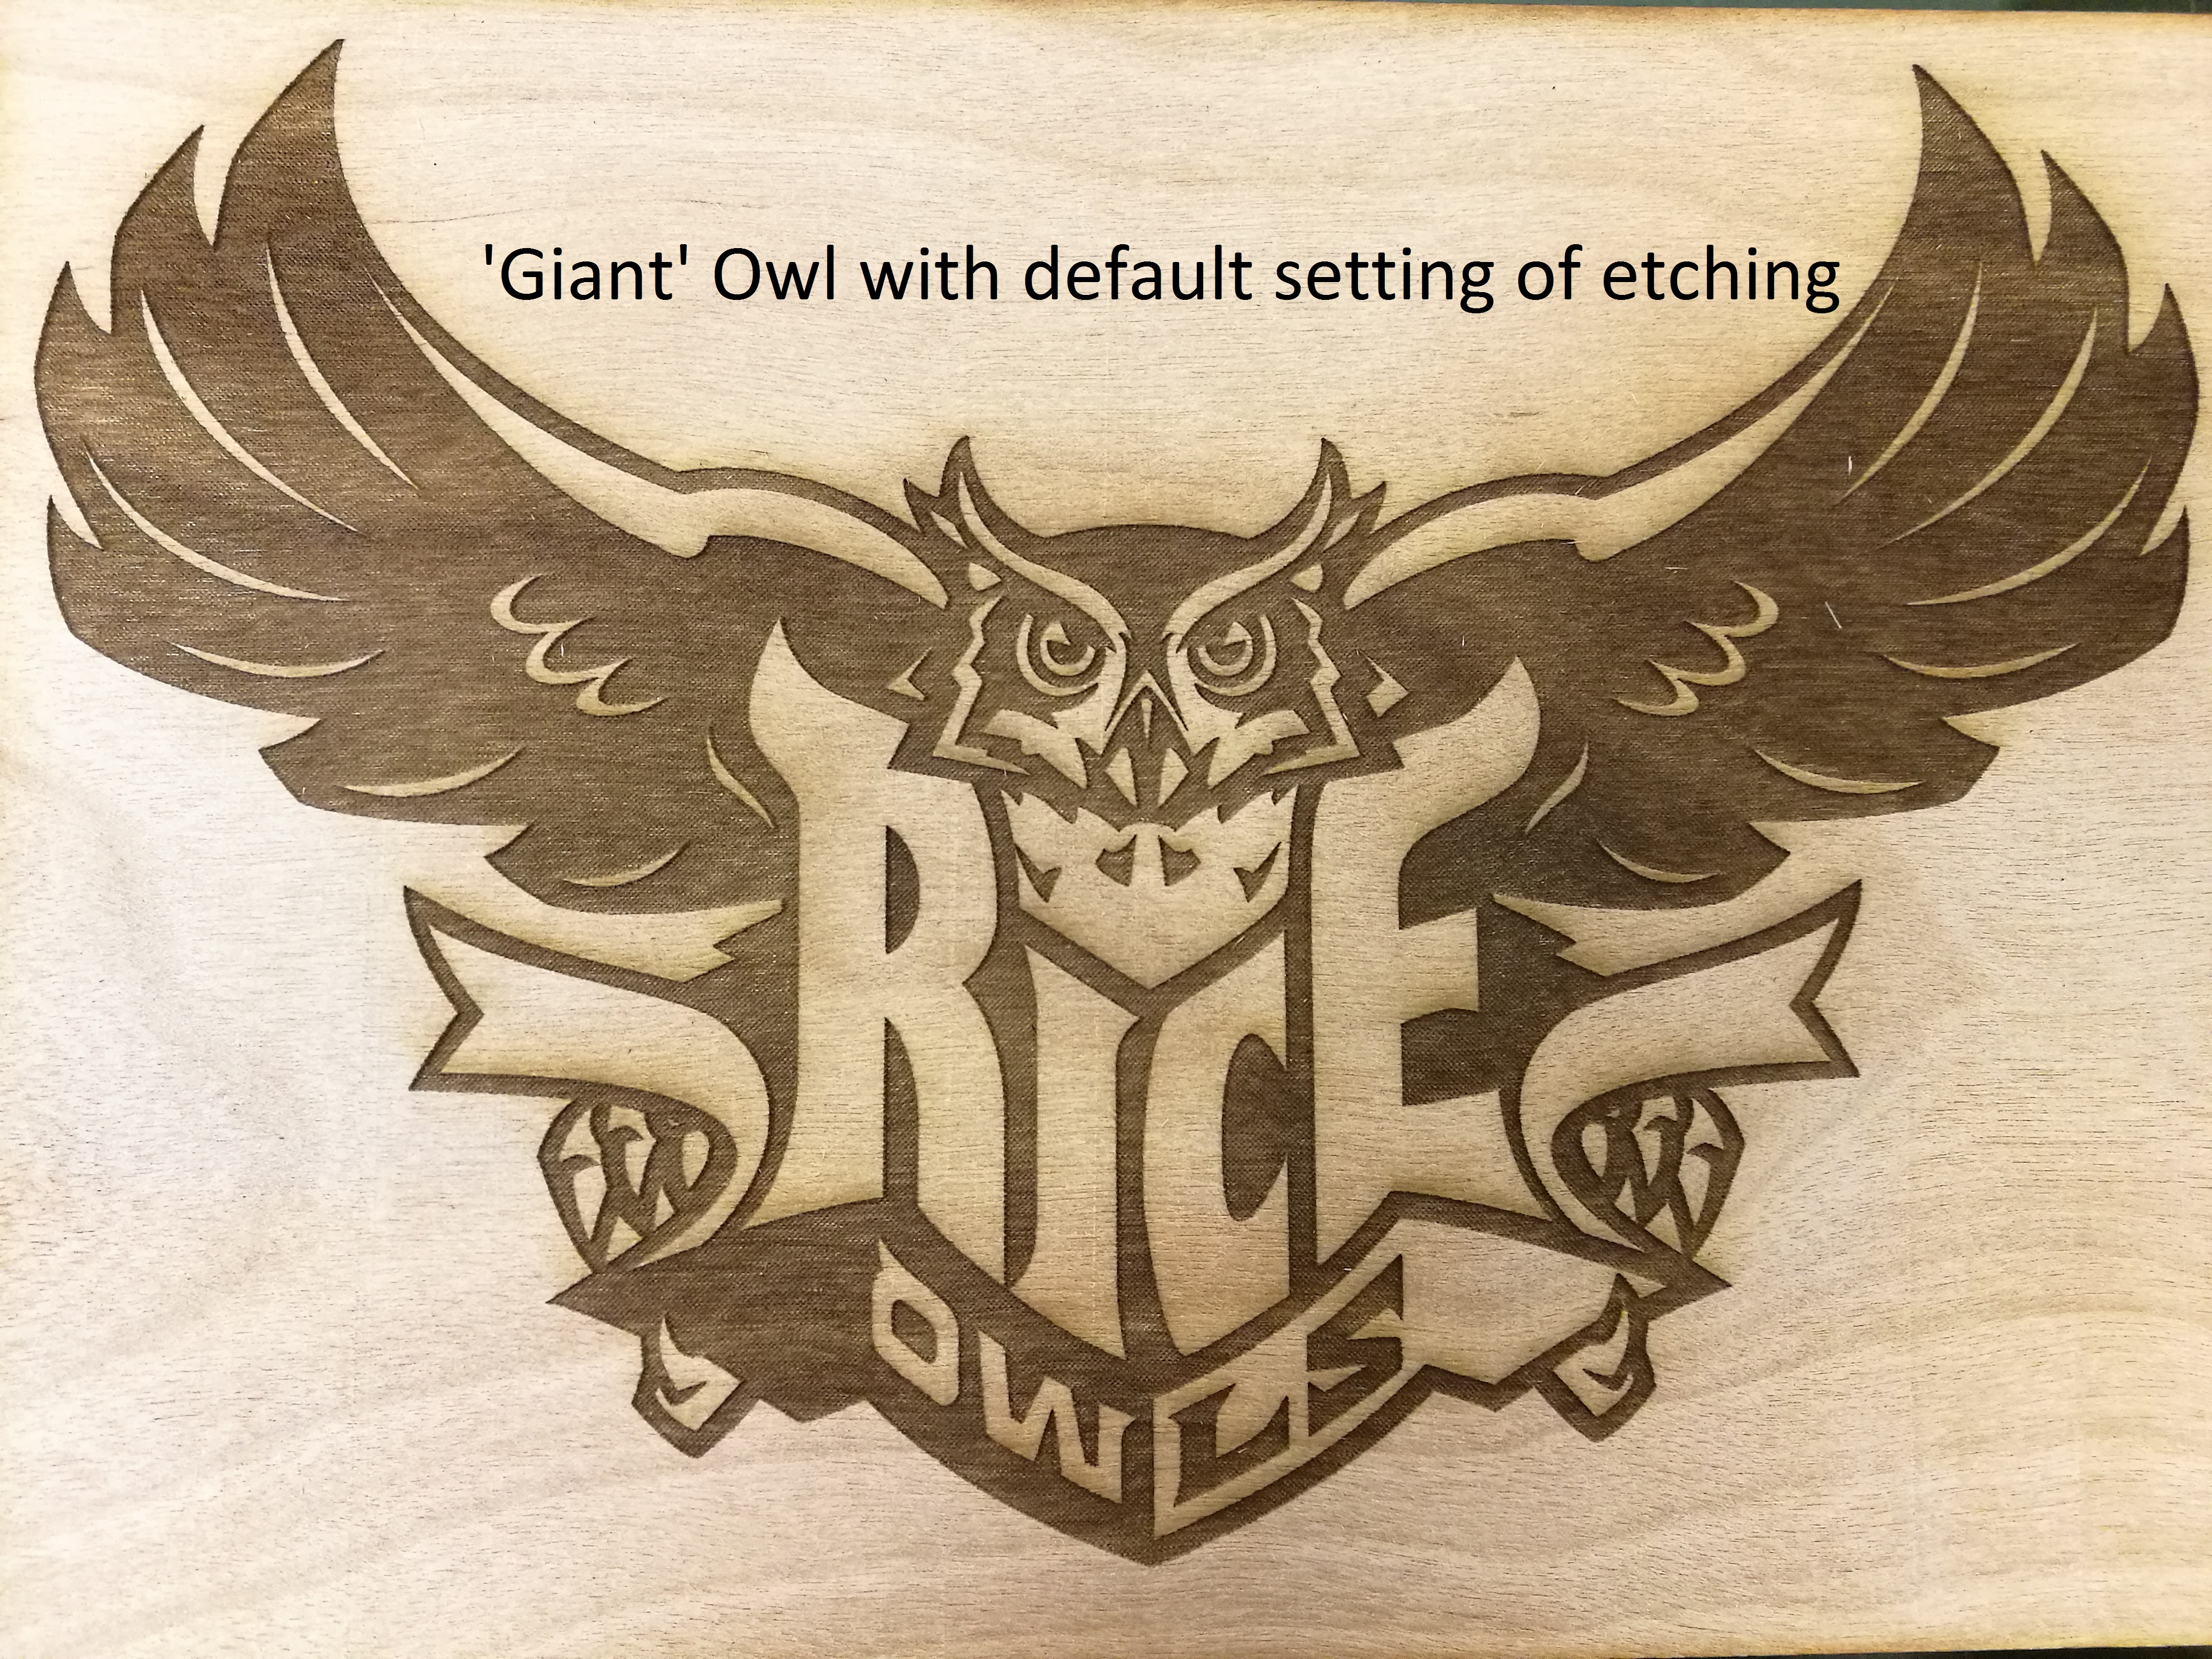 When we did the first Owl, we didn’t adjust any layer and just went with the default setting of etching. It turned out to be good color. So we decided to go with the default setting for etching the blue part on our next Owl.
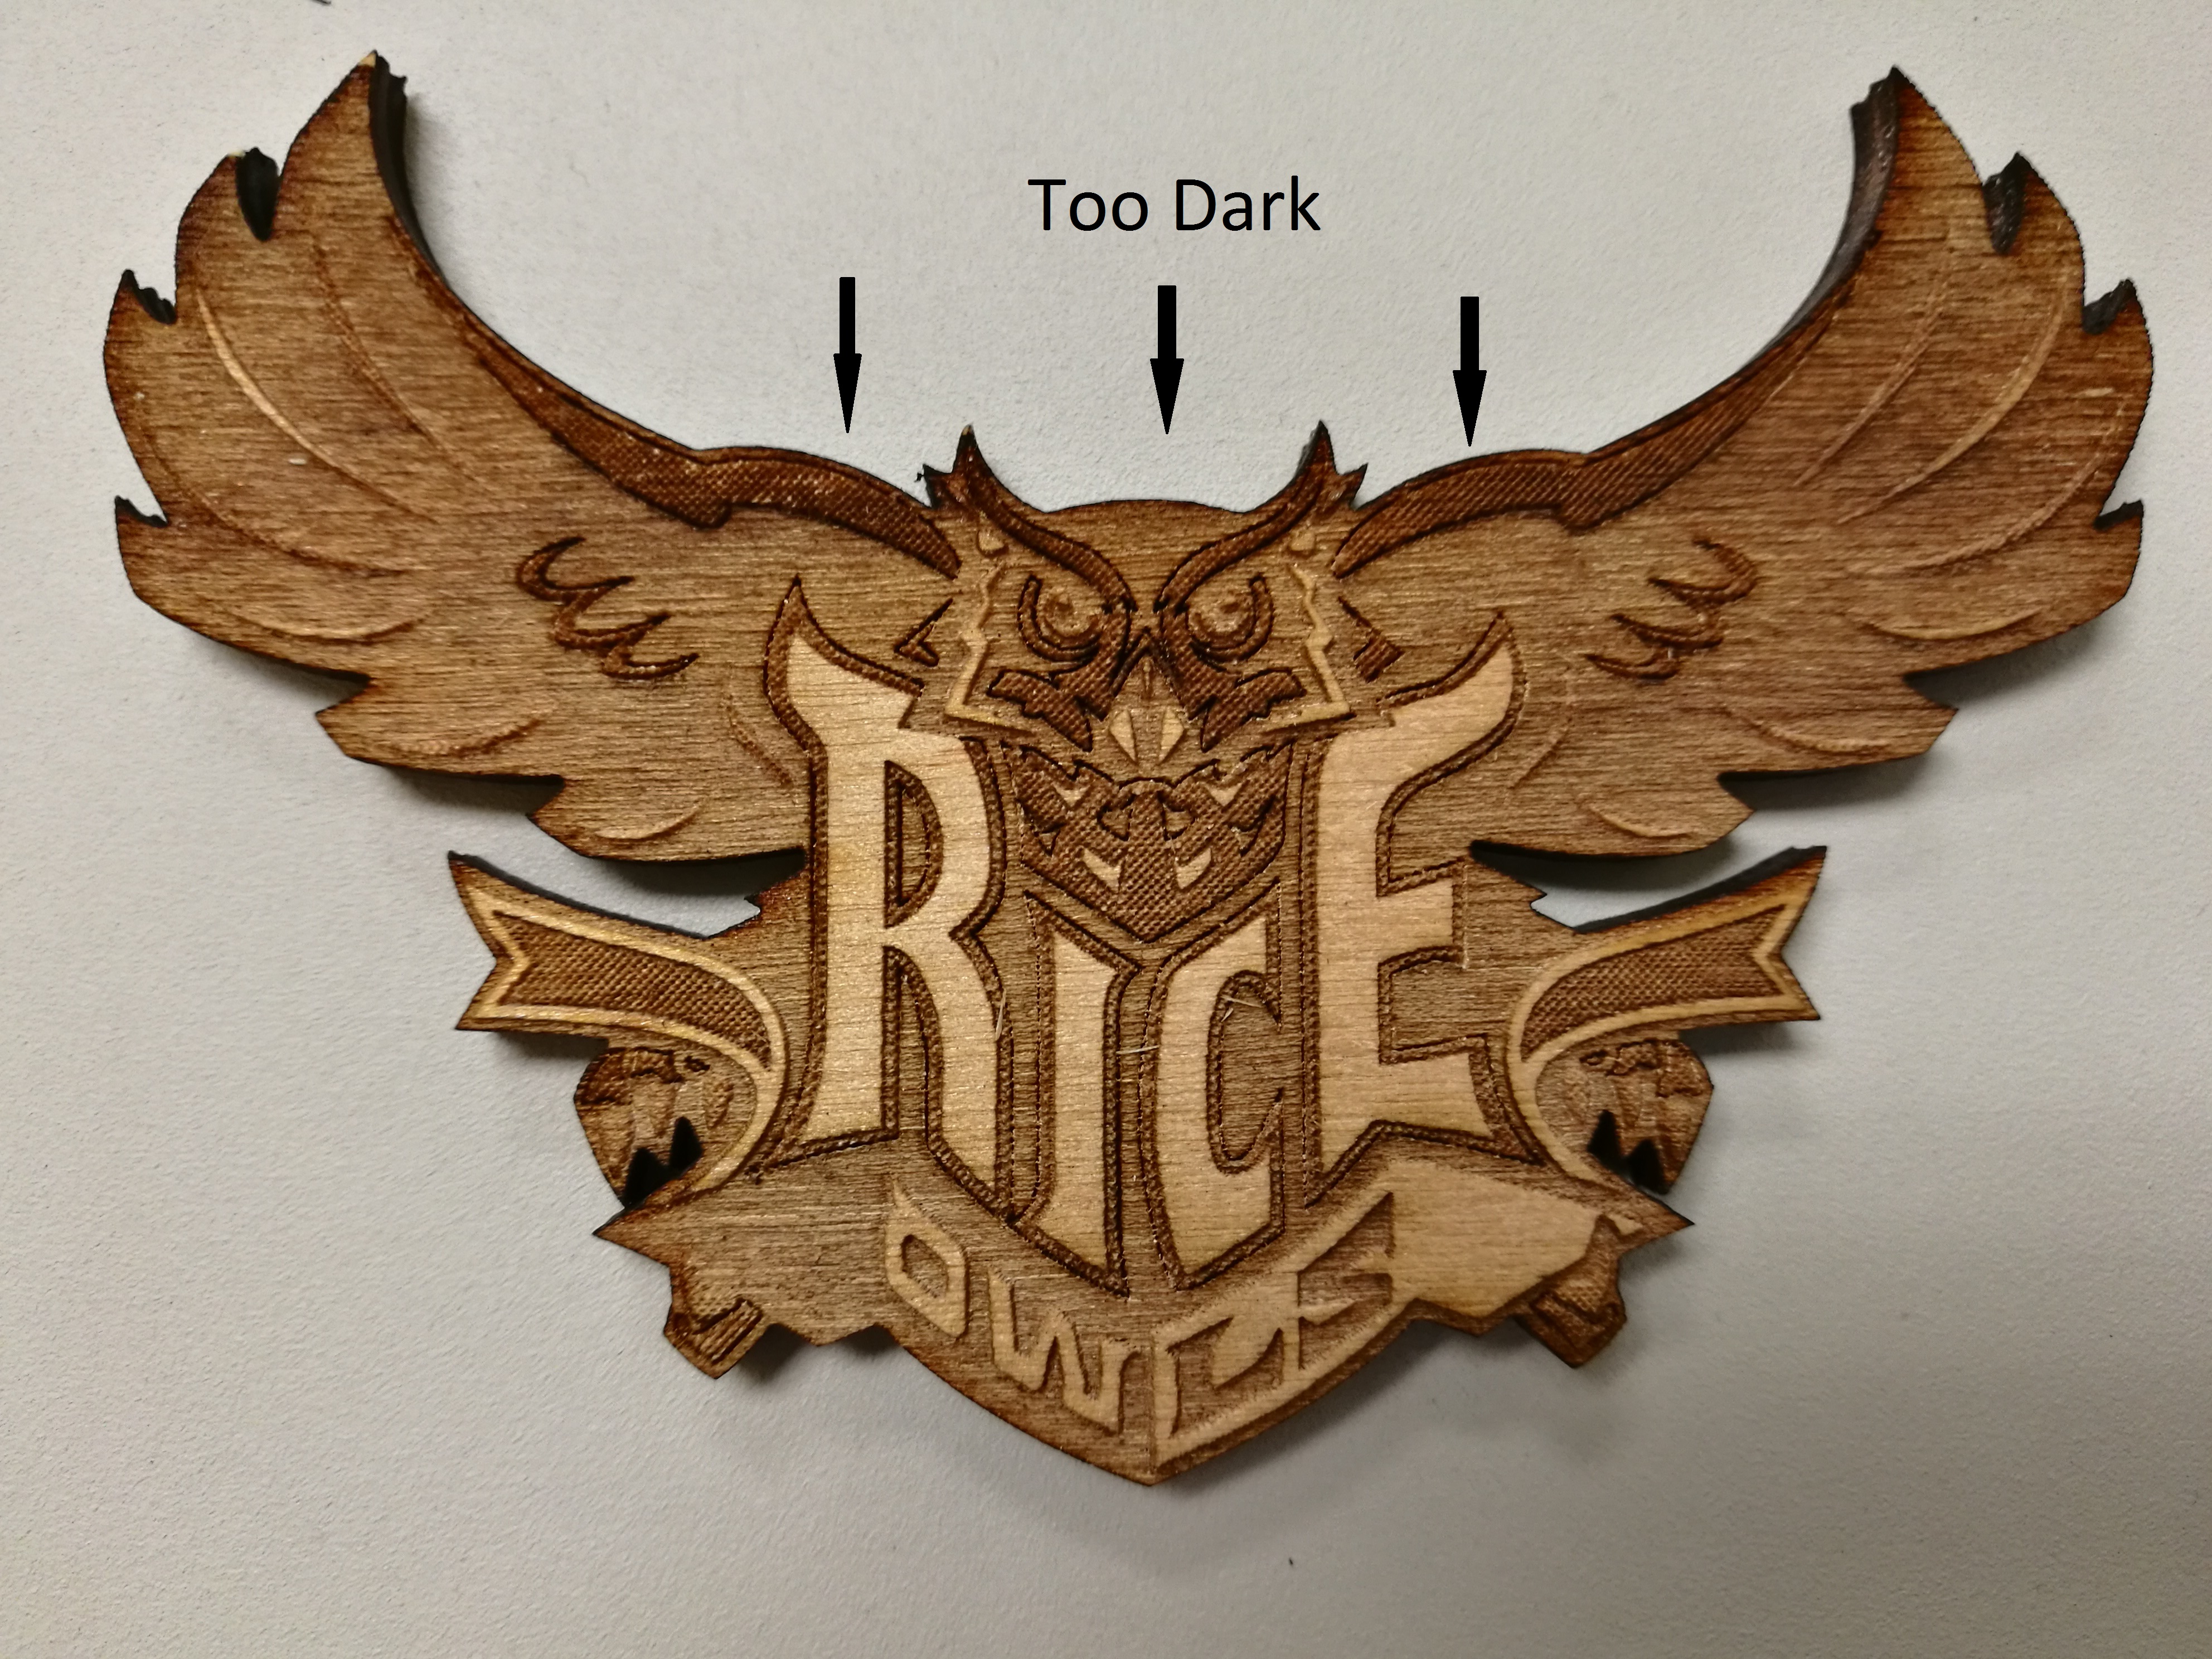 Starting from the second Owl we made, we decided to add different color to different color of the Owl it self. Observing the .ai file we got, we found that it was divided into different layer of color including blue, white, gray and yellow. Browsing at the setting we had in Epilog menu, we found that we can modify the speed and power separately for different color. So we first set change our Owl’s color into the color Epilog had with color code(since the color setting in Epilog is different from the Owl). We set gray with 20 speed 60 power, the yellow 25 speed 30 power, and the blue 40 speed 100 power all in 400 dpi. And after finishing etching, we changed the layer into all blue and engrave it. It turned out that the gray was too dark to see the face of Owl and it became a ‘Devil’ Owl.
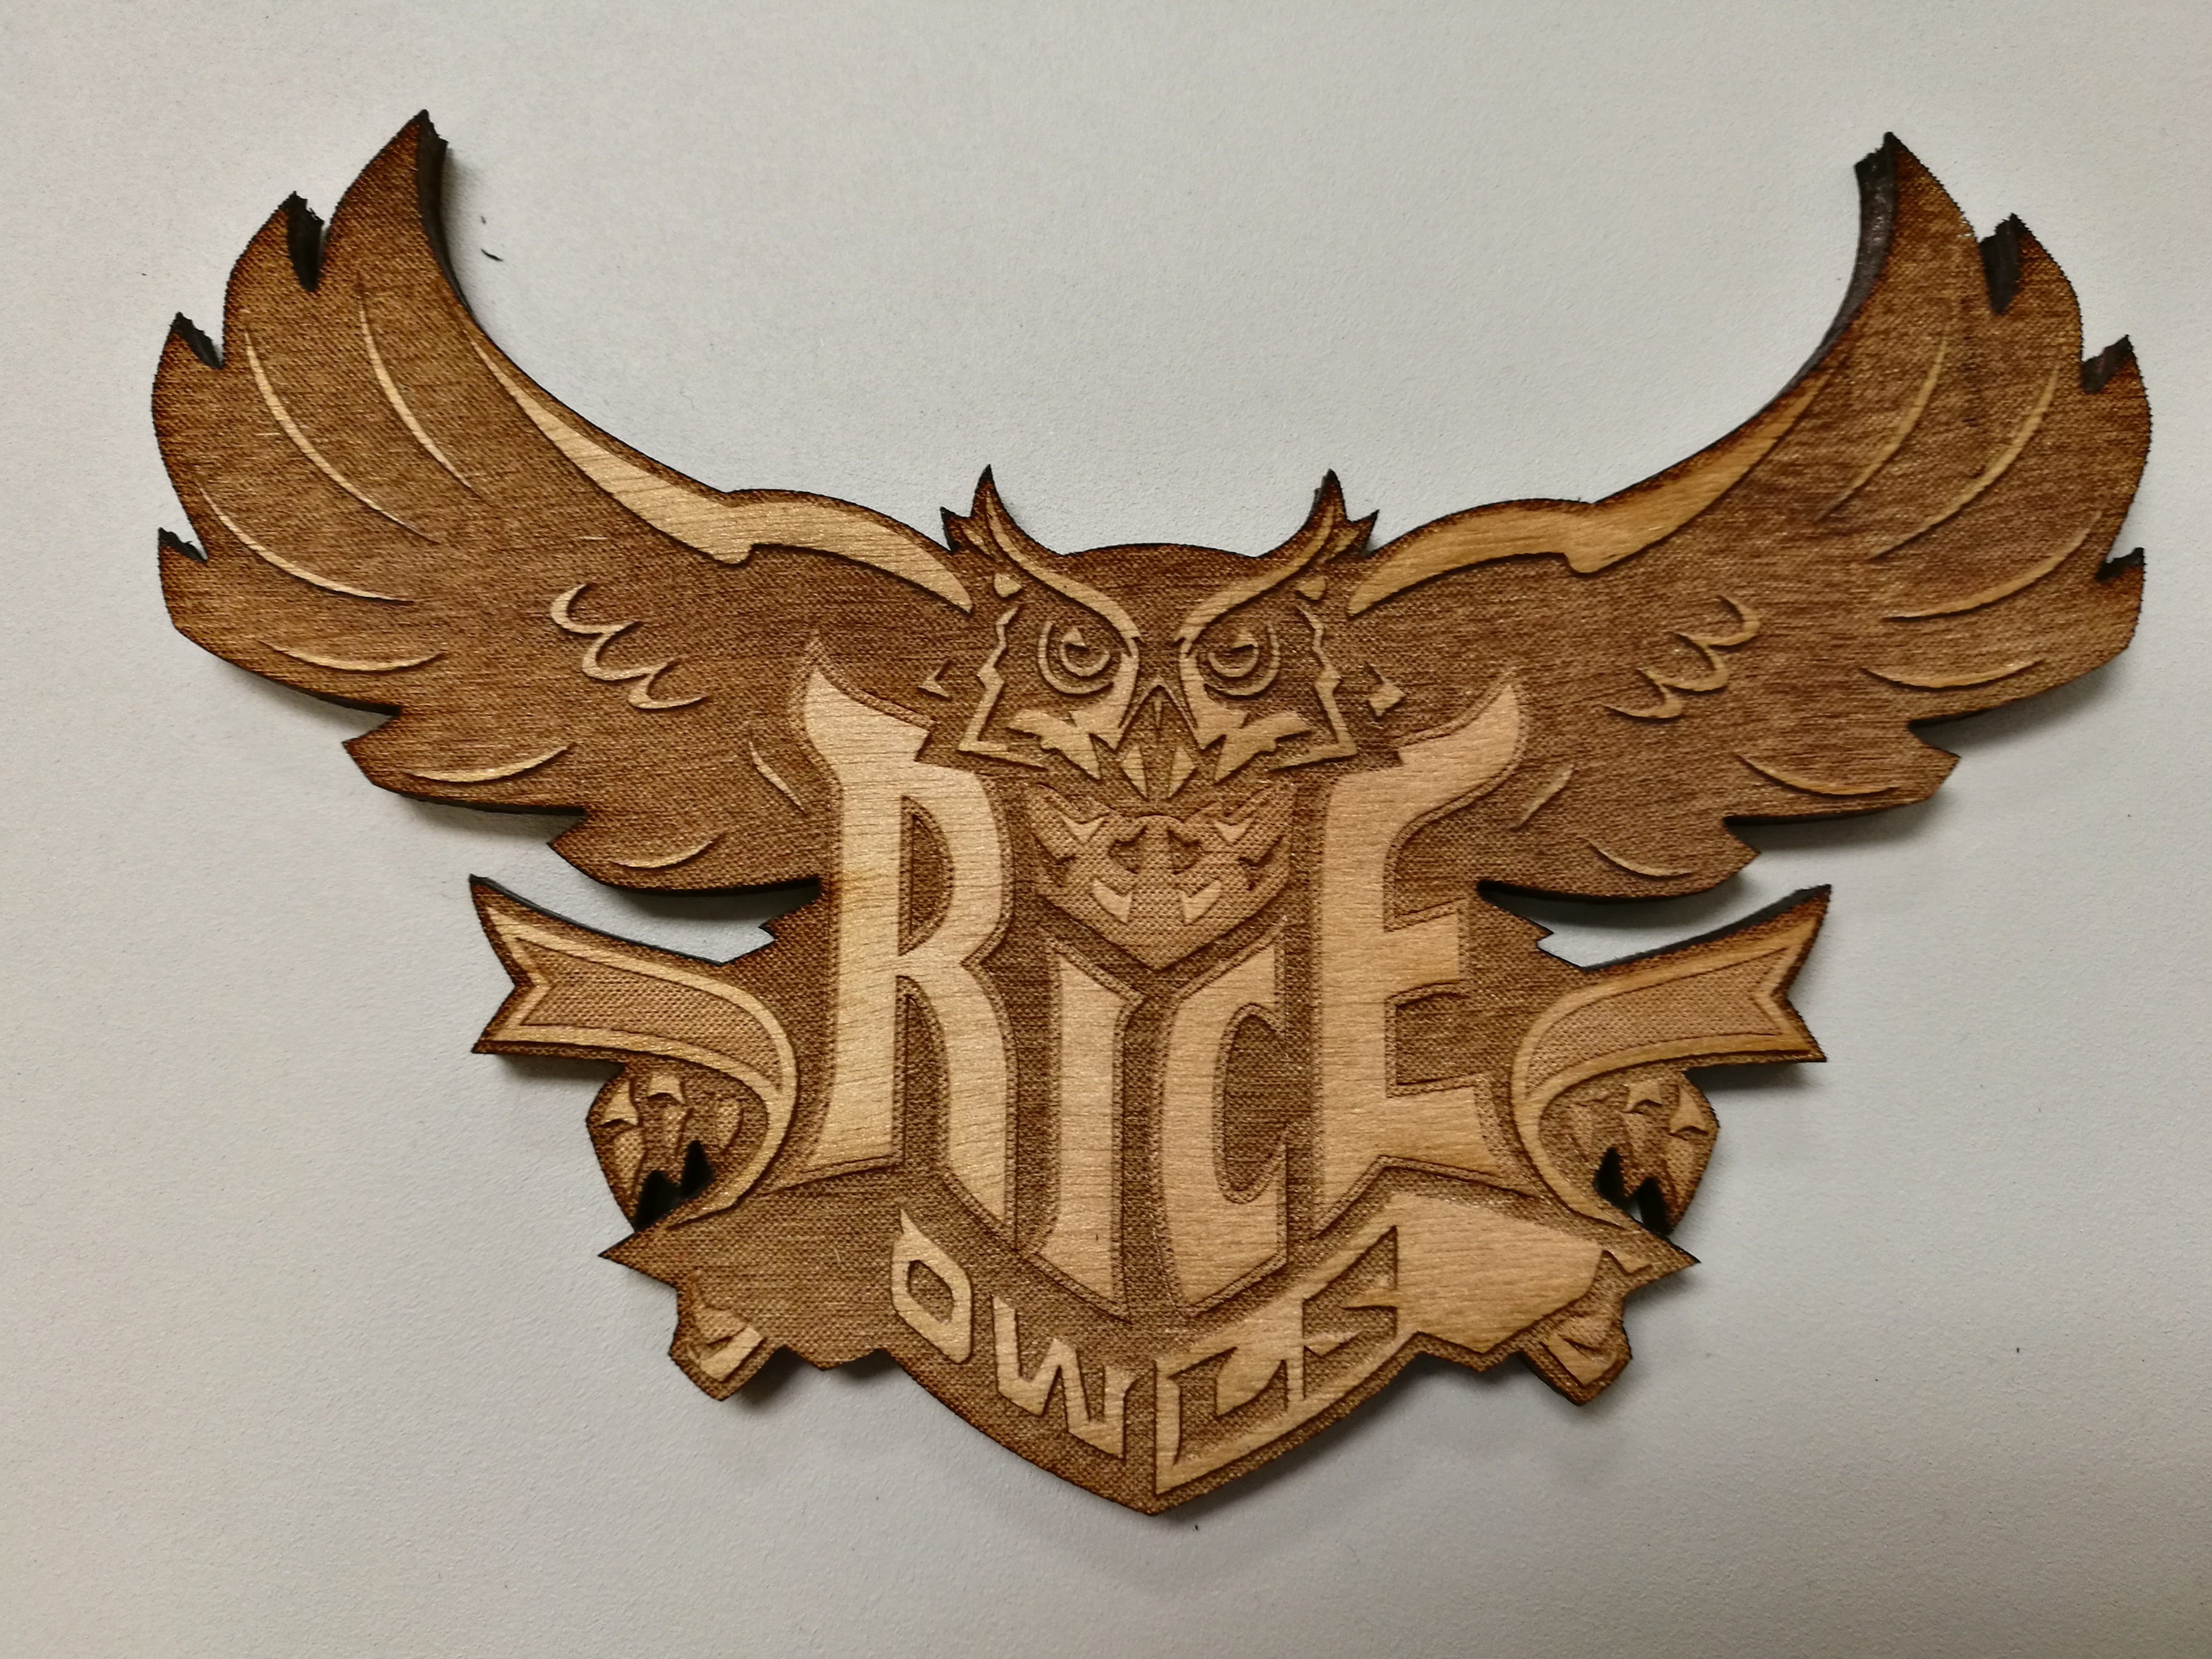
For our third Owl, we chose to etch it layer by layer, which means we don’t have to mess up with the color setting. And this time we got more careful with our gray so we pick 25 speed 20 power. However, it turned out to be too light to see. So we ran it twice to get a obvious color. We set yellow as 25 speed 20 power and also ran it twice. For cutting, we used the default setting, which is 600 dpi and burned the side of our Owl. And since the background blue(the wings and other stuff) is a bit of dark, its really hard to tell the difference between gray, yellow and blue settings.
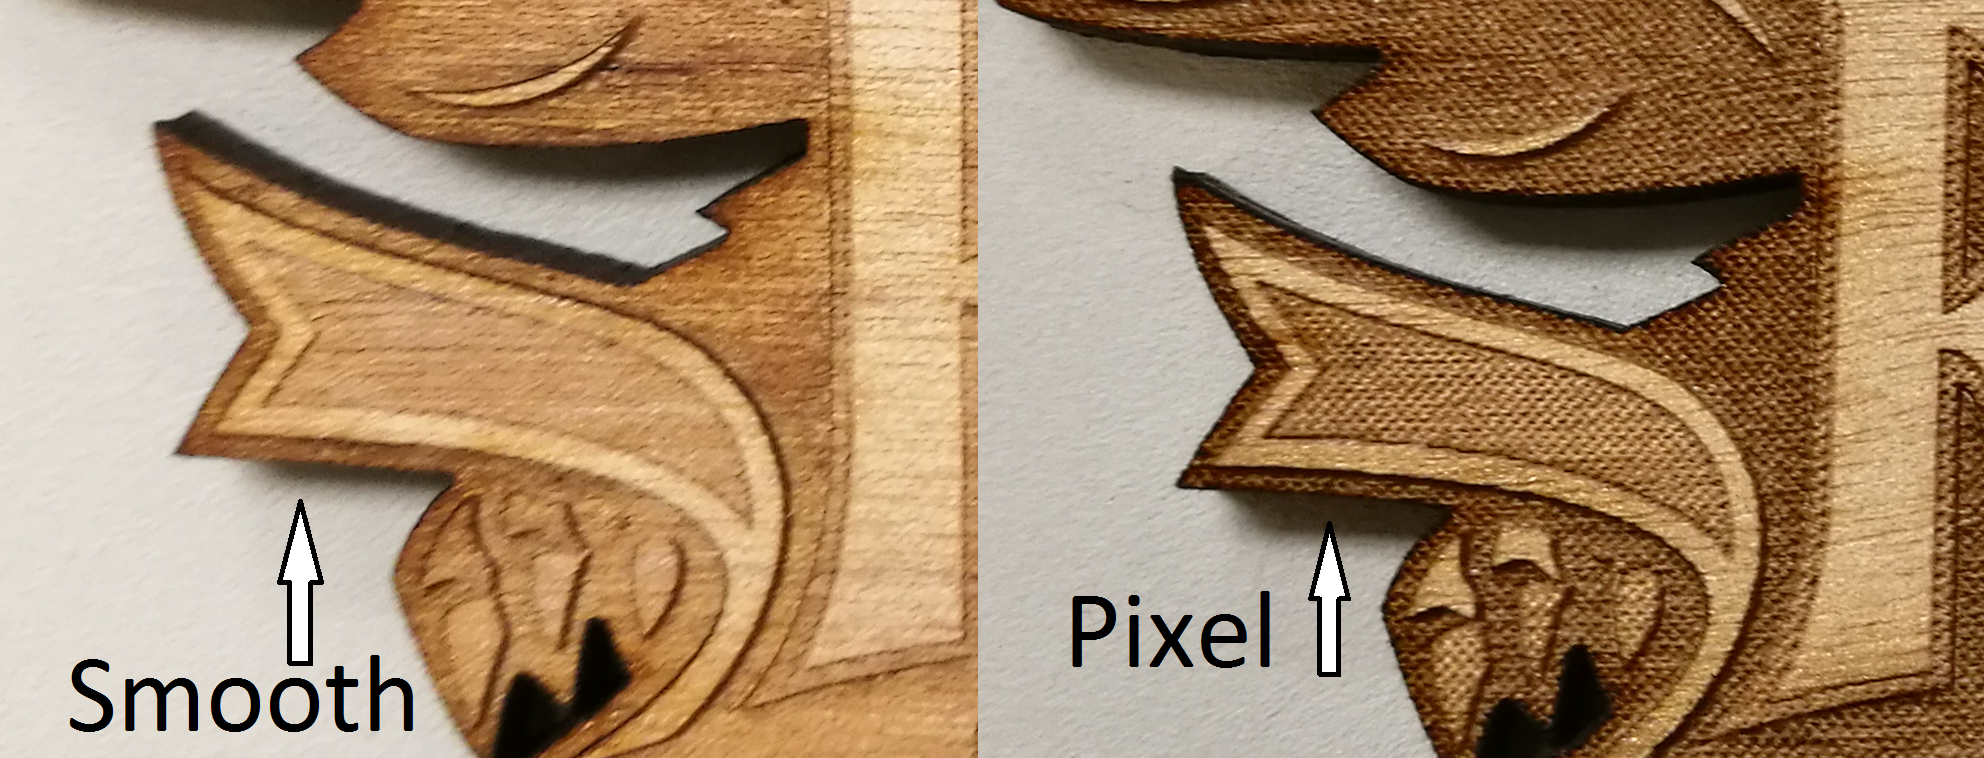 On our next Owl, we took the advice of a specialist to use the ‘Jarvis’ mode and bottom-up cutting direction. The Jarvis can made the pattern clearer by changing the pixel-based cutting. As we can see, the patterns we got from Jarvis are not pixel points anymore but clear and smooth surface. However, we also found that Jarvis made the color extremely bright so that we can’t distinguish the blue(wings) and gray(face). But this mode did make our gray part look much better than before. Also, the Jarvis mode has a preset of 600 dpi for etching, which burned some of our materials.
Therefore, for our final version, we decided to use 50 speed 100 power for blue, 50 speed 50 power Jarvis mode for gray and 60 speed 50 power Jarvis mode for yellow. And then cut the outline with 0.25 vector default setting twice to get our final model.
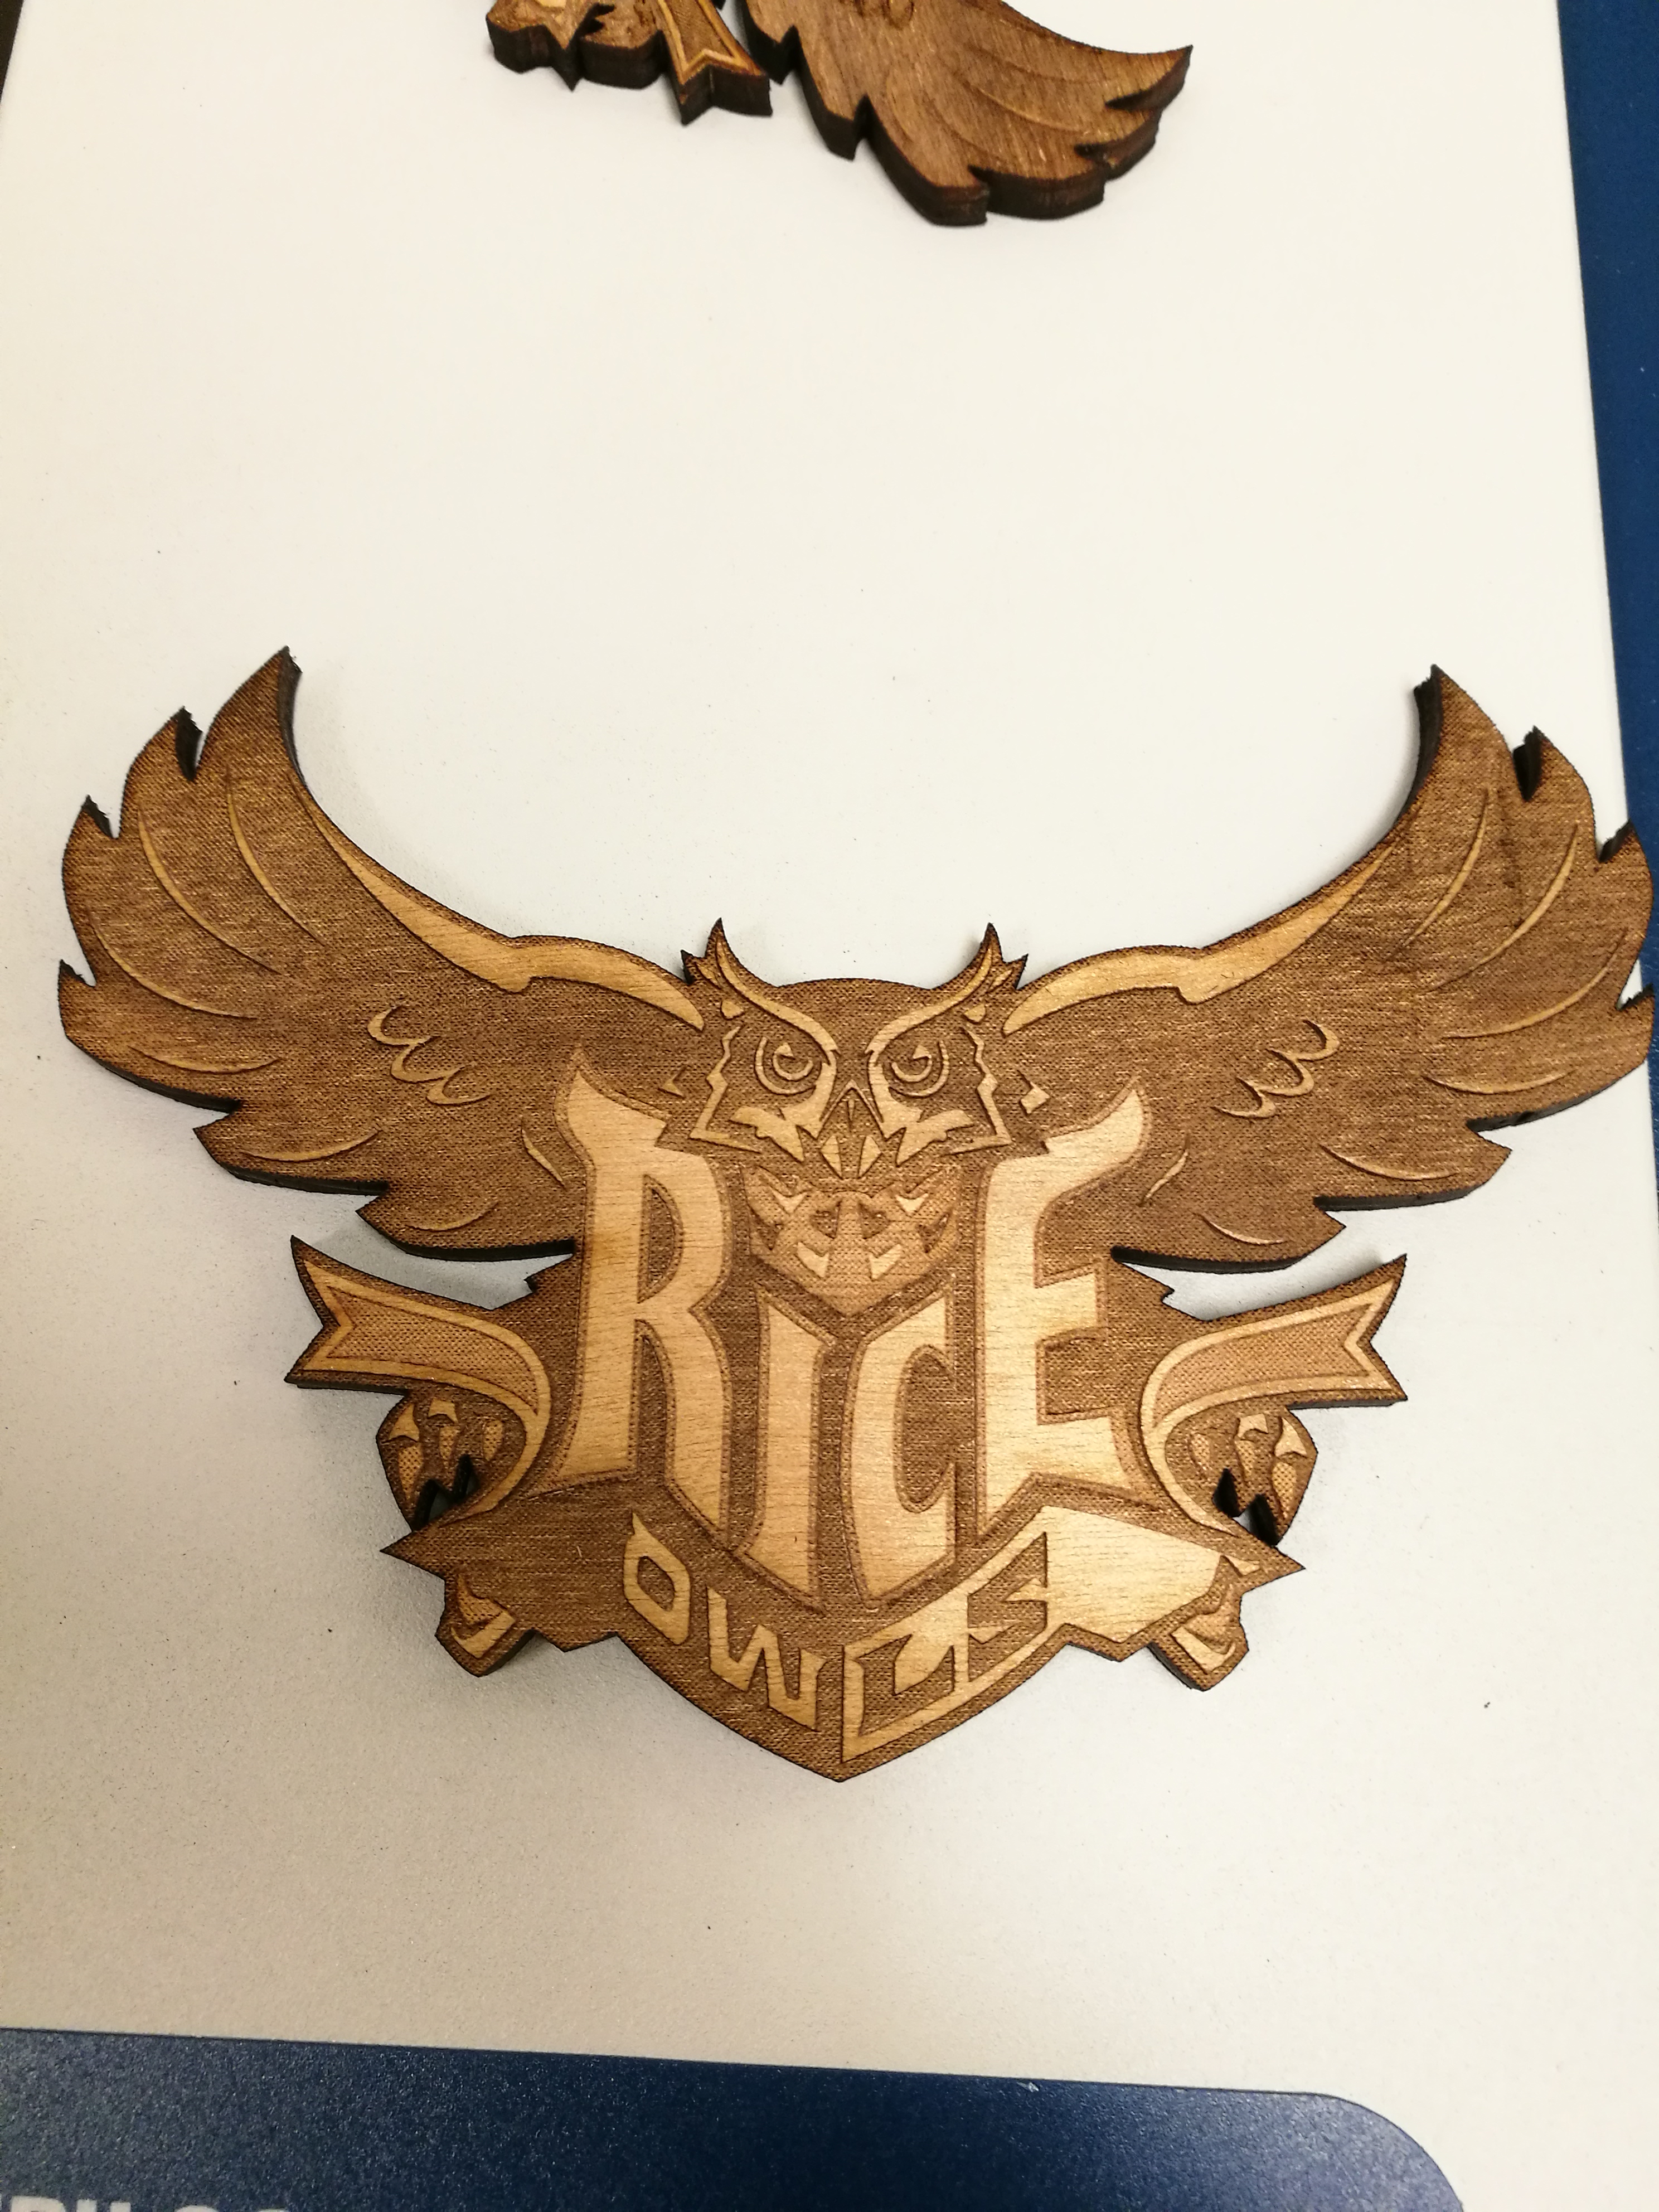
There is one pity in this model we got — no matter how hard we tried, we still could not made the yellow stand out from gray because the area of yellow is extremely small in this War Owl.
