The Goal:
This week, the goal was to work on laser cutting, engraving and cutting out the Rice war owl to display the color variations. Additionally, we were trying to manufacture a perfect piece which displayed the image well while minimizing burning.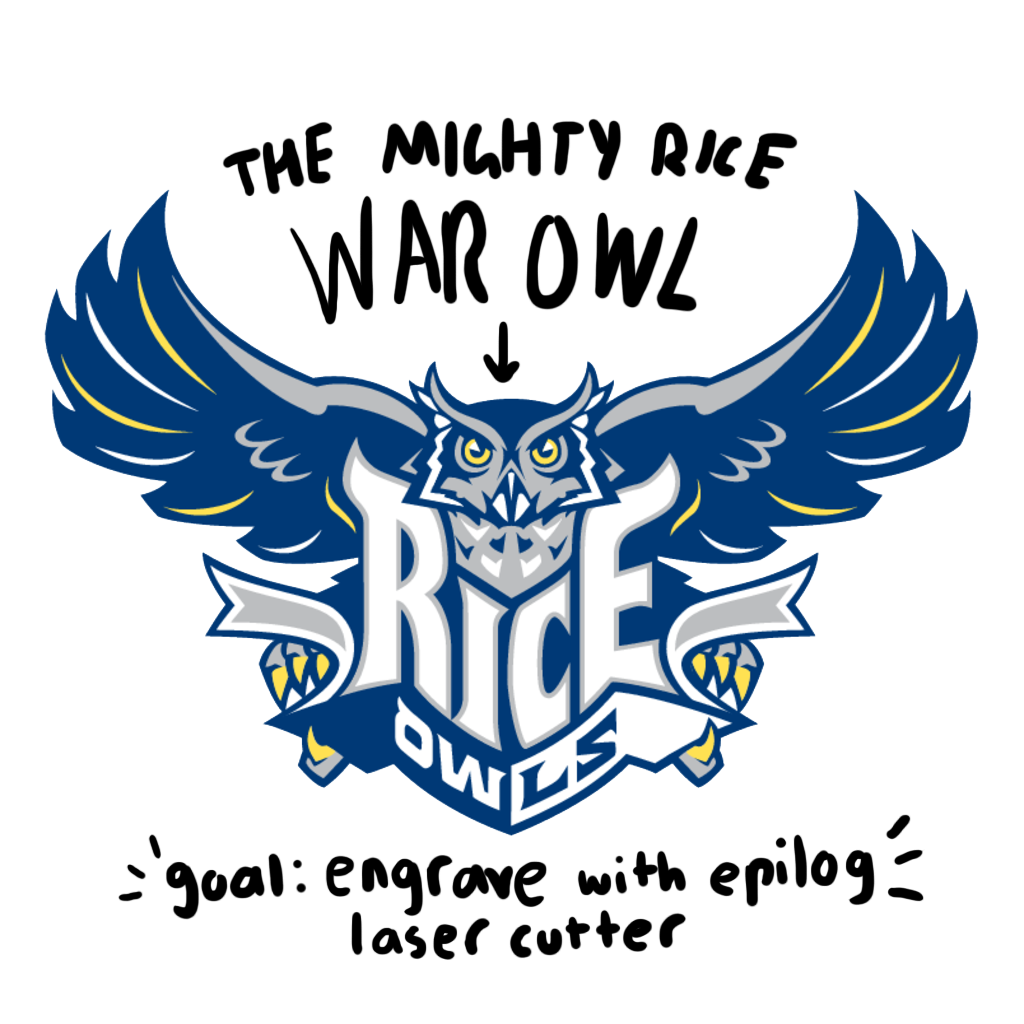
Try #1:
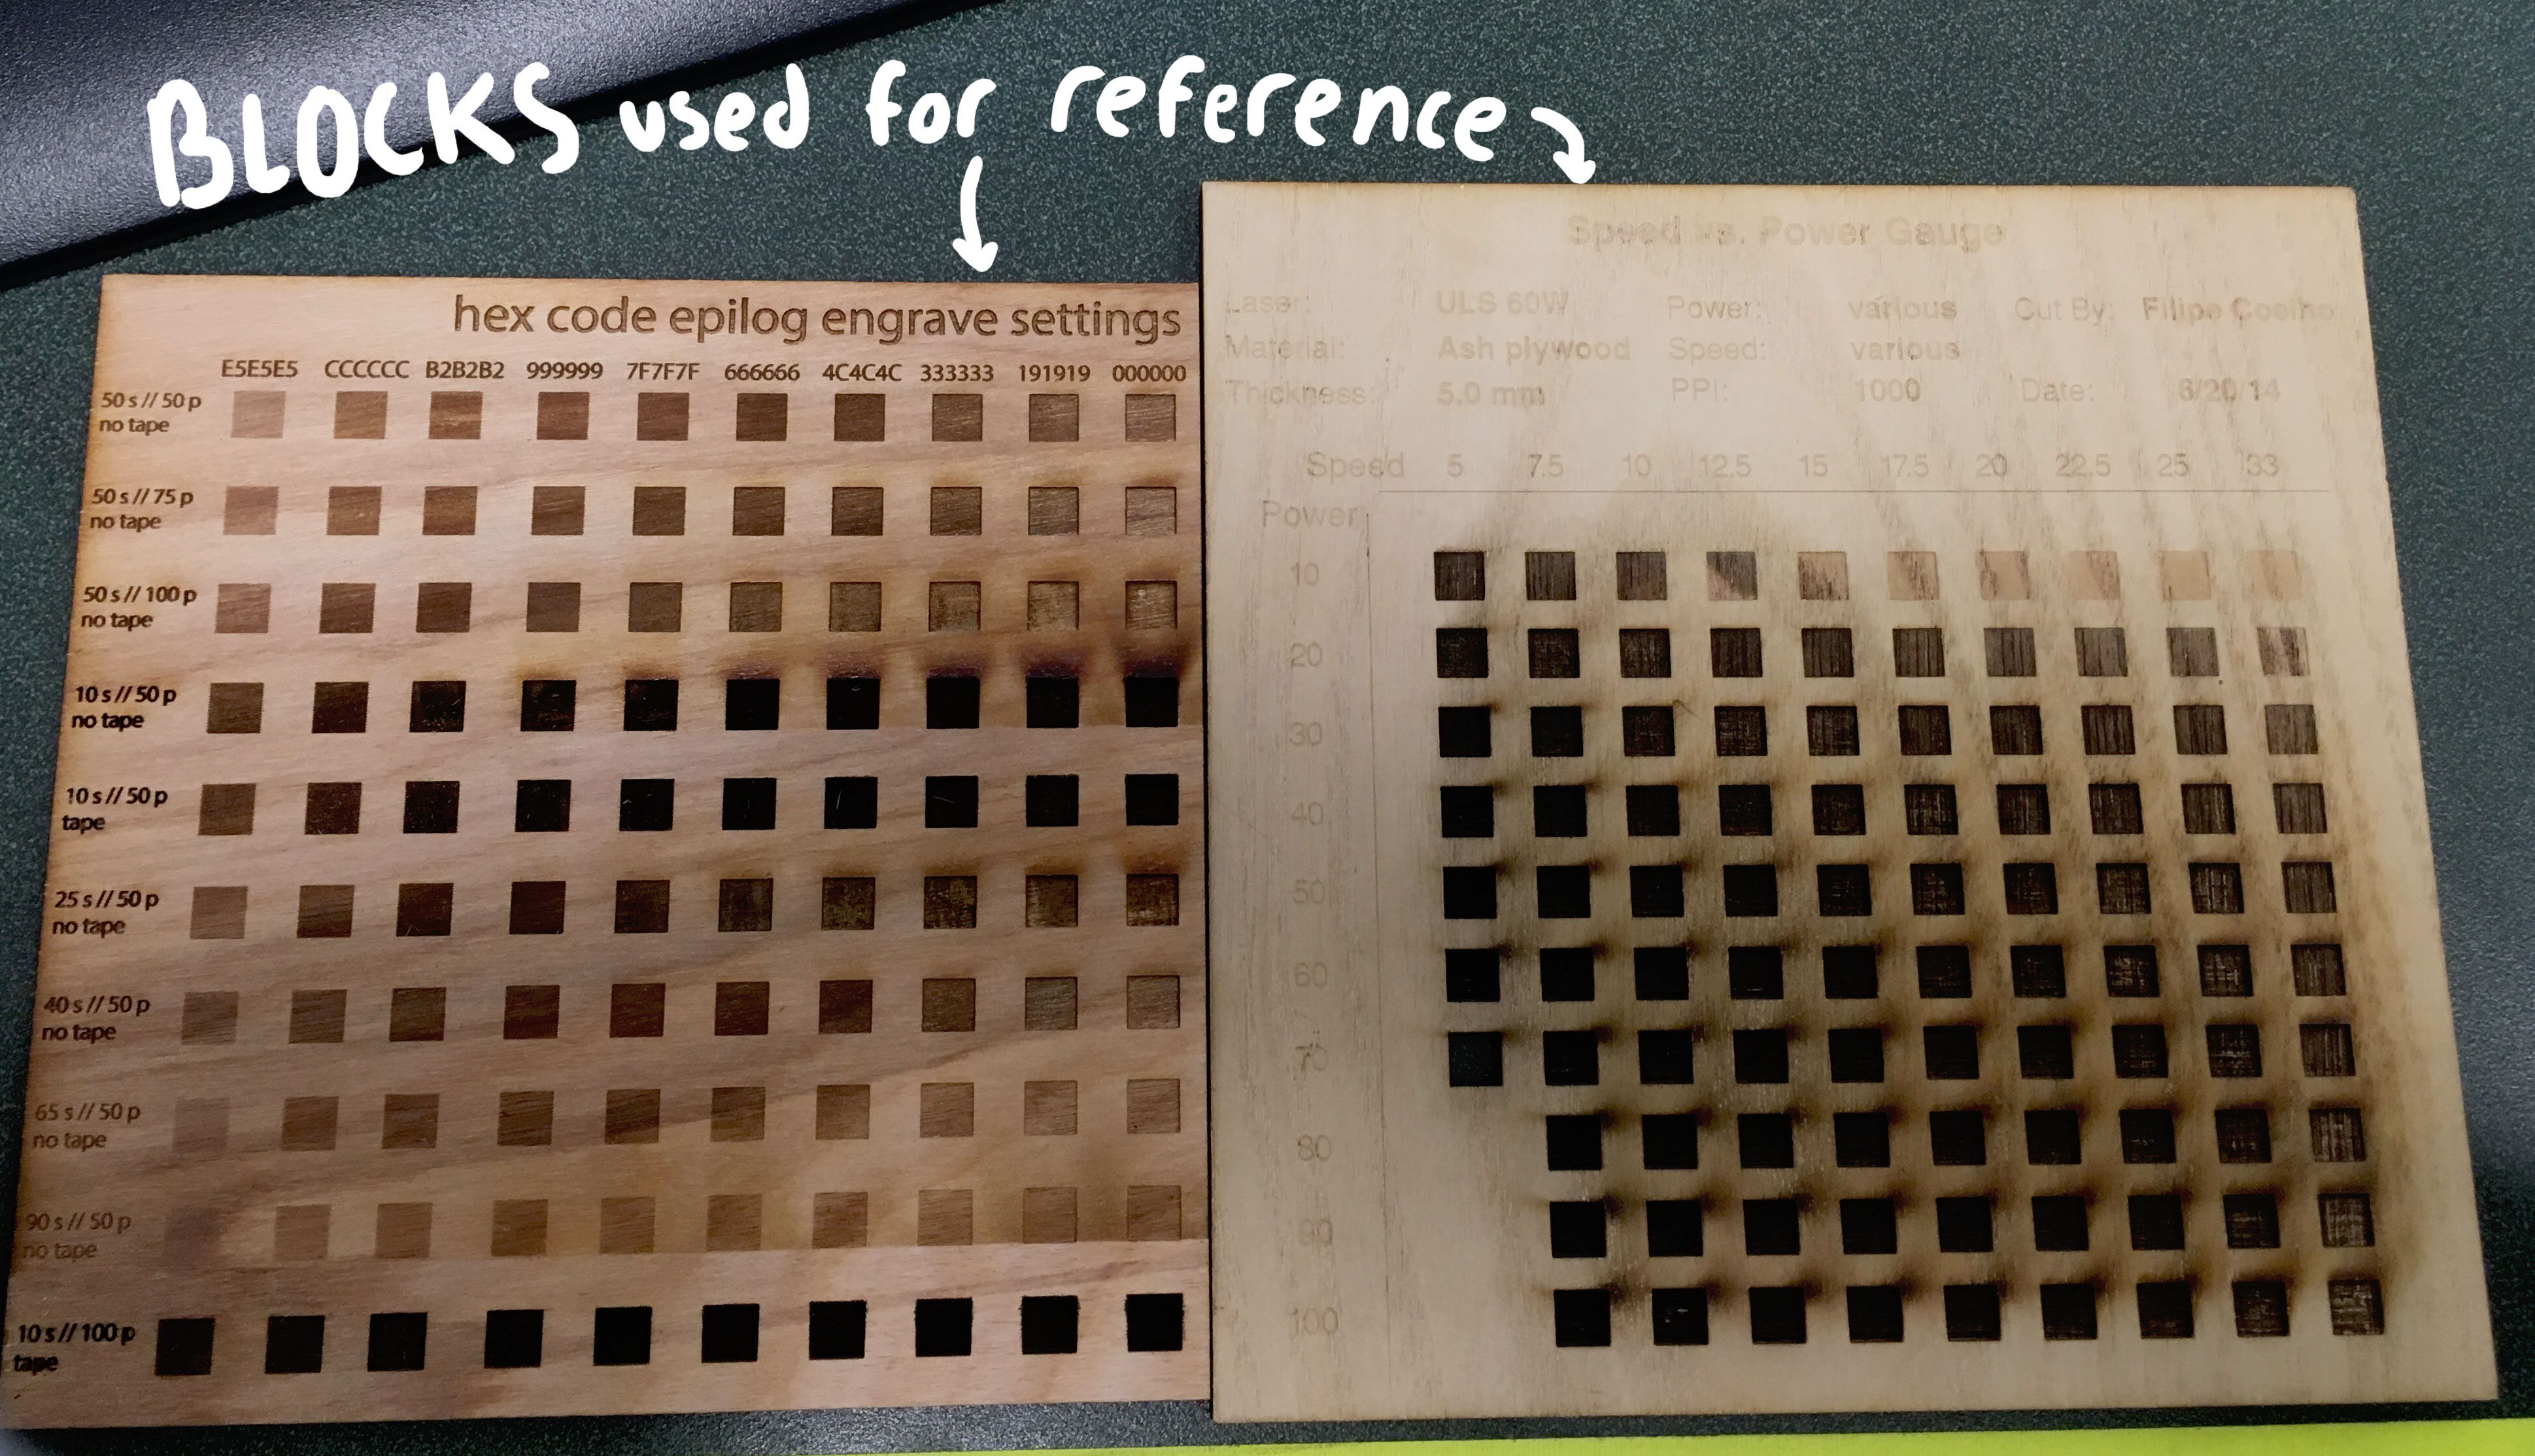
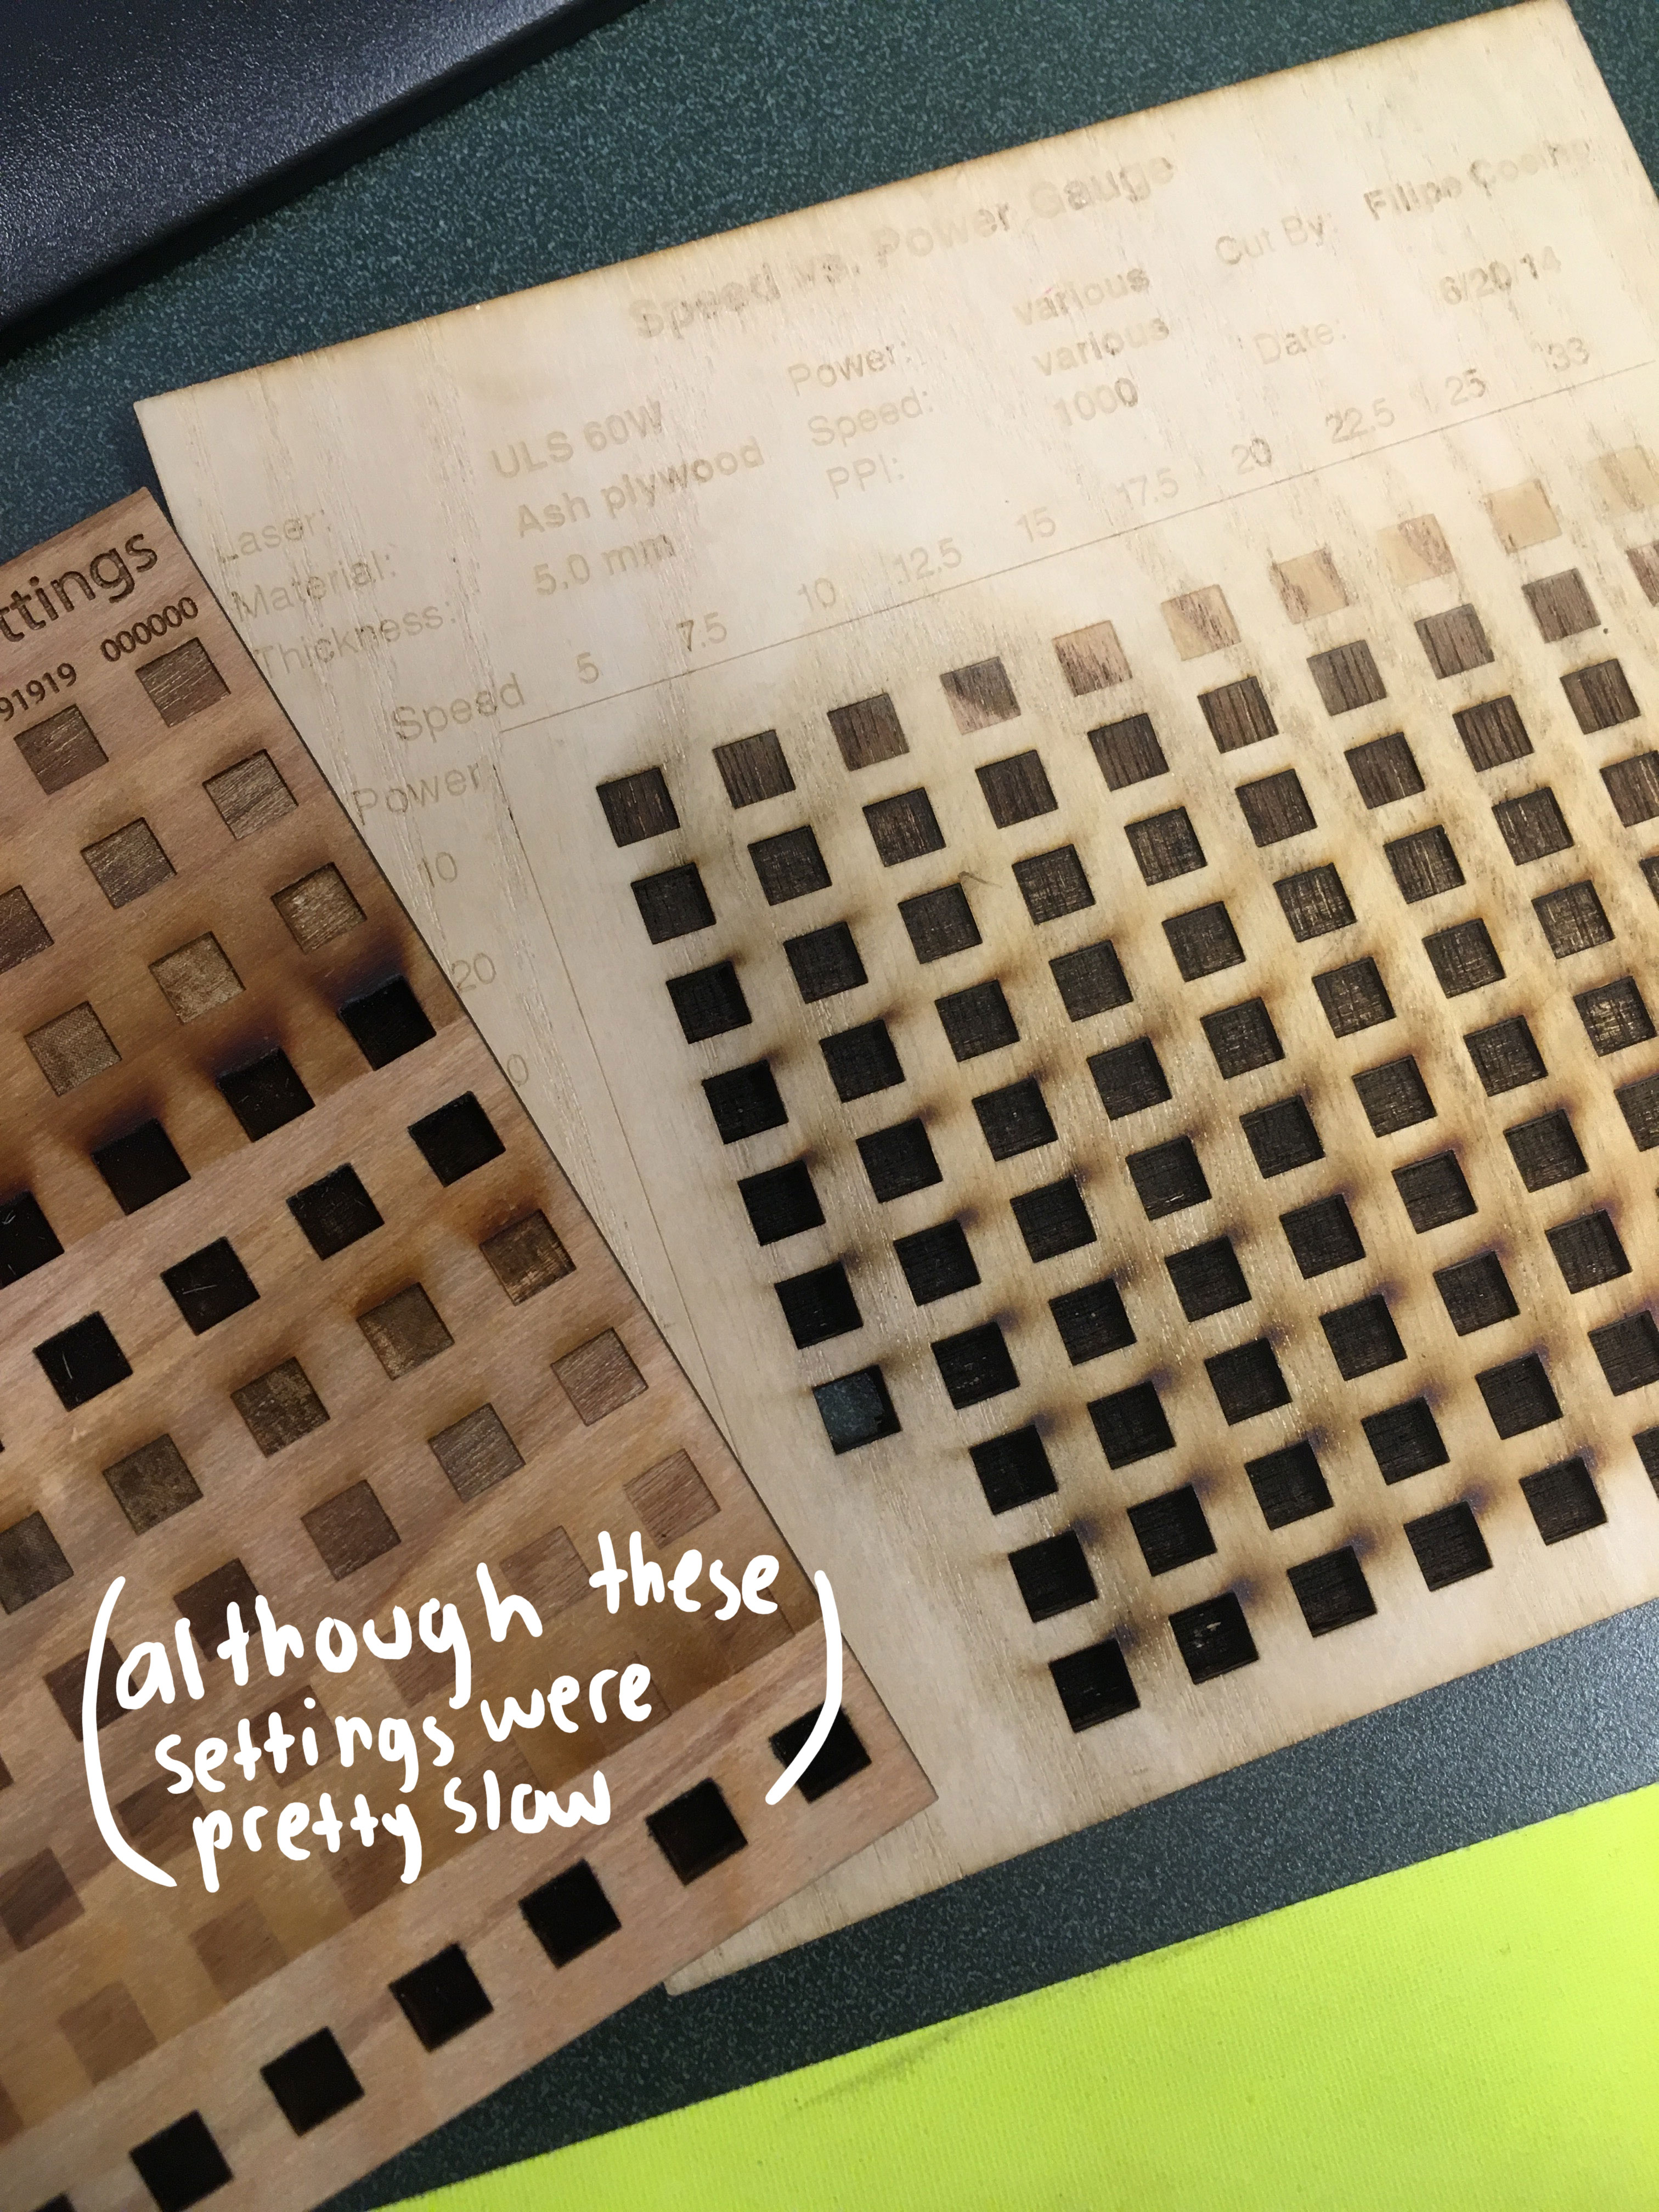
Overall, we tried laser cutting based on the sample blocks of the different engraving settings. We also tried using the color mapping option to set the colors as these settings.
Here is the file set up with the colors: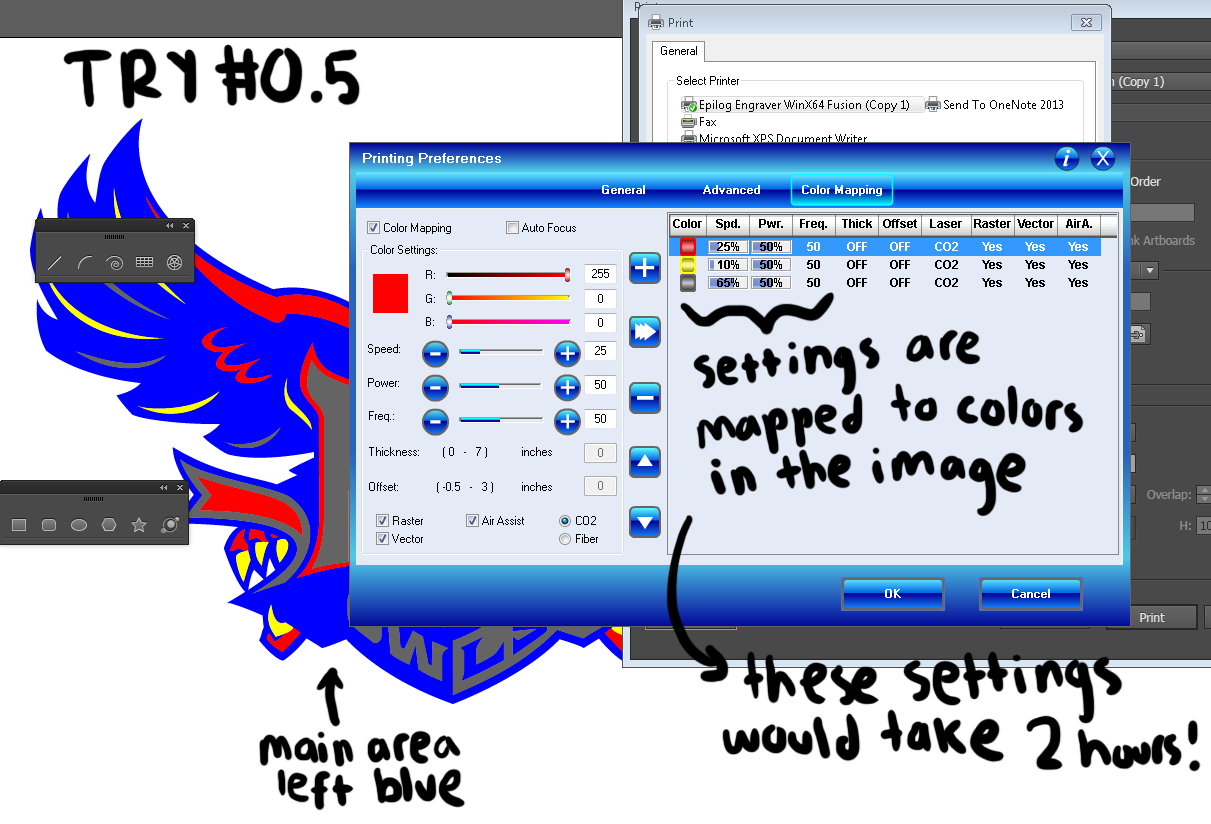
Apparently, with the first settings we tried, the file would take 2 hours to complete. So we manipulated the settings to increase the power and speed to get quicker results. I ended up trying these settings:
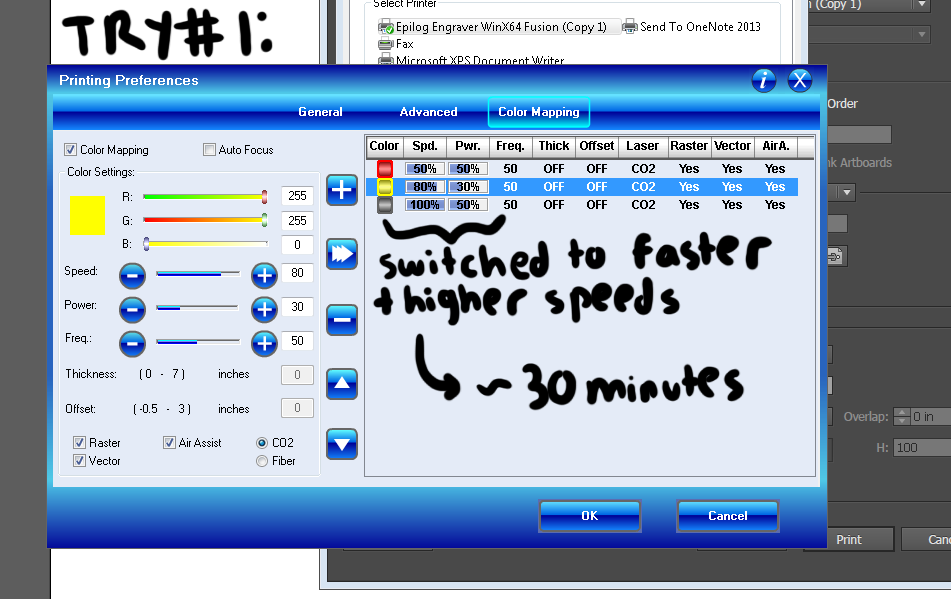 .
. After the owl was engraved, the owl was cut out with these outlines which has some errors that I did not notice: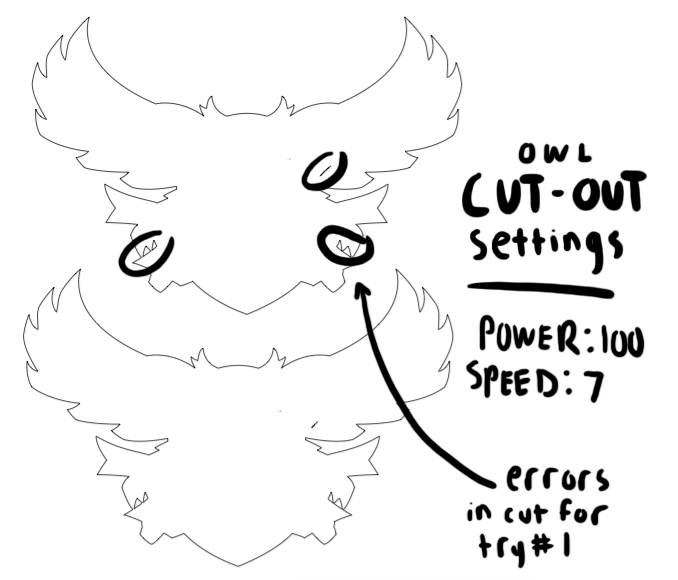
And this resulted in a time of around 30 minutes, which I reasoned was better than 2 hours and decided to give it a try.
 .
. 
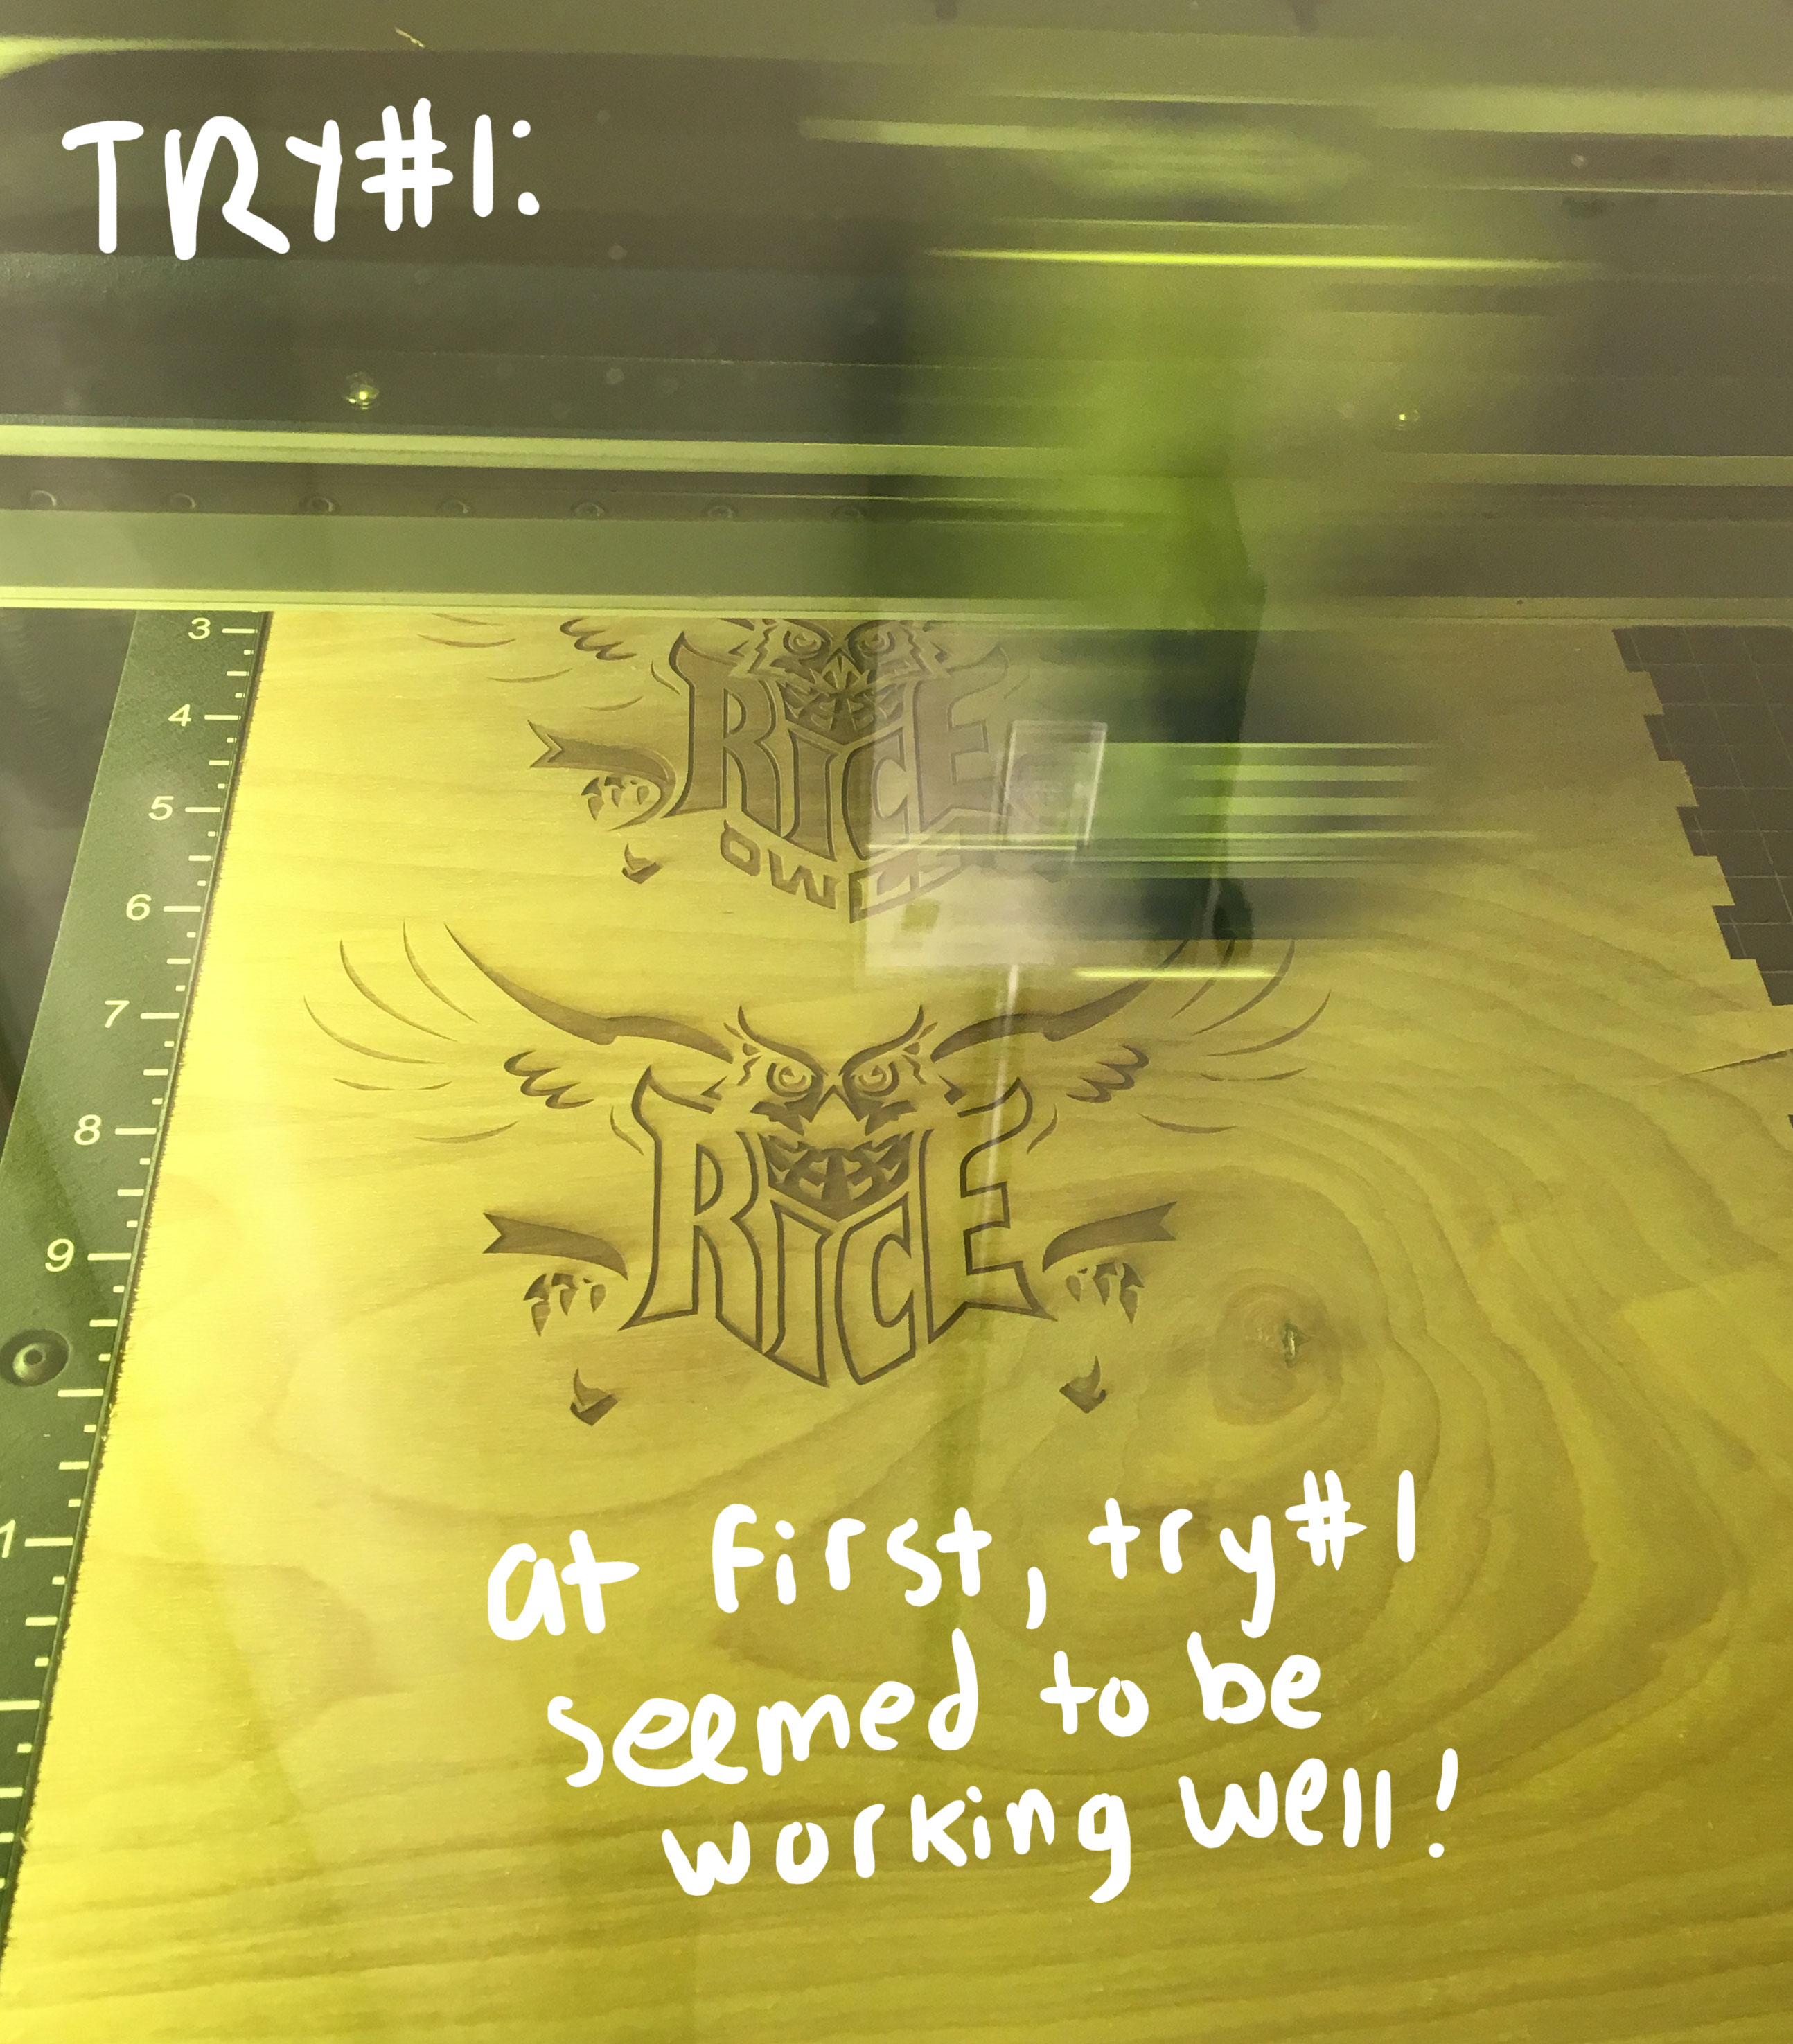
Everything was going well until it started filling in the last layer which kind of ruined the contrast on the owl.
 .
. 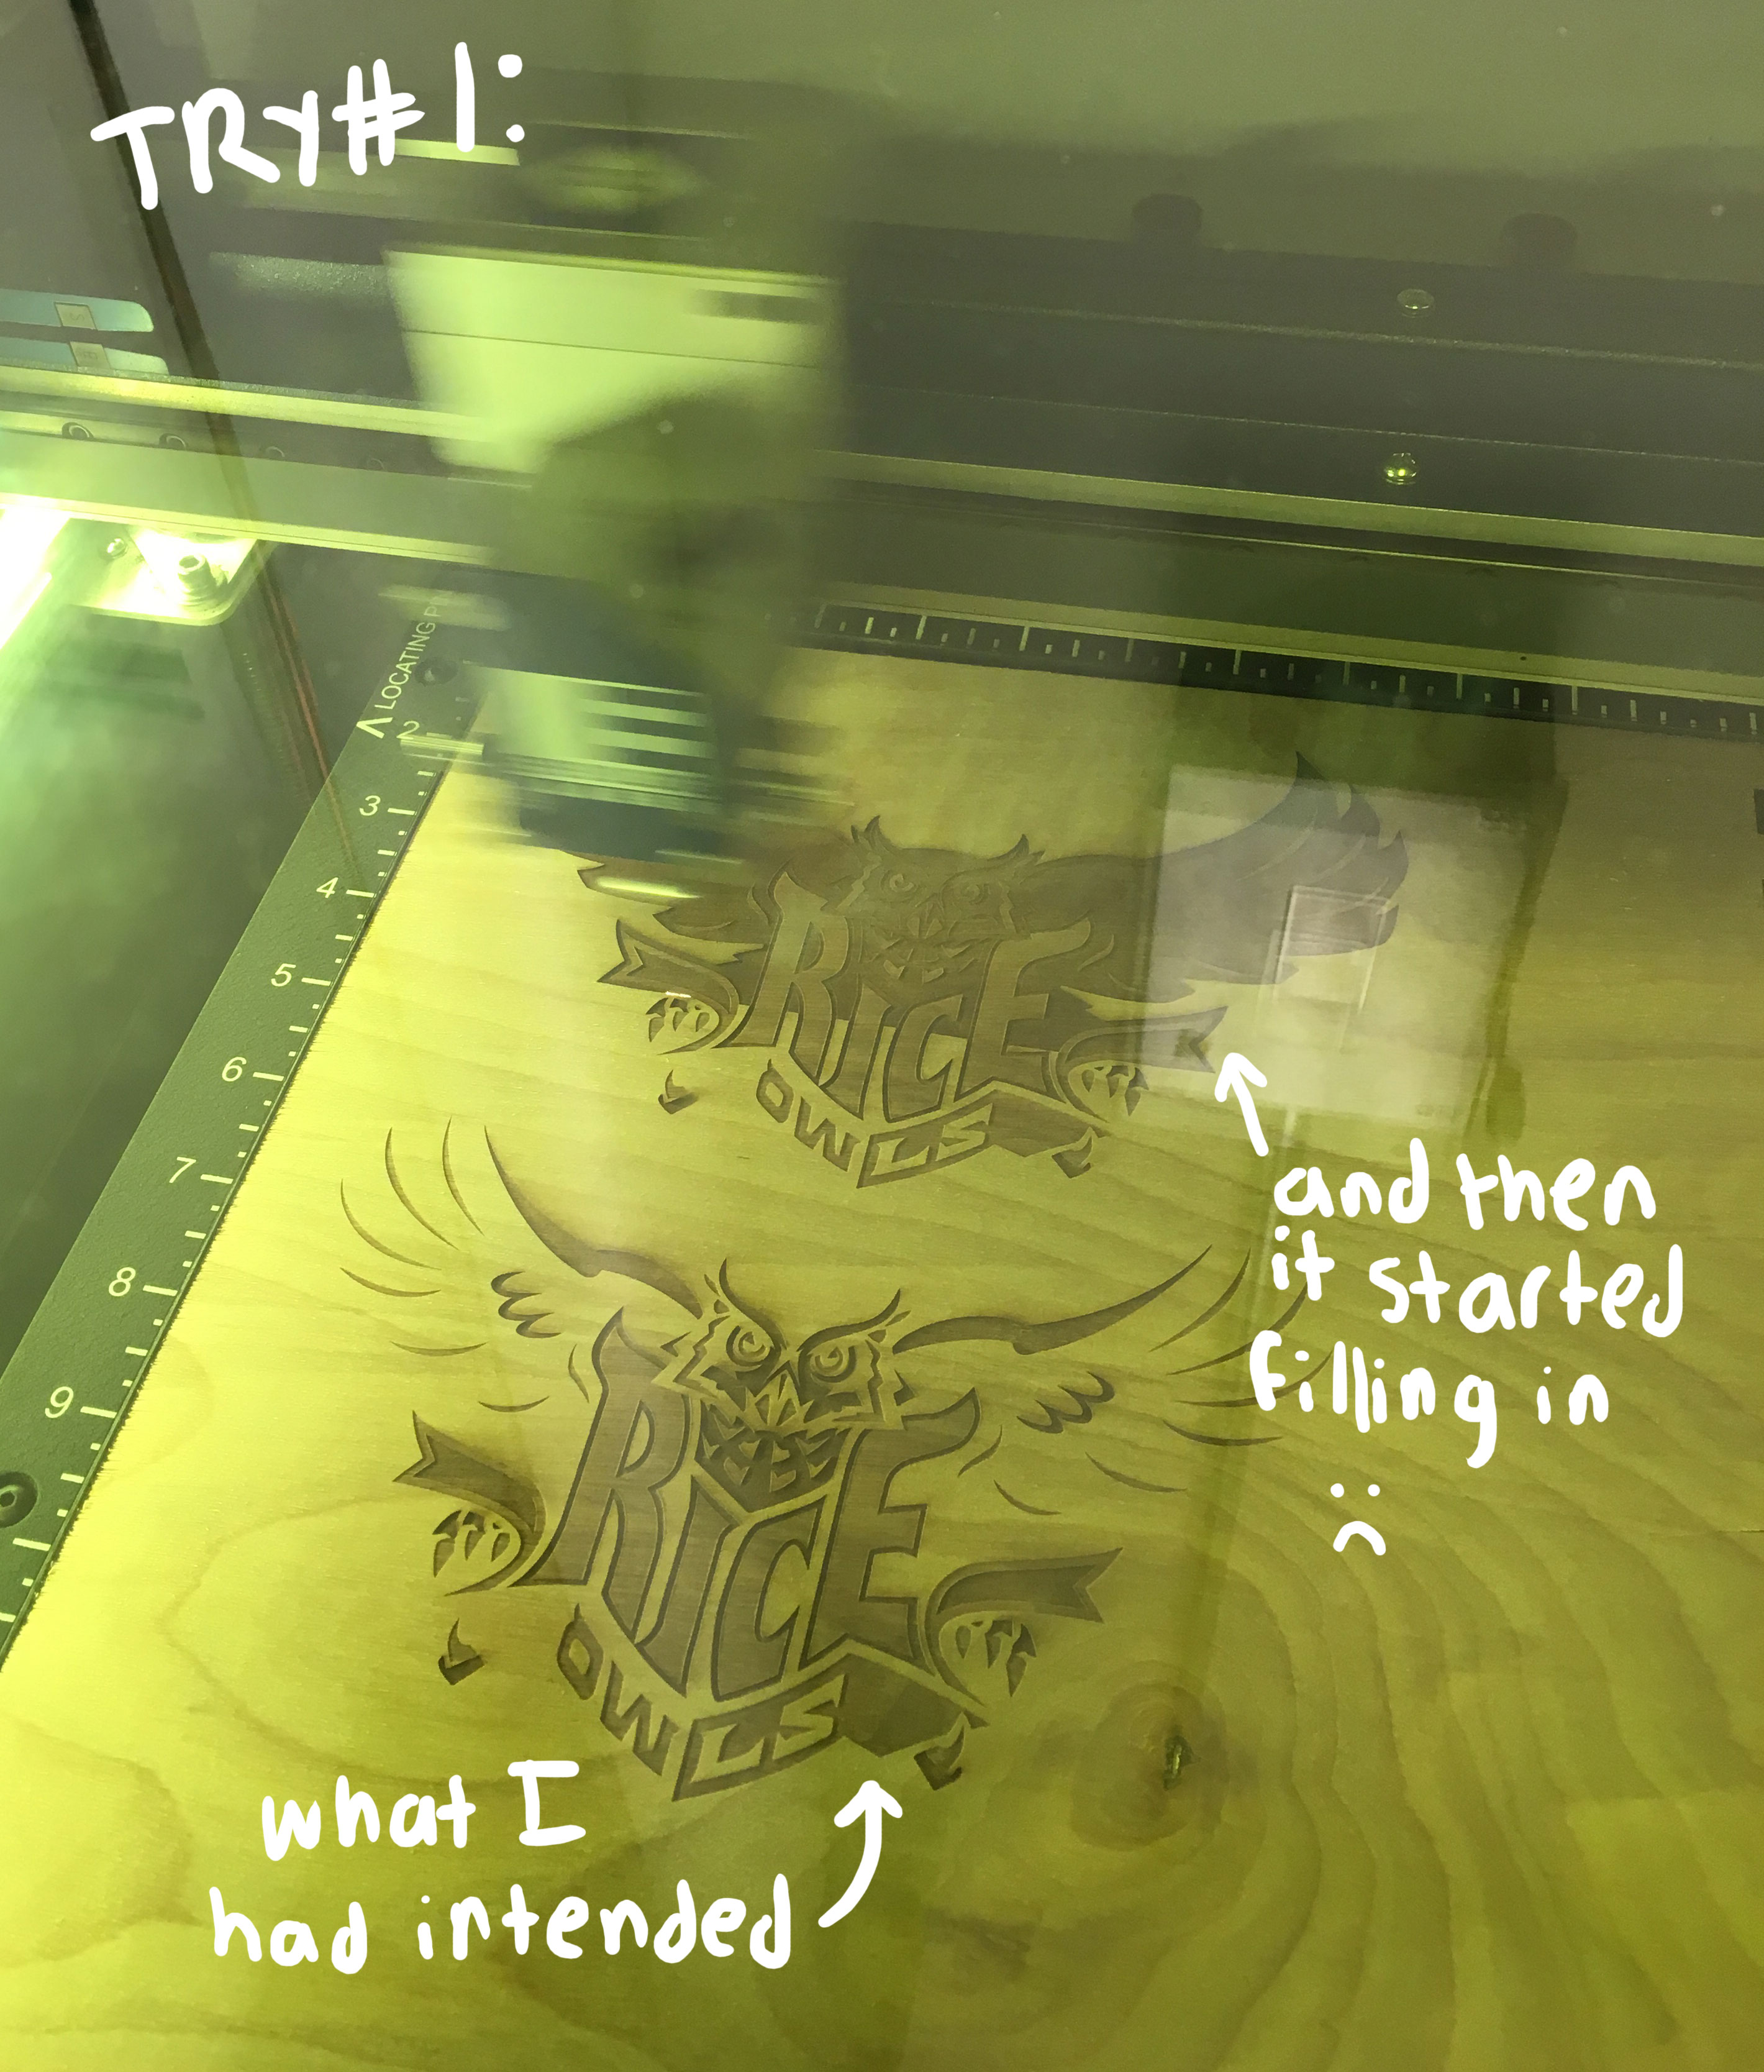
Unfortunately, I did not realize that the color mapping setting fills in the colors even if you do not match them to an option with an in between setting based on the other set colors.
Here are the final results: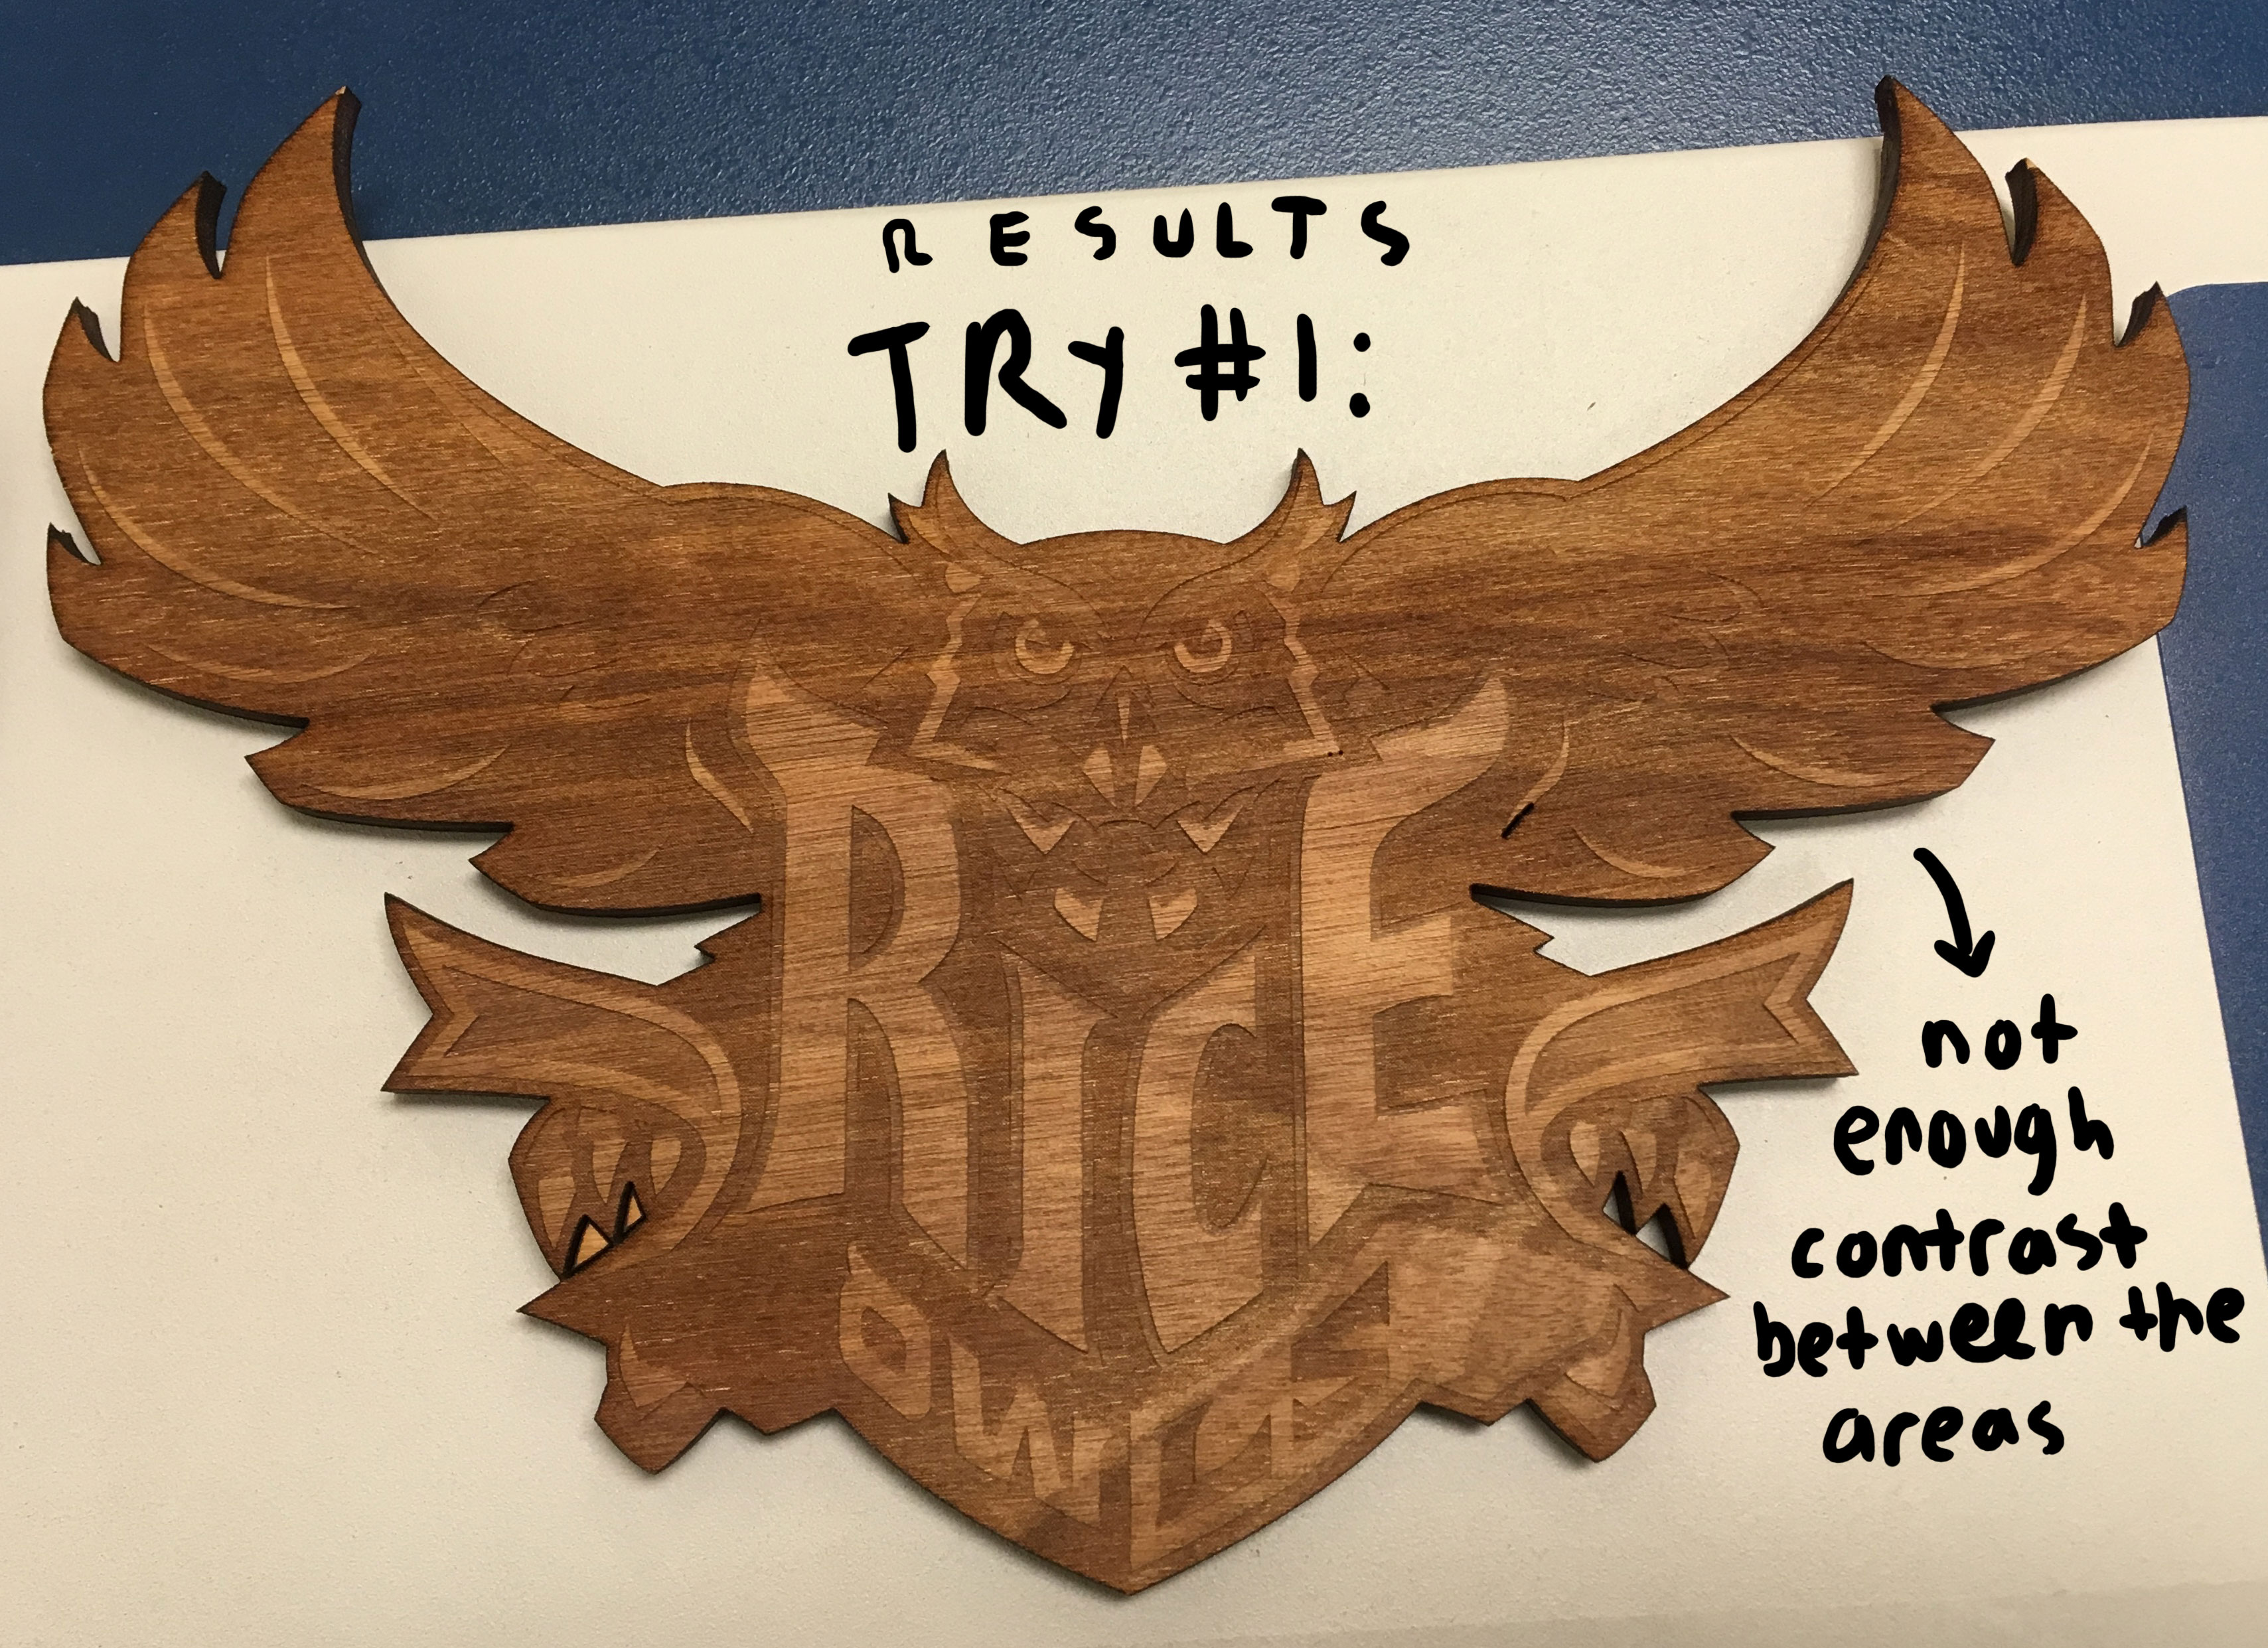 From this attempt, I learned that the cut out worked well and something new about the color mapping setting.
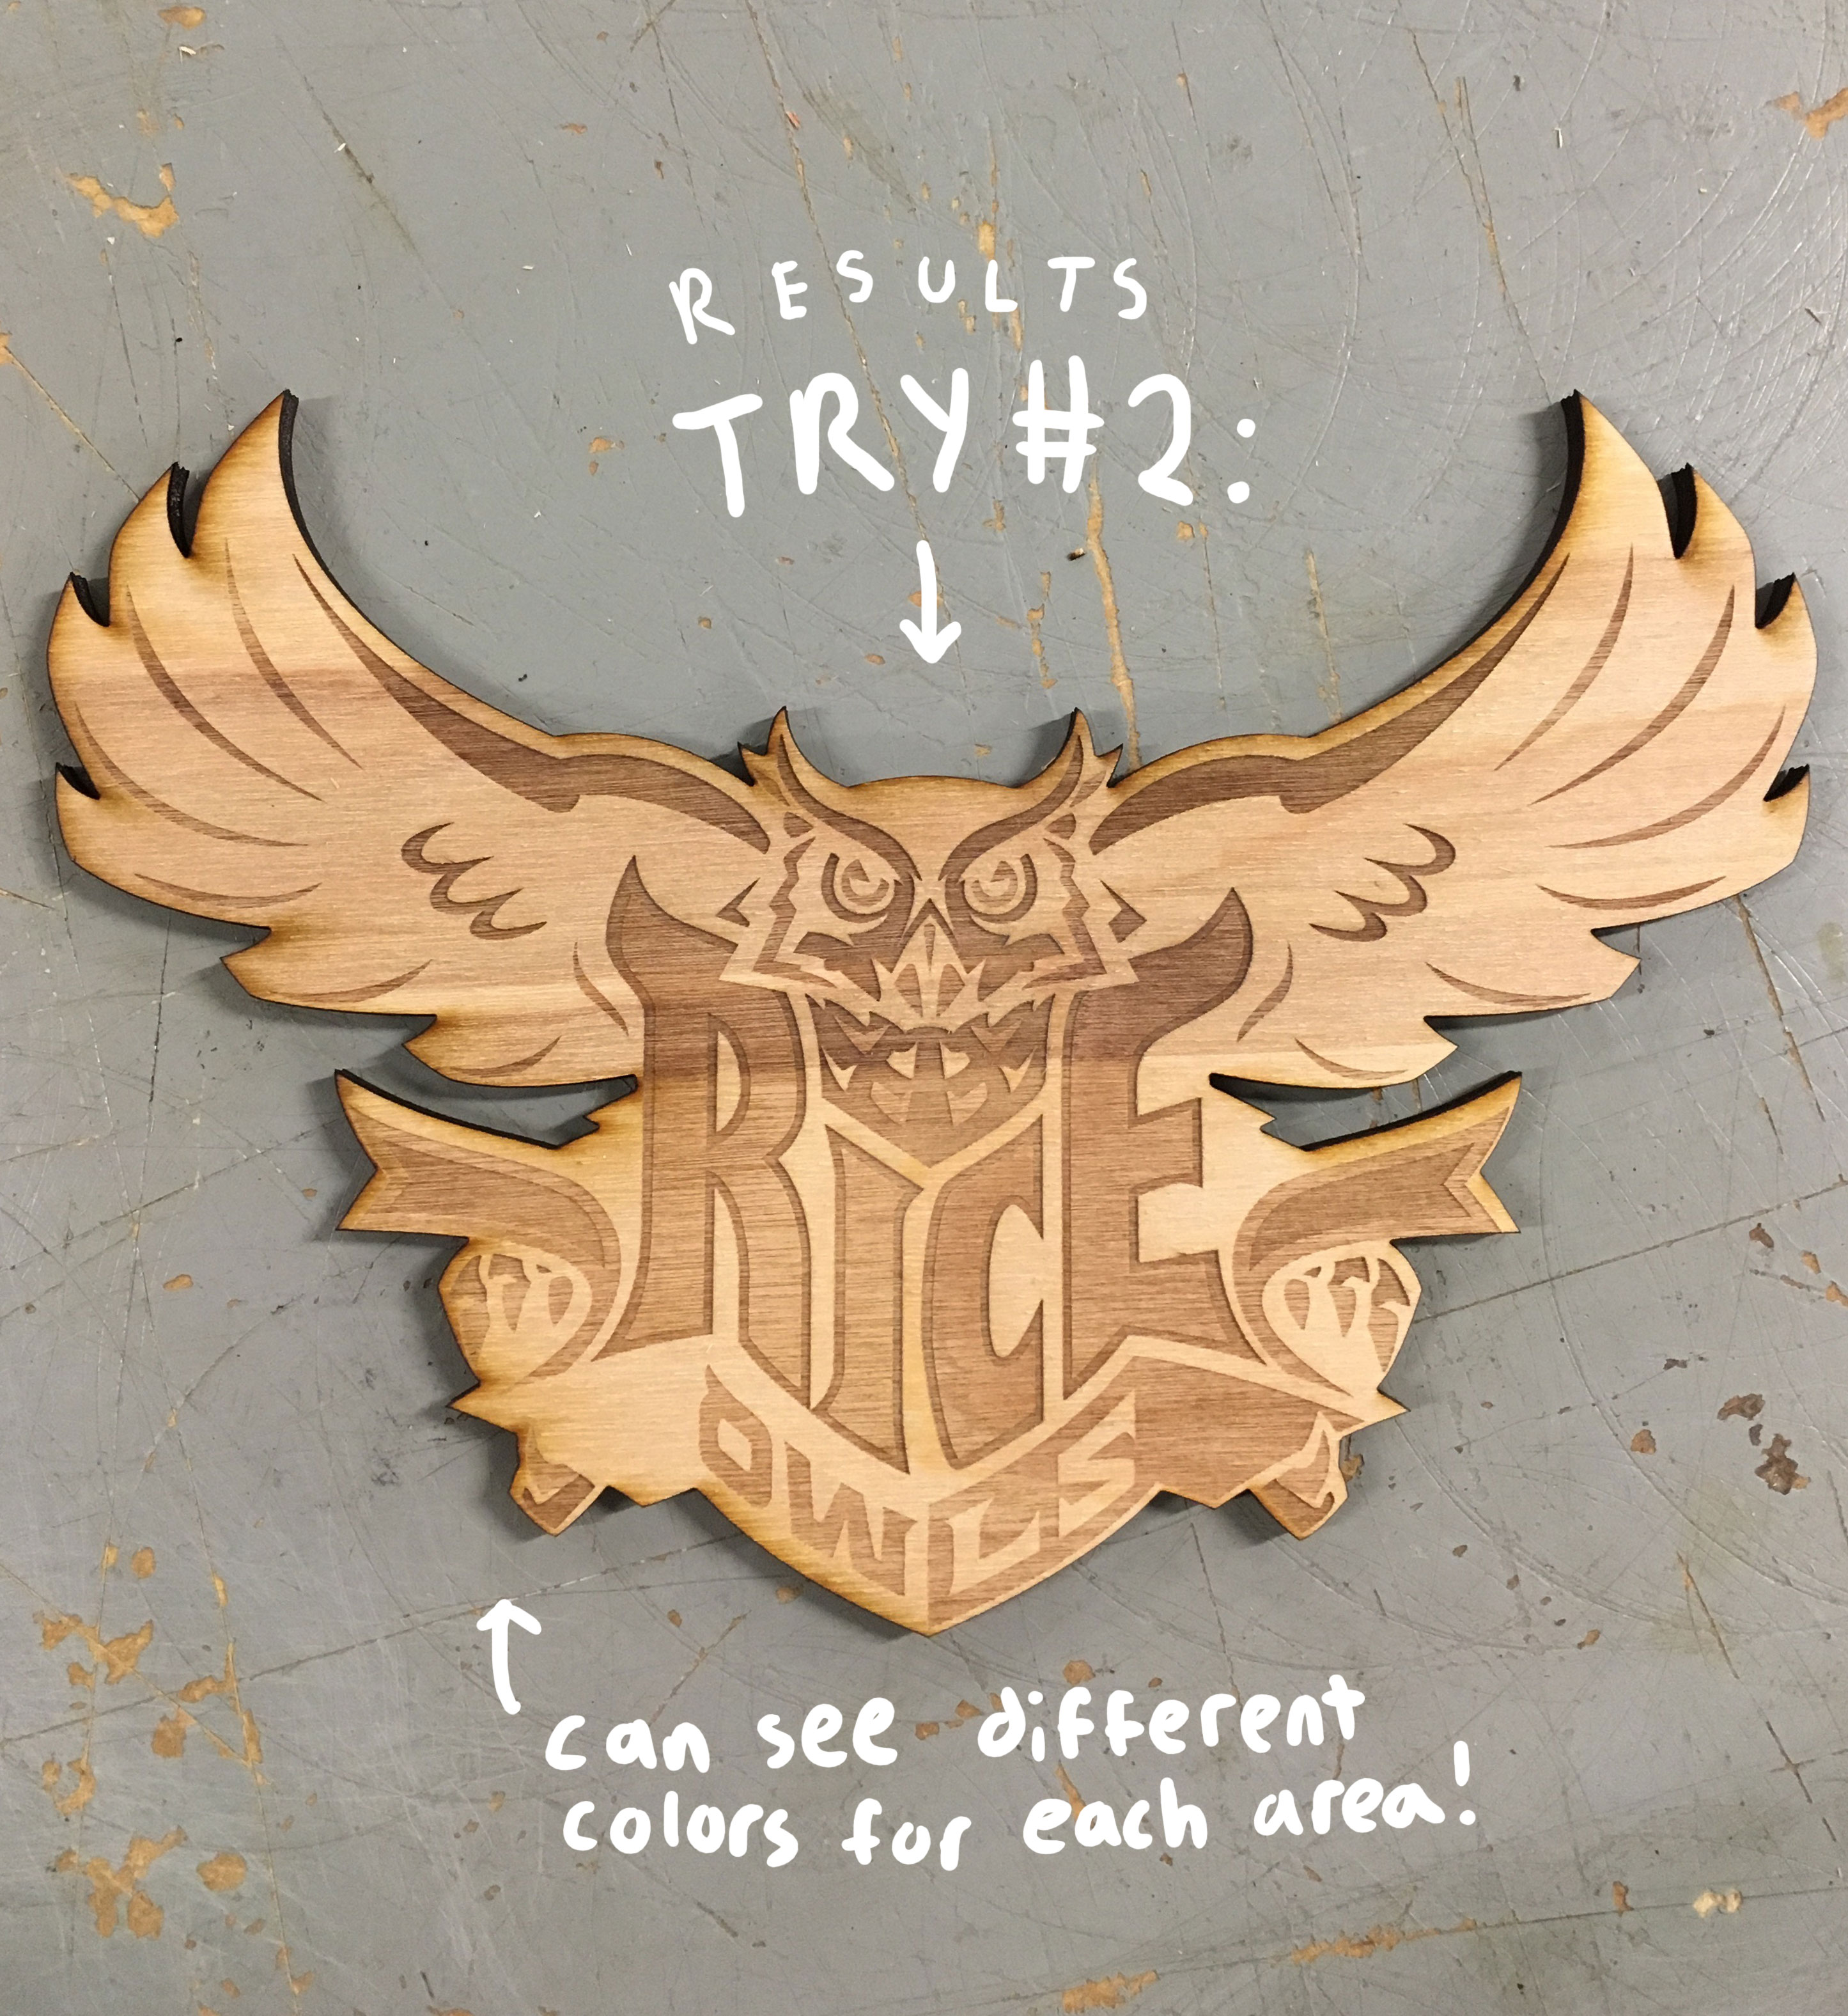
Try #2:
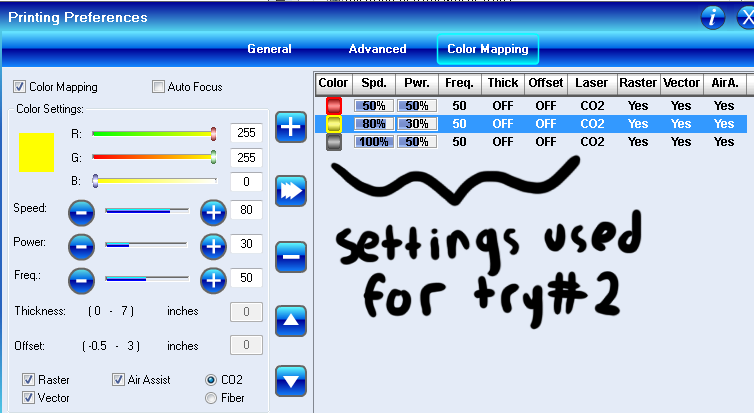
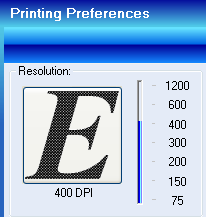
I tried similar settings and altered to make the main portion not engrave at all, deleting those portions so they would just show as the plain wood to increase the contrast between the areas on the owl.  Now that this whole main area would not fill in, the time to engrave was significantly shortened at around 15 minutes. Additionally, I switched the resolution to 400 dpi which also contributed to the drop in time. I also fixed the outline cut so there was not a weird line cut in the middle of the owl as in Try #1. Since I liked some aspects of Try #1, I left the color mapping settings similar to Try #1:
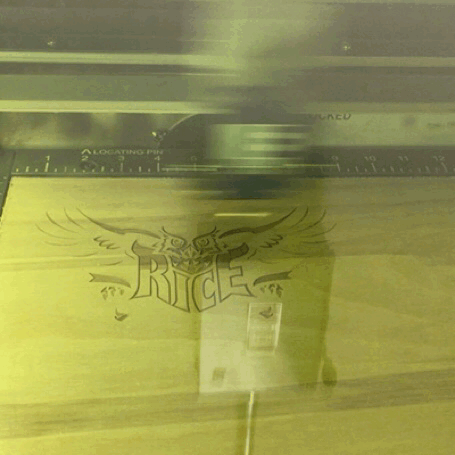
And then let it cut:
 .
. 
Final results and Conclusion:
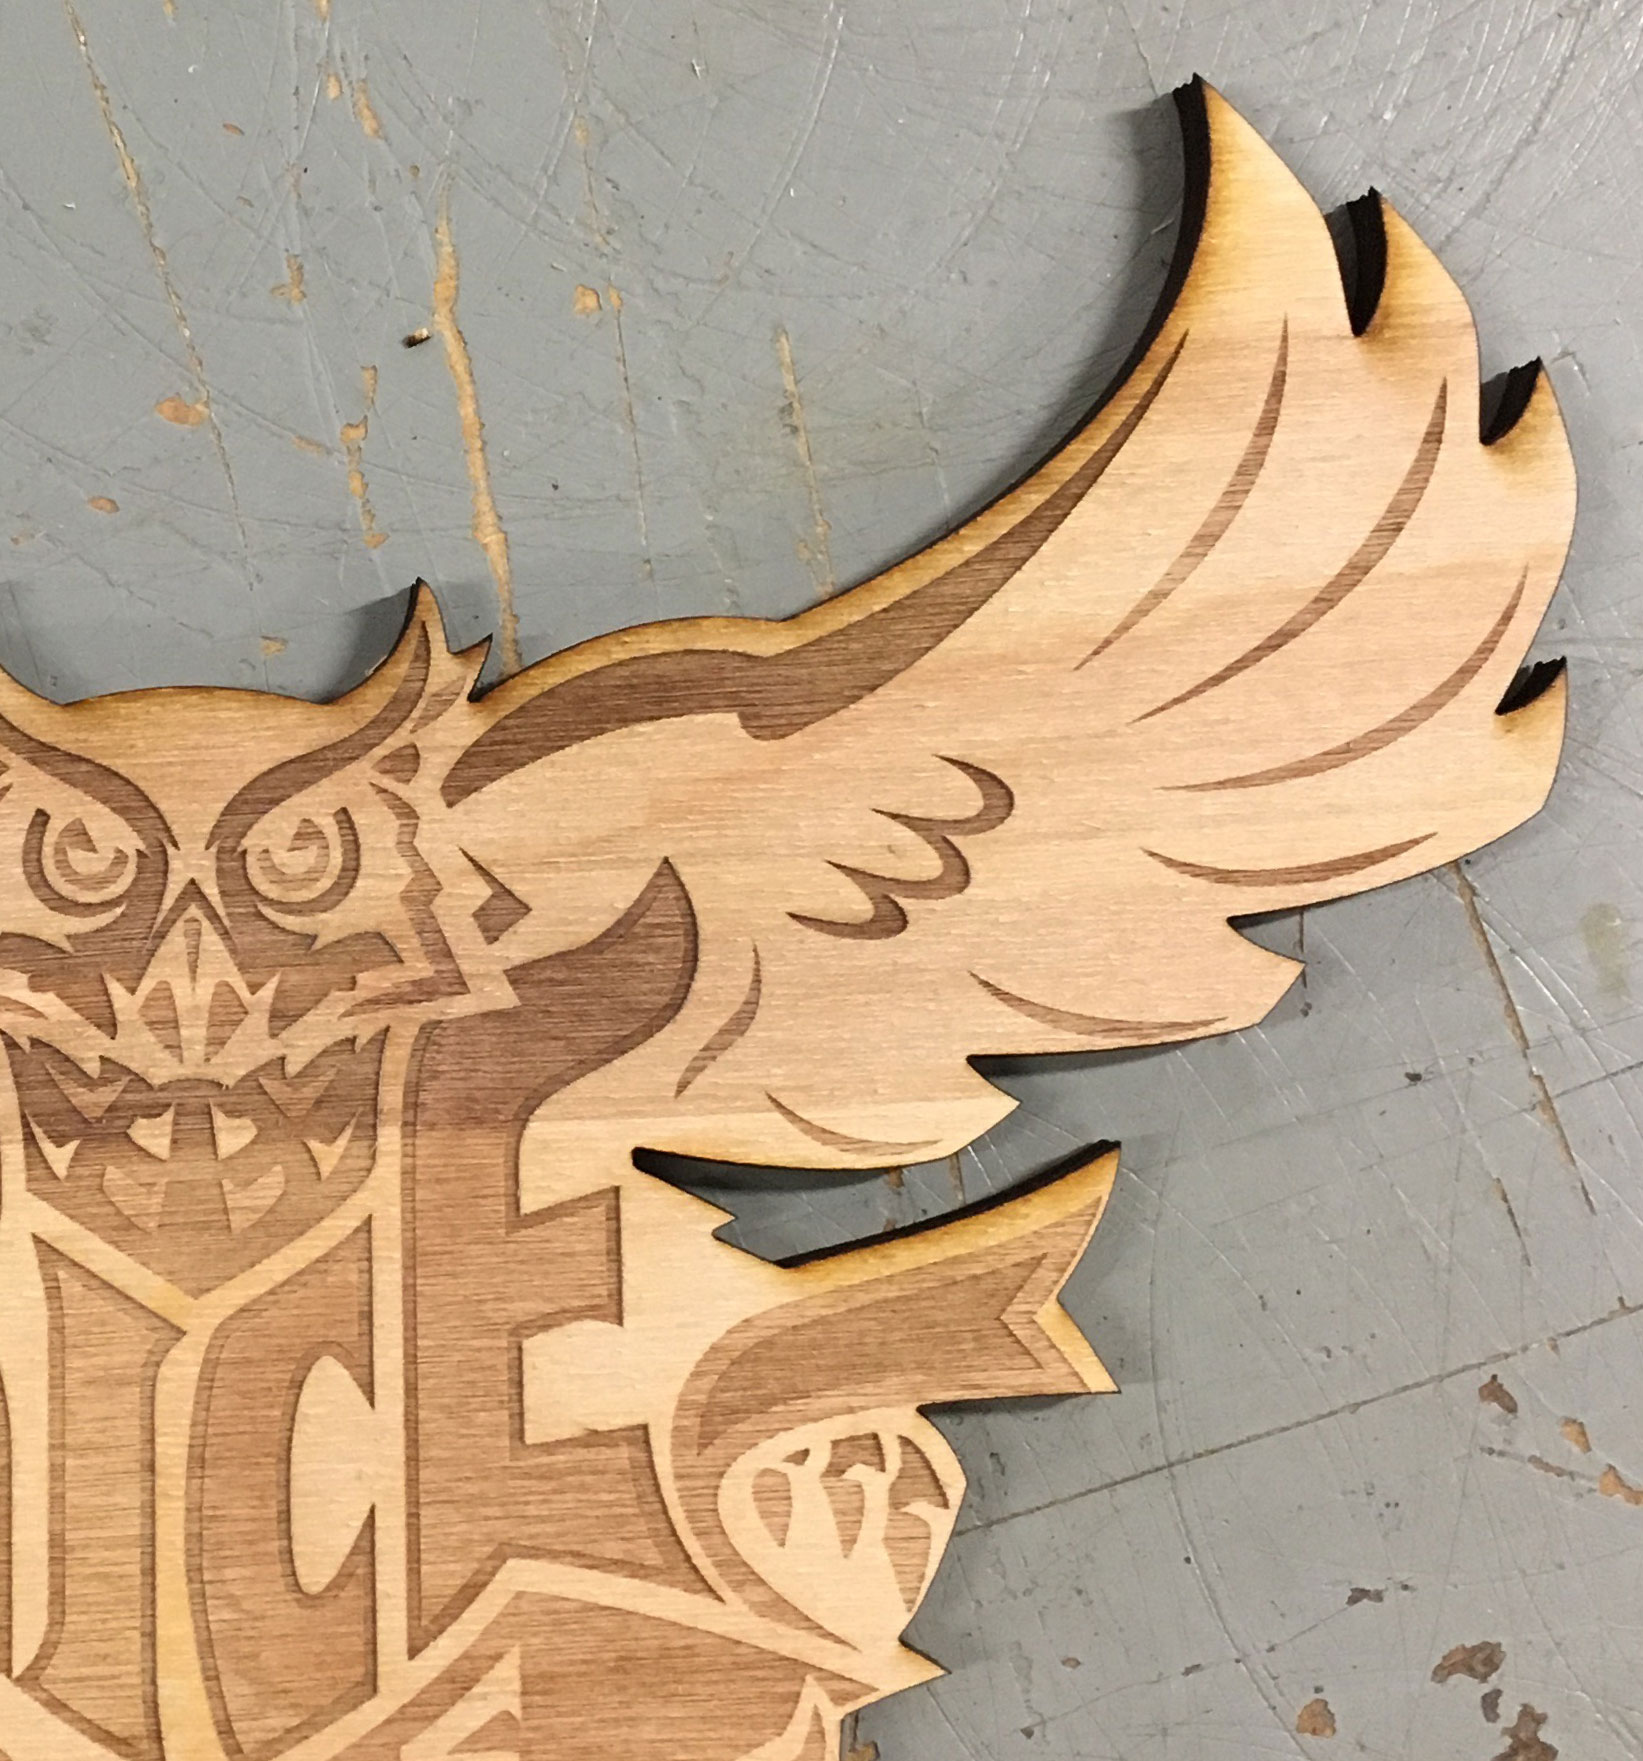
I am pretty happy with how my final owl turned out! I think that it displays each of the ranges quite well with different shades for the different parts contrasting with the lighter main part of the owl.
I think I learned a lot about the engraving settings through the process of making the war owl. Reflecting on things I could have done differently, I could have used my time more effectively by producing some smaller models or squares to get the right colors before moving on to the big owl. Still, it took a few tries to get it right even with careful planning and basing it on the blocks.
With more practice and experience, I am sure that there are many little tricks to the laser cutter to learn that would help with the process and produce even better results.
