For this assignment, we used the laser cutter to cut and etch out two Rice war owls from an Adobe Illustrator file (Figure 1). I was really looking forward to learning how to use the laser cutter at the beginning of the semester, and going through the process of laser cutting these war owls was really cool! It’s amazing that we’re able to cut or etch out whatever we want with this machine, and there’s just so many possibilities that we now have at our disposable because of laser cutting. I’m still in awe at the fact that we even have one of these machines, and even more so that we’re allowed to use it.
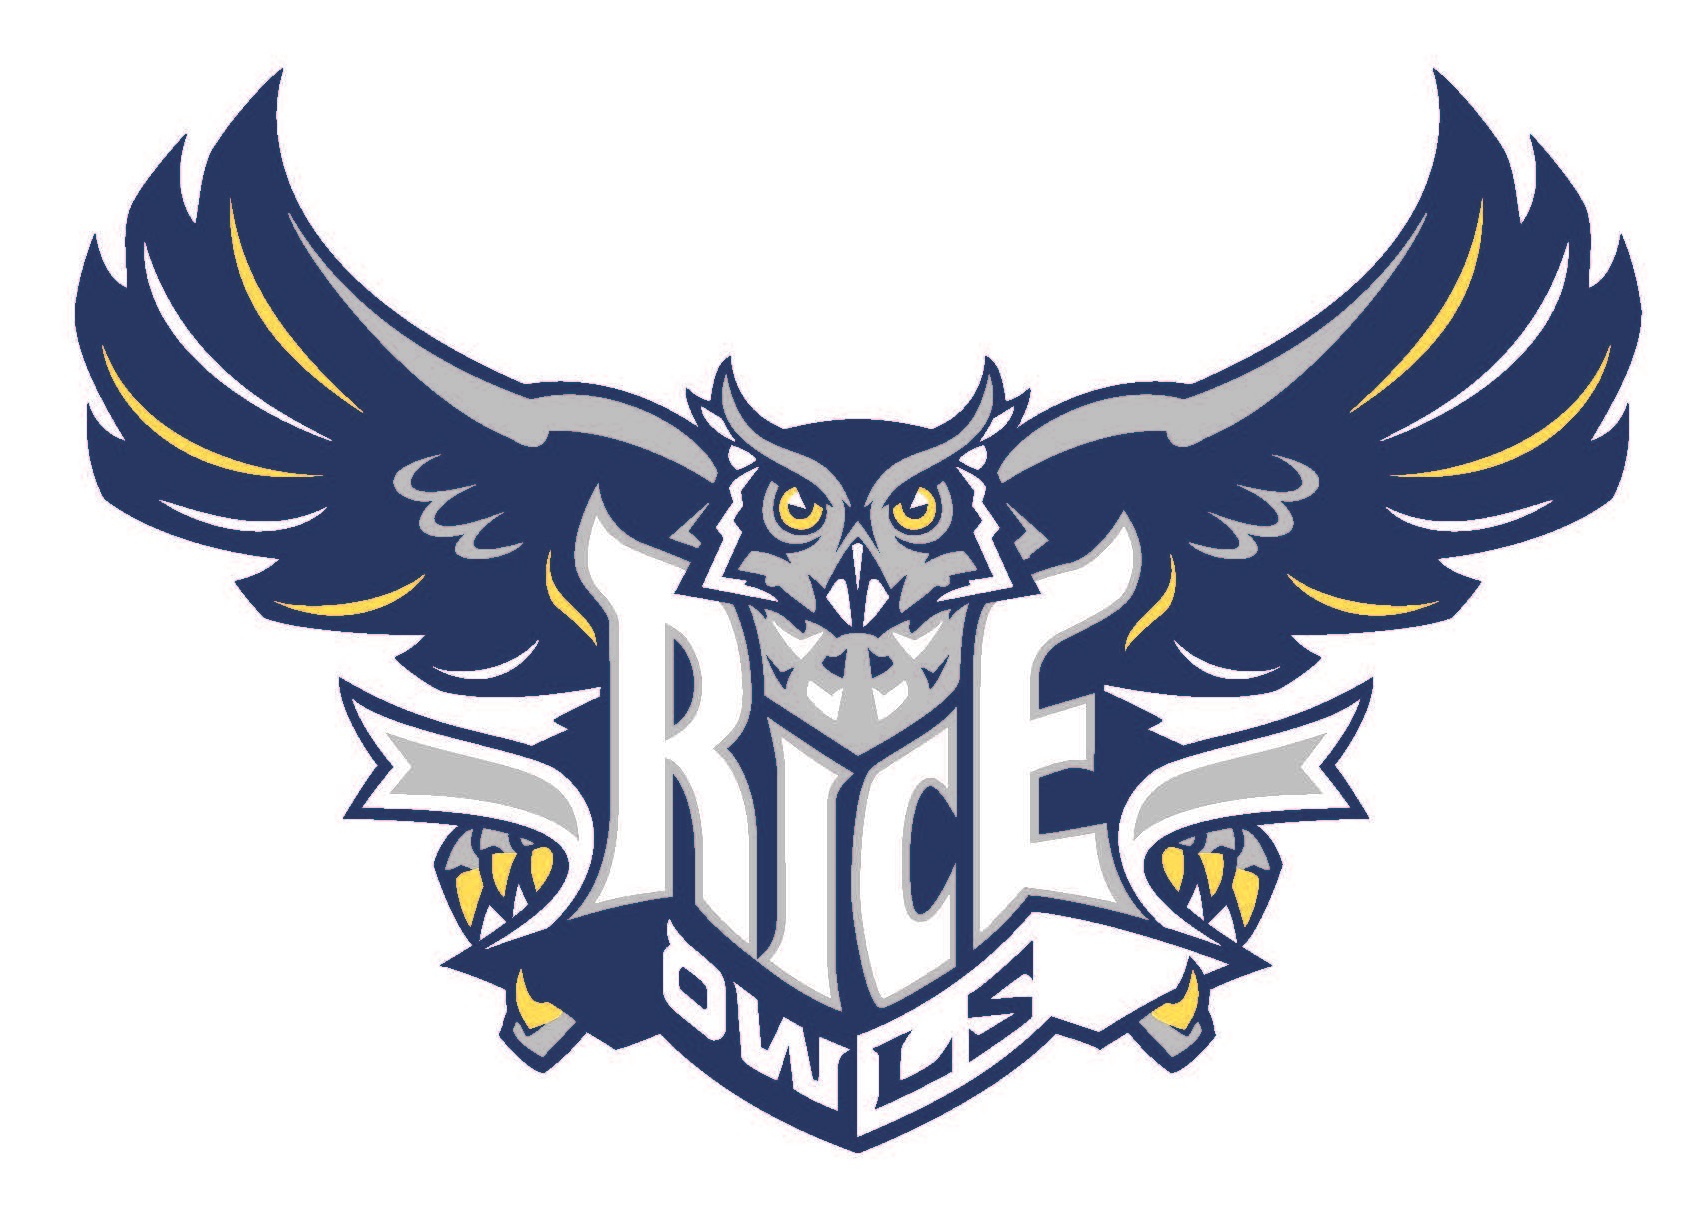
Figure 1: Adobe Illustrator Rice War Owl
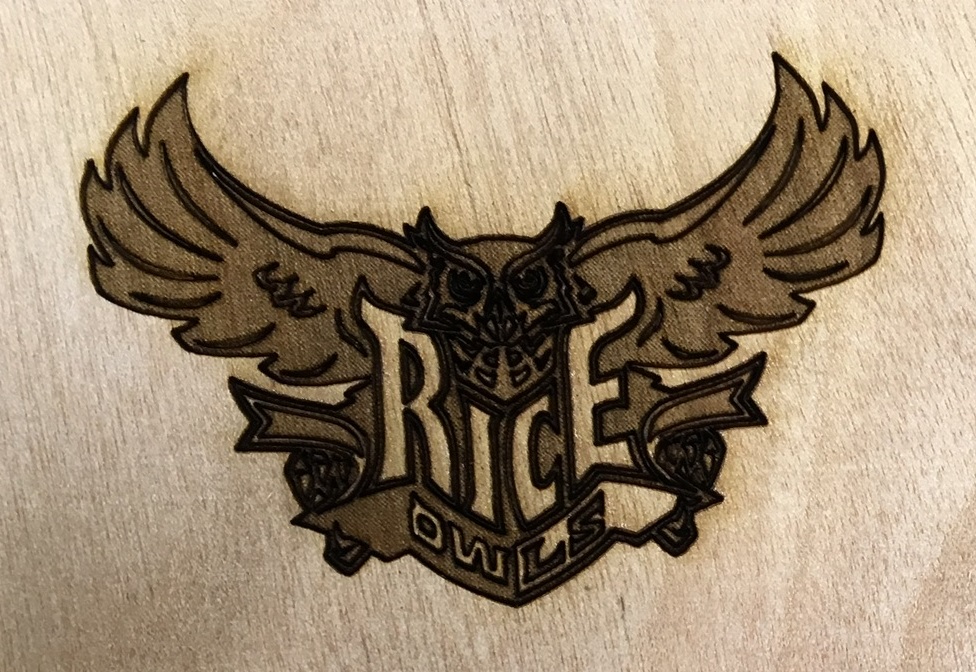
Figure 2: First Attempt at Laser Cutting a Small Version of the Rice War Owl (Vector: 5% Speed & 100% Power)
When my partner and I first started working on laser cutting the war owl, we decided that we should try cutting out a small version just to see what would happen. When it finished laser cutting, we noticed that it was quite burnt and that the colors were not very different except for the lettering and the banner on the owl (Figure 2).
We checked the settings on the Adobe Illustrator panel, and we realized that our owl was partially burnt because we had forgotten to set the pt to inches. Also, we decided that we should try to laser cut an actual-sized piece, since we knew what a small version of it would look like.
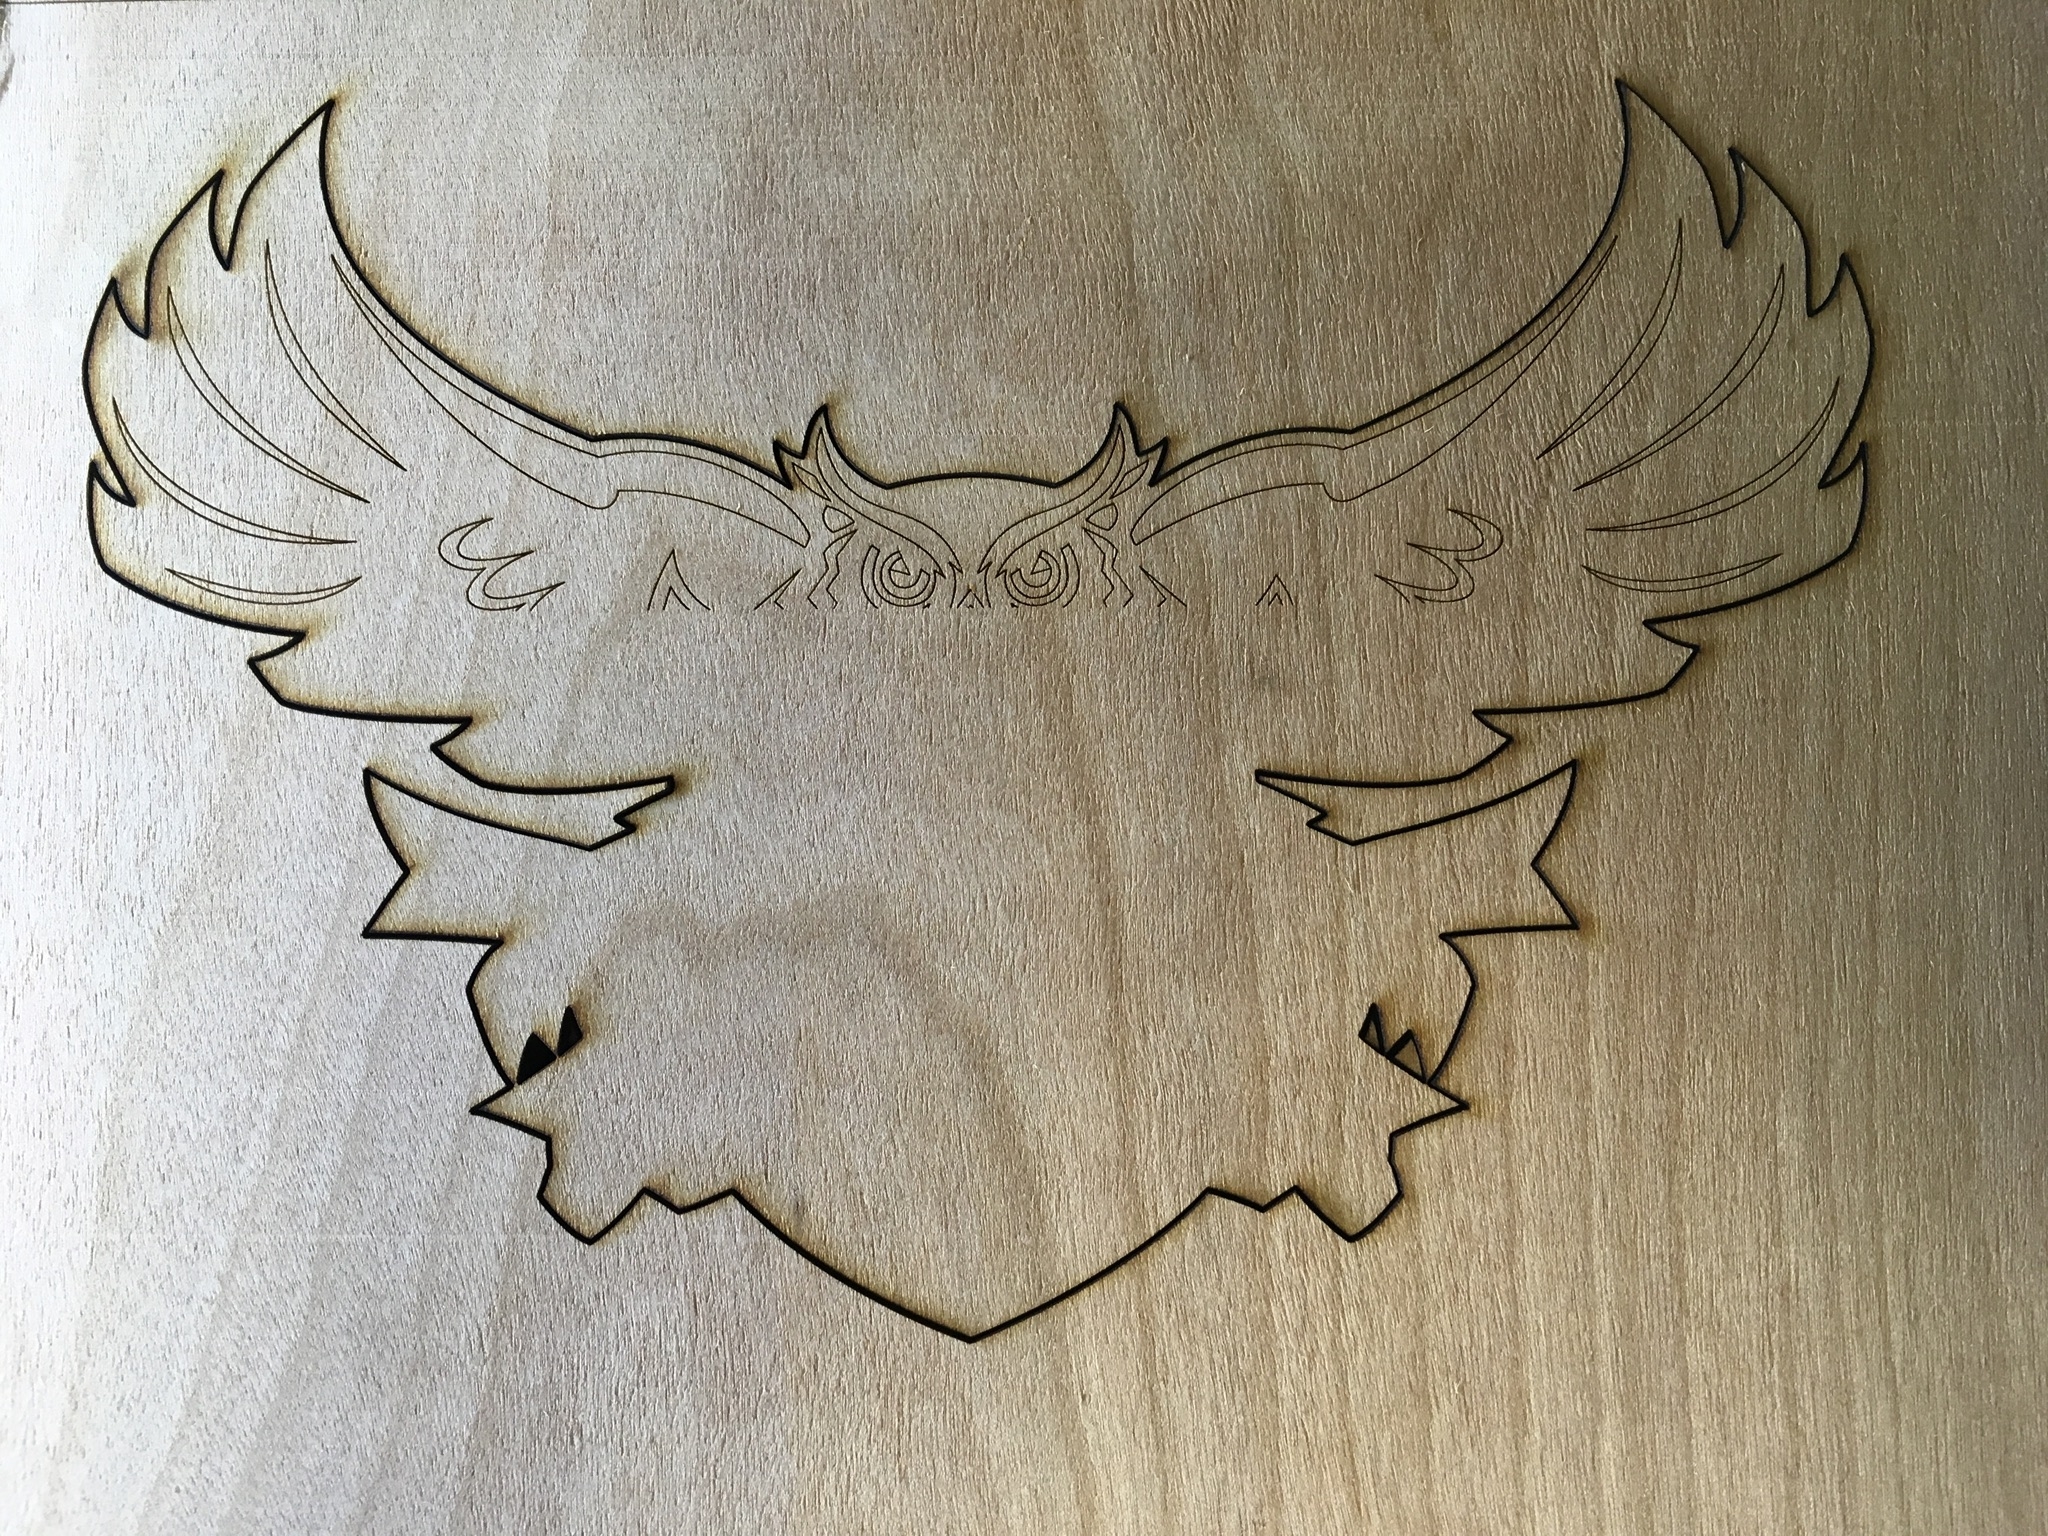
Figure 3: Second Attempt at Laser Cutting the Rice War Owl (Vector: 5% Speed & 100% Power)
For our second attempt, we started a vector only cut with the same speed and power as our first attempt. However, the laser cutter would not cut anything. It would just move as if it were laser cutting, but the laser itself wasn’t on. We had to ask a lab assistant for help, and we learned that it was because the lid of the laser cutter wasn’t completely closed. Once we learned that, we were able to laser cut our second attempt. However, we stopped it before it was finished because we saw that the vector cut was fine, and because we waned to save time (Figure 3).
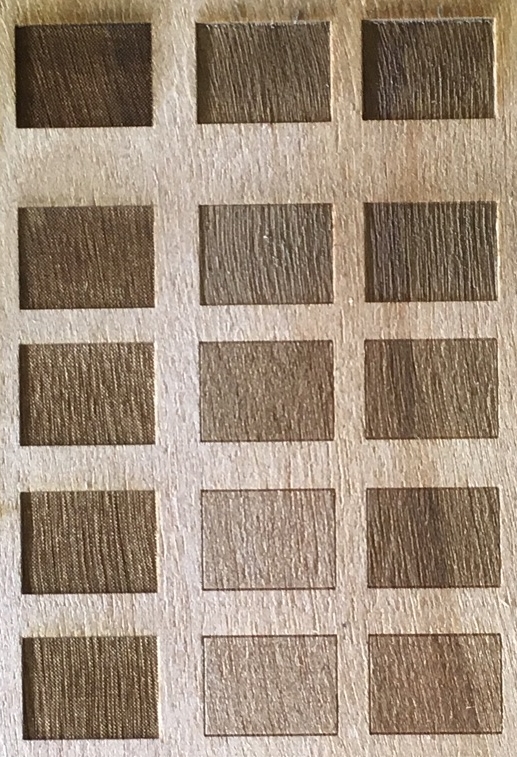
Figure 4: Testing Different Etching Powers and Speeds with Squares
Next, we added the rastor cut setting so that we could test out the different etch settings. We tried etching the owl from attempt 2 (in Figure 3) with 50% speed and power and then 50% speed, 100% power.
It seemed like it didn’t do much, since it looked like it just etched the outline for the inner part of the owl, so we tried to mess with the color mapping to make the different colors have different etching settings.
We then realized that it would be good to laser cut small squares instead of the whole owl to test the settings. We didn’t think about it until now, but we should have started with just squares from the beginning in order to have used our time more efficiently. However, now we know, so it’s a lesson learned from this experience.
After trying a lot of different settings for the etching, we finally decided on an acceptable combination of speed and power for each of the colors (Figure 4). Our decided speeds and powers are the following: 5% speed and 10% power for blue, 25% speed and 10% power for yellow, 25% speed and 10% power for gray. When we laser cut the owl with these settings added to the color mapping page, the war owl came out just like how we wanted it to be etching-wise (Figures 5 and 6).
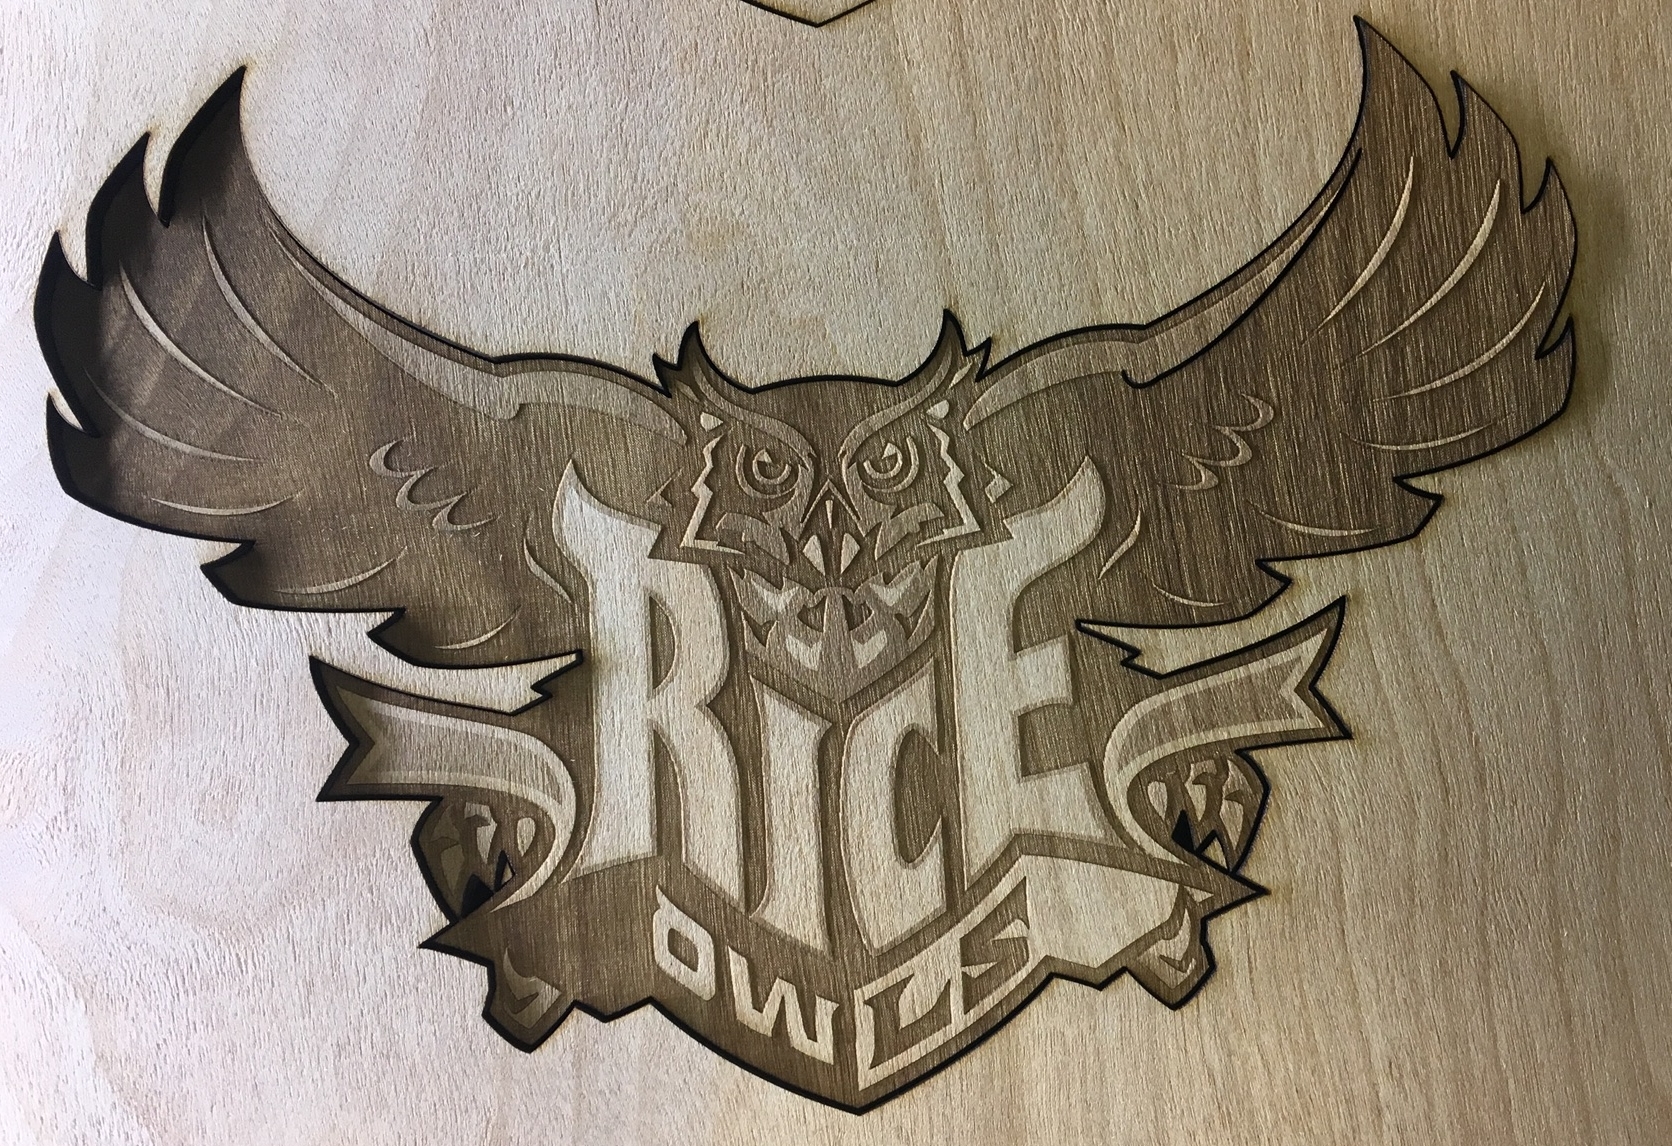
Figure 5: Laser Cut War Owl Before Taking it Out of the Wood
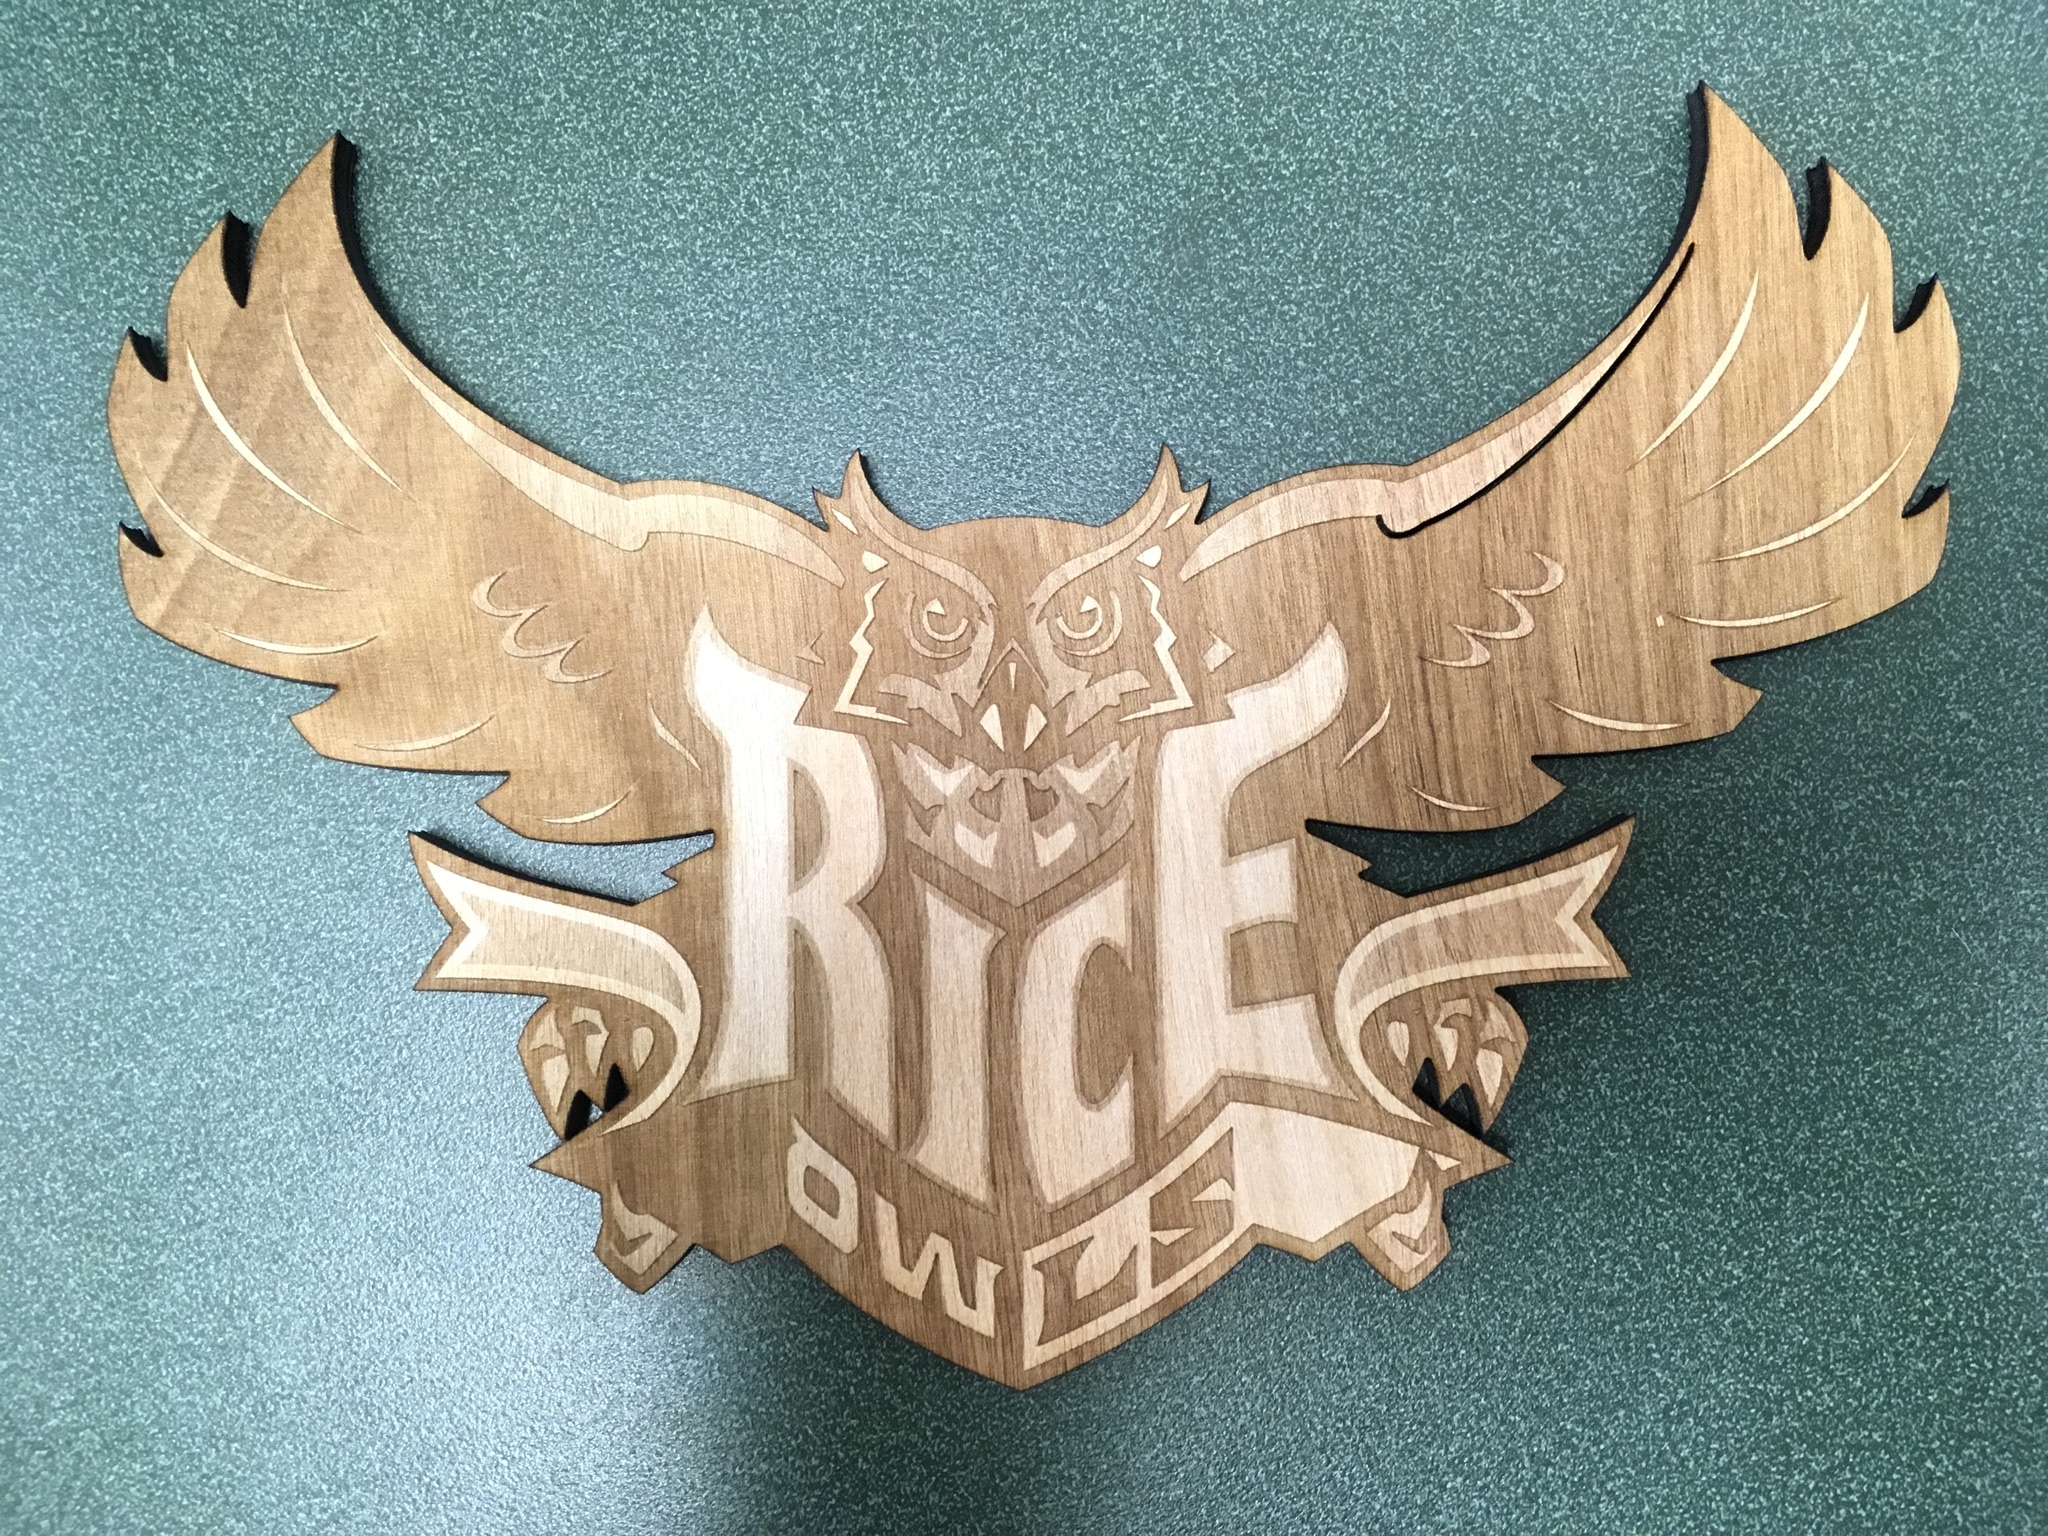
Figure 6: Laser Cut War Owl AfterTaking it Out of the Wood
However, we didn’t realize that it was also vector cutting the insides of the owl, so it made a cut on the wing of the owl which meant that we sadly couldn’t use it as one of our final products. We tried again with the same settings and stopped the job right before it started cutting the inside of the owl. However, it seemed like the owl had lighter etching than the previous one we had laser cut (Figure 7). Consequently, we adjusted the general raster settings a bit to make the etching darker.
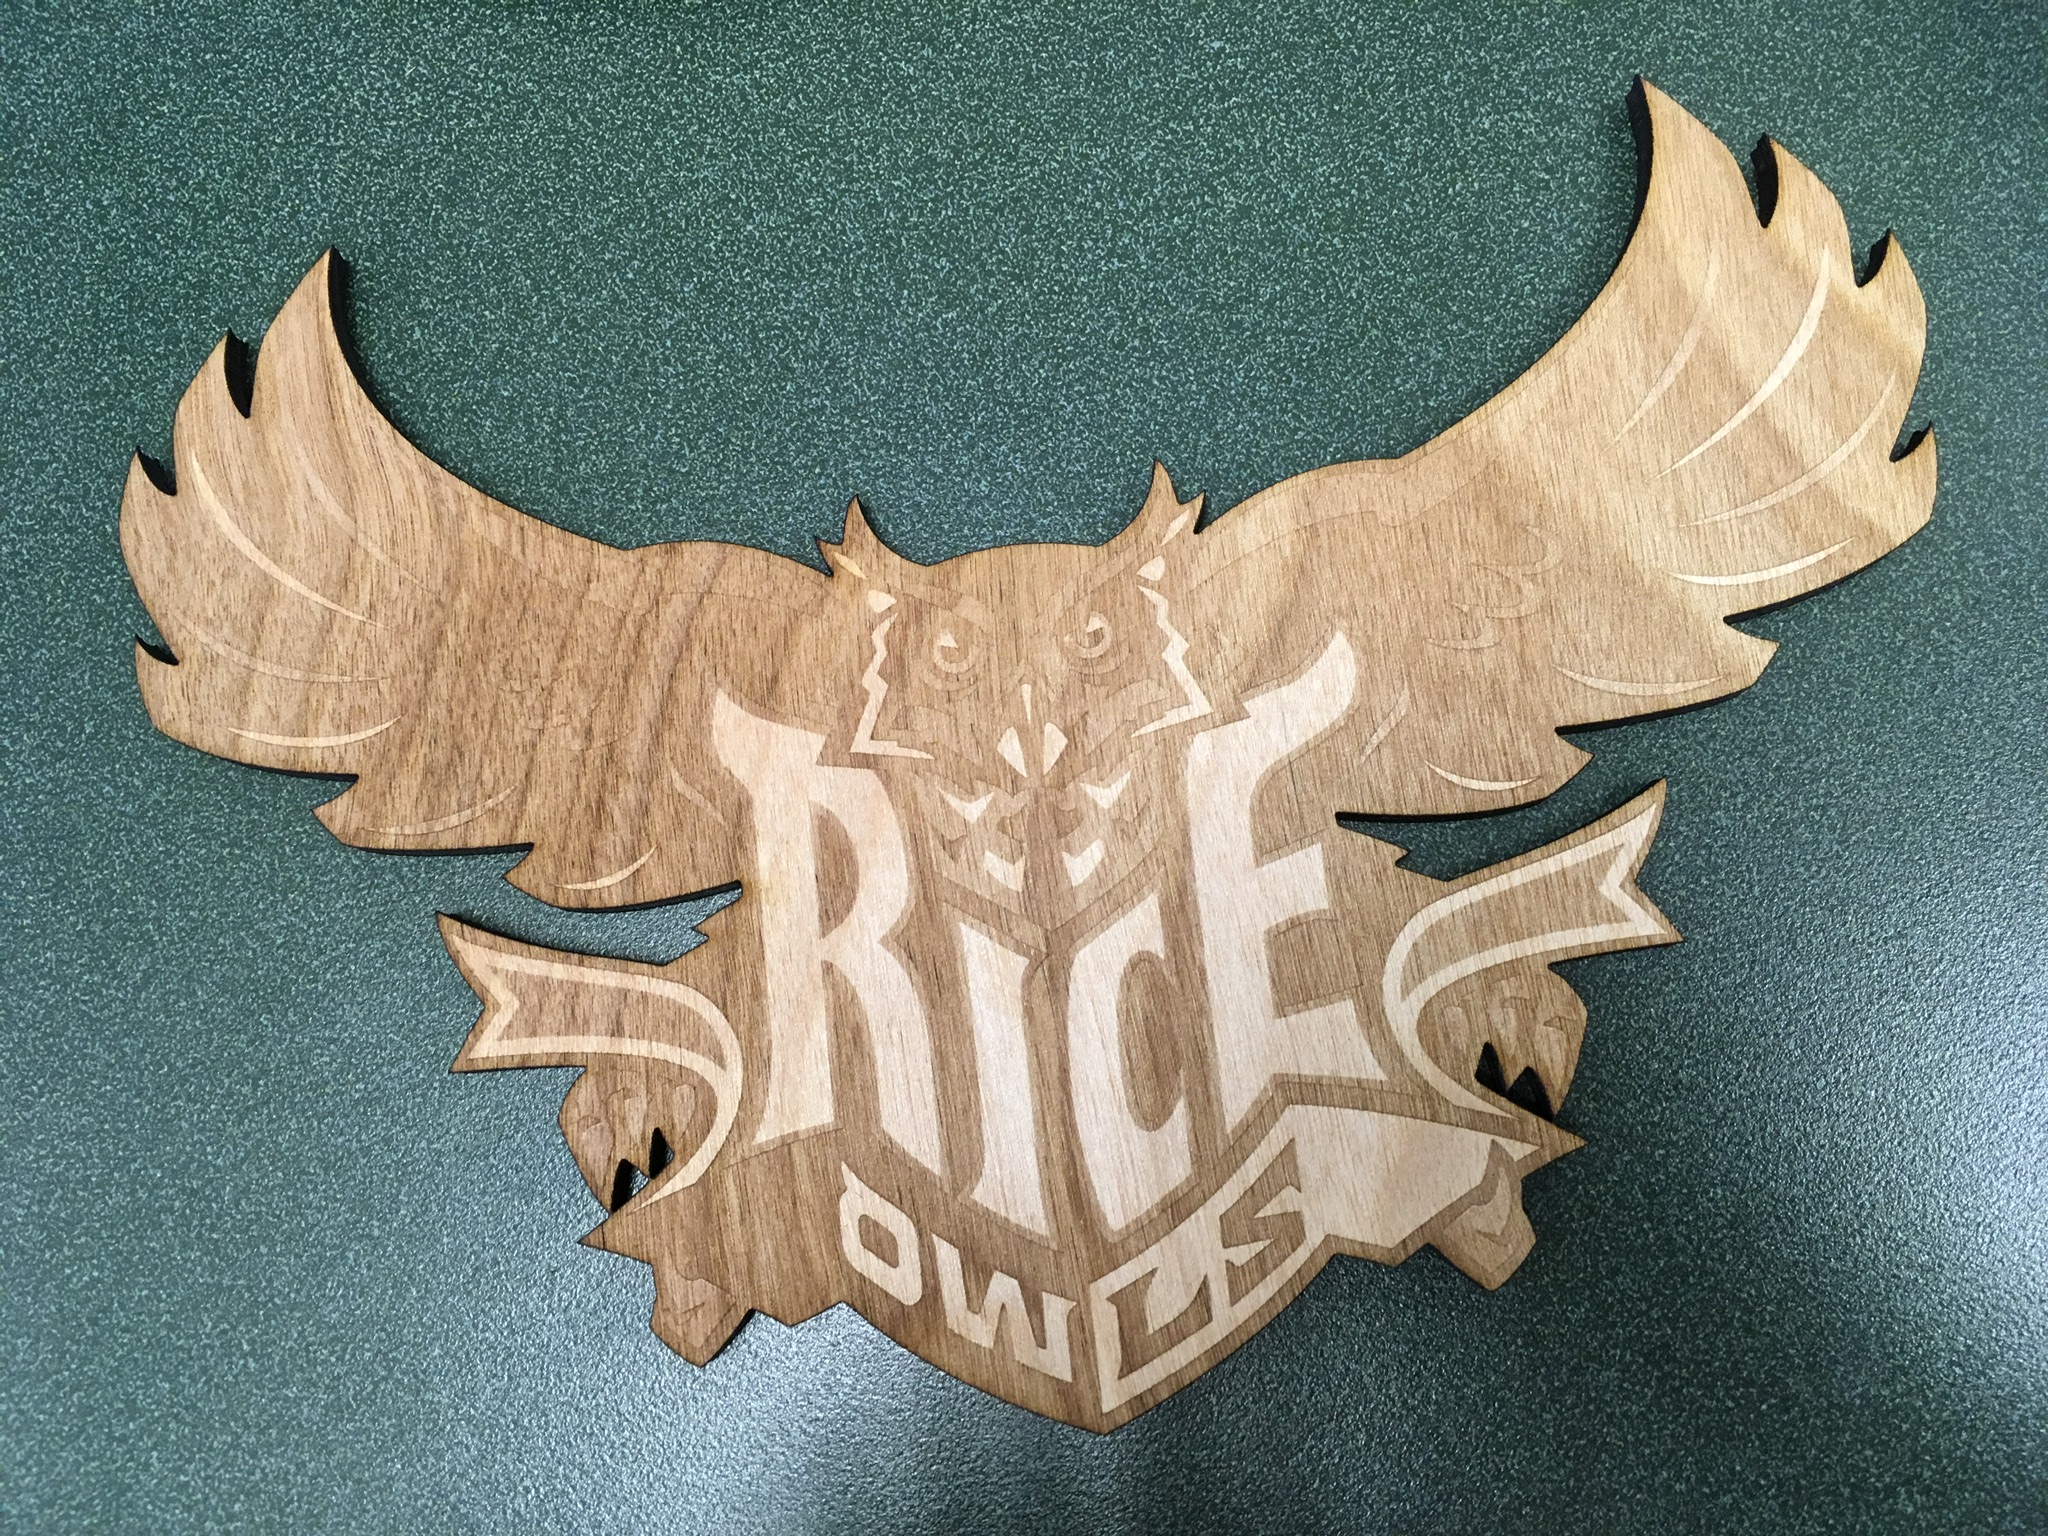
Figure 7: Laser Cut Rice War Owl with Raster Settings that Were Too High (Raster: Speed 100% & Power 55%) (Vector Speed 5% & Power 90%)
After doing so, we finally got a Rice war owl just like how we wanted. It had nice etching and didn’t have the cut in its wing, since we stopped it before it tried to cut it (Figure 8). By that time, we had been using the laser cutter for 3 hours straight, so we decided to finish the rest of the owls another day.
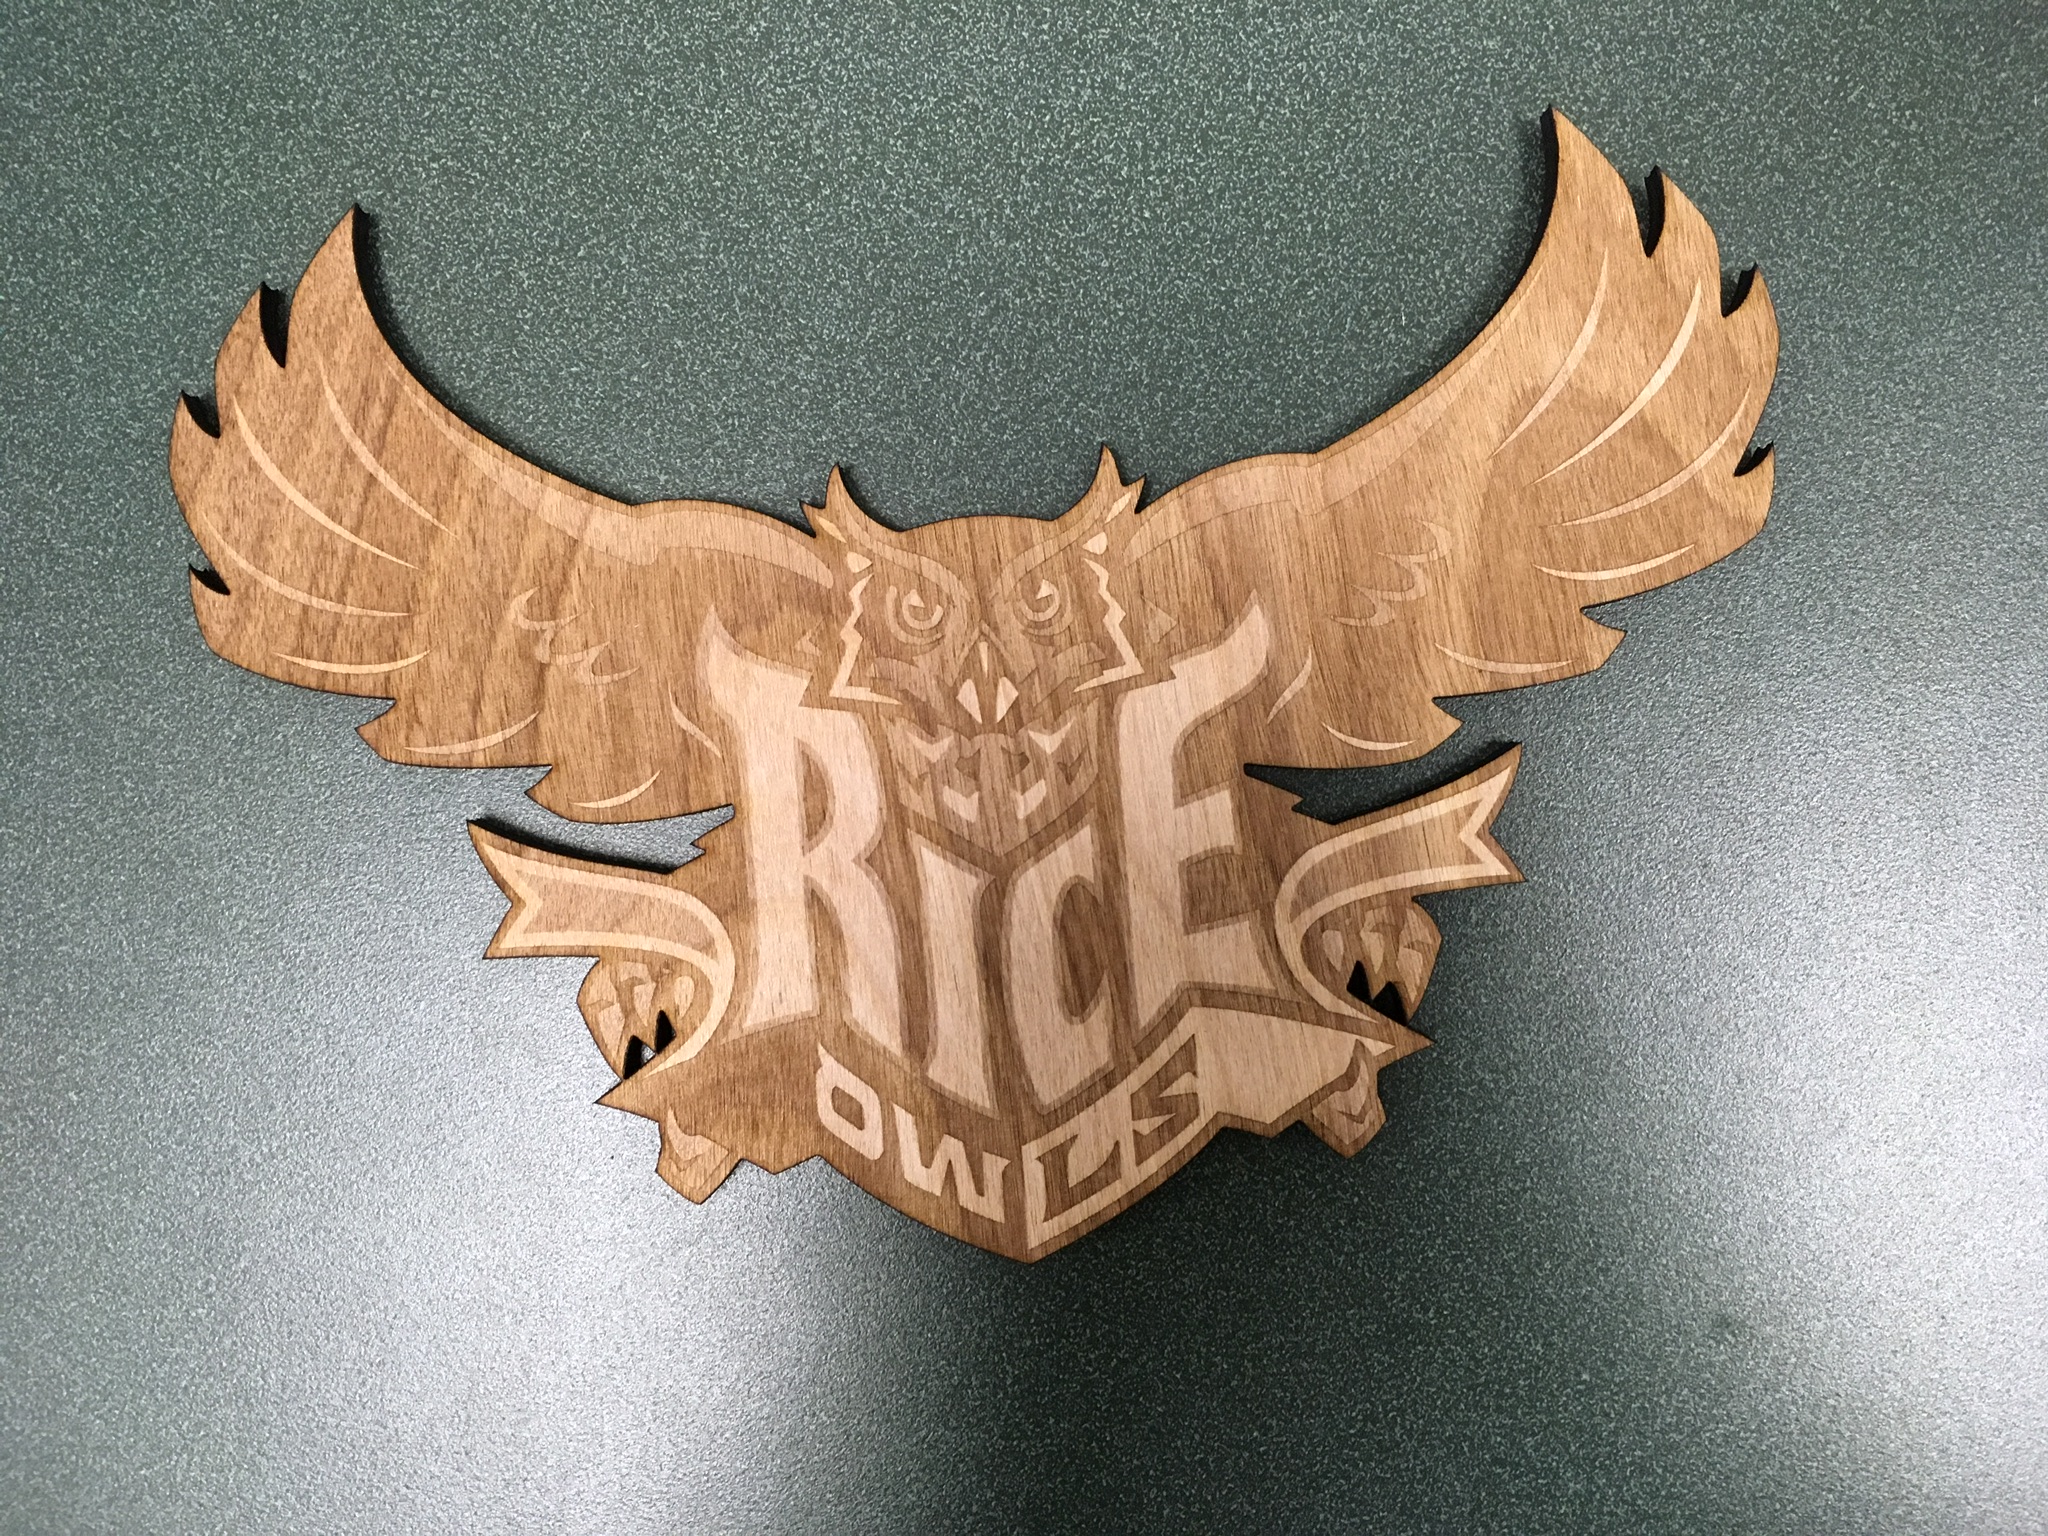
Figure 8: Final Laser Cut Owl After Day 1 (Raster: 100% Speed & 75% Power) (Vector: 5% Speed & 90% Power)
When we started working on the assignment again another day, for some strange reason, our laser cutting time for one owl was a whole 2 hours as opposed to the 15 minutes it took on the other day. We later realized with the help of the lab staff and assistants that we apparently had not had the color mapping box checked when we ran it the other day. As a result, the machine etched the colors without the settings that we so carefully put in which was very strange considering that they seemed to change whenever we tested out the squares.
After realizing our mistake, we decided to turn off color mapping and to just adjust the overall raster and vector settings rather than the color mapping ones. We adjusted the raster settings one more time before laser cutting our final remaining war owls to complete the assignment (Figure 9).
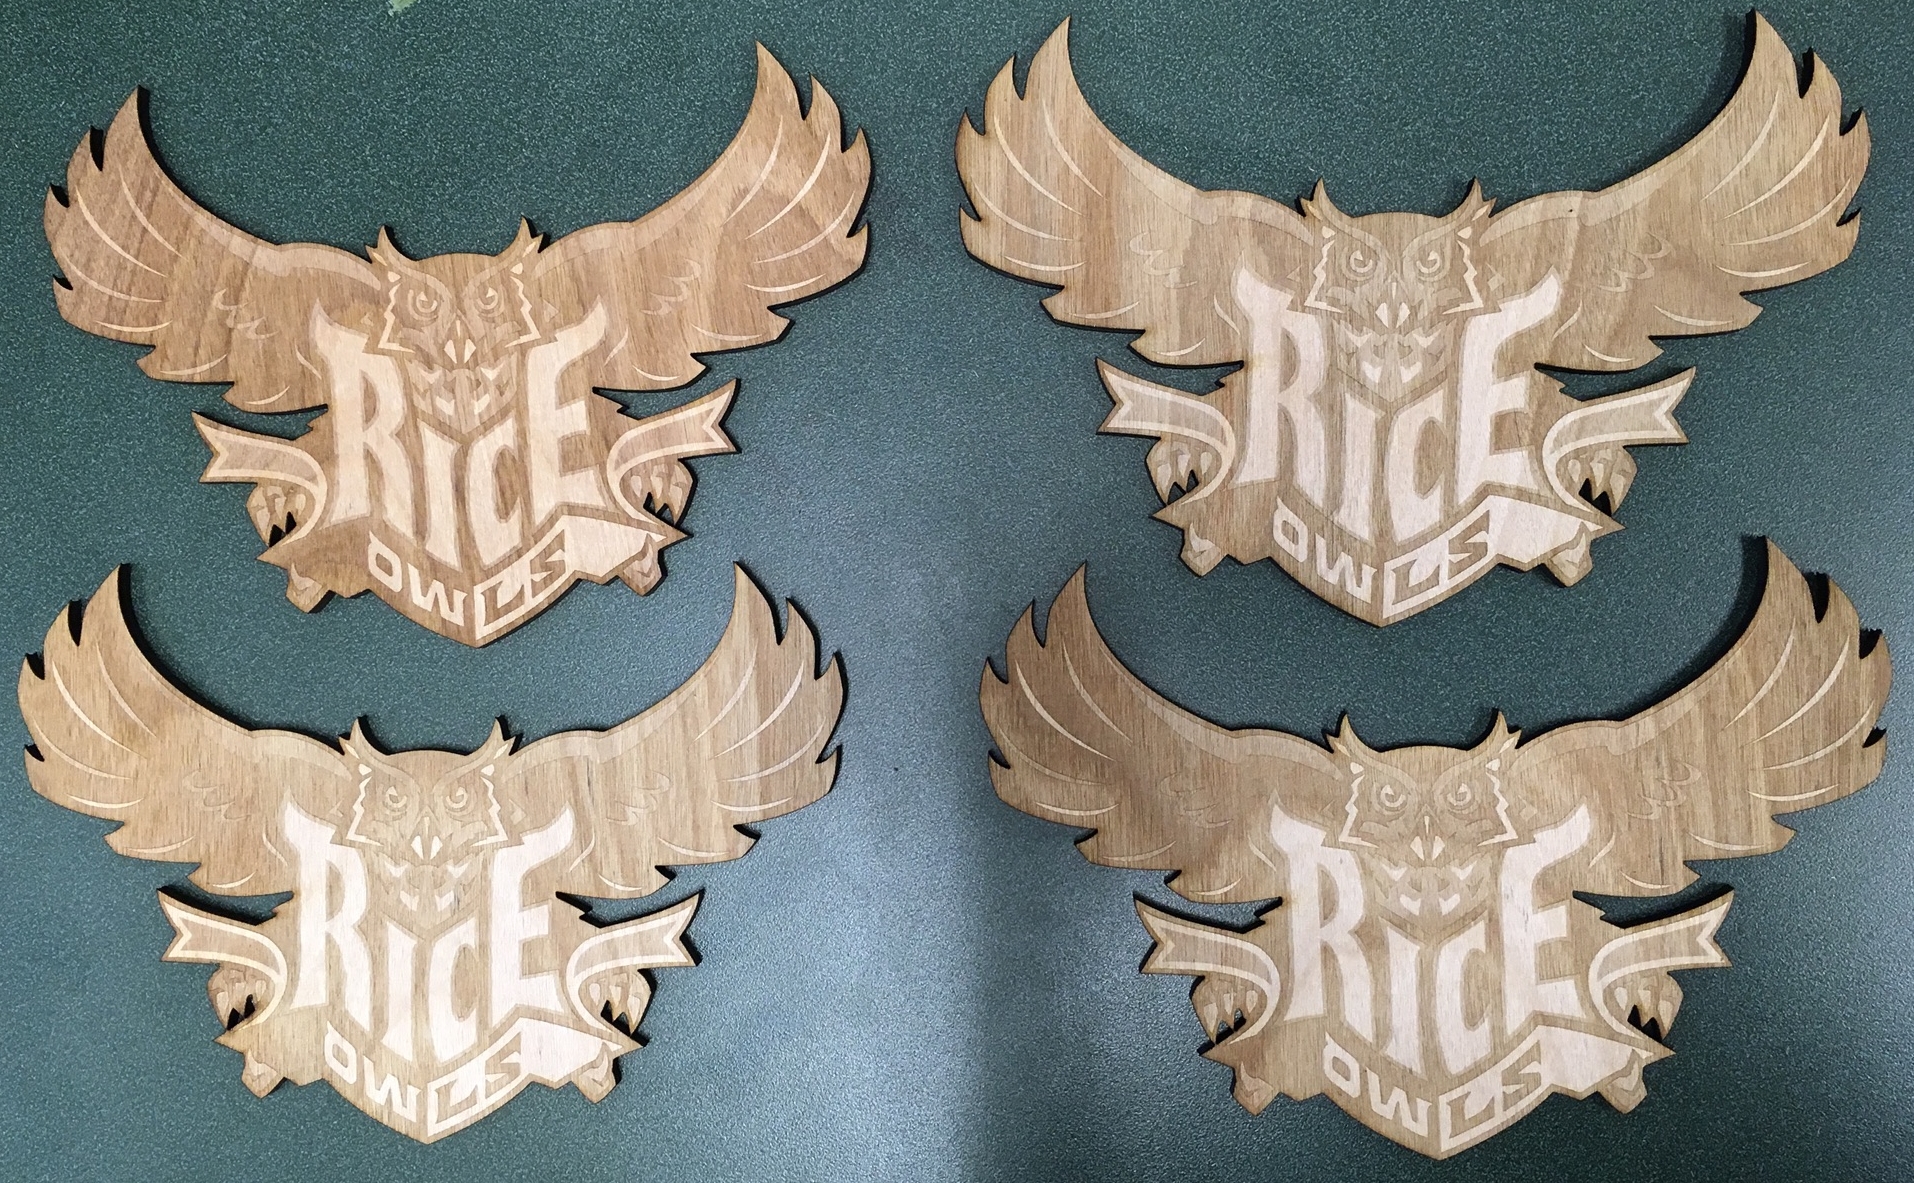
Figure 9: Four Final Laser Cut Rice War Owls (Raster: 100% Speed & 55% Power) (Vector: 5% Speed & 90% Power)
In the end, although we had a lot of trial and error and had to troubleshoot a ton of times, I feel like we gained a lot of valuable experience with using the laser cutter and are now confident that we can use it by ourselves in the future.
