Our second homework assignment for Engi 210 this semester was to build a box with sides that were between 6″ and 10″, a feat I accomplished in the OEDK last weekend.
My first step was to find a piece of wood to make a box from. A lab tech took me to the wood shop, and we found a 7.25” by 5′ piece of 0.75” thick wood that would be perfect. After retrieving it, I set out making measurements and marking where the wood would be cut so that the pieces would fit together as precisely as possible.
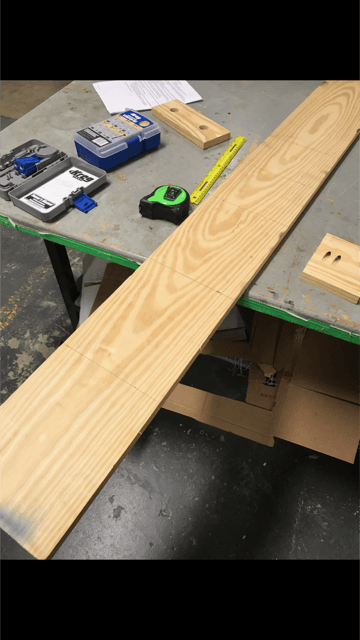
I decided to make 4 of the pieces 9”x7.25”, and the other two 5.75”x7.25”, giving the box dimensions of 7.25″x9″x8″ when put together.
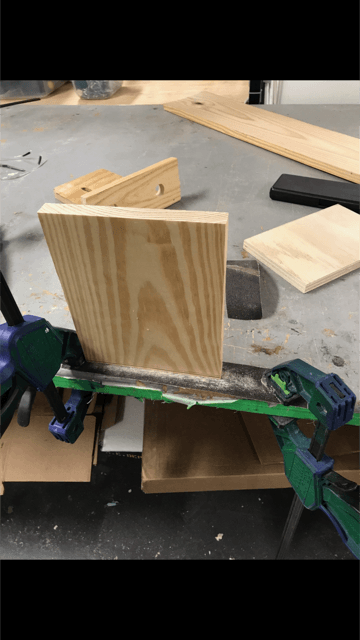
My next order of business was to cut the wood. I went to the woodshop with a lab assistant, and used the large saw to make quick work of the piece of wood I found. Because all of my pieces had a dimension of 7.25”, which was the width of the wood, I only had to make one cut for each.
Because the wood wasn’t the exact dimensions I needed, I had to sand the pieces down to make it fit together. The belt sander was broken, so I had to do the task manually.
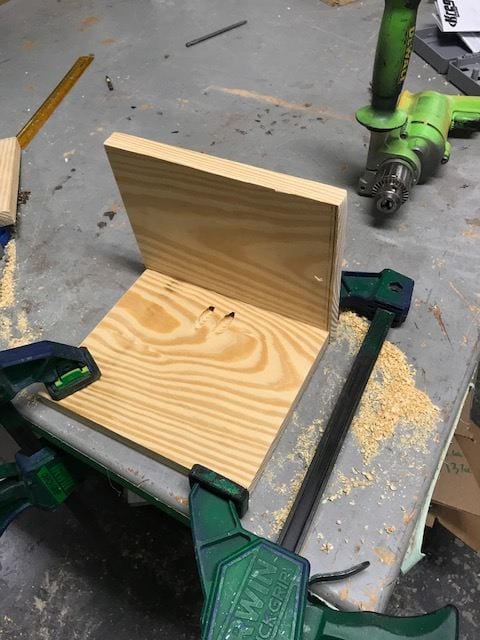
The next order of business was to screw the sides to the base. I used a Kreg Jig because the screws would be concealed rather than sticking out. This was done by drilling a pilot hole on the side piece at an angle before screwing the pieces together.
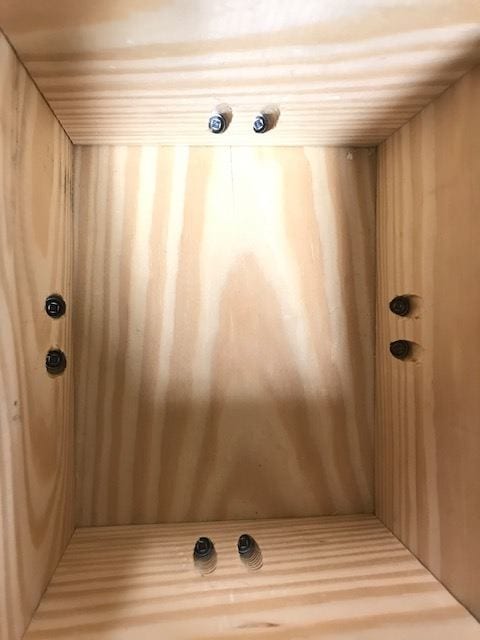
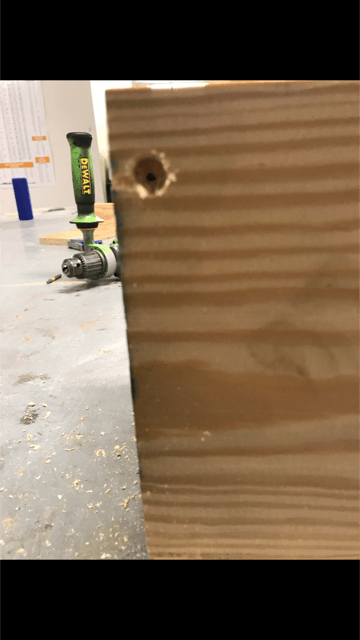
The Kreg screws made the box pretty sturdy, but I wanted to ensure that it was going to be strong. So I screwed 4 screws into the top corners of the box. In order to conceal them, I made the first roughly 0.25″ of the pilot hole very wide with a 3/8” bit.
My last step was to use the router to smooth the edges of the box. Because the screws I had just inserted were very near the sides of the box and the Kreg screws were at the bottom, I was only able to route the top edges of the box. I returned to the wood shop, made sure the blade on the saw was the circular one I wanted, and slid the box along the edge of the router until the entire edge was routed. After this step and one final sanding, my box was completed.

Like all things, my box is not perfect. The two obvious problems are one of the sides is too long and hangs over the base, and one of the corners splintered a little after I routed it. Still, the box is overall aesthetically pleasing, and because of the extra screws near the top, extremely sturdy, so I’m proud of it.
All in all, this box took me three hours to complete. I estimate the plank I used cost $12, an hour of labor costs $10, and the machine time cost $5, so the total cost of the project was $47.
