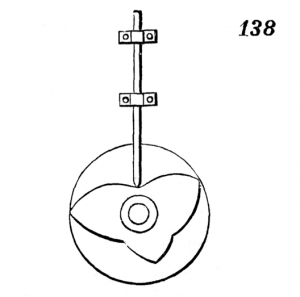
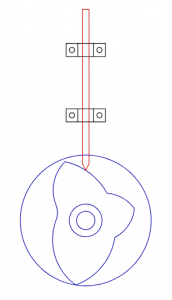
For my second Engi 210 project, we were tasked with creating a 2D drawing based off a mechanism from 507 Mechanical Movements. This is was my first real project using Adobe Illustrator, so I learned a lot from it and definitely enjoyed the process. I chose mechanism 138 because I thought the way the rod moves looked cool. To start, I took a screenshot of the animated version of the mechanism because it was clear and I could create an Image trace of it.
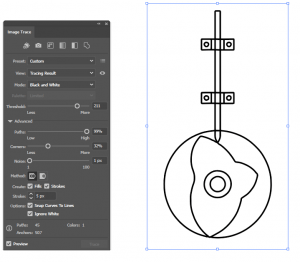
 To do the image trace, I started with adding the picture to Illustrator, then highlighting it and selecting image trace, then expand. I messed around with the settings to get the lines as clear as possible, and ended up with this:
The initial trace was pretty good, but some of the lines were wobbly. Upon closer inspection, I saw that there were multiple overlapping lines wherever they were drawn, so I went through the lines and deleted the extras. Next, there were some areas where the shapes weren’t closed, so I joined all the gaps and tried to straighten out the shapes as much as possible. To help with straightening the shapes, I used the average tool. Also, all the edges drawn were rounded, so I fixed this by deleting some of the anchor points and using the corner tool.
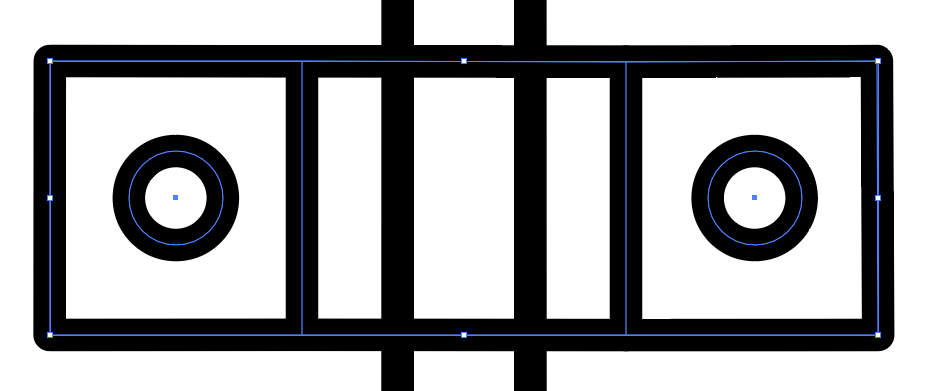
Once most lines were straightened out, I tried grouping the rectangle strap. I was having lots of trouble getting them together because it kept giving me error messages. After a while, I figured out that the whole machine was grouped together as one, so I highlighted the whole shape and regrouped it, which allowed me to group other parts to my liking. To finish up the strap pieces, I redrew the circles using the ellipse tool because the live trace generated pretty bad circles. After cleaning up the anchor points, the two pieces ended up looking like this when finished:
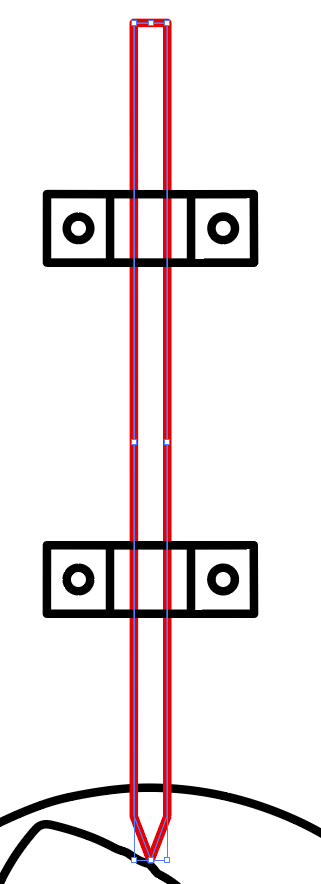
After that, I used the average tool to straighten out the rod, and also deleted some anchors and straightened the edges. The rod tip was wobbly and uneven, so I had to spend some time fixing that too. The final rod piece looked like this:
Next, I redid the circles in the gear part, simply by recreating a new circle with the ellipse tool over them and deleting the original ones. Using ctrl and shift with the tool was very helpful.
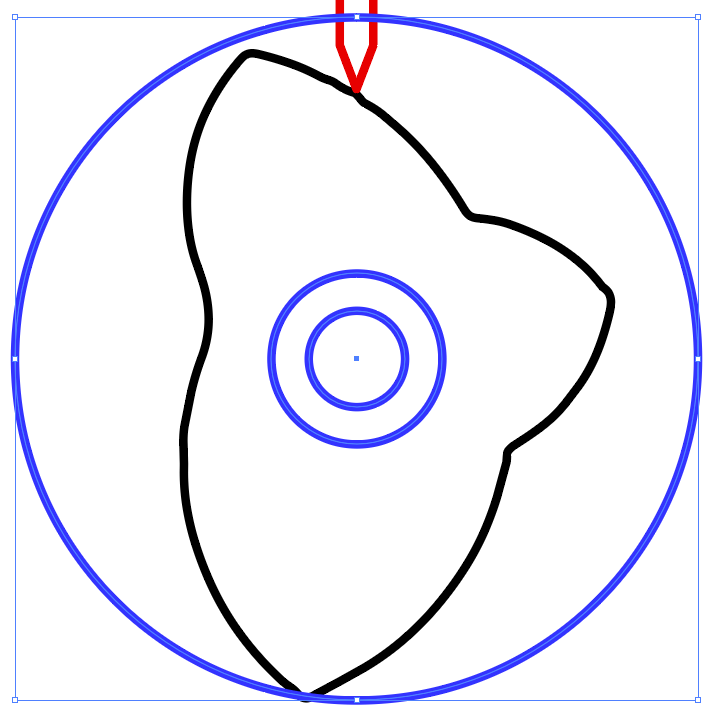
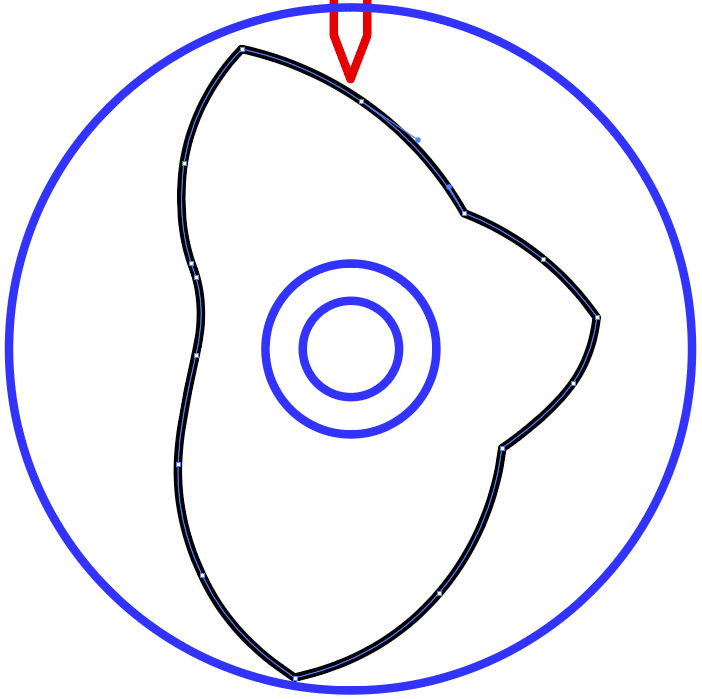
Lastly, I touched up the middle piece. To start, I used the corner tool at each of the edges. After that, I mainly using the curvature tool to fix the curves, and deleted a lot of anchors.
The final product was broken down by color. Each color signifies the way the shapes were grouped in illustrator. Each shape has a minimal amount of anchor points, the lines are straight, and the shapes are simple and closed. The final vector drawing looked like this:

Since I was brand new to illustrator, I had to do a lot of learning while creating this drawing. The whole process took me a little more than two and a half hours. If I was paid $11 an hour for this, labor cost would be $27.5. I also used the computer in my dorm’s basement (Lovett) because they have Adobe Illustrator. Since Illustrator is $20 a month, and the cost of the computer/network could be taken into account, I’ll add another $10 to the cost, making this drawing $37.5.
