Wow this box was stressful! First off, kerf math takes some doing. Kerf math is basically expanding the tabs by twice the laser width and decreasing the holes by twice the laser width. In my mental model I forgot the tab needs to increase in size so initially it didn’t stick together at all.

First off, when making a box in solidworks I highly recommend using the parametric equations. I learned how to define a global variable “kerf” and make all the side dimensions based on this dimension. This makes the math very easy because adjusting that variable “kerf” automatically updates the drawing theory. The reality is if you mess with things too much it gets messy! I also initially was too ambitious and tried to male a 12 sided box with a base. This just took ridiculously long to make the files and led to me dying a little bit. I tried cutting it out in cardboard and that showed that the dimensions were roughly right but then when I cut it out of wood it didn’t fit at all. I think this is because when I put it together in cardboard I brute forced it and it was just too far off in the wood to get a good look. Additionally the kerf on the cardboard is very different from the kerf on the wood so that did not really serve me well. I tried decreasing by tab number and re-approaching but I couldn’t quite get my corners to line up. Then disaster struck and my flashdrive died. This put me back to square one and there just wasn’t time for something complicated. I swallowed my pride and made a simple 5-sided box with an internal divider in adobe illustrator. To test the kerf I made a bunch of 1X1 boxes on make a box with different kerfs and tested how they fit together. Amazingly the laser cutter was up to a 0.0095 kerf when I made this box which is a lot larger than the normal 0.007.
![]()
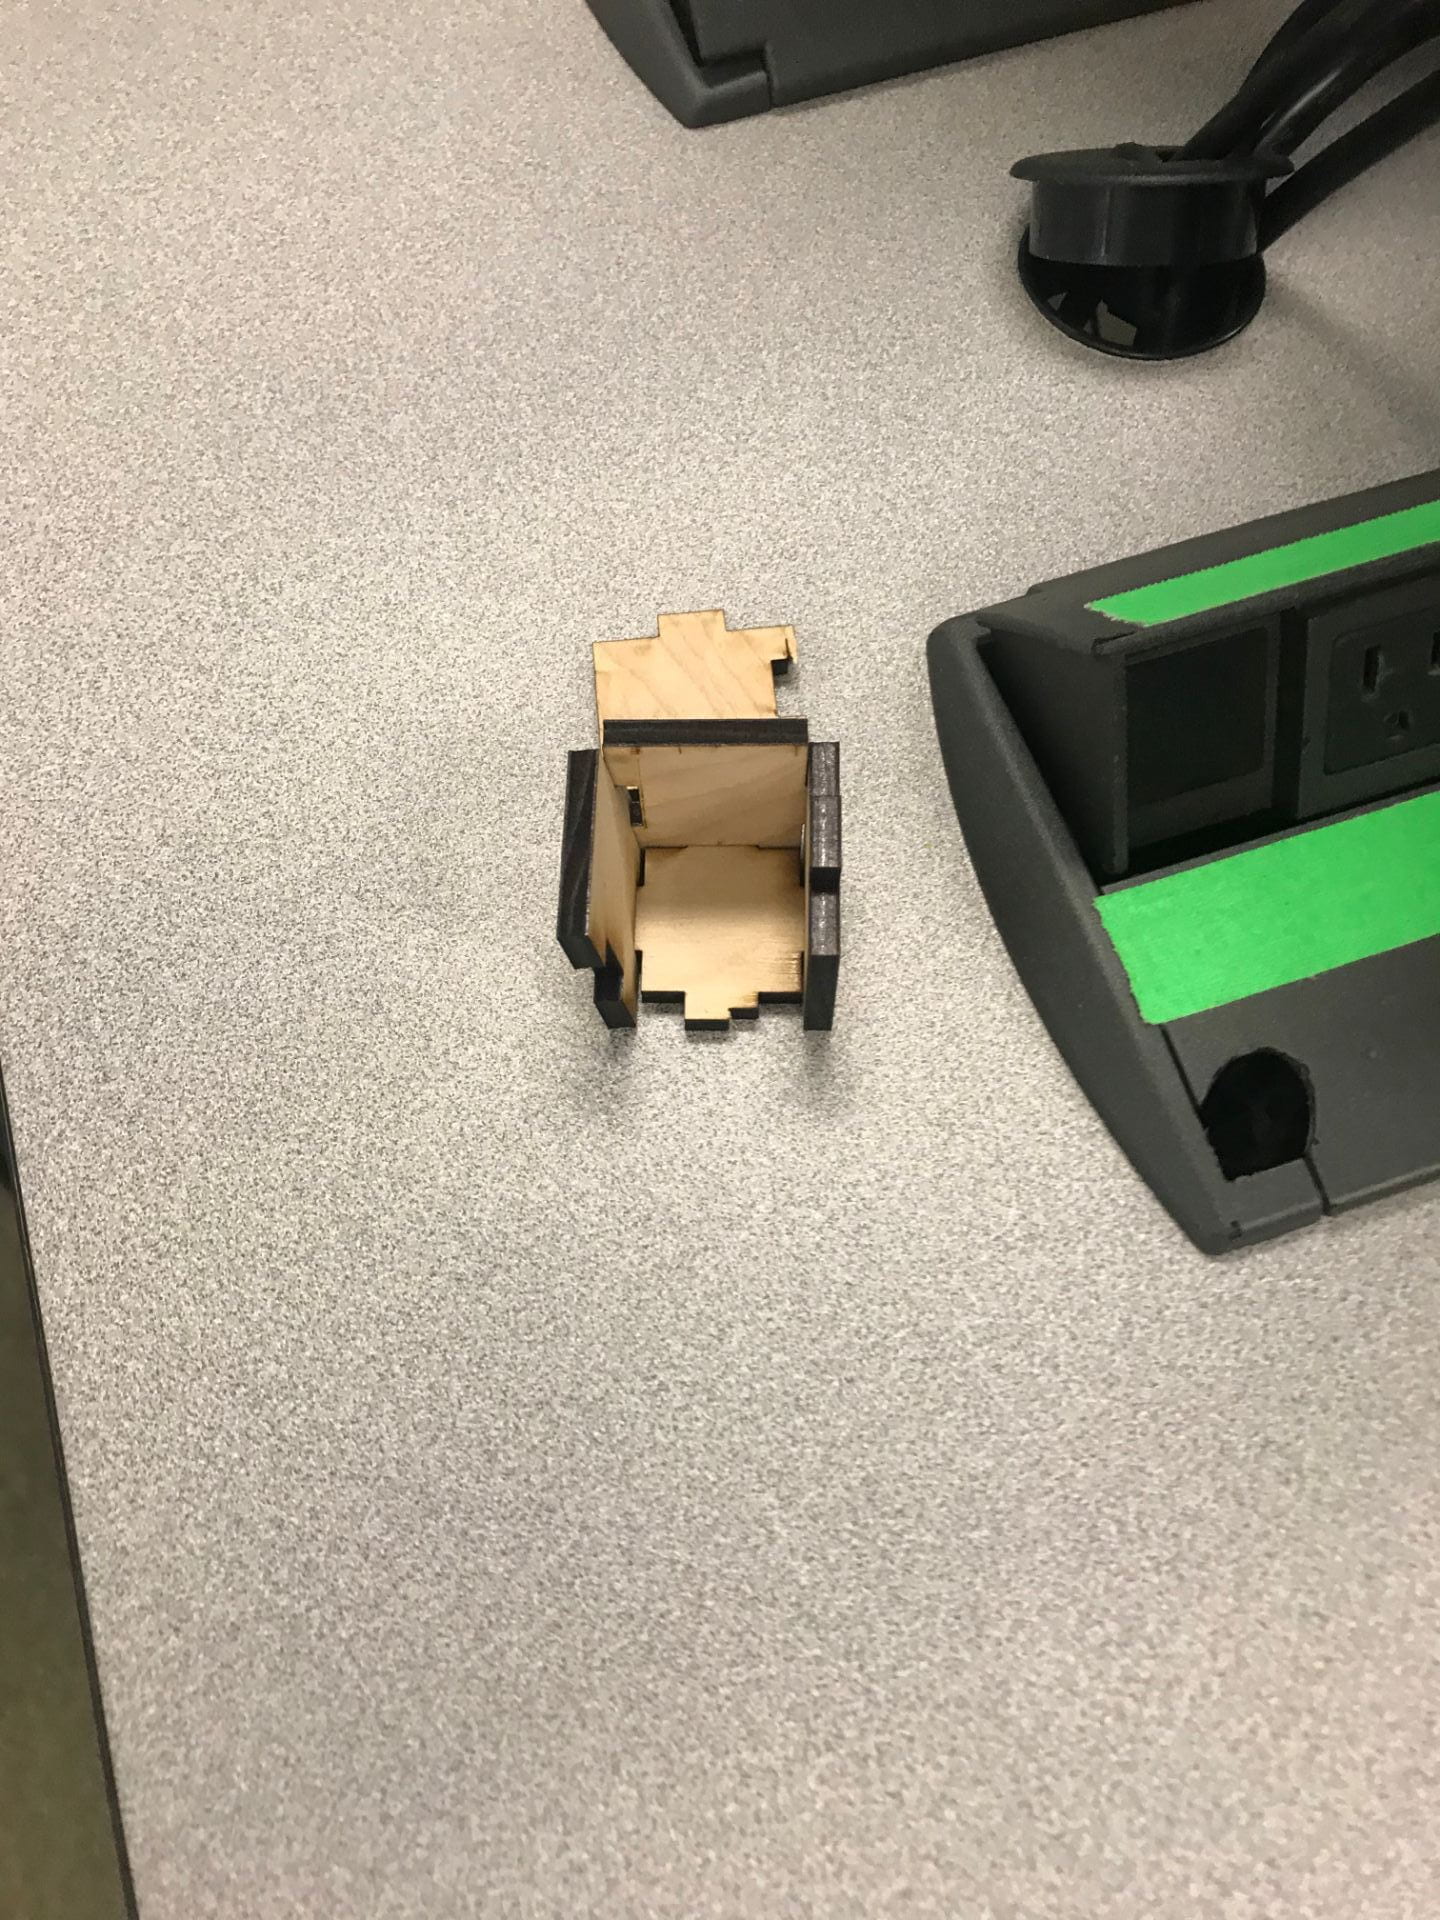
With the files good to go I cut out the box and set to work post processing. I hit up my favorite sanding table downstairs and made them nice and smooth and then decided to try out the white stain. This was my first time trying an oil based stain. The oil based stain was kind of hard to use since it was much less viscous than the gel stains I am more accustomed to. It made a really cool finish that gave the box an ashen hue that I was happy with. Overall this project was not my best work. the flash drive dying set me back and I had to do this on a rush. It was frustrating but I accept it and I did what I could on a short timeline. This left the stain slightly less even then I would like and the box not quite as tight of a fit as I prefer but I have come to accept it.
Material Cost
1/4 inch birch plywood: $5
My Time: 4 hours = $40
Total Cost: $30
