Total Estimate: $66.57
Materials: $8.52
- 4″x 1.5″ piece of 1/16″ thick A36 steel
- Found a 4″ x 8″ piece for $2.50 on ebay
- ~$0.47 of material
- 4″ x 1.5″ piece of black Vinyl
- Found a 12″ by 48″ roll on Amazon for $5
- ~$0.05 of material
- White Paint
- Found a can on Amazon for $8
- I do not know what volume of paint I used and as such will be counting the whole can
Labor: $58.05
- Time : 3hr
- Average machinist pay per hour: $19.35
Process
Overview:
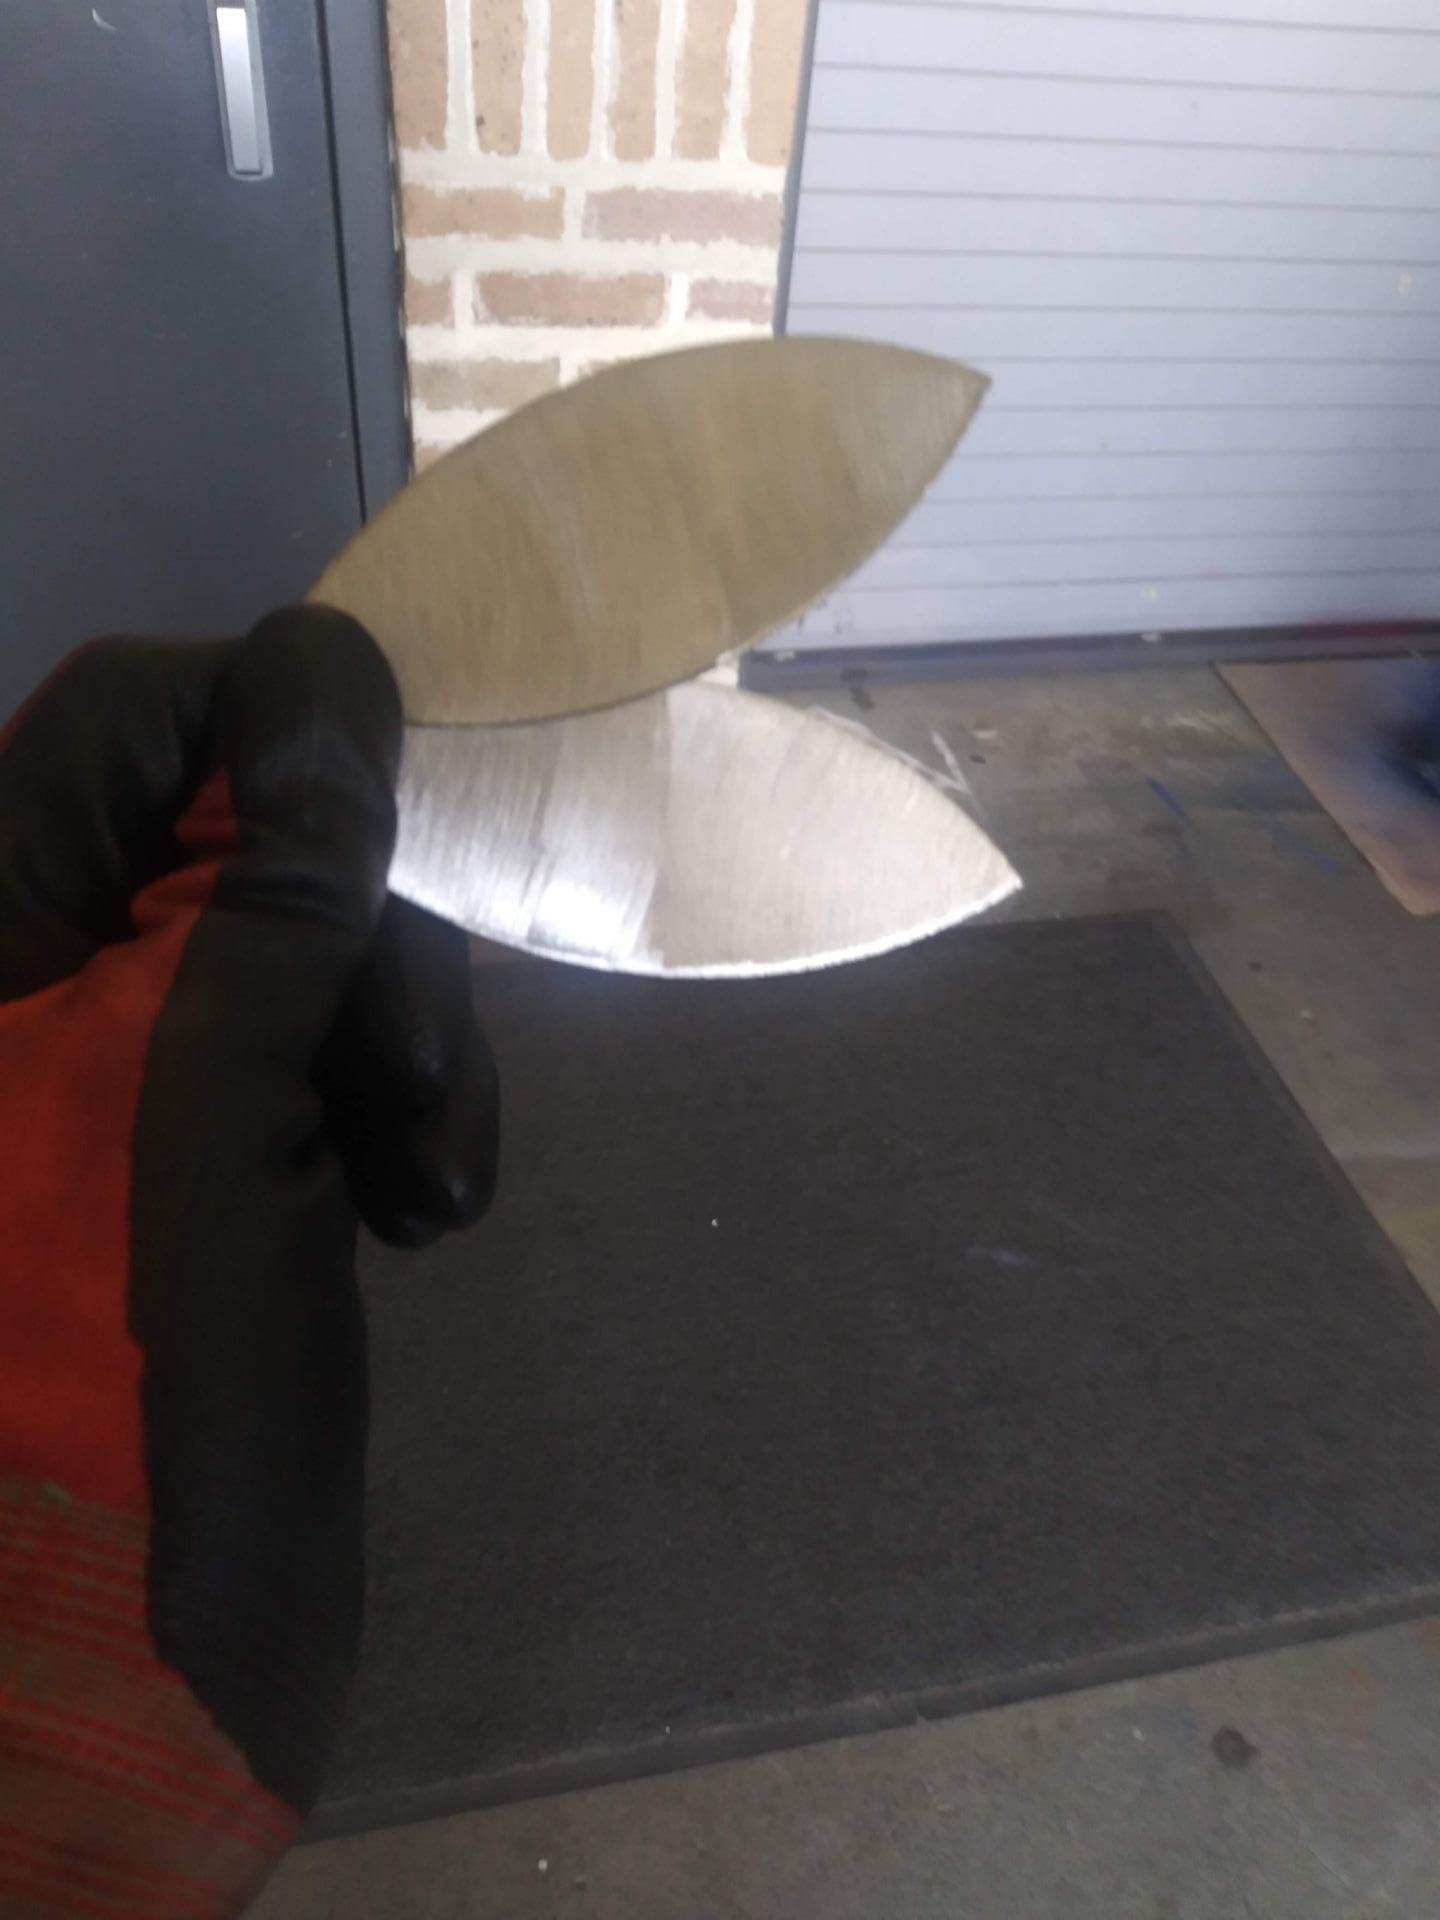
originally i wanted to make an eye but after applying my first stencil I realised that i accidently created a cool looking part and decided to leave it as it was.
Drawings:
Originally I wanted to create an eye and created stensils to cut from the vinyl cutter and use to paint. The drawing process itself was not too difficult and I learned how to trace over images through it.
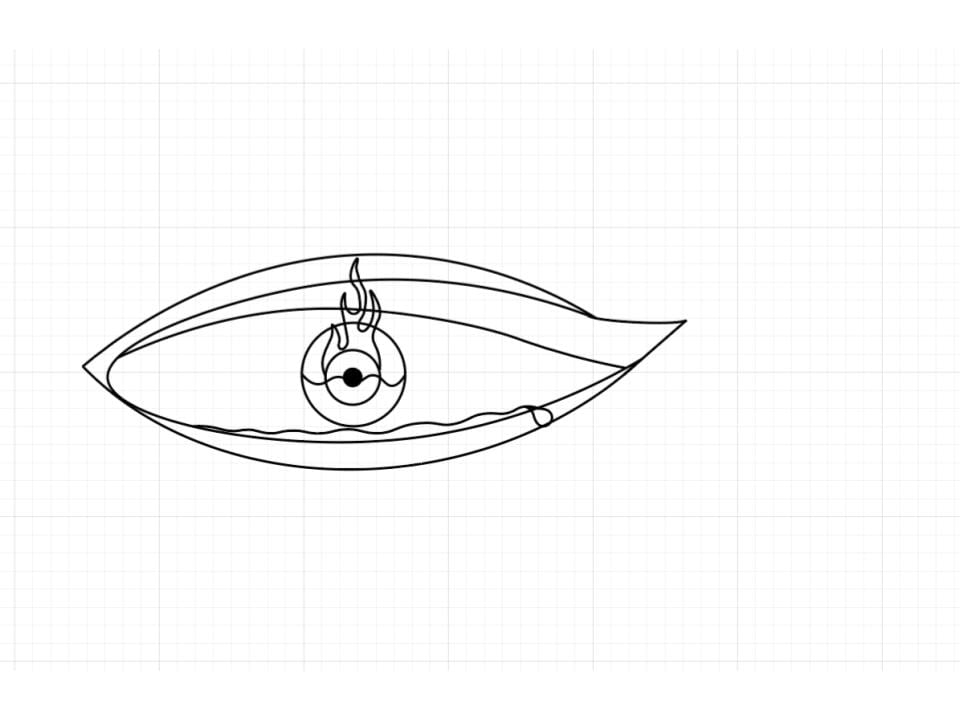
Original Idea Adobe Drawing
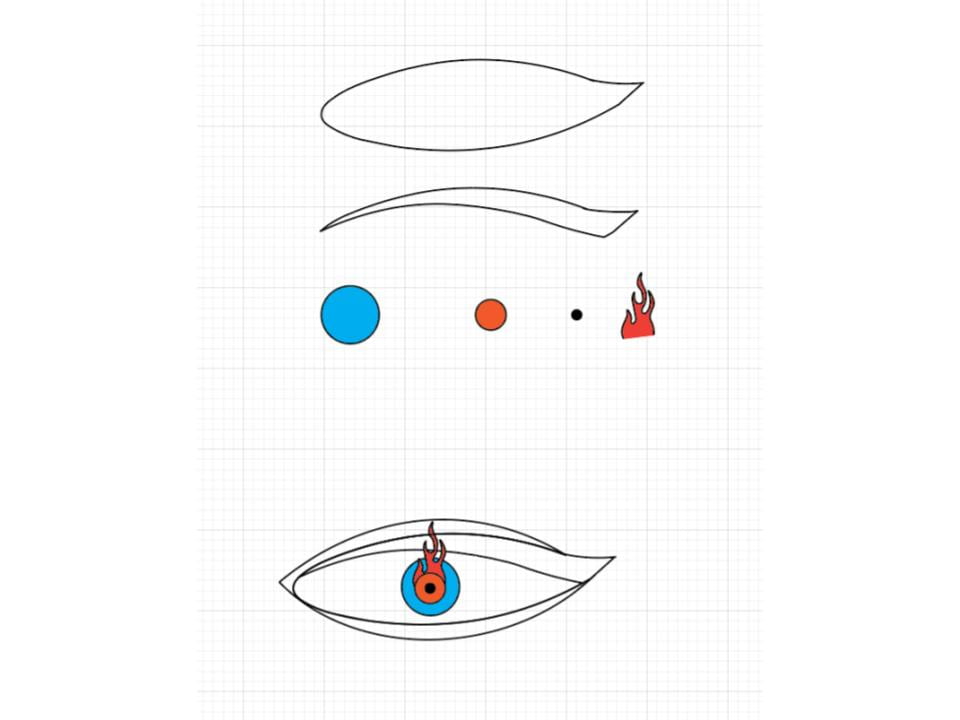
Stencils
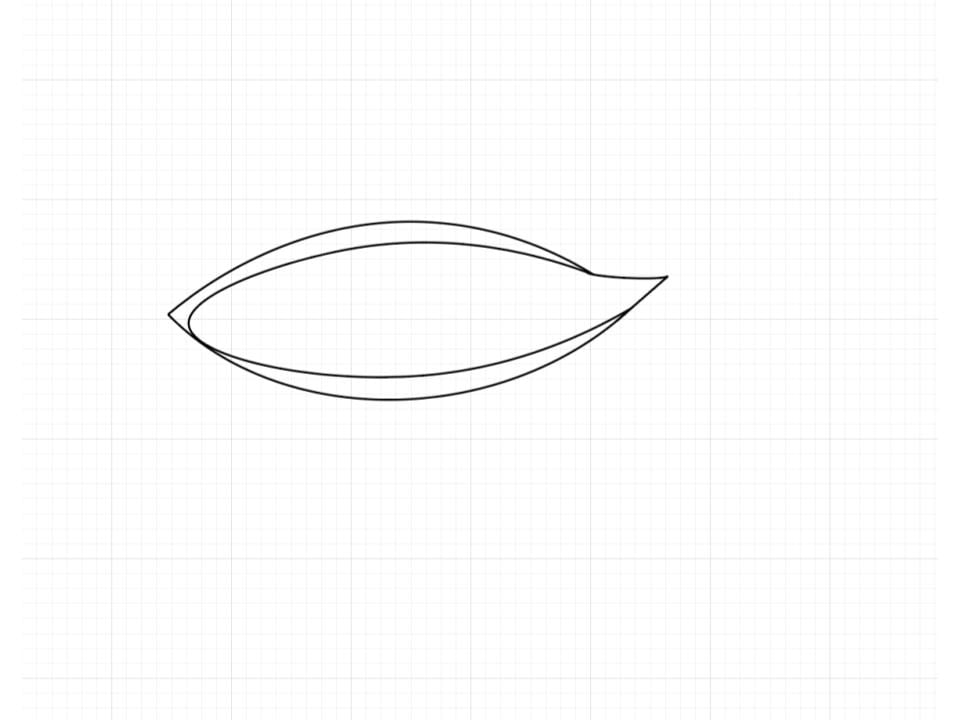
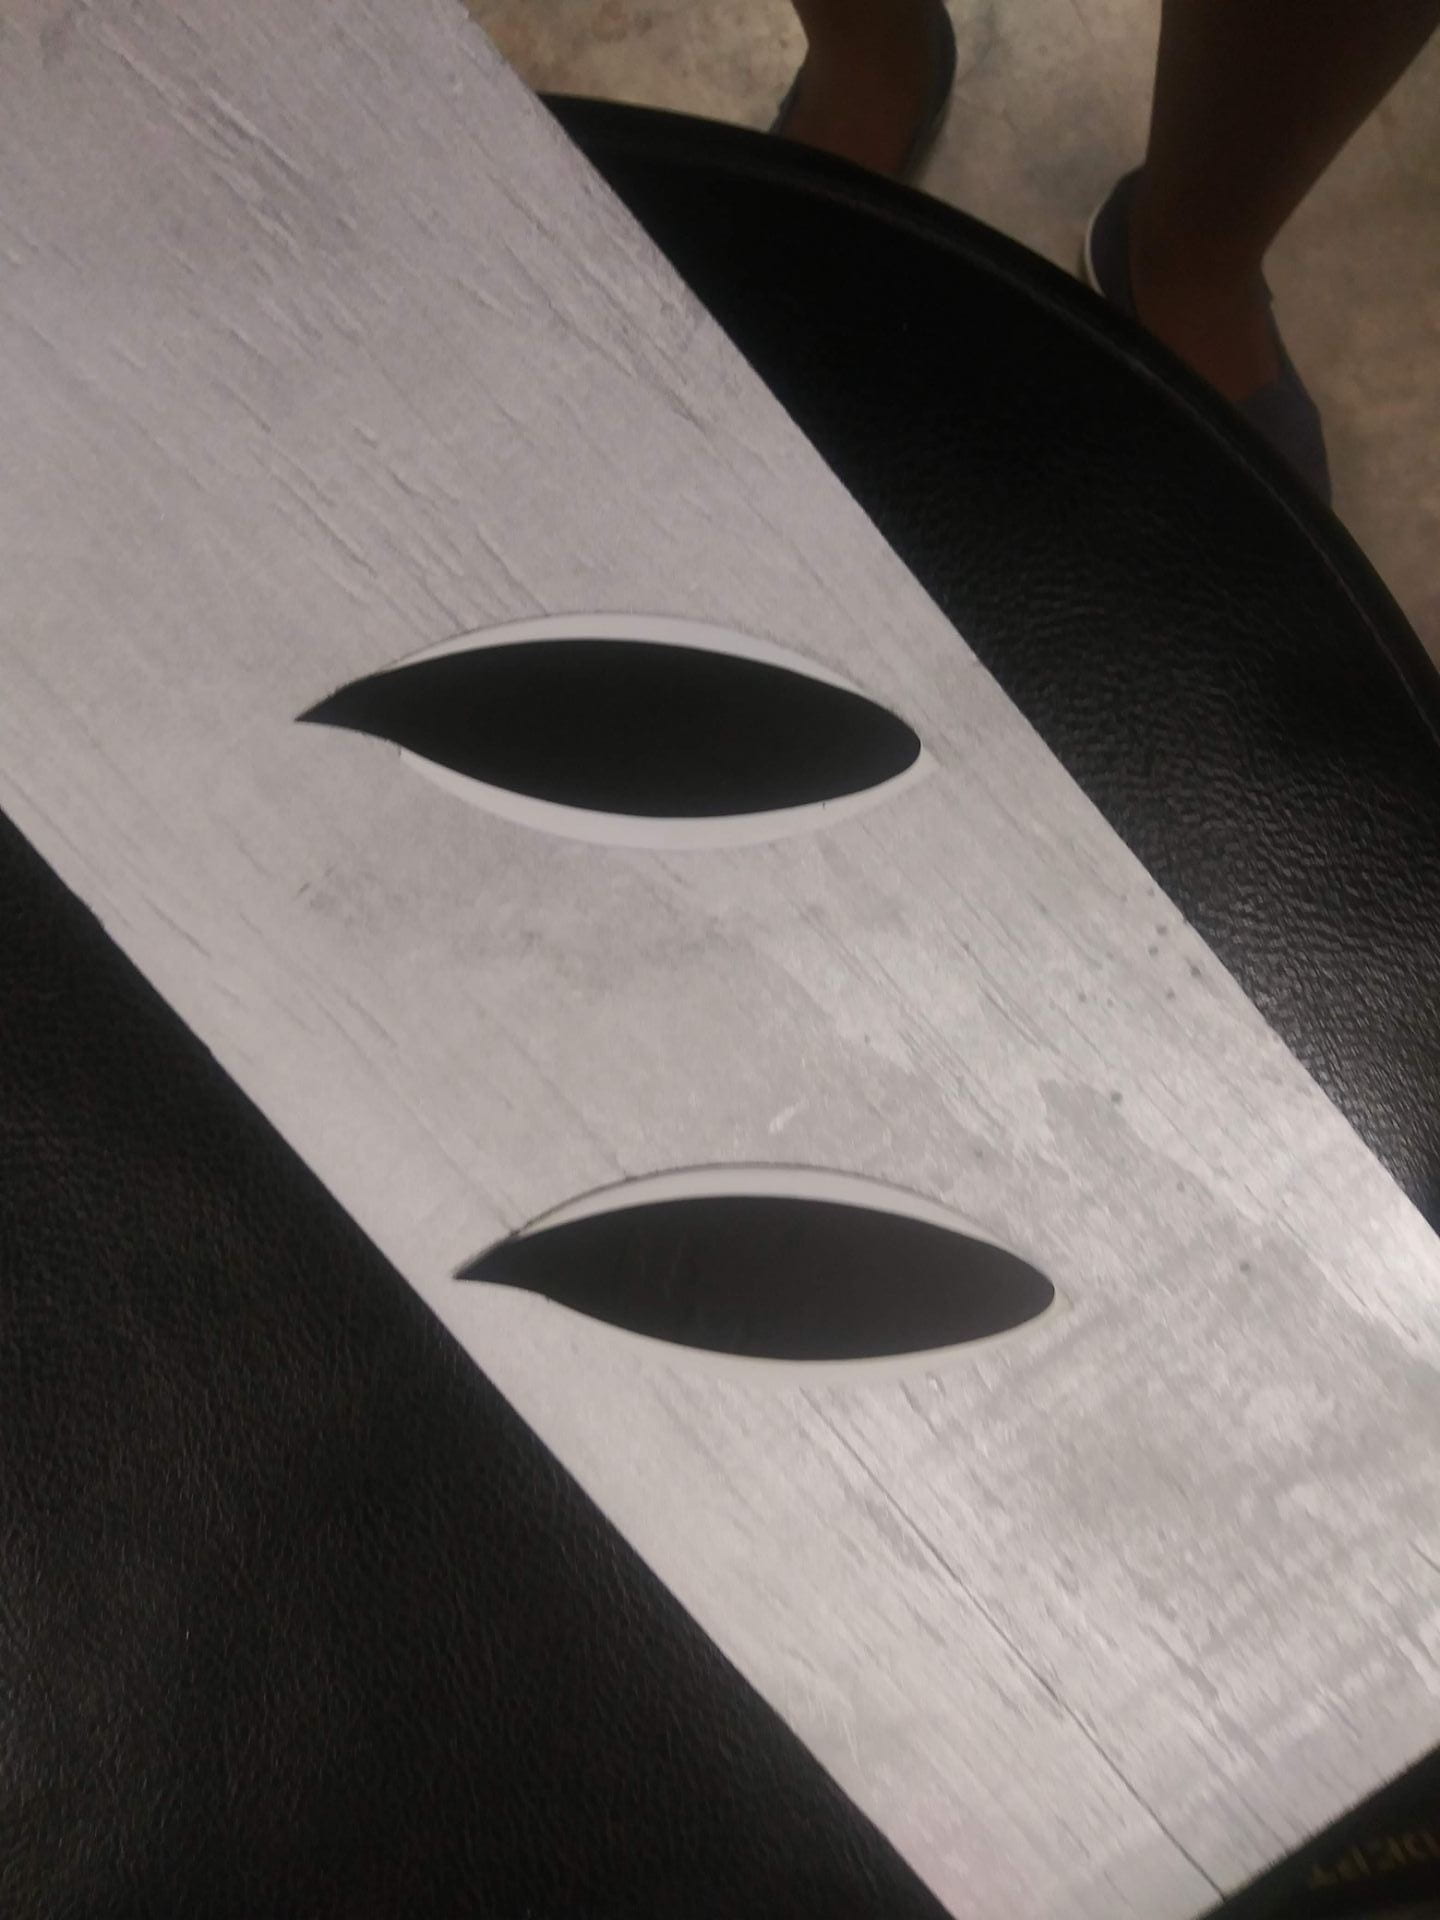
Final Kept Design
Cuting:
Cut outline
Post-Processing:
First I angle grinded the parts to make the surface uniform, then I sand blasted it to make it smooth. Next I drew out all of my stencils and then cut them using the vinyl cuter. Next I spray painted the parts white. Lastly, I applied the first stencil and was suppose to add a black layer of paint onto it but my parts looked really cool with the sticker so I decided to keep the interesting shape.
Parts after angle grinding

Shape cut out of the Vinyl Cutter
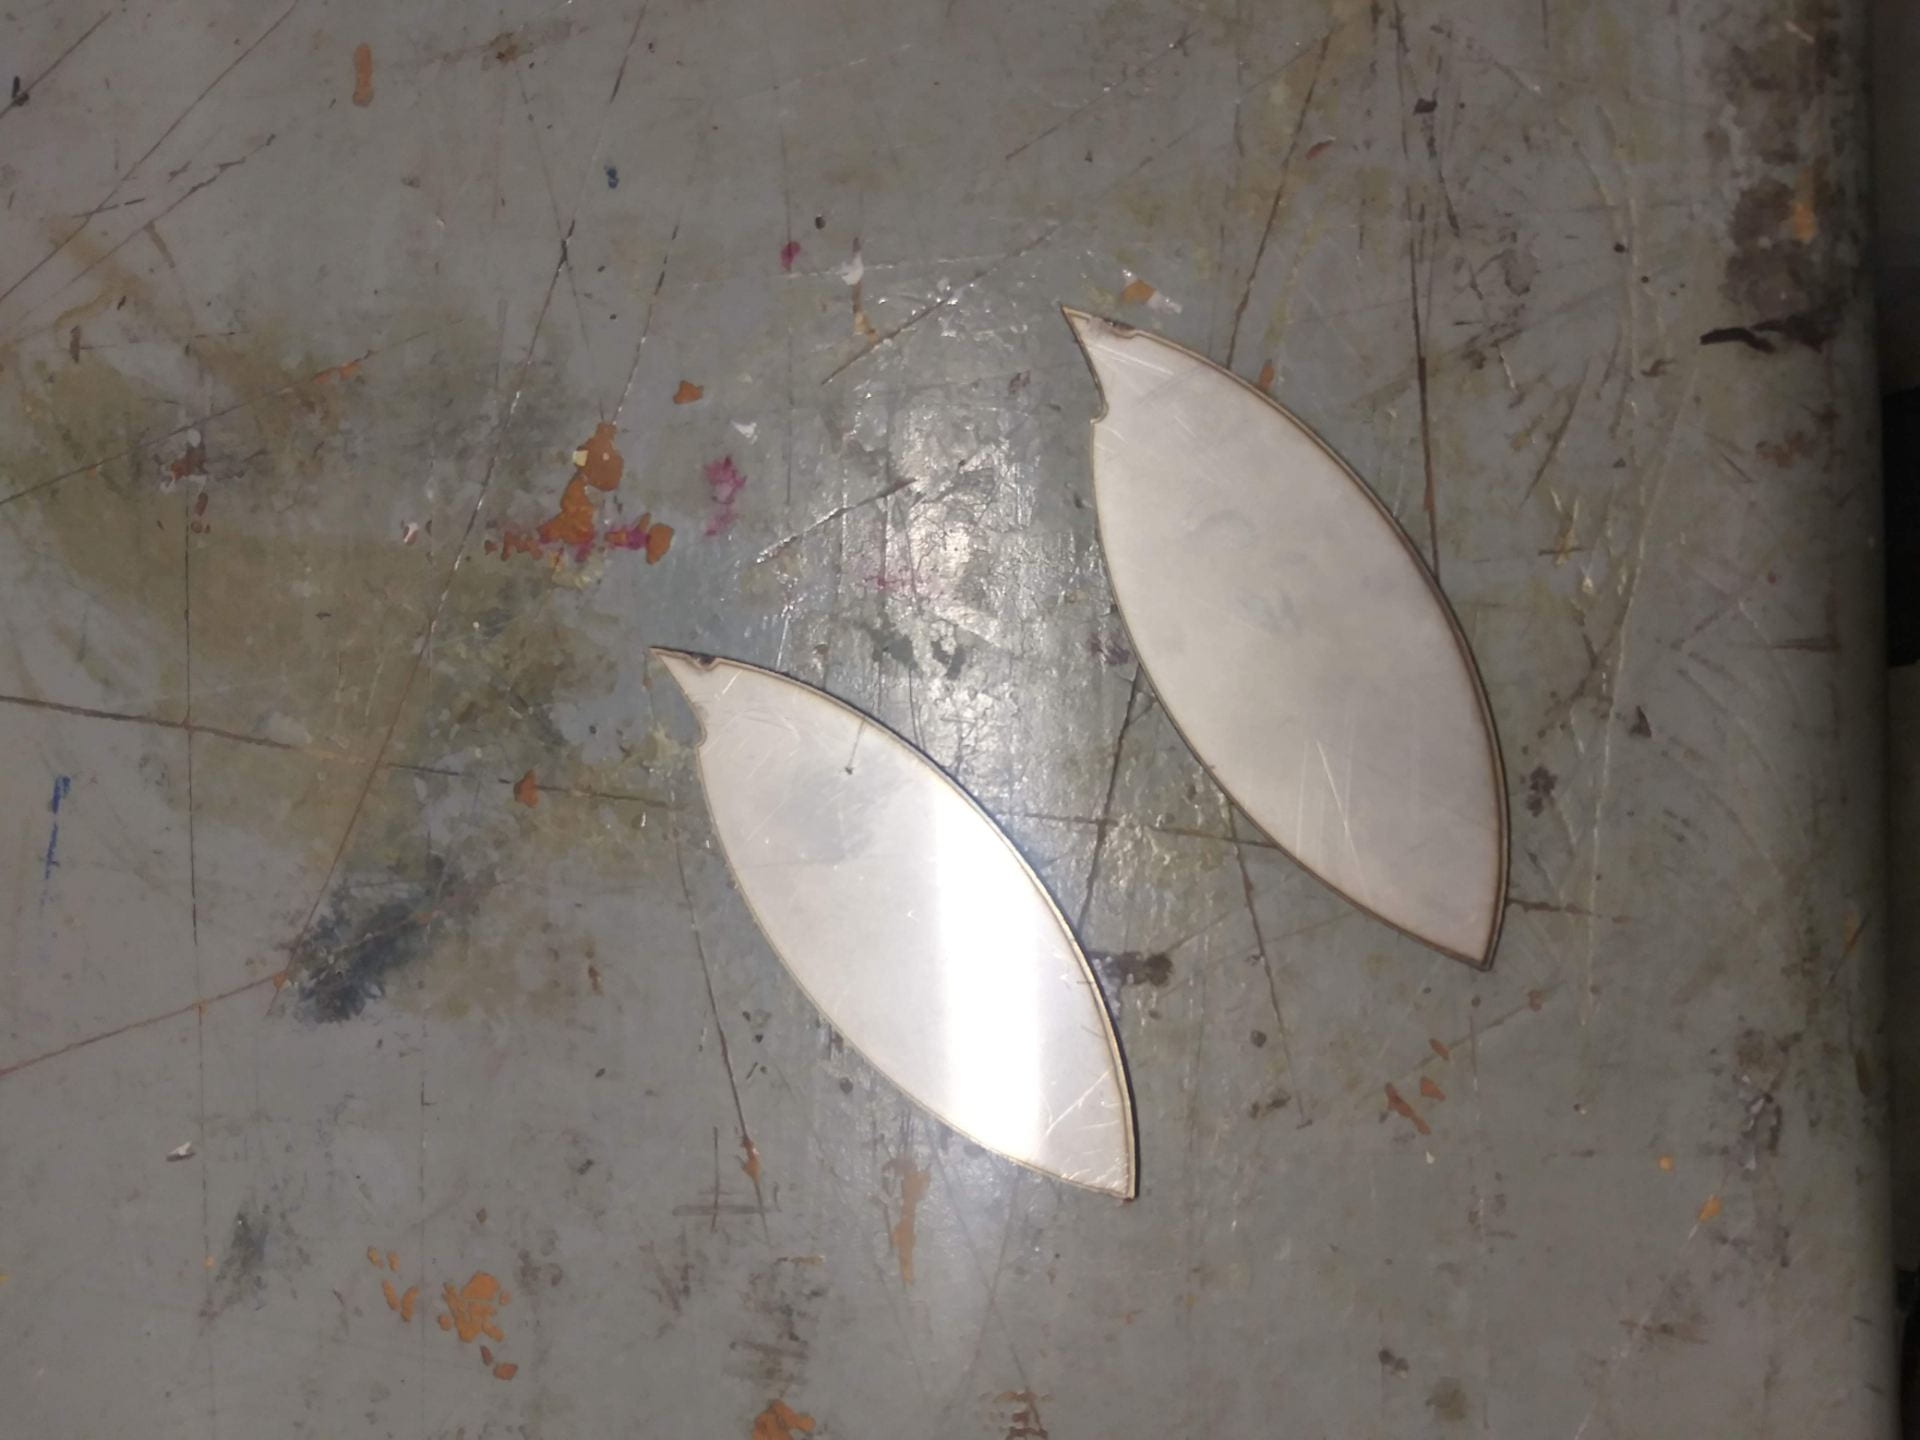
plama cut and Post-processed parts
Failures/ Set backs:
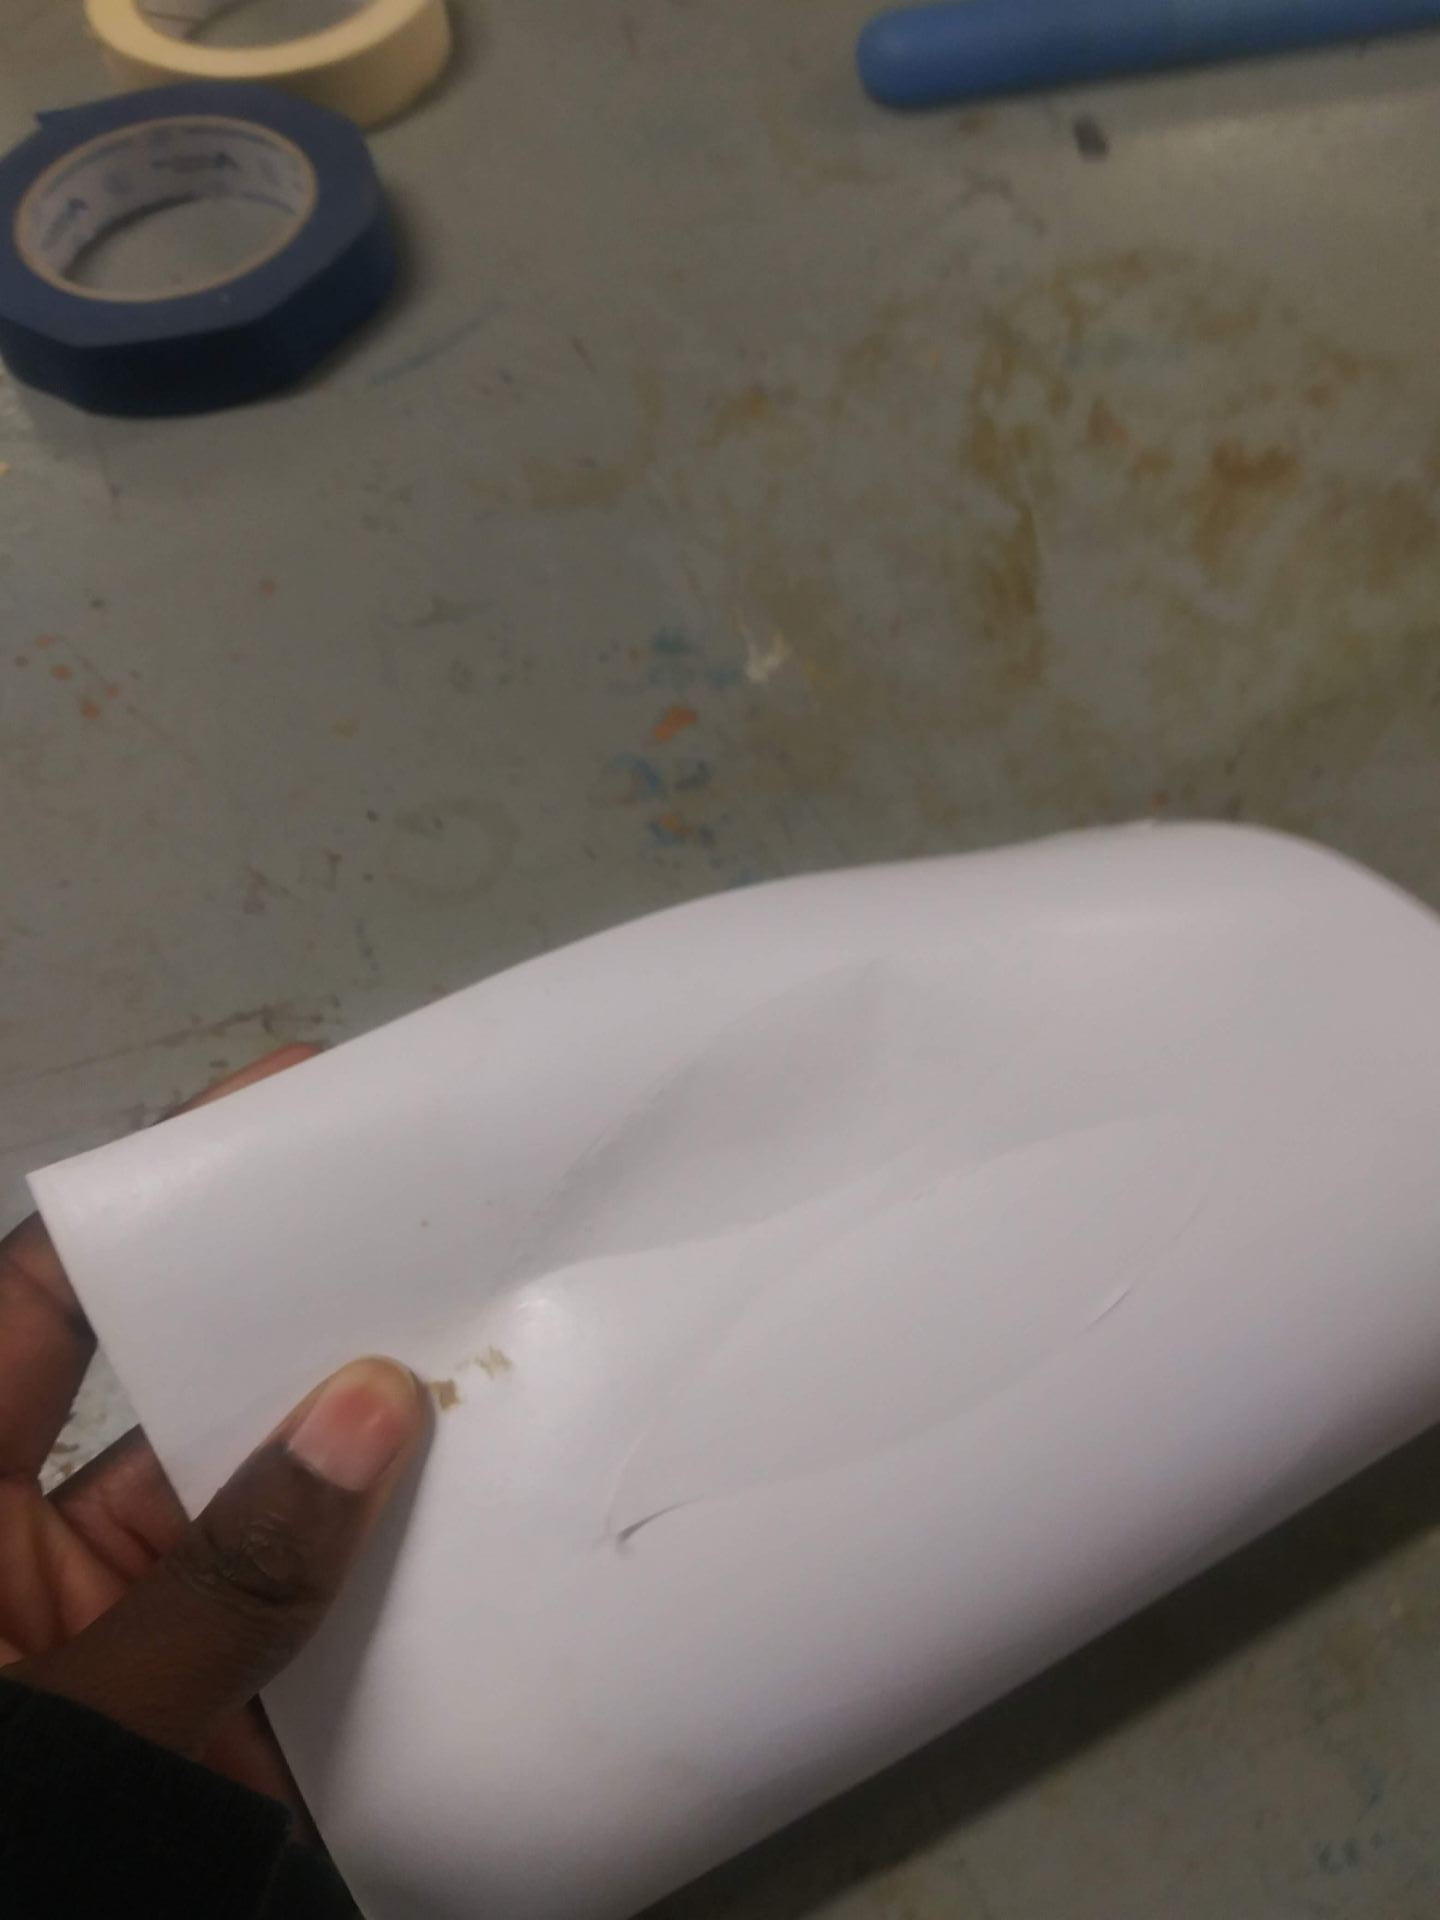
First attempt at cutting my stickers
The were not many failures during this process, however I experienced one minor setback when making the sticker. The vinyl I used to make my stickers for the first time was made of paper and because the vinyl cutter cut too deep into it, I could not seperate the stickers from the paper backing. As a result, I had to cut my stickers again and from better vinyl.
