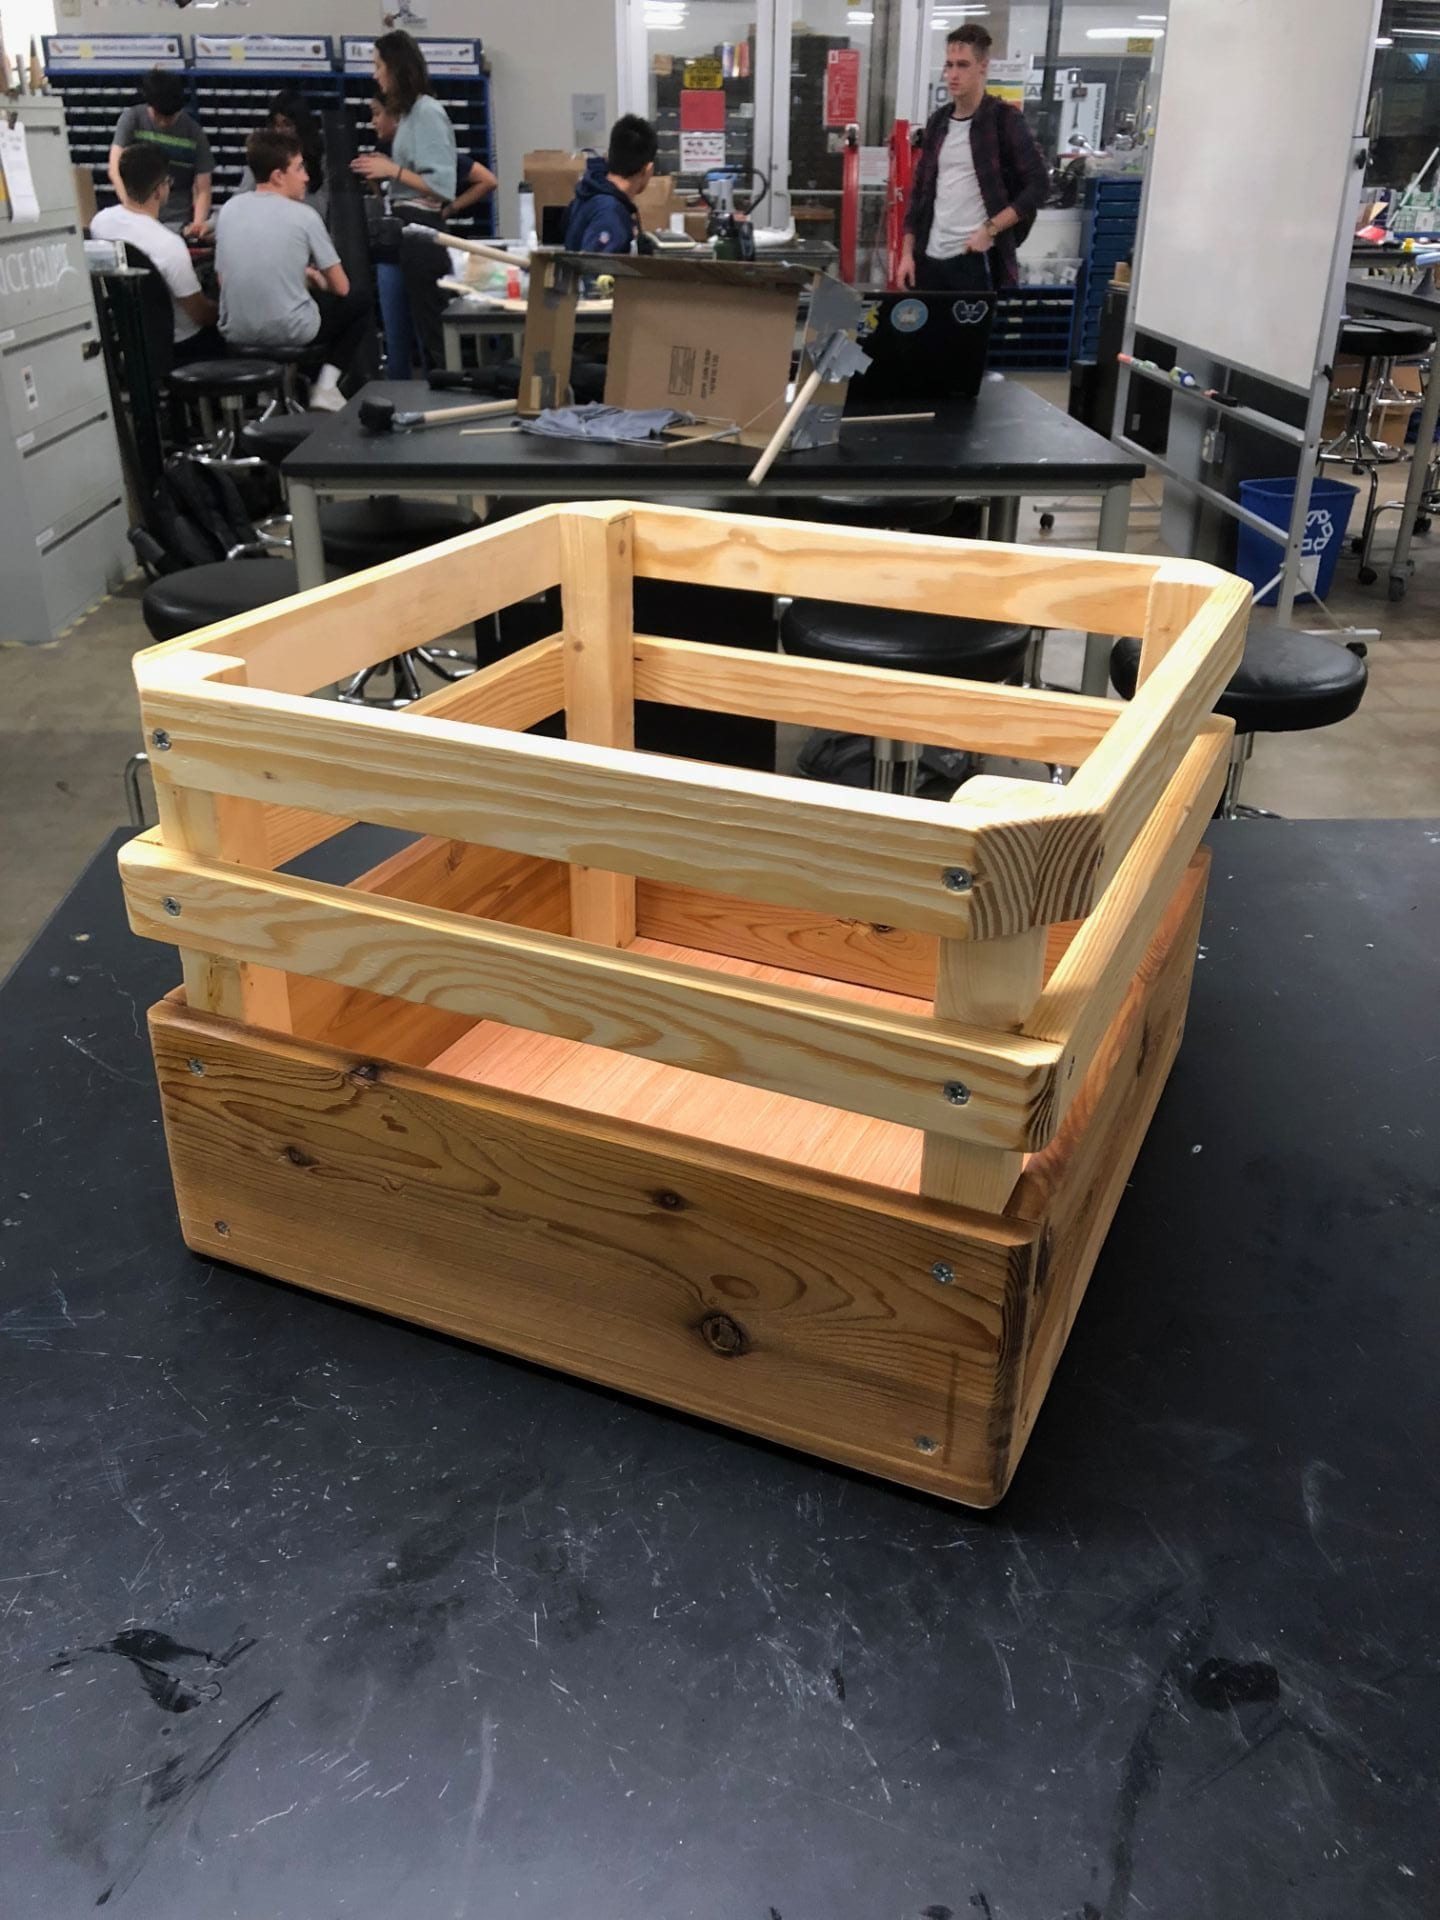
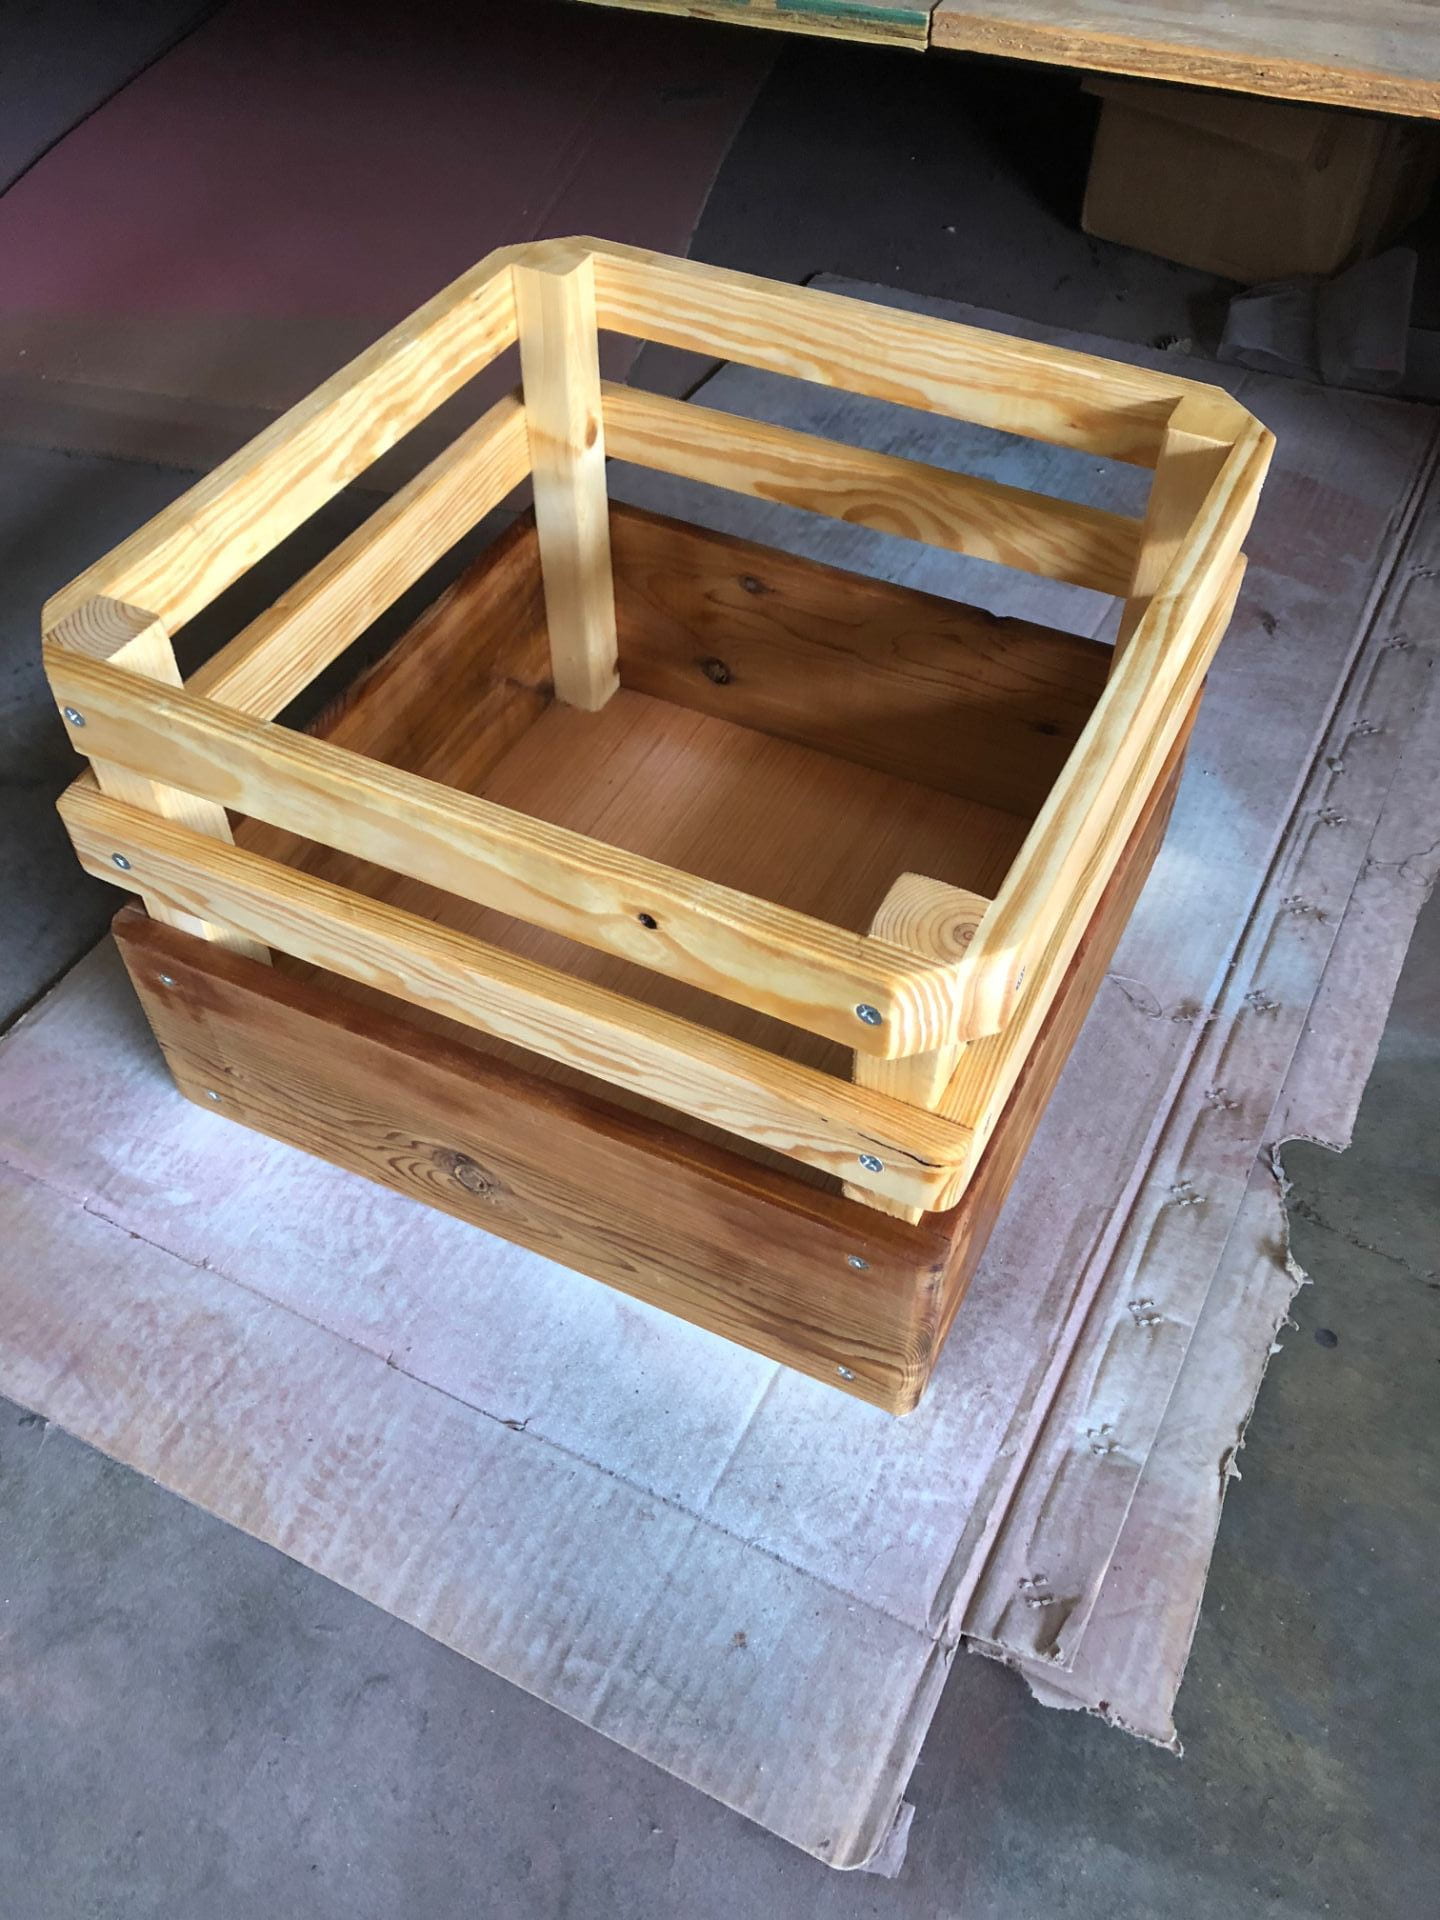
Here is the finished product of my box! I started off the design process by figuring out how many pieces of wood I needed and at what sizes. I liked the idea of having three panels on each side that way you can fit your hands in between to carry the box as well as see whats inside from a side view.
The bottom panels of each side were ~5.5 inches wide and ~1 inch thick. The middle panels and top panels are approximately ~1.75 inches wide and were made by splitting a ~3.5 inch wide plank using the tablesaw. The actual width is slightly less due to the width of the tablesaw blade taking extra material.
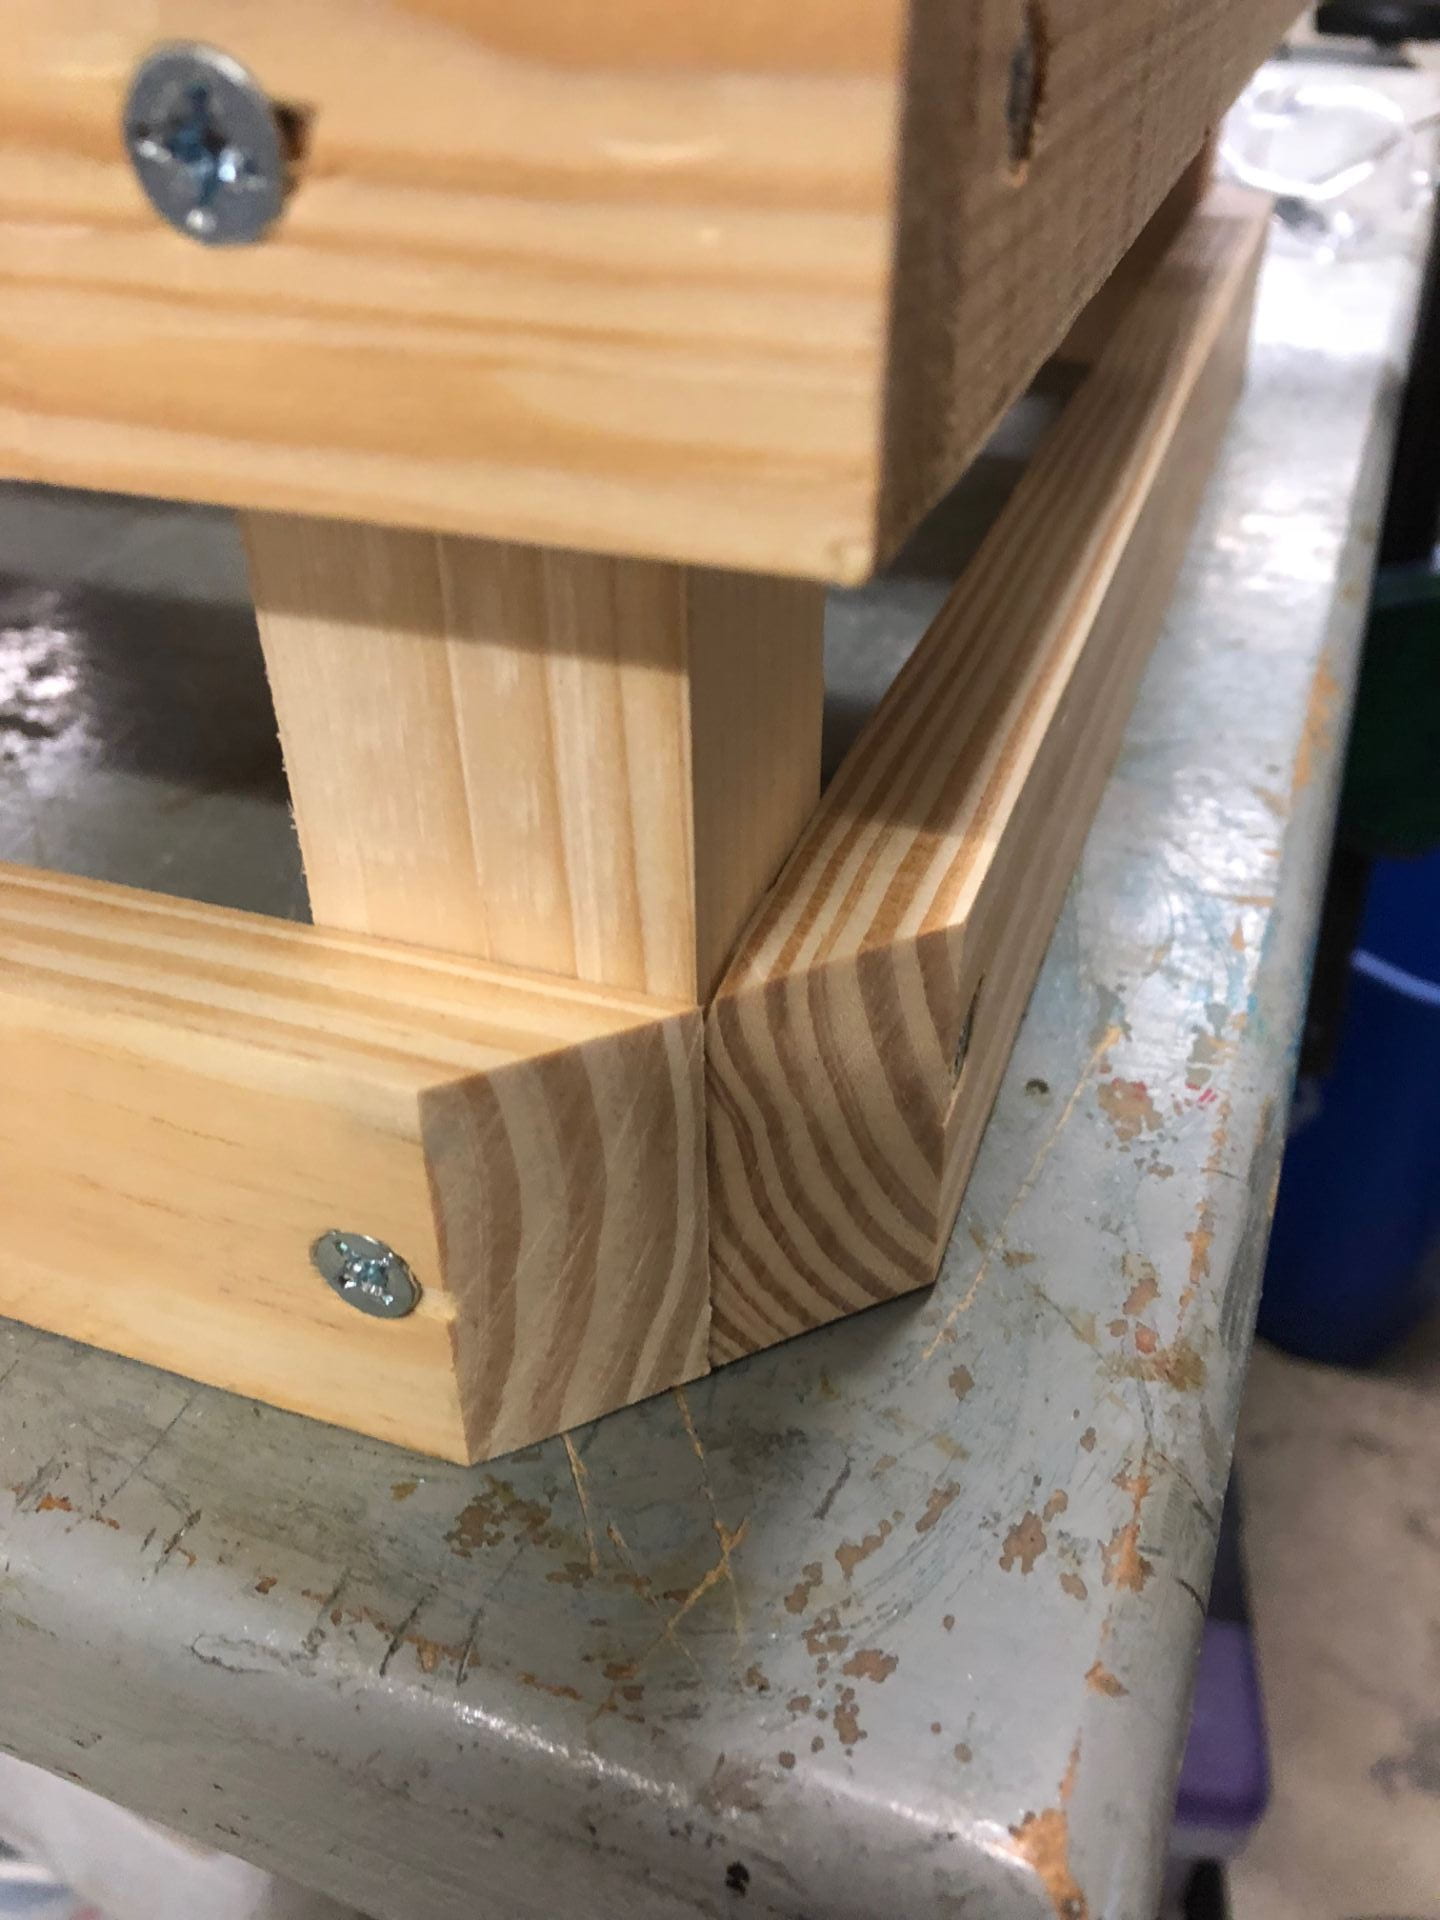
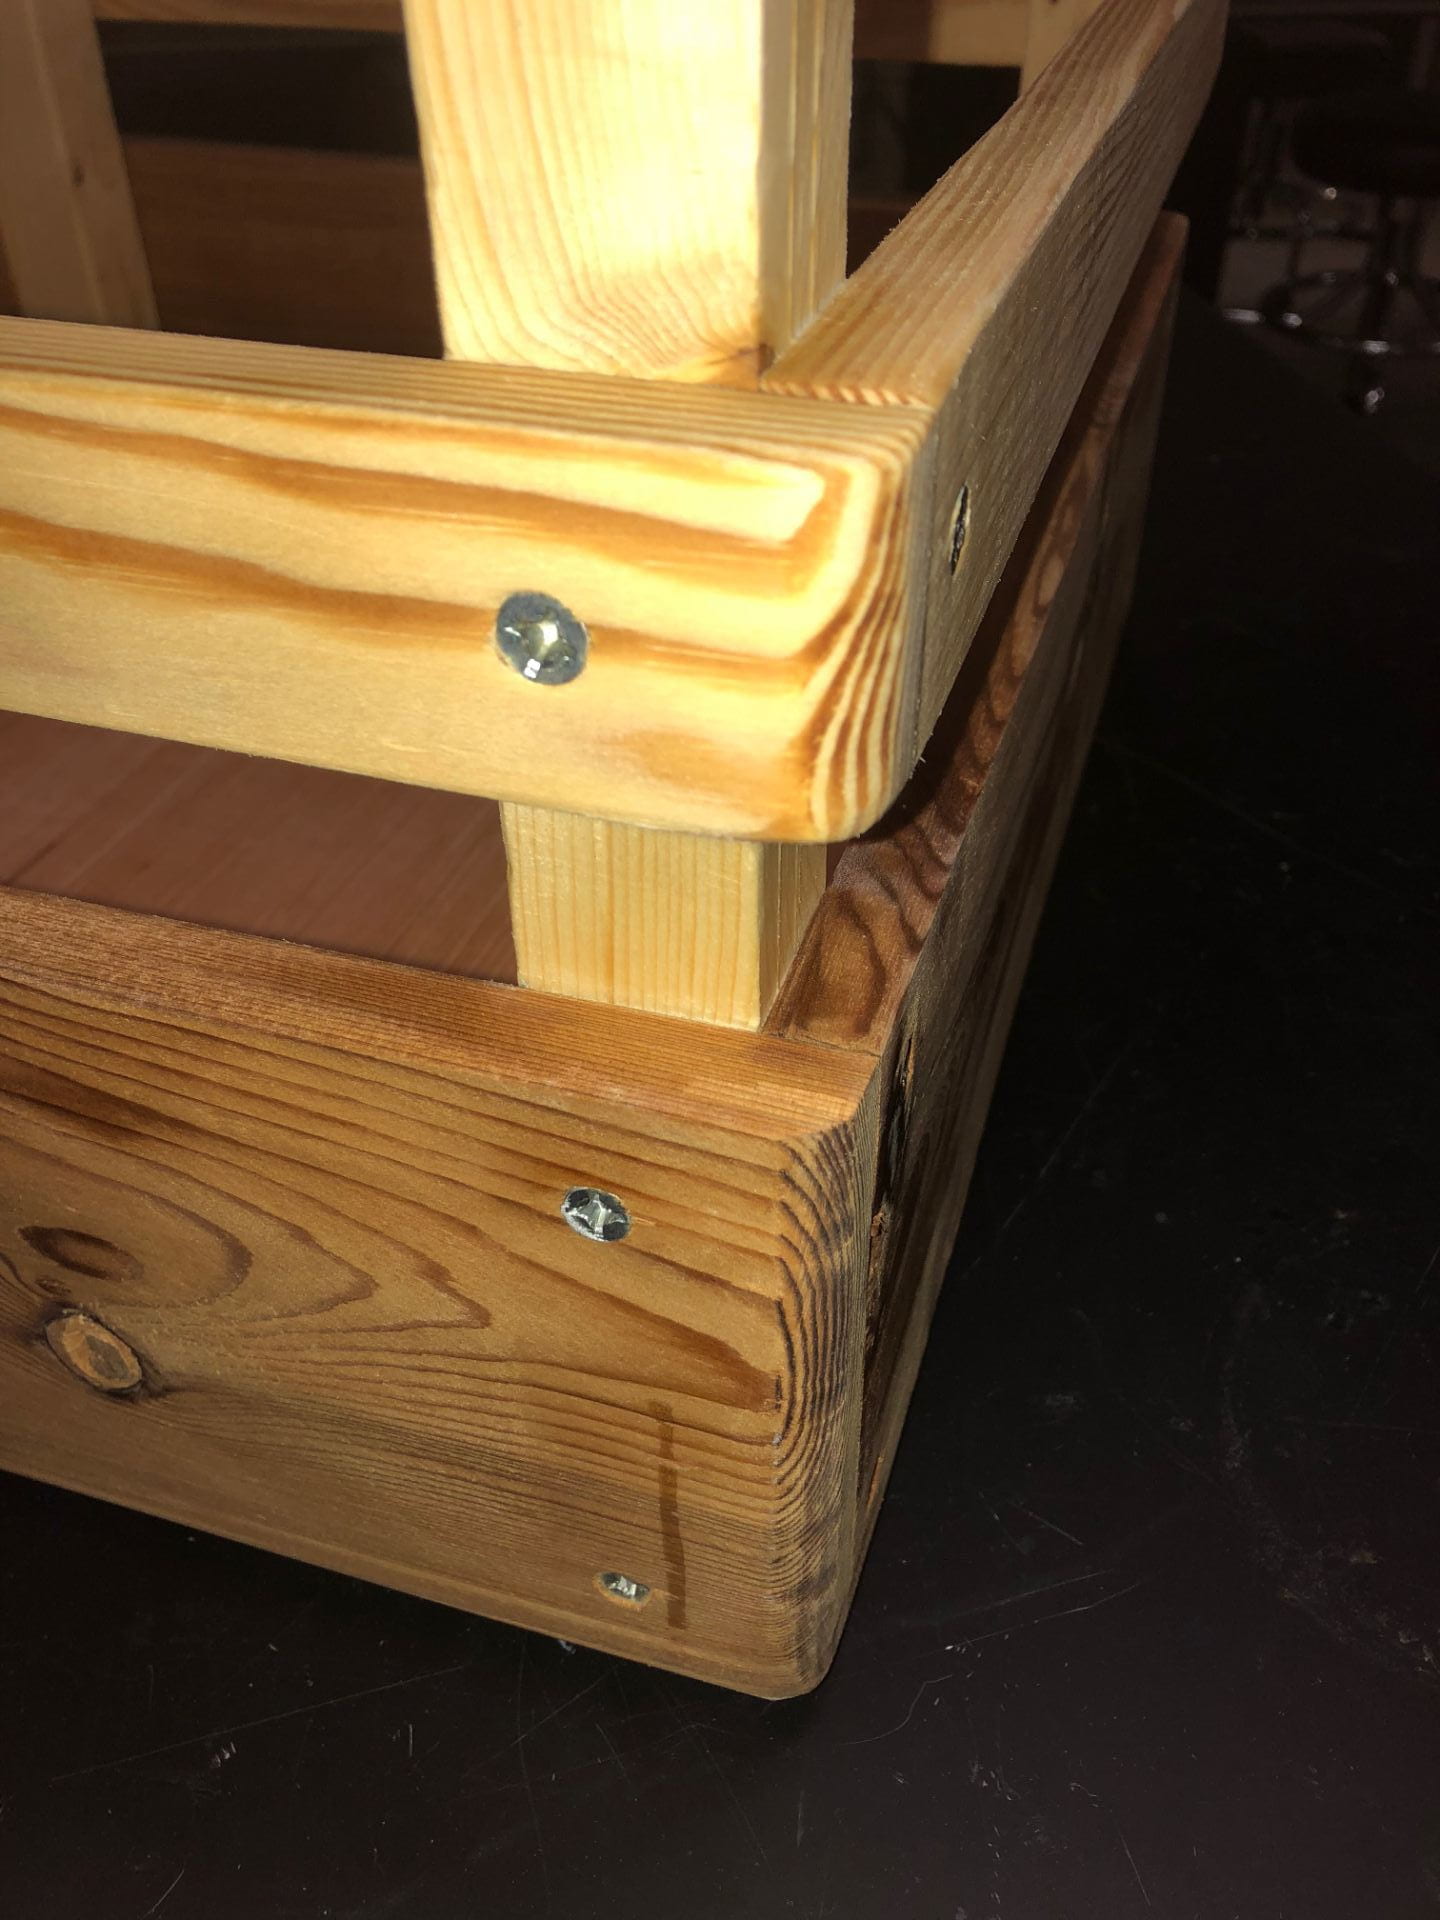
After I decided on a configuration, the next step was to determine the exact lengths of each piece. I could have opted for a style similar to the box of indeterminate size and made all the panels the same exact length at around ~16.75 inches. Instead I opted to make the panels on two parallel sides 16 inches long, and the panels on the other two sides ~17.5 inches. On each corner on the inside there is a 1.5 x 1.5 post that is 12 inches long that each panel is screwed into. By the time I cut out all my pieces and was ready to assemble, I realized that I had made a mistake with the dimensions of the box and was measuring out lengths for a box with an INNER dimension of 16″ x 16″. I decided to stick with the slightly larger box!
To cut out each piece I needed for the panels I used the table saw. After I cut them all out, I ran them through the Electric Planar in the Wood Shop to try and get them all to be a similar thickness and to clean up the sides.
During this time however, I found a 1 x 3.5 plank of really nice pine wood that was a little over 32 inches long. I decided to split this piece to get 4 equal sized 16 inch long pieces that I was going to use for the top panel on each side. In order to make the corners look clean I cut a 45 degree chip off the end of each of the pieces of pine on both ends that way they would come together at the corners of the box.
At this point I had gotten a bit tired and was absentmindedly putting my box together when I realized that I had screwed in two of my pieces of pine to the box before I made the angled cuts. I decided two make the angled cuts on the two remaining pieces of pine and use two other pieces of a different kind of wood.
However, the heartbreak doesn’t end there… On my first attempt at cutting the 45 degree edges on the pieces of pine, I accidentally cut the angle on the wrong face of the wood. This left me with 1 piece of the nice pine left which sits proudly on one side of the box as the top panel.
During Assembly
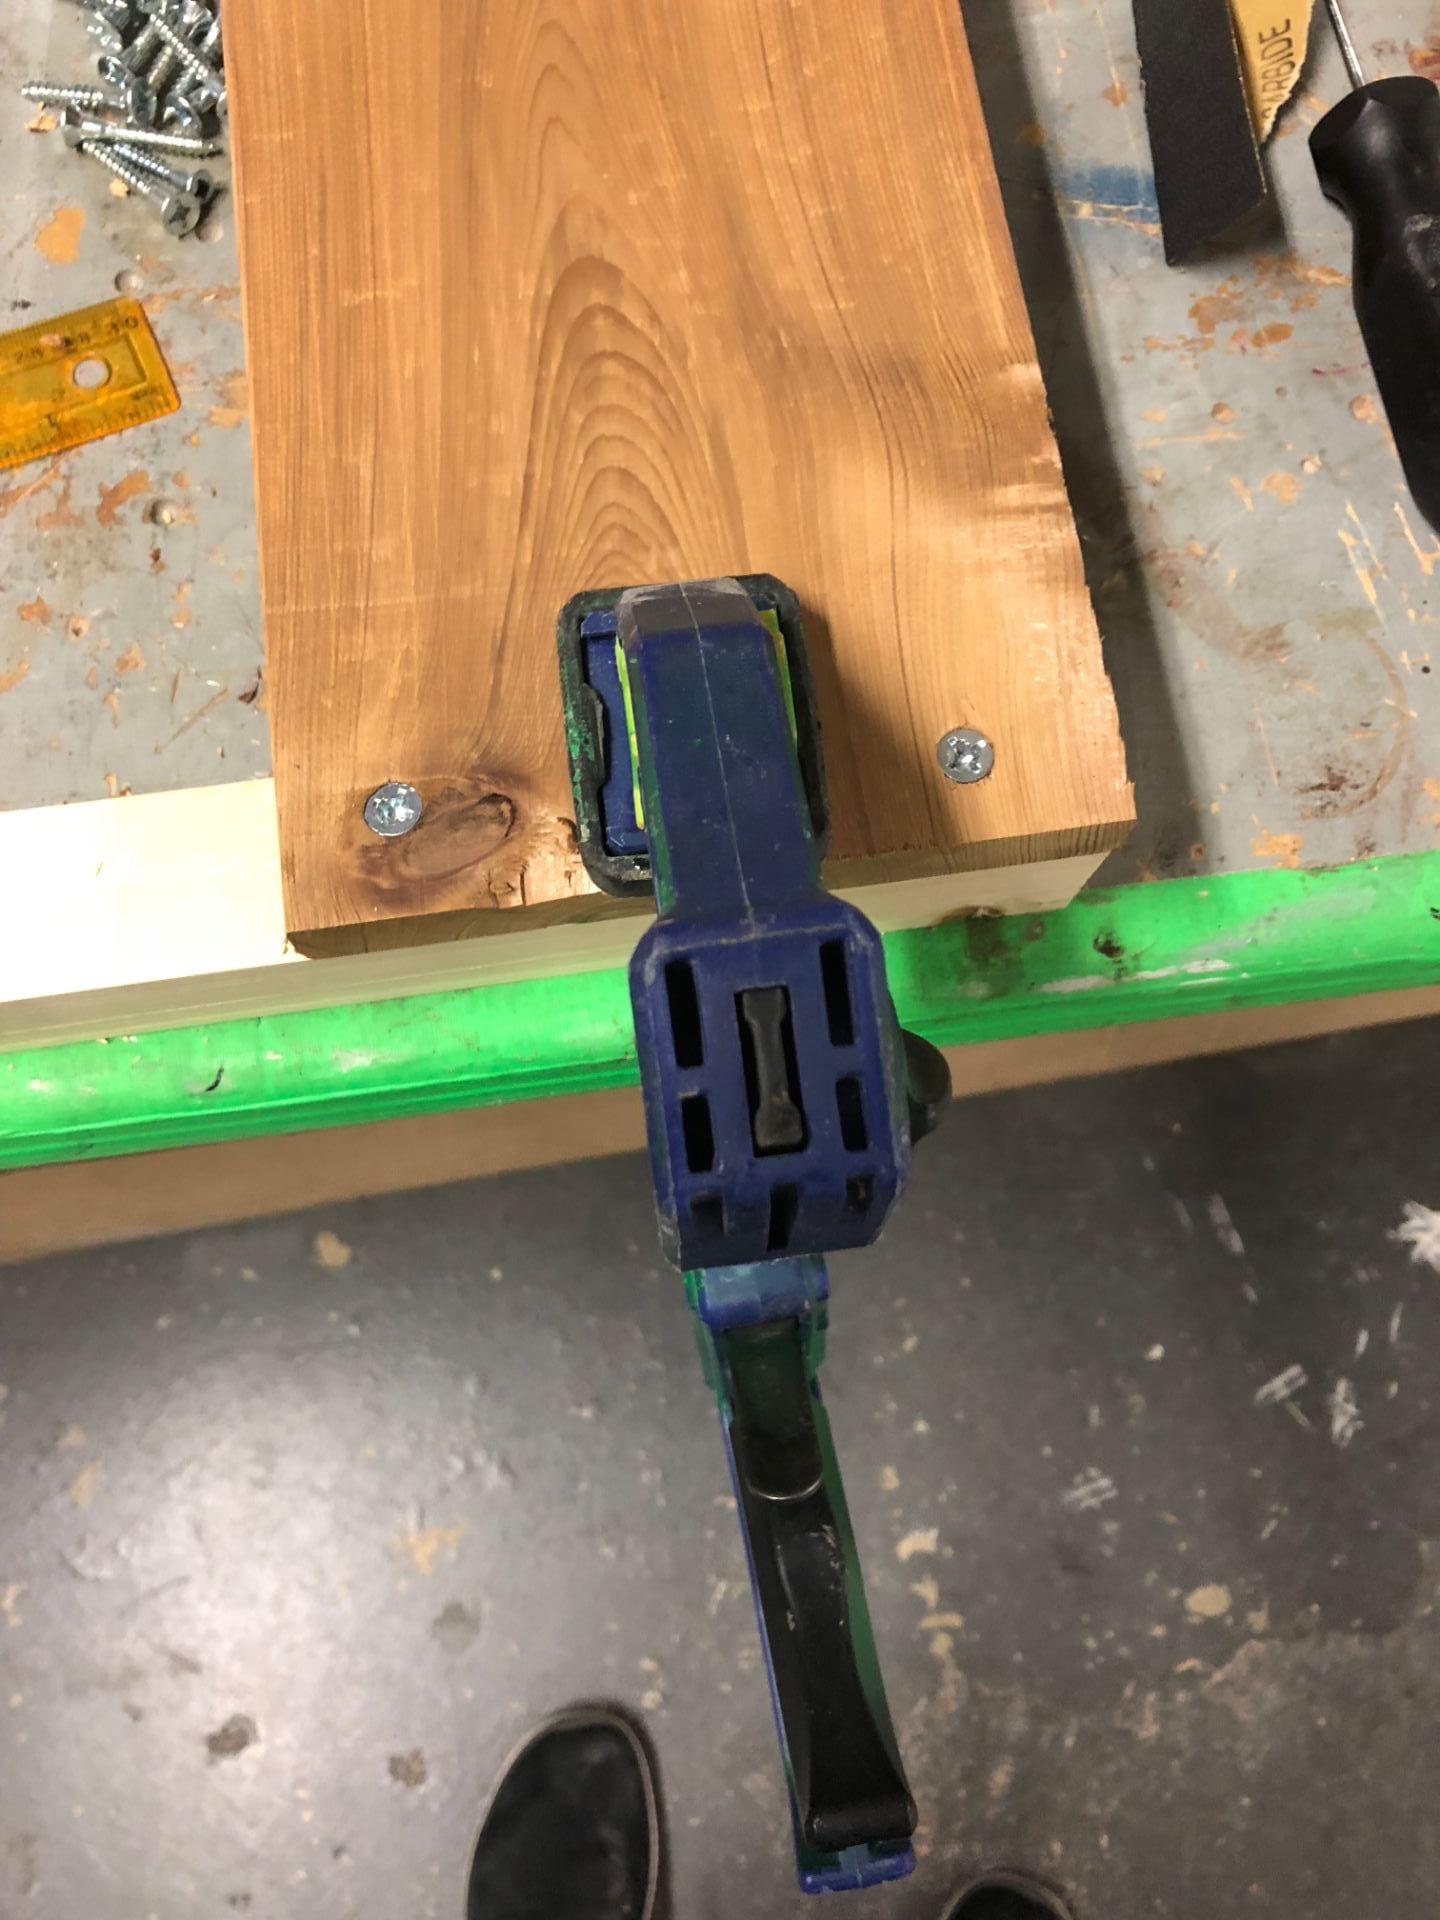
After I assembled the box, I had to sand down the protruding edges of wood from the panels. Luckily had made my measurements fairly well and only had to sand one side with a belt sander. I then cut and glued a 17.5 x 17.5 thin wood base to the box. My only concern is how much weight the base will be able to support since it is fairly weak wood.
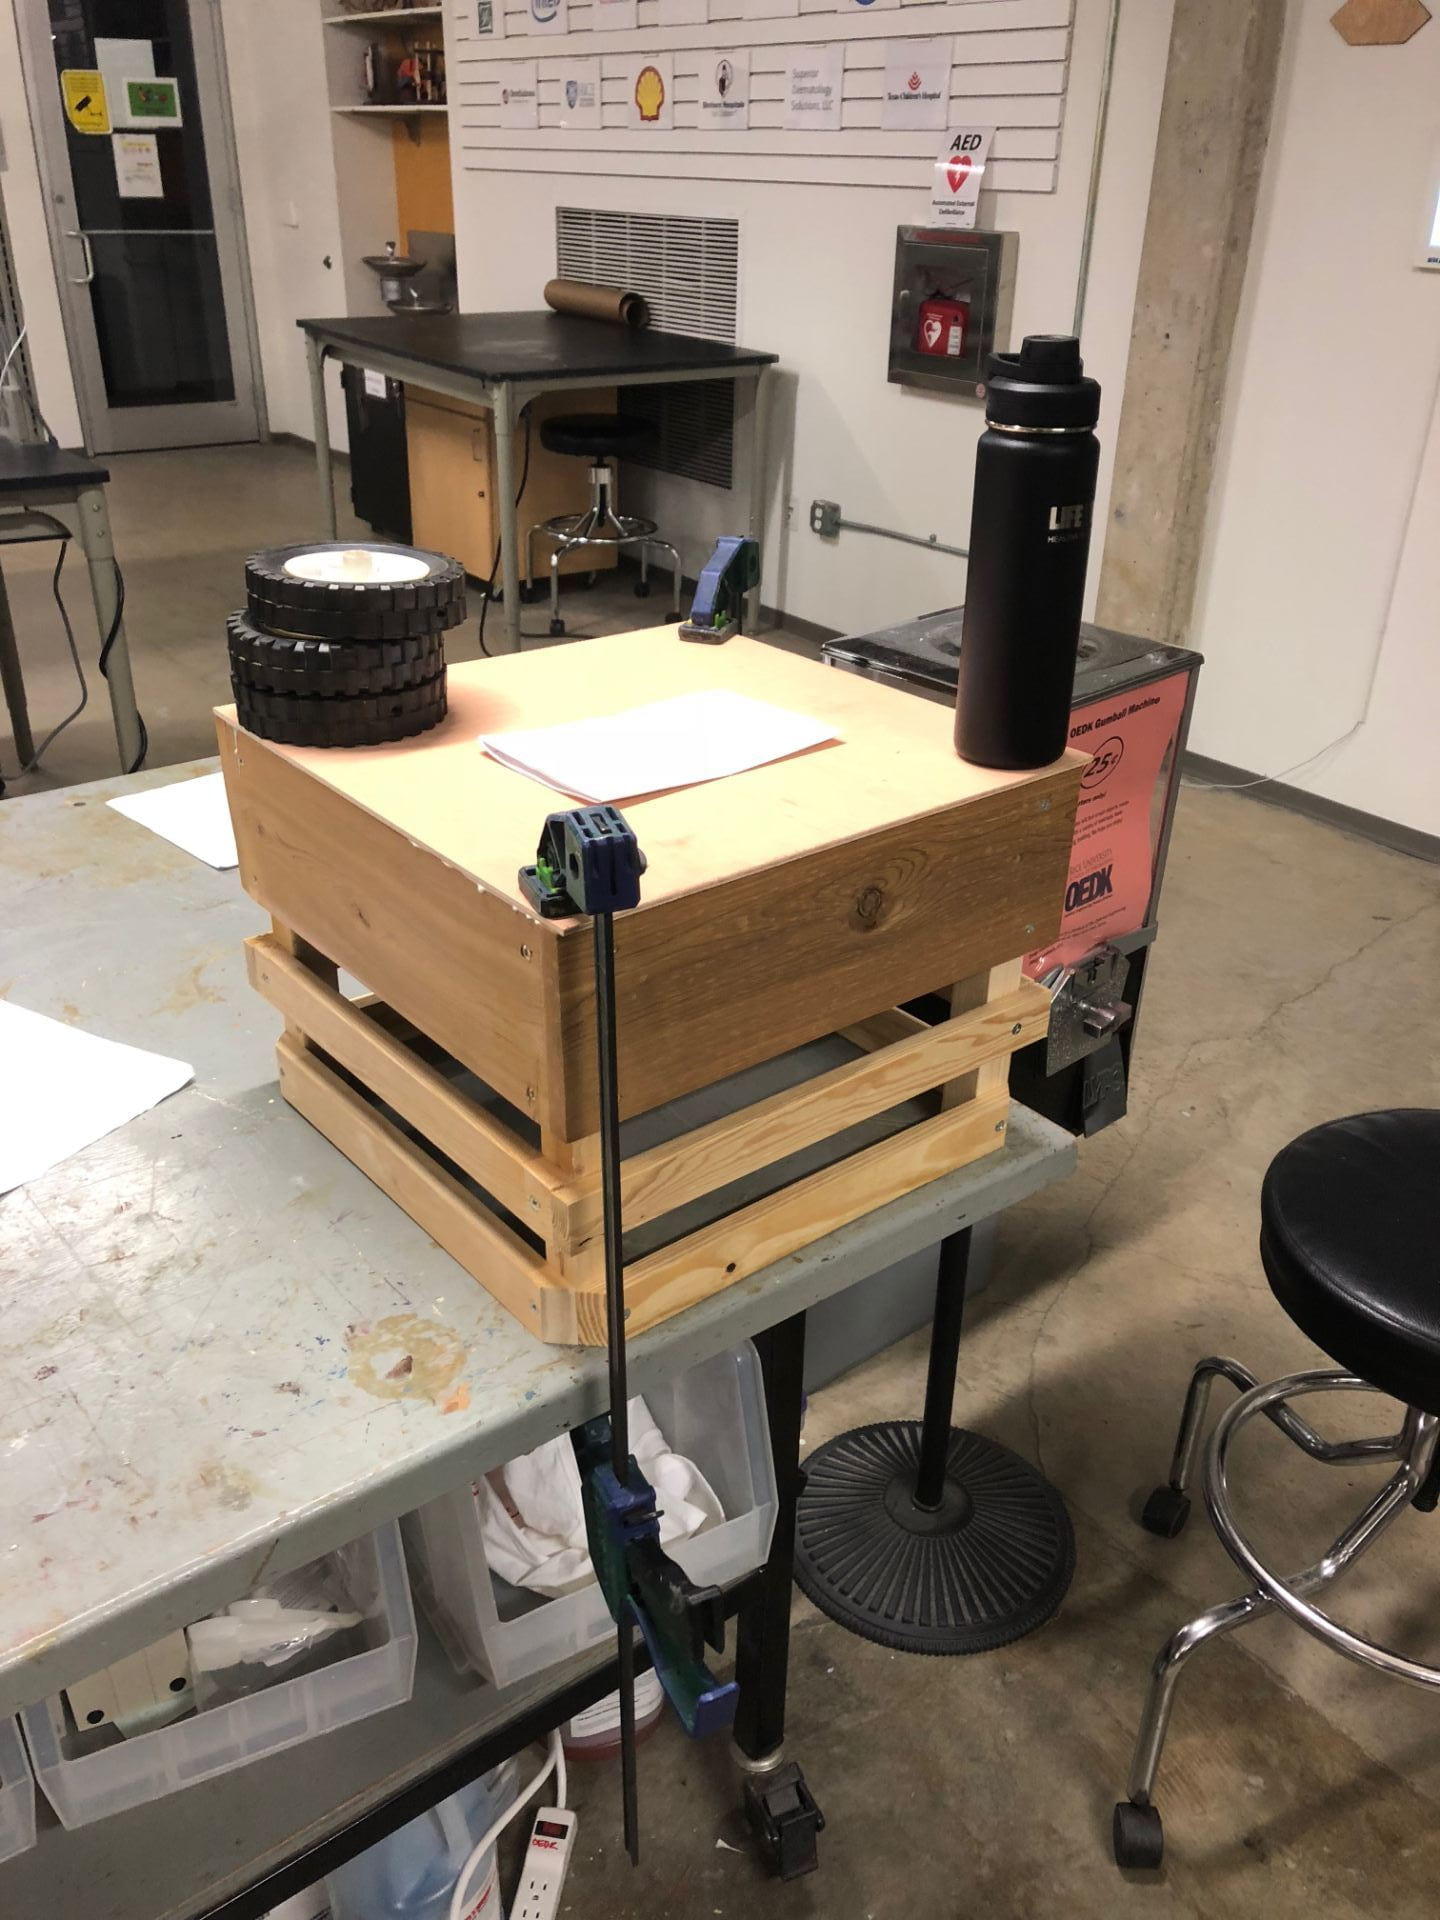
Gluing down base of box
With the structurally complete box, I then brought it to the wood shop and began to route all the bottom and corner edges of the box to round them off. One of the lab assistants helped me set up the router, however, neither of us could figure out how to raise or lower the bit of the router. We ended up having to unscrew the bit from the router every time we wanted to make an adjustment. I also ran into the issue that none of the router bits were quite large enough to give me a large enough radius to route the base of the box. I eventually settled for a smaller bit.
Routed edge
After I finished routing, I hand sanded all the edges and corners of the box with increasingly higher grit sandpaper. I then took it out behind the OEDK to spray paint a clear protective layer. I ended up using a matte finish because I thought it would look nicer on the wood and not distract from the original wood colors. One of my initial goals in making the box was to use as many different kinds of wood as possible. The bottom panel on each side is made of a darker brown wood that is remarkably light and smells pretty good when sanded, but I don’t know what type of wood it is! The middle layer was going to be made of the random lumber that I found in the wood shop. Finally the top panels were going to be made of the nice pine that I found. In the end, the top and middle layers ended up being random lumber, with 1 panel of pine on one side! After seeing the result of the matte clear coat drying, I immediately regretted spraying it. The coat made the box very sticky and course, I suspect that any dust that was left on the box ended up getting stuck down to the material by the spray. Edges of the box that I spent so much time meticulously sanding felt like they hadn’t been sanded at all.
Overall I ended up spending at least 6-8 hours on the box and consider my labor costs to be approximately $84 at a rate of $12 an hour.
I estimate the costs of the wood below using prices from Home Depot:
1″ x 6″x 6 feet ~ $5.76
1″ x 4″ x 6 feet ~ $3.75
2″ x “2 x 4 feet ~ $2.50
17.5″ x 17.5″ x 1/8 ” ~ $1.00
Total price comes out to $97.01