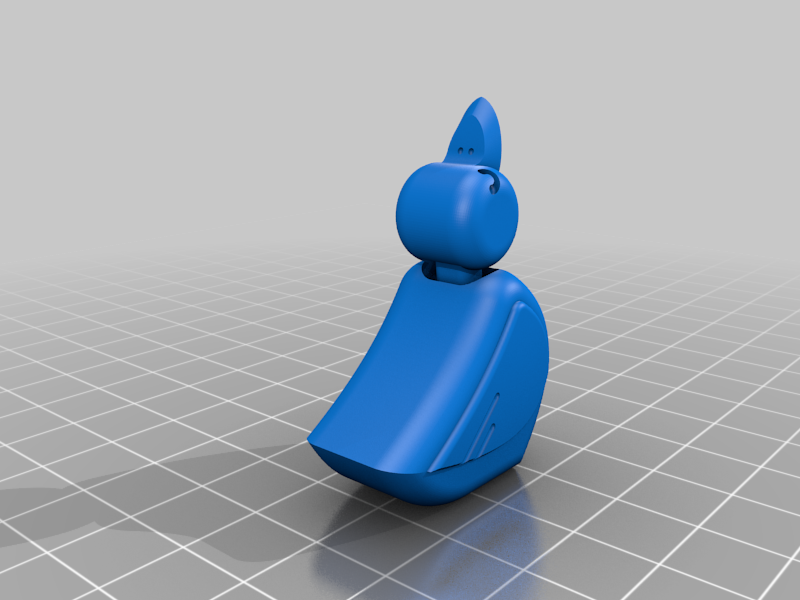
The goal of the assignment was to 3D print an object that would be impossible or very difficult to fabricate using other methods. I found this item called “Ducksie” on Thingiverse. It is printed as one object with a wheel and axel that allows the duck to roll while also bobbing its head while it moves. These moving components would be very difficult if not impossible to fabricate as one piece without 3D printing.
After downloading the CAD file from Thingiverse, I imported it into PrusaSlicer to create the gcode for FDM printing. After double checking that the item would be small enough to fit in a capsule, I left most of the settings at their default. The only thing I really changed was adding a brim to the print. I did not add supports as the Thingiverse post wrote that supports should not be needed.

My first few attempts at printing did not go so well. I used whatever printer was available. The first time, the print just came out as a clump of filament. When I switched to the only other available printer at the time, the filament would not extrude from the nozzle (notice no test line on the bottom left of the picture). I would later figure out it was because the printers I tried on were using nylon and TPU respectively, and I had my file set to print PLA.


Going back to changing the gcode file, this time I followed the warnings that the PrusaSlicer program was giving me and added supports. For safety, I let the program automatically add supports everywhere. At this time, all the smaller Prusa printers were in use, so I used the PrusaXL which was available at the time. I switched the printer configuration in PrusaSlicer to PrusaXL. Looking at the files on the USB drive that the PrusaXL used, I found out that the nozzle diameter was 0.6 mm instead of the 0.4 mm that was defaulted in the printer configuration. After making these changes, making sure the correct material was chosen, and putting some glue on the bed to help the print stick, I started printing.


After the print was finished, I removed it with a nearby plastic spatula. The supports were very annoying and tedious to take off. I used a pair of small needle-nosed pliers, and pick, and an X-acto knife to remove them. There were so many of them and some were in difficult locations inside of the object. After finally removing them all I noticed that the surface of the duck was generally a little rough. The print wasn’t too accurate. It was a little difficult to get the duck to roll the way it was supposed to. There was a lot of roughness on the wheels, either from taking off the supports or possibly even slight inconsistencies in how the filament melted.
To make the next objects better, I adjusted the settings. I increased the resolution from 0.2 mm to 0.15 mm, reduced speed parameters to 30 or 40 mm/s if they were above it, and reduced the infill from 20% to 15% to decrease print time. I also changed the supports option from “everywhere” to “build plate only”, as the “support enforcers” option created no supports. I used the normal Prusa for these next prints as they became available.


These new settings created much better prints. The supports were much easier to remove and there were less of them to worry about. The ducks were also smoother and more well defined. On the right picture, you can see the difference between the new print (top) and the old print (bottom).


There was still some roughness in the wheels that would stop the duck sometimes when I tried rolling it backwards. After taking a file to smooth this out it became much easier to roll the duck in both directions.
The second printing technology beside FDM was SLA with the Formlabs printer. The setup for this was very simple. Using the PreForm software, I made sure the correct material and printer was selected. After importing two ducks, I used the “one click print” button which automatically created the base and supports for the objects. After realizing that the computer needs to be connected to the visitor internet to connect to the printer, I sent print job, put the build plate in, and started it.

The SLA took much longer than the FDM, probably because of all the extra supports that were needed for the print. The SLA took around 4 hours for two ducks, while the FDM took around 2 hours. After the SLA print was done, it was placed in the wash to remove extra resin, and then cured.


I removed some of the supports with some small wire cutters, and then simply pulling off the base and supports after enough were cut. At first glance, the SLA print was a much higher resolution than FDM, with better details and a more well defined perimeter. Even the wheels were very smooth on the SLA print.


However, I could not easily roll the wheels on the SLA print. I noticed that the “neck” of the duck that attached the head between the two wheels was squeezed between the wheels. I shaved the edges of the neck to try to give the wheels some more space, but that didn’t help. After looking at the CAD file of the object, I saw that the axel of the wheels spins through these two nubs nestled in two grooves on the inside of the duck body. I was worried that these parts may have fused together during the printing. I took apart one of the SLA ducks to see what was going on. I saw that what was supposed to be two cones sticking into the grooves were actually small blobs. These blobs basically filled up the grooves they were supposed to be in, which is why the duck can not move well.


After talking with some other classmates and seeing more examples around the OEDK, it seems that the SLA printer typically has trouble printing small joints or similar structures. The printer does not seem to have the precision to create small moving parts. To finish off the object, I tried sanding down small bumps on the duck that were left behind by the supports. However, that actually ended up ruining the nice finished look that the cured resin had, so I stopped after smoothing out the bottom.

| Cost Type | Cost | Price | Source | Quantity | Total |
| Materials | PLA Filament (Hatchbox) | $0.71 /oz | Amazon | 1.55 oz | $1.10 |
| SLA Resin (Grey Pro) | $0.20 /mL | Formlabs | 21.74 mL | $0.87 | |
| Labor | 3D Printing Technician | $21 /hr | ZipRecruiter | 2 hrs | $42 |
| Prototyping Engineer (You!) | $39 /hr | Salary.com | 0.25 hrs | $9.75 | |
| Overhead | Facility Cost (Machine Time) | $0.21 /hr | Prusa3d | 10 hrs | $2.10 |
| Quality Control | $20.72 /hr | Indeed.com | 0.5 hr | $10.36 | |
| Design | Engineering and Development | Included with Prototyping Engineer | |||
| Iterations | Included with materials/labor/overhead | 2 | |||
| Misc. | Waste and Scrap | PLA Filament | Amazon | 0.5 oz | $0.35 |
Total Price: $66.53 (including scrapped prints and iterations)
