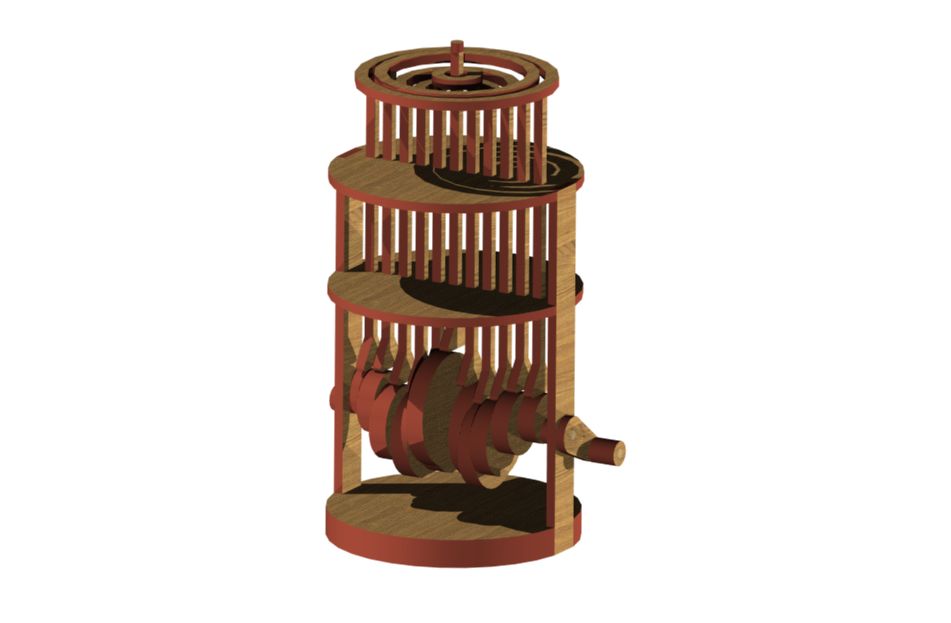
To practice using IronCAD, I recreated my midterm project, Jack the Rippler. The design is actually composed of pretty simple shapes, and the hardest part was aligning all the holes and all the shapes to each other, which I accomplished with the tri-ball. Another difficult part was making the pins that move up and down, which I created with rectangles and two right triangles. I rounded the bottom edges of the pins by selecting the edges and using the blend edge option. Then I selected all the shapes and made them into one shape by using the combine shapes option, which was pretty useful.
To make the renderings more readable, I covered all the parts with a wood texture and colored all the cut edges with dark red to mimic the burnt edges created by the laser cutter. I also repositioned the lights and added a new one so the bottom of the design isn’t in shadow and the cams are more visible.
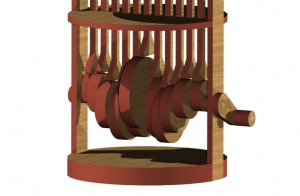
I also rendered a couple of close-ups of the parts of the Rippler. I made the cams with cylinders with a cylindrical hole, and each cylinder is rotated 30 degrees about the hole compared to its neighbors. After positioning the cams, I moved the pins vertically until they were resting on the tops of their respective cams. Once the pins were aligned, I aligned the rings to the top of the pins.


