Riding the waves…
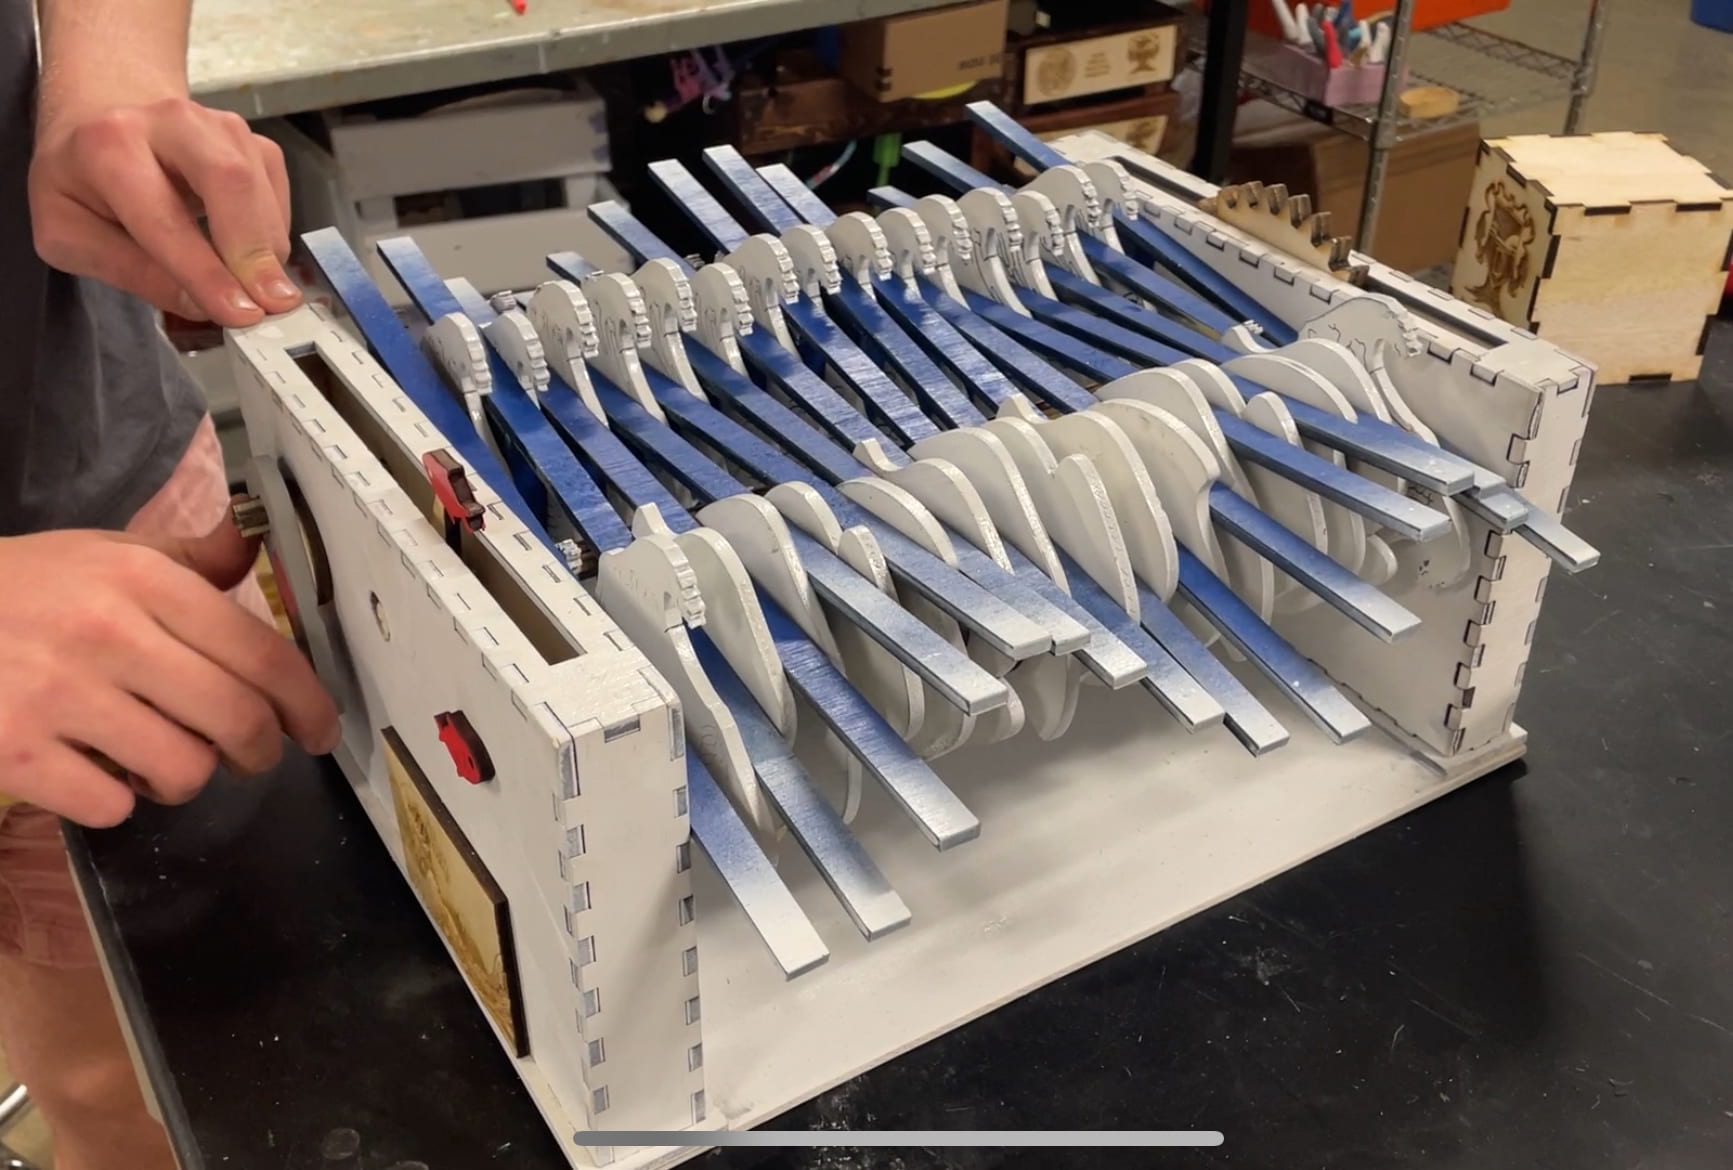
Behold, our wave automata machine.
Our inspiration for the project was this wave automata build, but all of the components for our project were designed by us.
The main parts of the build were the planks, frame for the planks, cams, gears, gearboxes, spacers, and rods. We started off by designing them in Illustrator.
Next was building a low fidelity prototype out of cardboard and dowels. We did this mainly to ascertain the dimensions of the planks, cams, and boxes, as well as cam offset degree. We ultimately decided on 10.5″ x 6″ size boxes and 14″ planks.
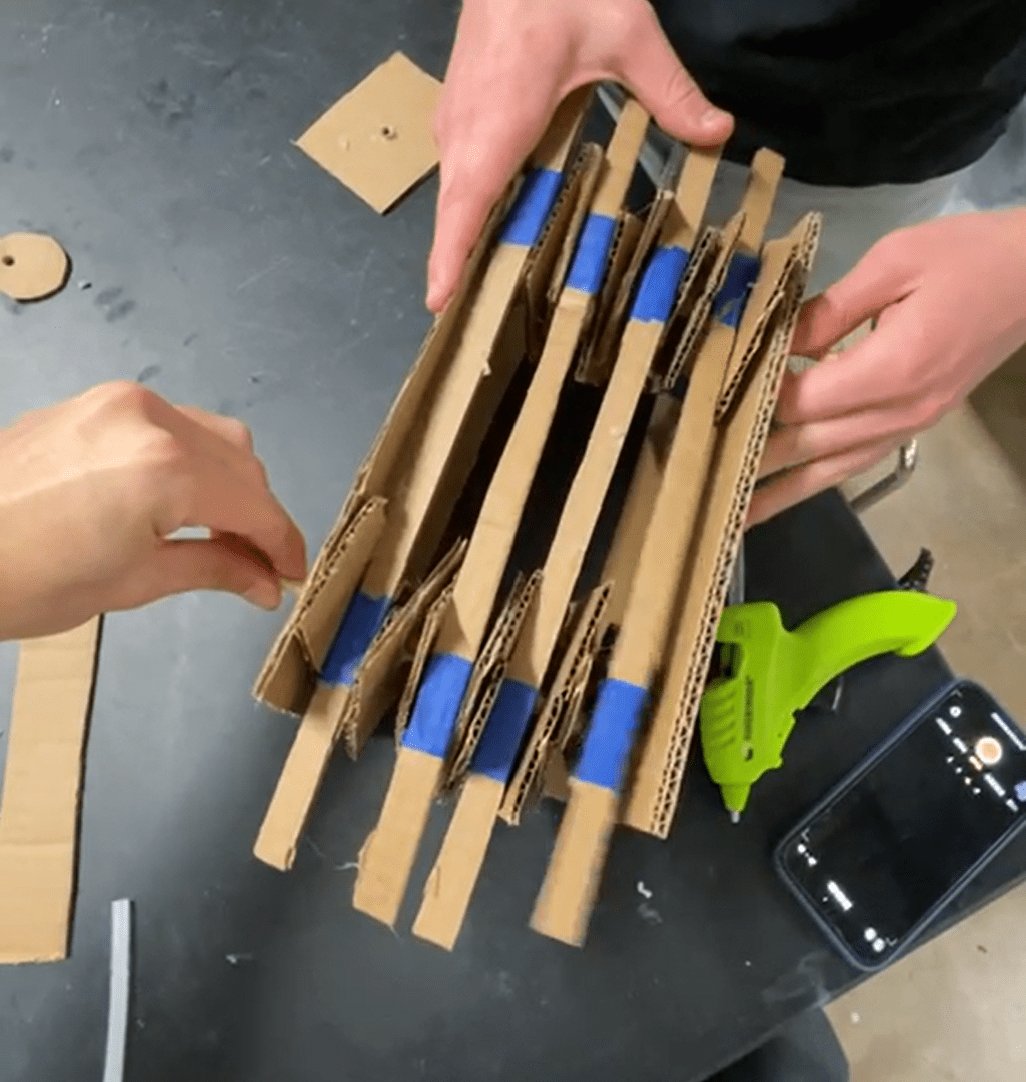
For the cams, we figured having the wave go through a full period every 8 planks would suffice, which meant a 45 offset for each rotation. For the low fidelity model, we just went with 4 planks. Due to the structural weakness of the cardboard, the planks kept bending, but it did spin a bit and had the effect we were looking for.
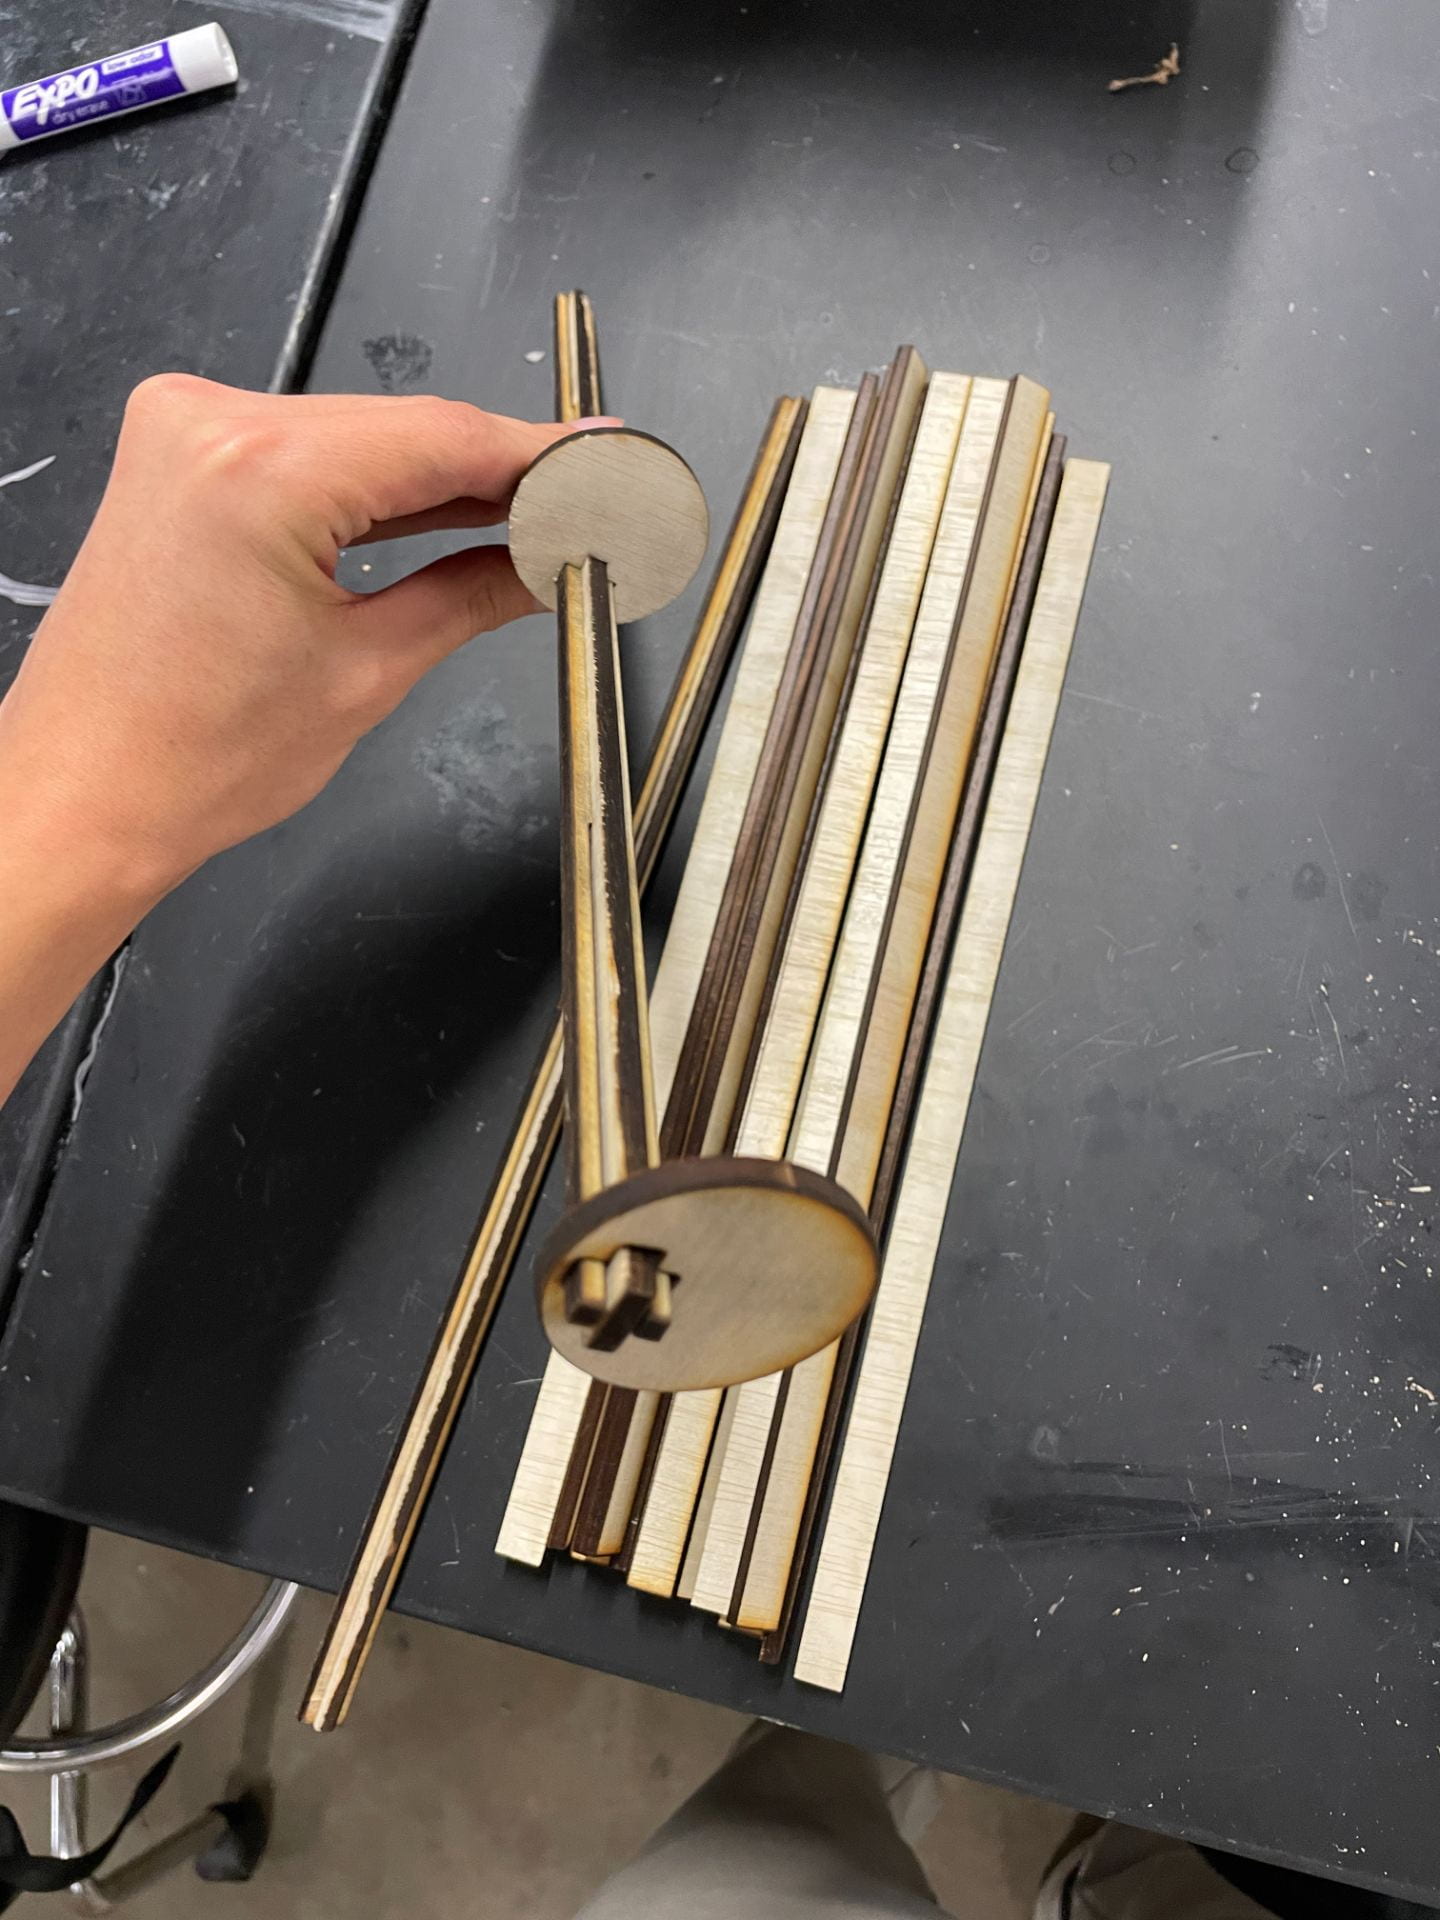
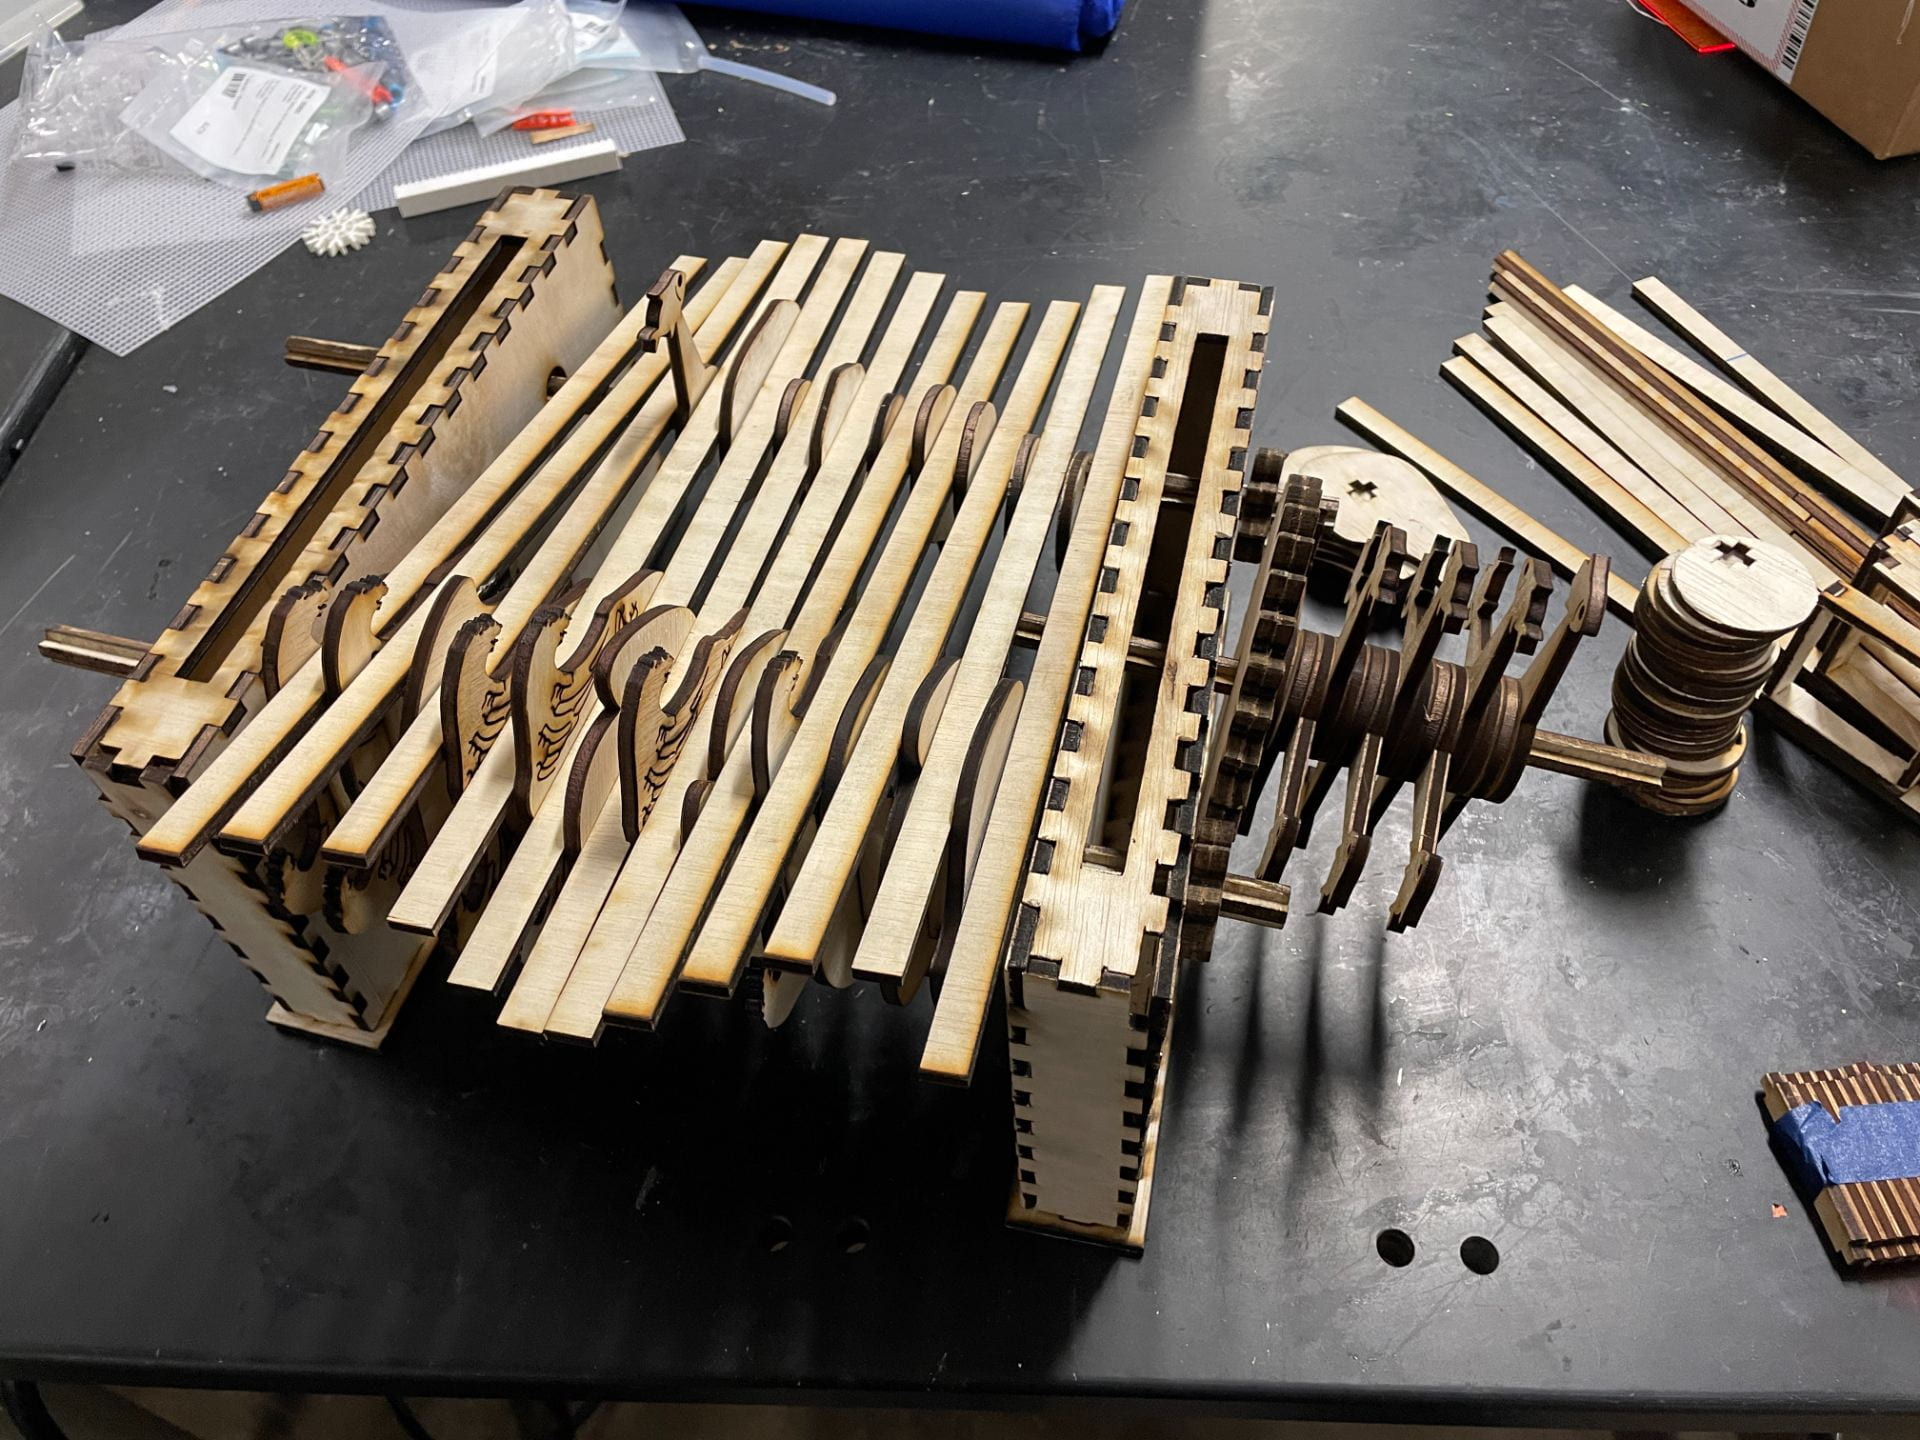
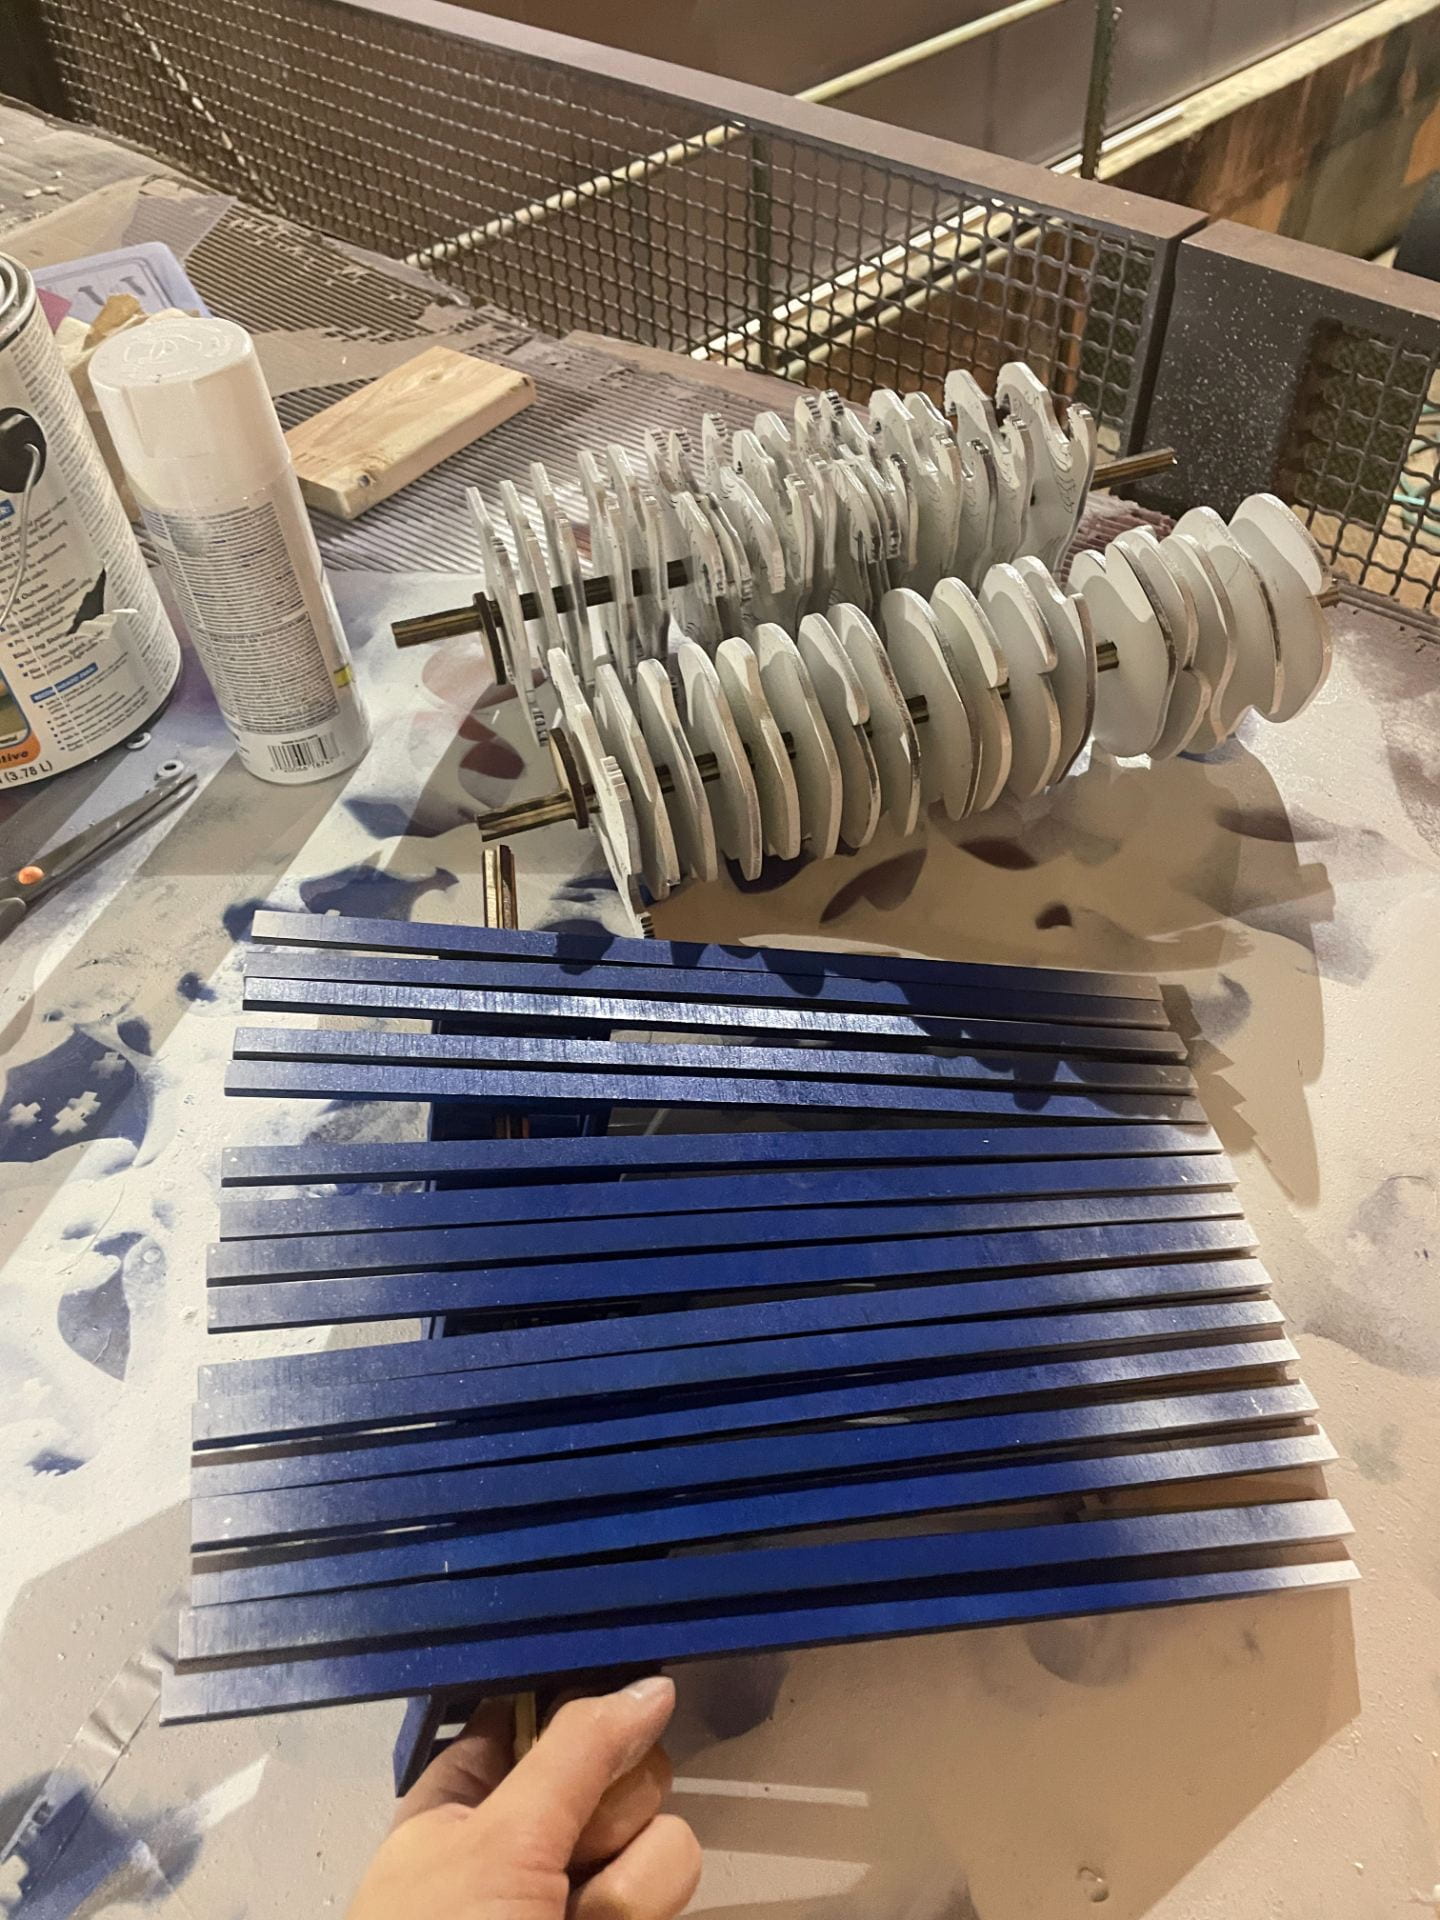
Next was the medium fidelity model. For this, we laser cut and assembled cross-shaped rods to make cam adjustments easier.
We also added some decorative spacers in the shapes of waves and fish.
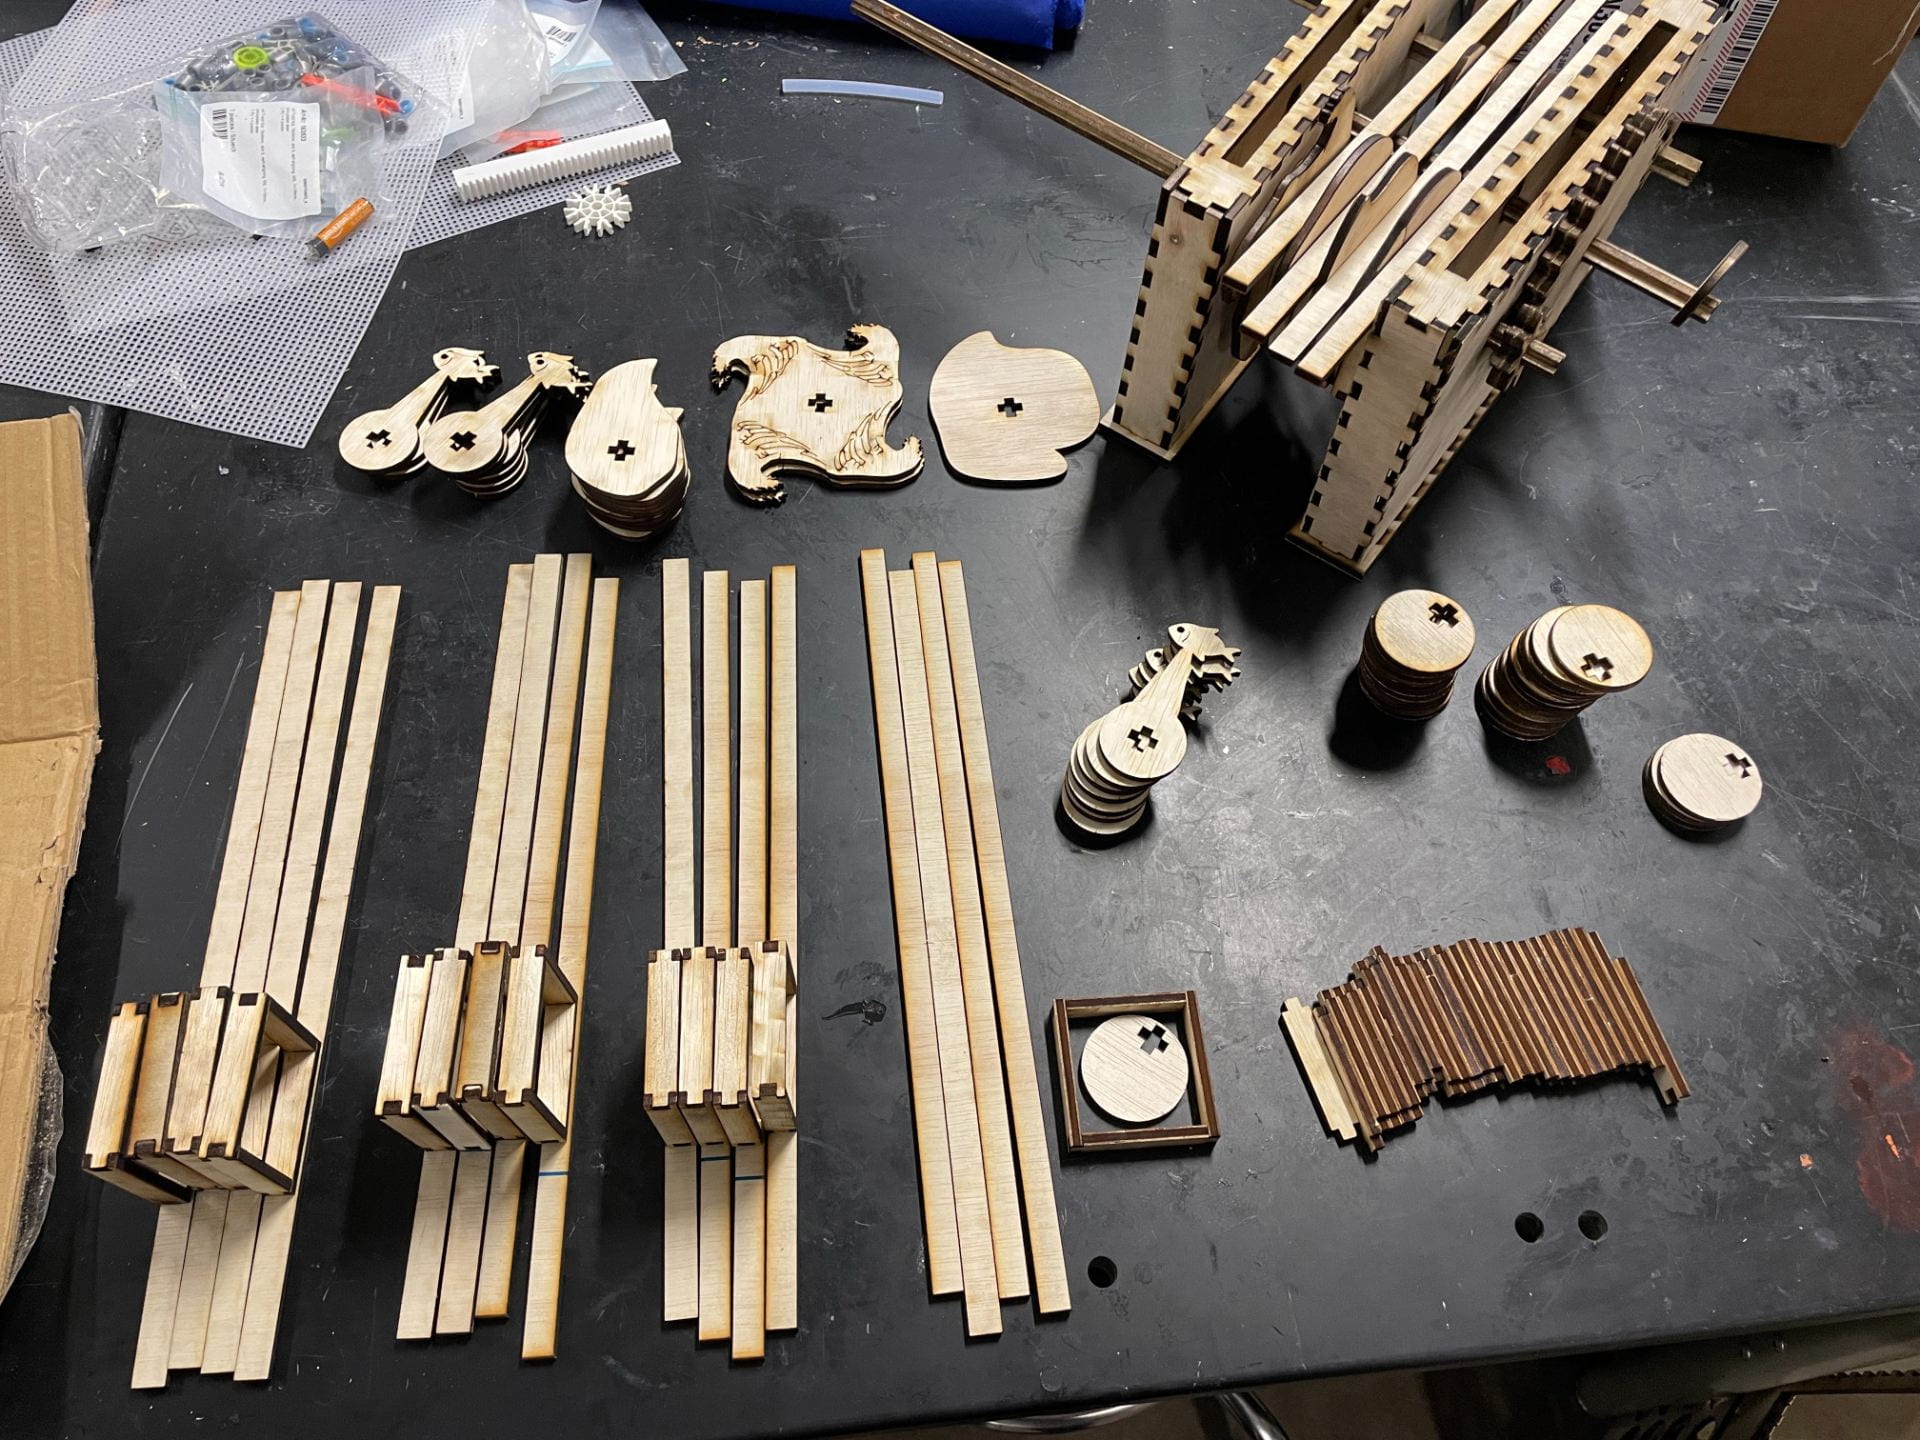
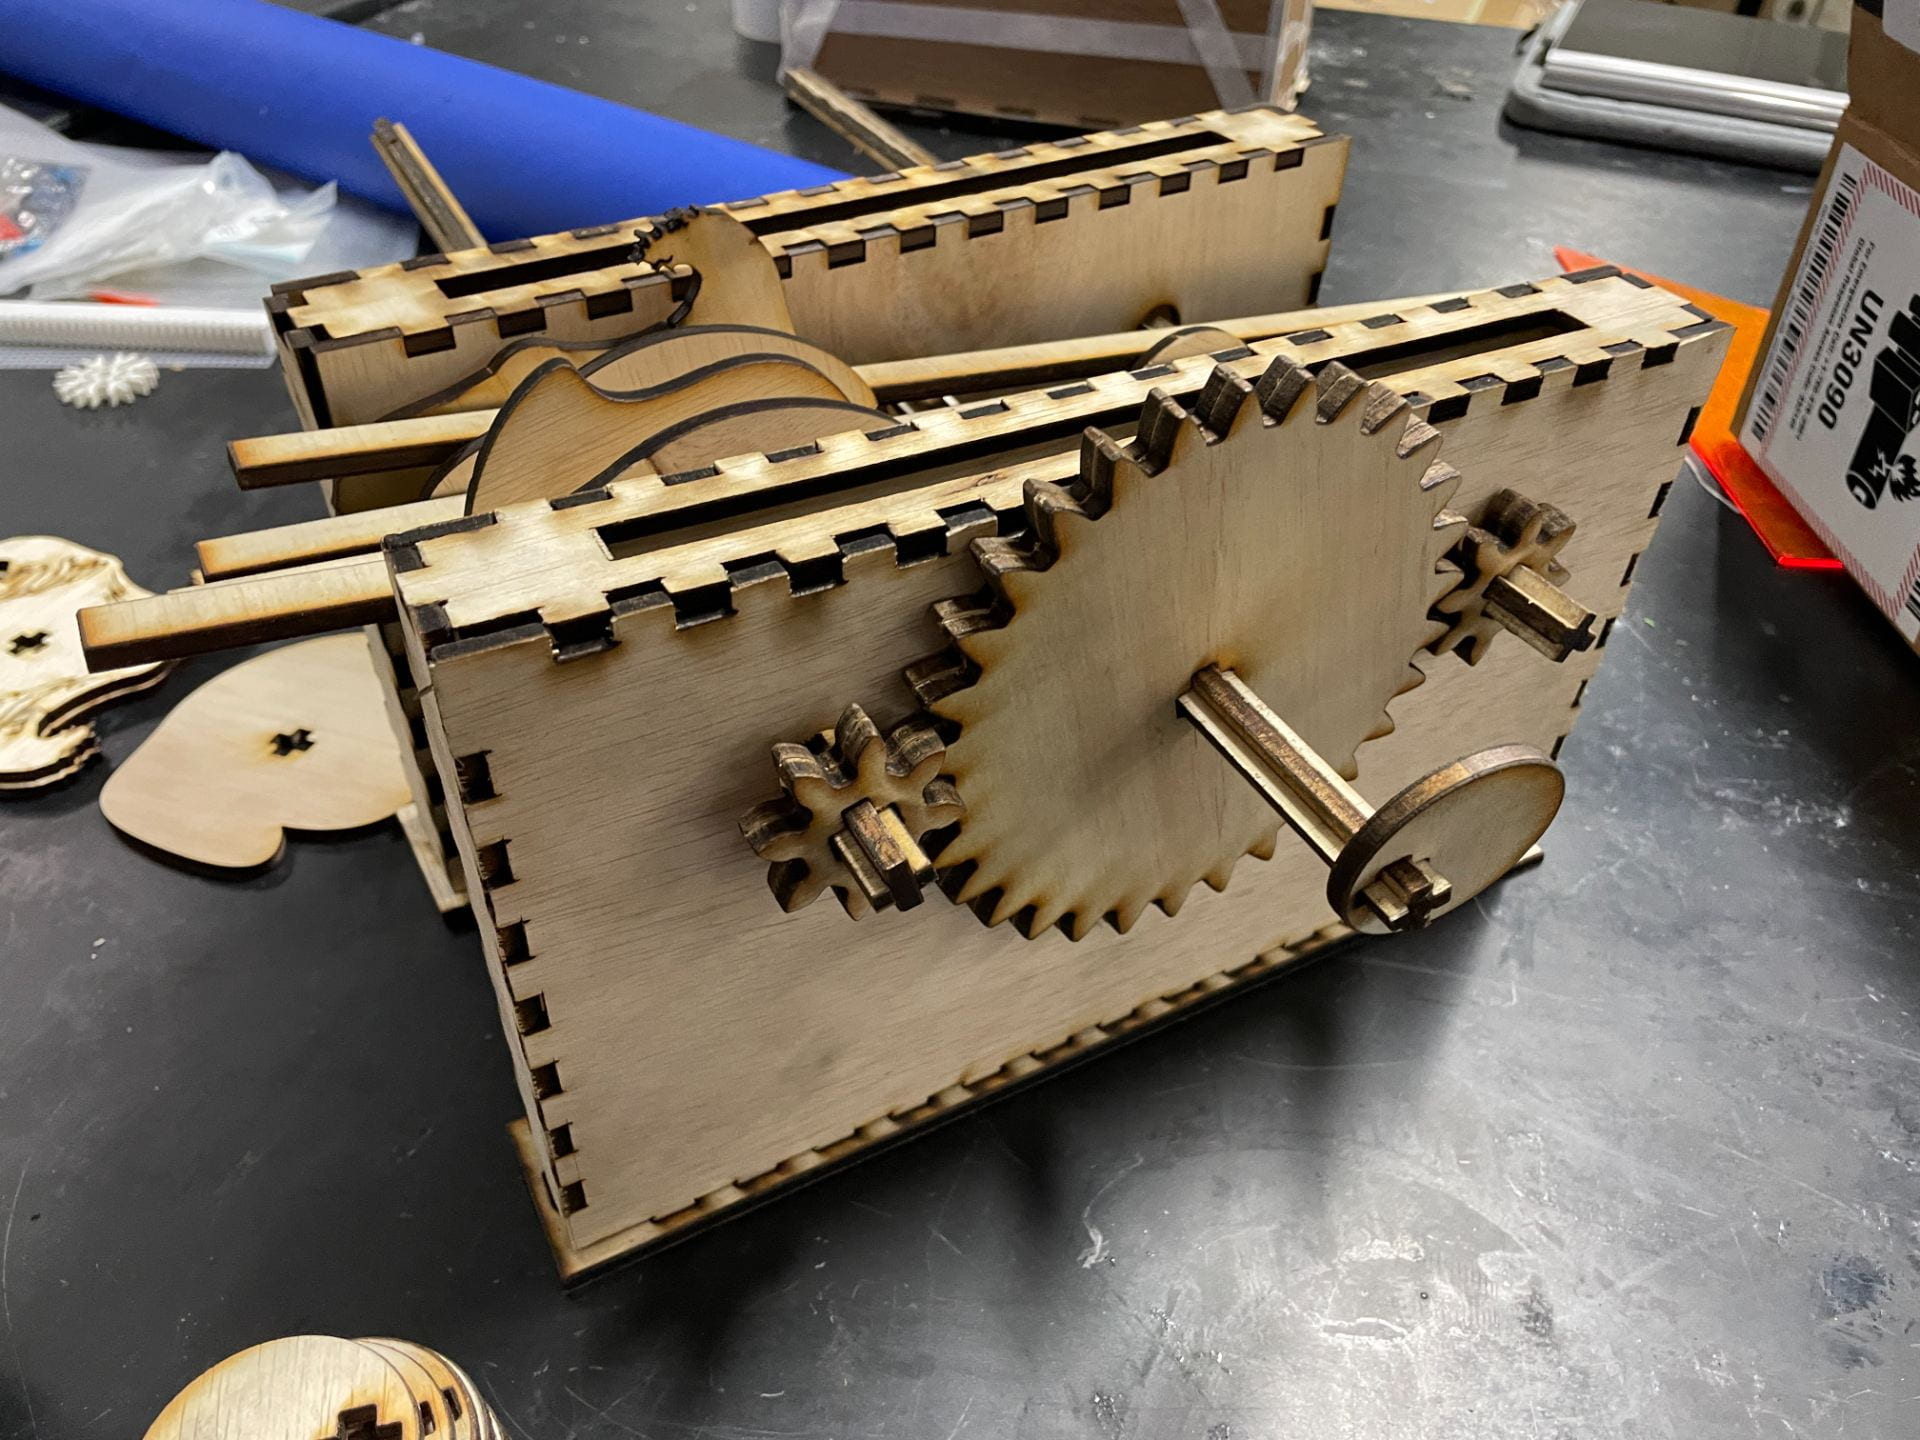
One issue we found testing with the medium fidelity model was that the frames and planks would get locked up and stuck on the small fish/wave spacers, so we had to scrap those and use wave spacers for everything instead. Also because the spacers were not attached, it would be hard to turn at times due to friction. So for the final build we attempted to glue the spacers and the cams as precisely as possible unto the rod with enough room to move.
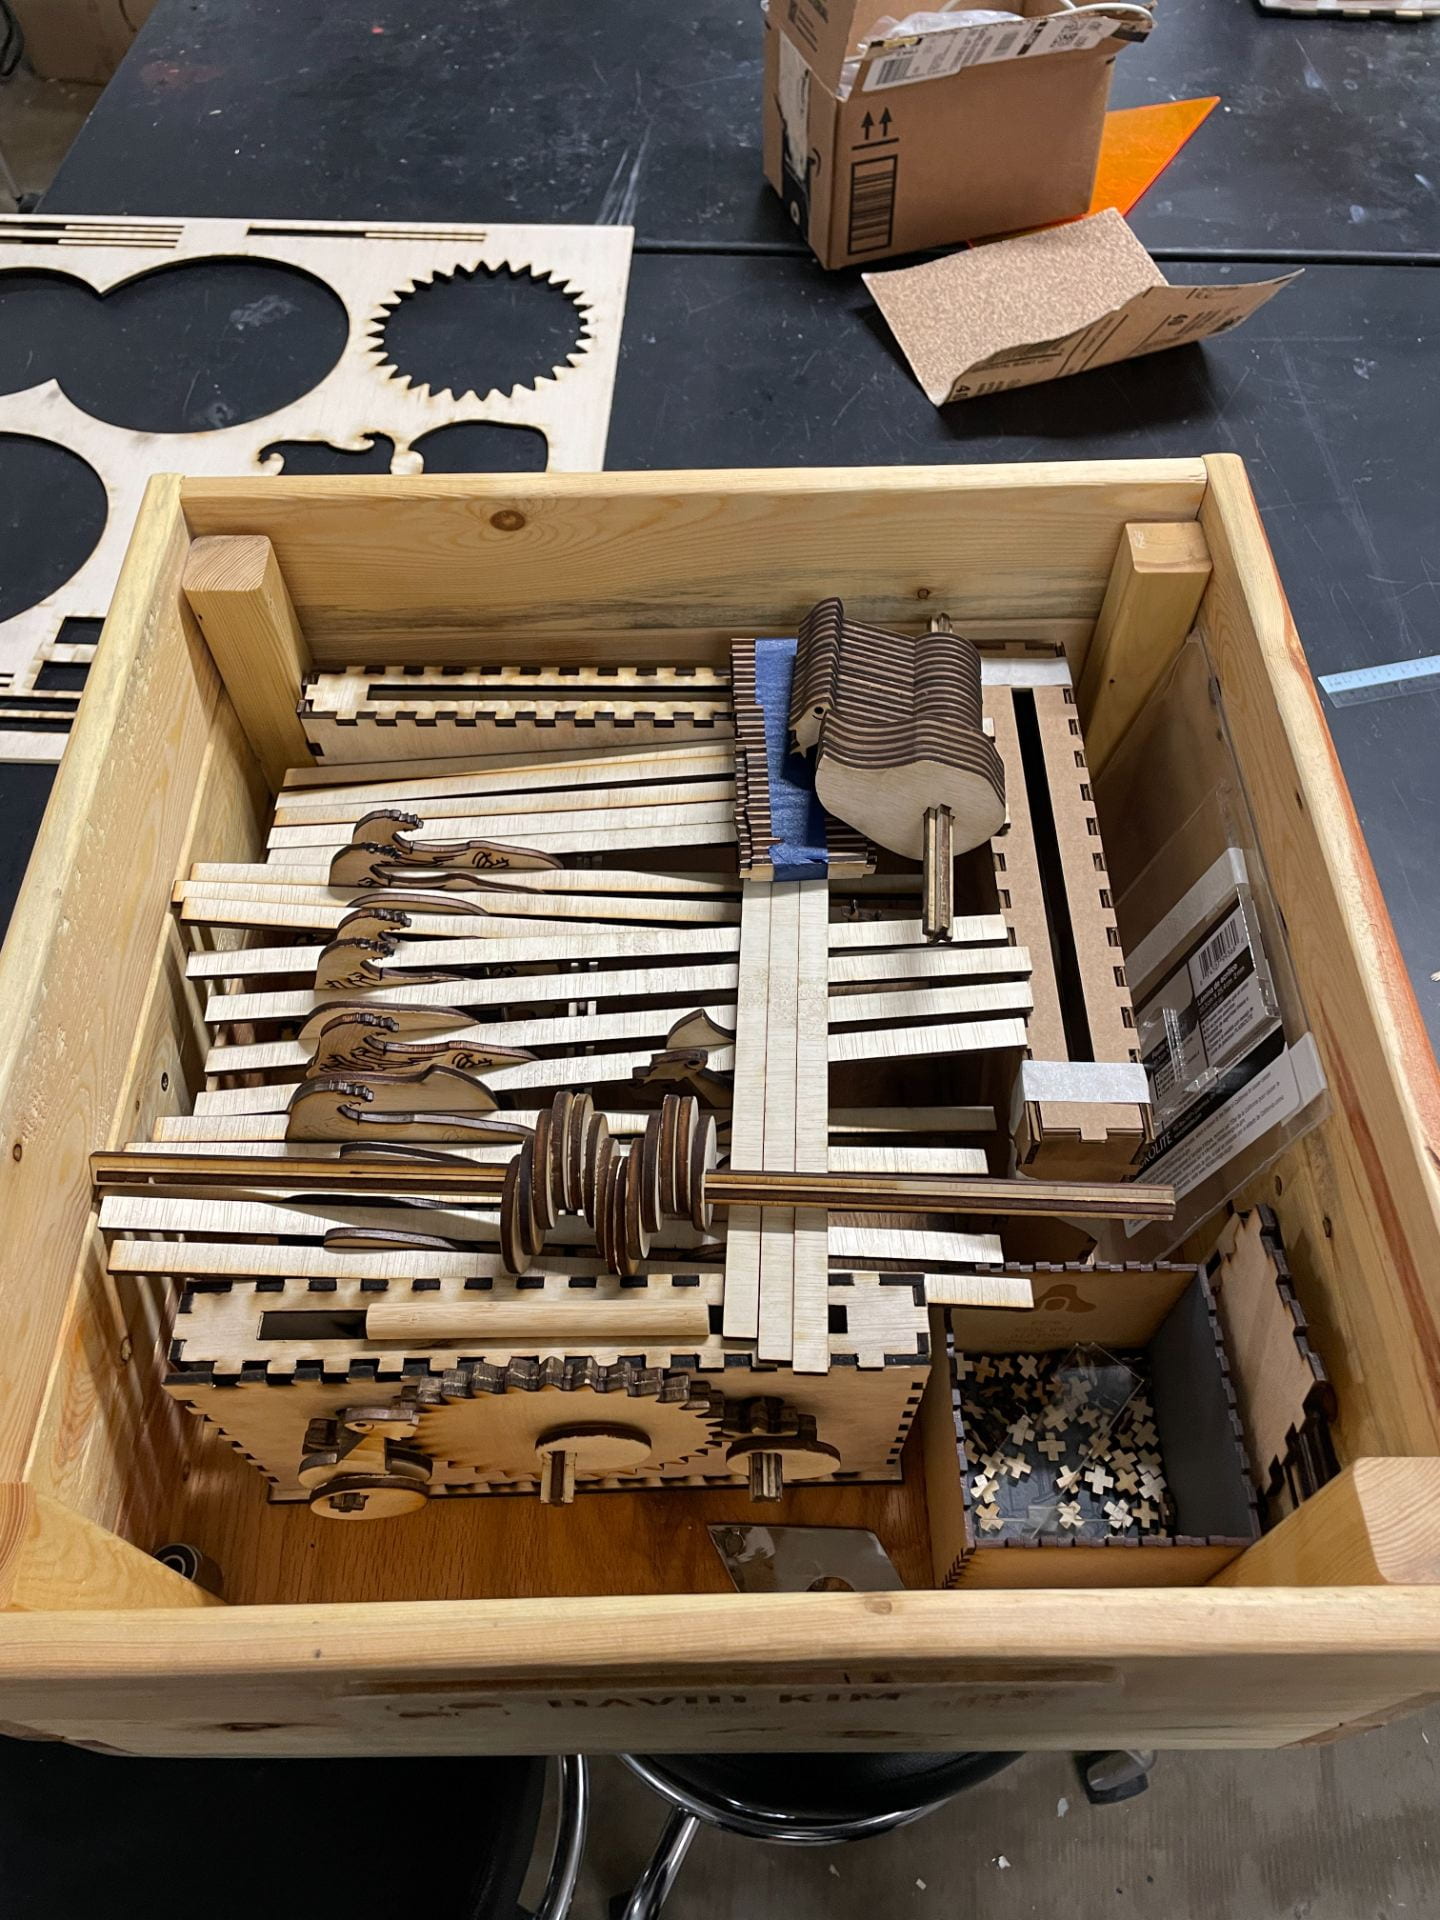
My chonky crate came in very handy for storage.
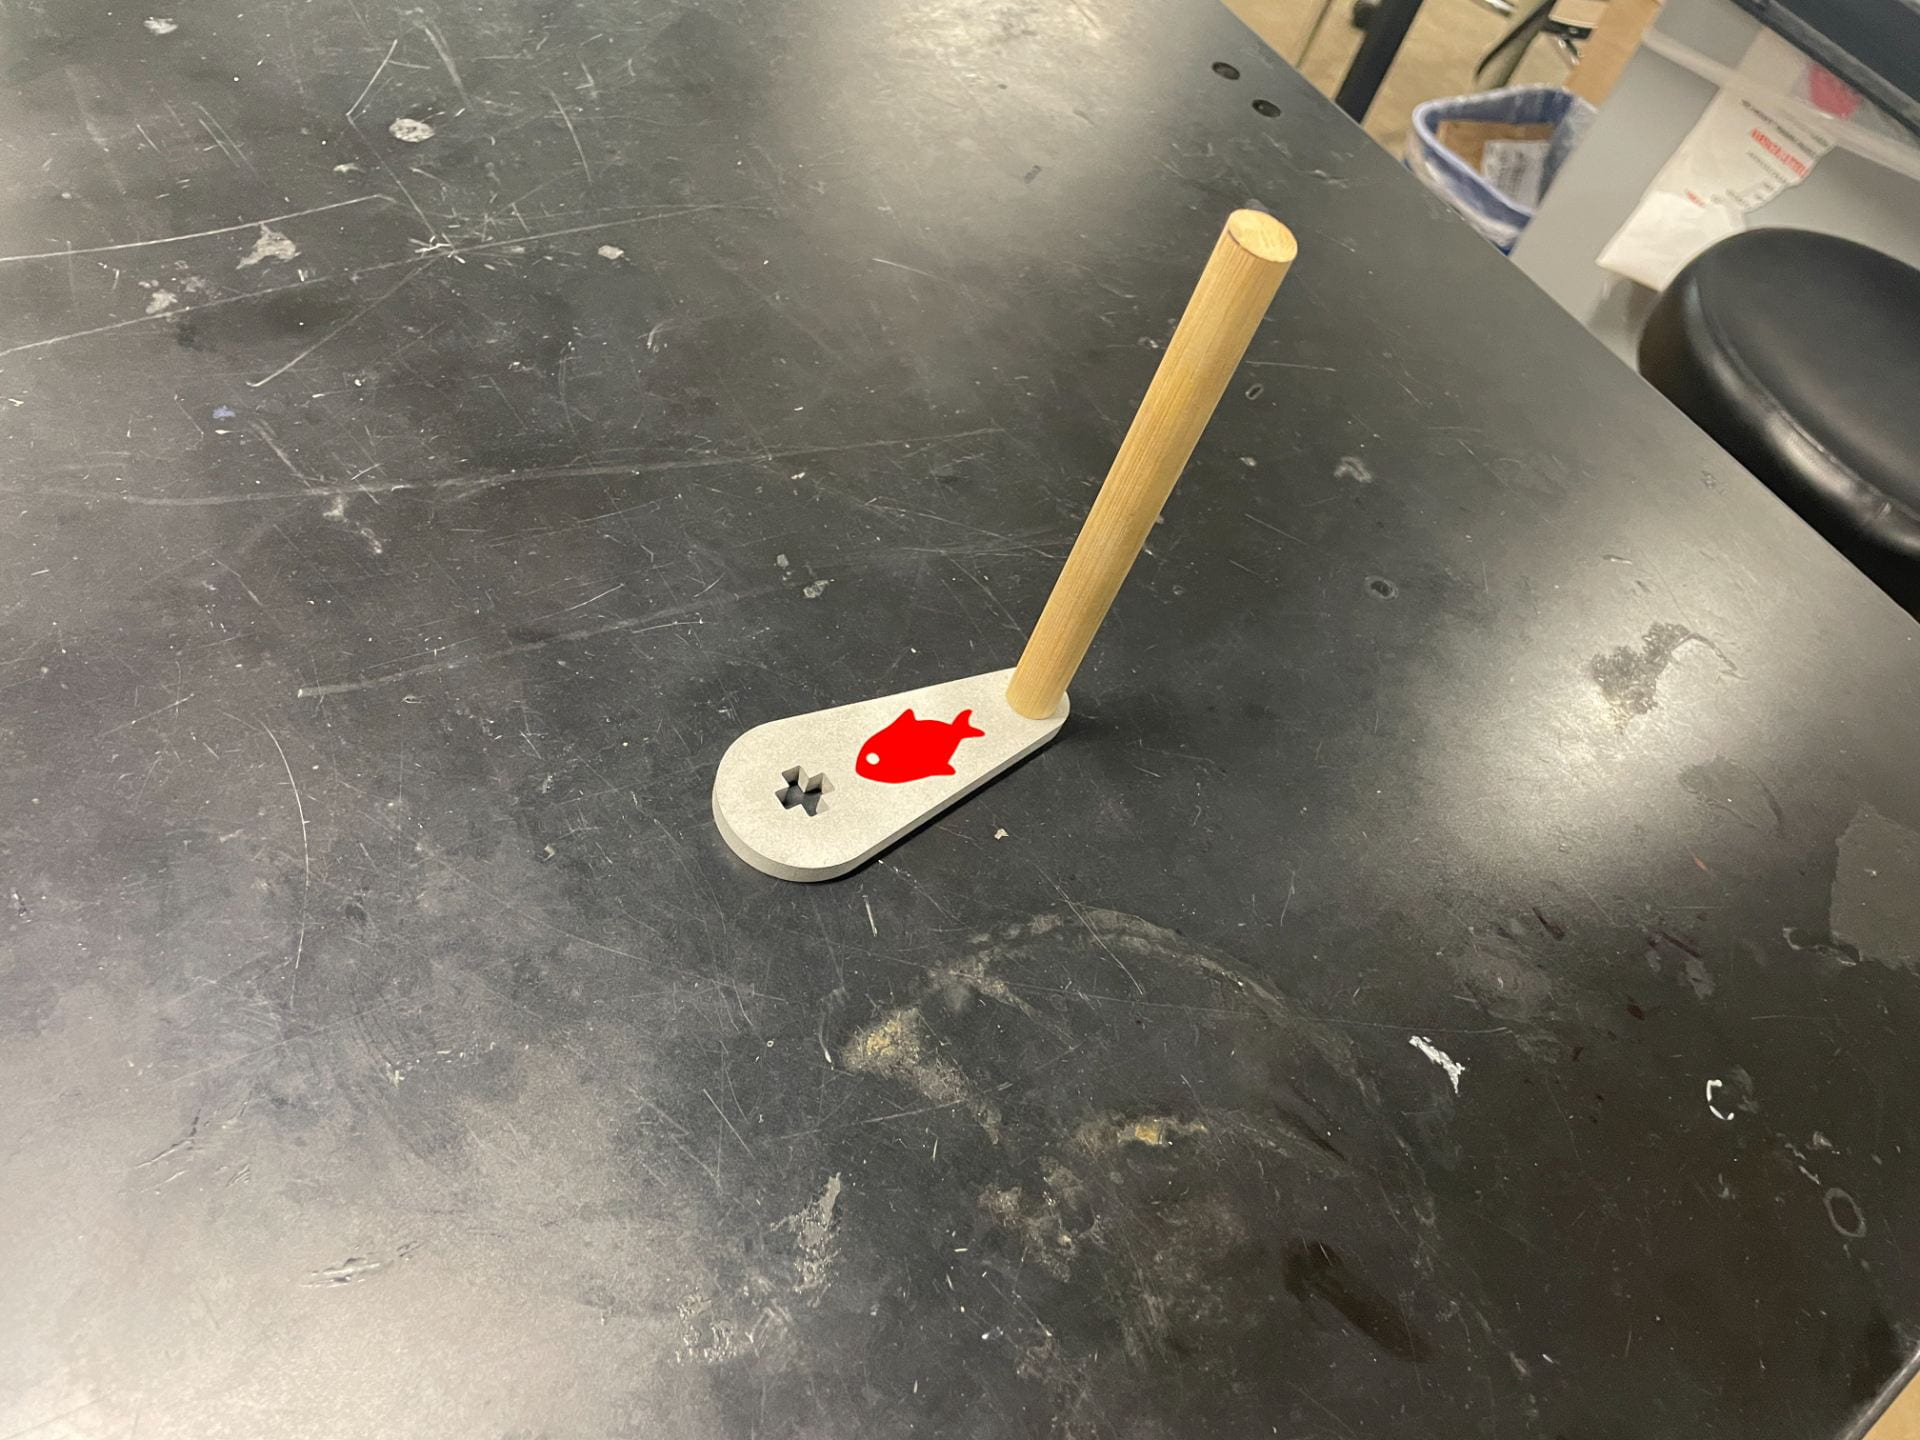
For the handle, we decided to go with a simple design, with a waterjet-cut metal piece attached to a dowel. Afterwards, we vinyl cut a cute lil fish and stuck it on there.
Now for the post processing! For the planks, we decided to go with a deep blue + white outer edges to emulate seafoam. For the waves and gearboxes, we decided to go with a clean white. Partially because waves are white, and partially because the blue spray paint ran out.
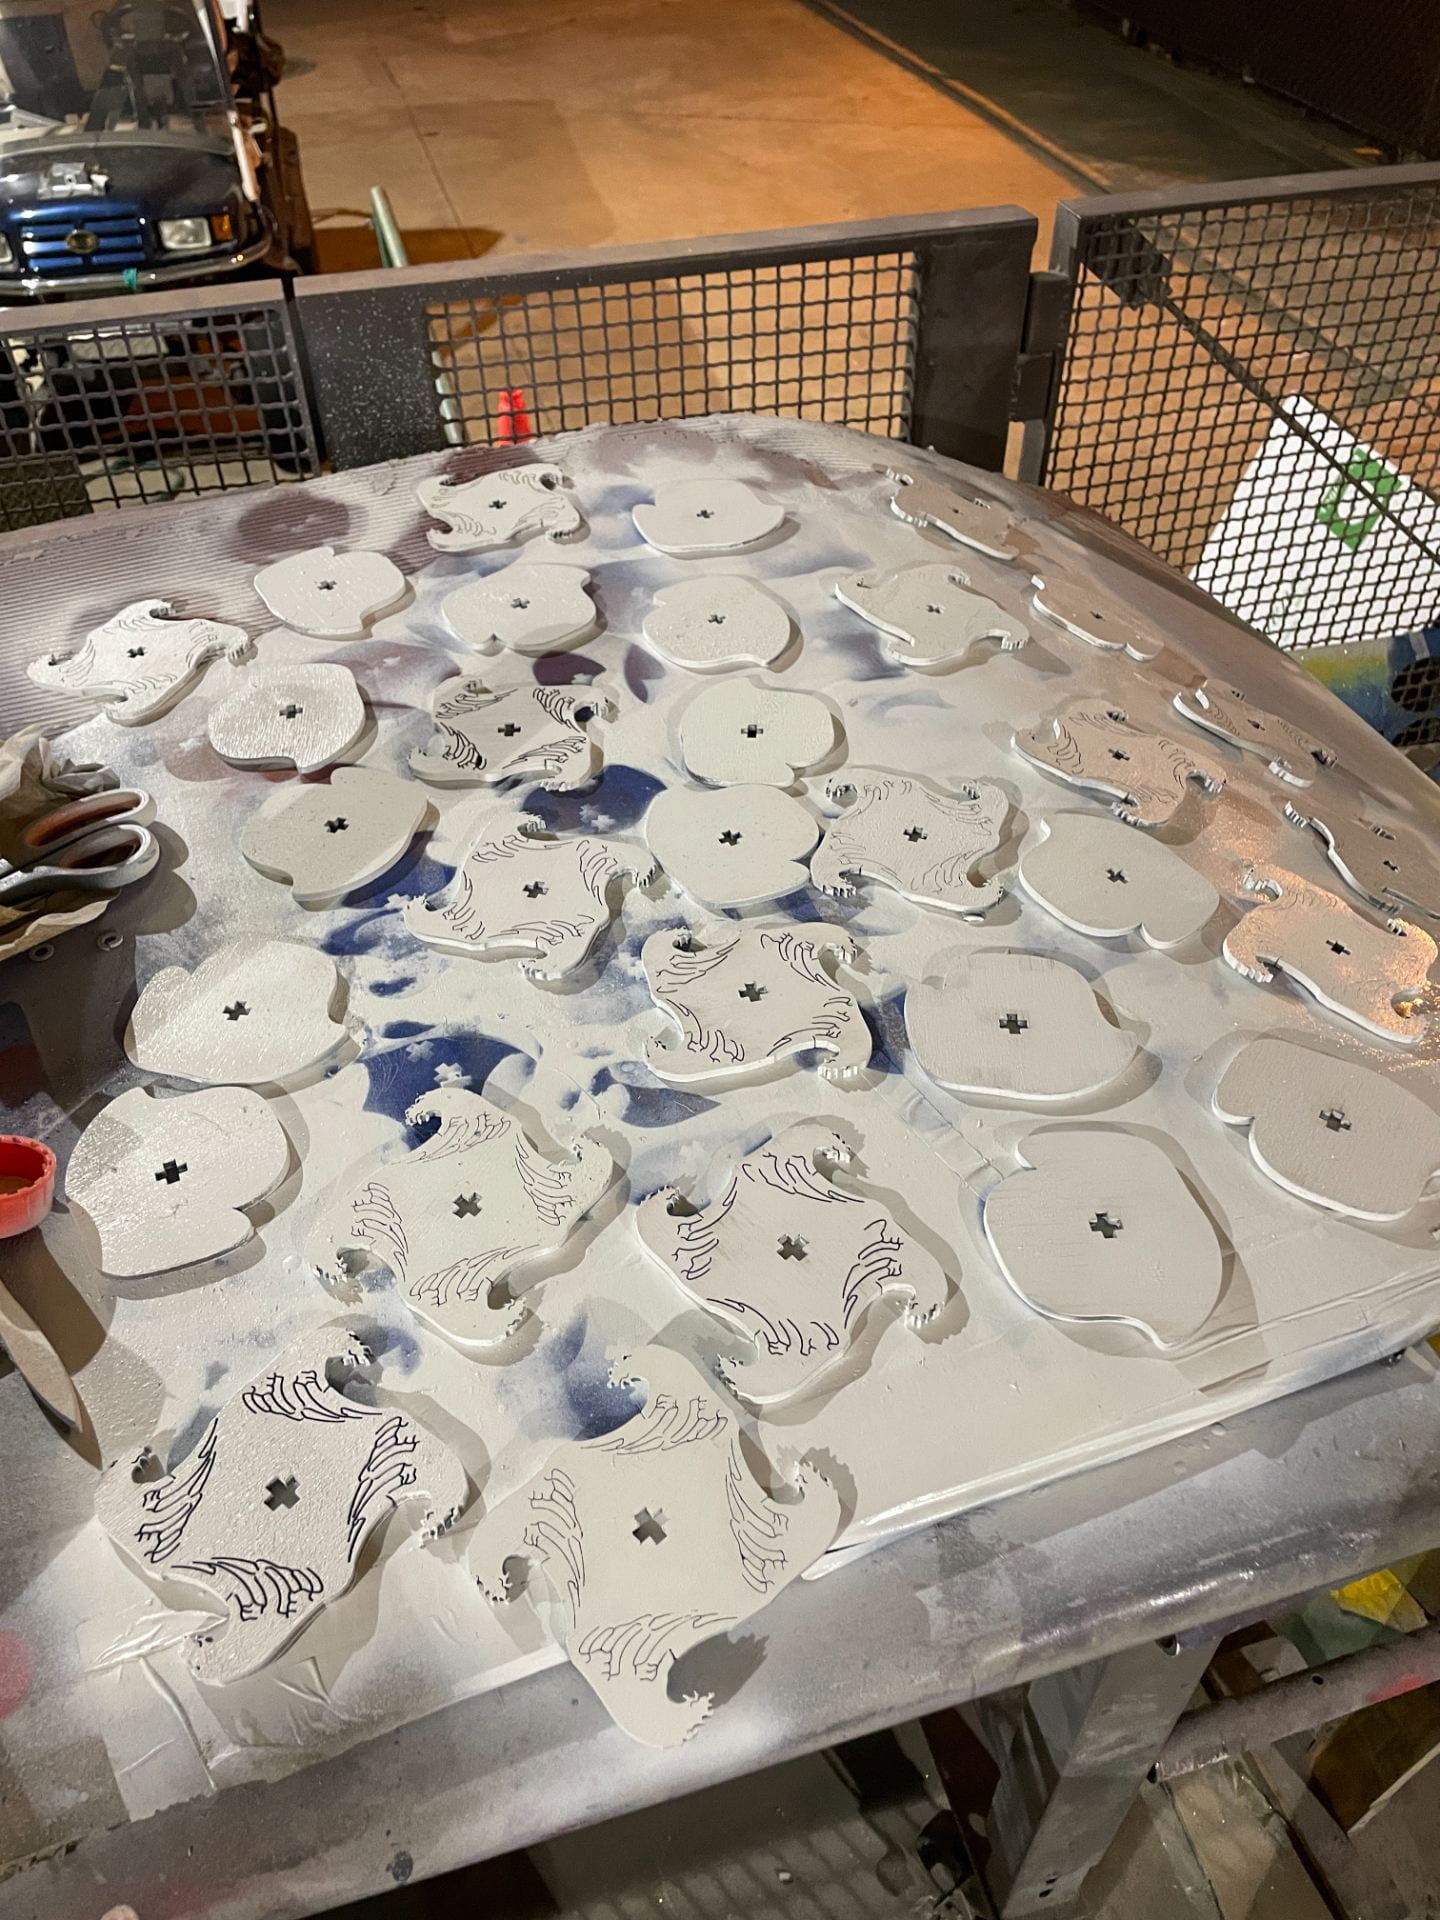
We cut out and finished some decorations as well.

The engraving is based off of The Great Wave off Kanagawa woodblock print, which was also the inspiration for the wave spacers and decorations. We finished these with beeswax.
In retrospect black spray paint for the base and boxes probably would have been better, but this version with the white paint with red + wood accents doesn’t look too bad.

For the final build we also added a base board to align the two boxes as beset as possible, as that had a big impact on how easily the automata would turn. Although we tried our hardest to assemble precisely, the wood that we used for the planks and boxes were slightly warped and so the final build isn’t the easiest to turn and can only turn in one direction. We sanded some some of the sides of the planks to remedy this.
All in all, it was a fun build, and does look pretty cool when turning.
Peep the red fish also jumping on the left 🙂
COST
6 pcs 24″x24″x.2″ plywood sheets – $48
5 sq in .5″ aluminum – $8
Finish (white, blue, red spray paint + beeswax) – $10 worth
Glue (wood glue & super glue) – $8
6 sq in vinyl – $1
Workshop access (laser cutter, vinyl cutter, waterjet cutter, misc tools) – $100
Labor (50 hrs @ $25/hr) – $1250
TOTAL: $1425
