For this week’s homework, my partner and I laser cut the “perfect” war owl. This process proved to be longer and more repetitive than I had expected.
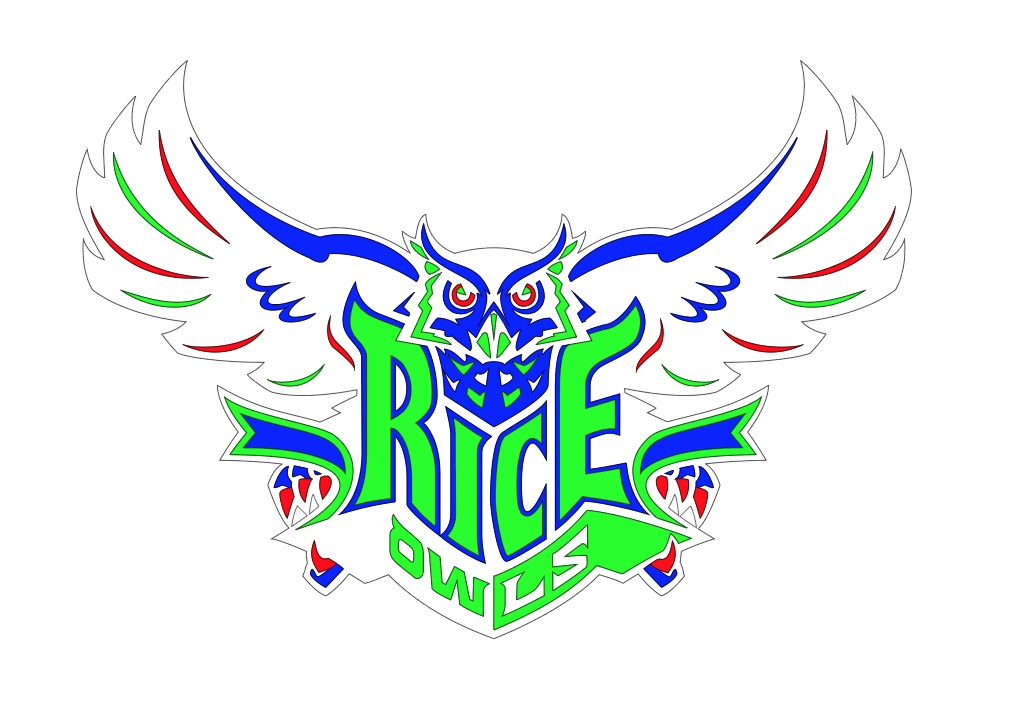
Edited Owl File
We began the project with the original owl file that we had edited to contain only three different colors. This was done in illustrator with the magic wand tool. The plan was to engrave each color to a different speed and power in order to give the owl a carefully crafted look. The difficulty lay in choosing the settings for each color.

Color Method
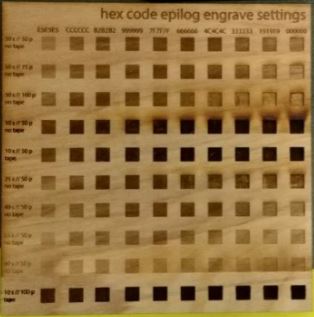
Hex Code Method
We began by using settings suggested by the appendix on the wall for wood. When this created mixed results, we incorporated some settings suggestions from friends and from the raster engraving grids available in the OEDK. We eventually found a setting that worked, but even after we set the speed up to 100, printing four owls would have taken almost 50 minutes.
This lead us to switch our method to the hex code method, which we heard about from a lab technician. Instead of engraving one color at a time at a specific setting, this would engrave the entire owl line by line. While these owls could be produced much quicker, the quality with which they were made was not as good.
In the end, we decided on the color
Hex Code Settings
mapping method with raster settings of 100s and anywhere from 80p to 15p depending on the color, with a vector setting of 5s and 100p. The time to engrave stayed at around 30 minutes for 600 DPI on Jarvis.
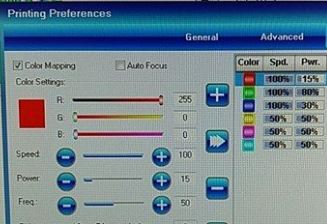
Color Method Settings
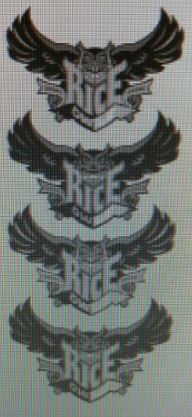
The finished war owl looked well balanced and ended up with neat looking outlines around many of the shapes. For this homework, not only did I gain valuable laser cutting experience, but I am pleased with the way my war owl turned out.
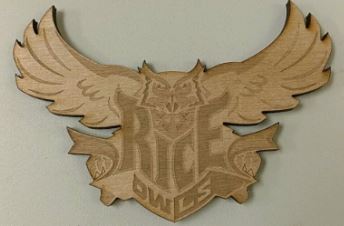
Final Owl
