For this assignment, we were tasked with cutting a shape into a block of wood using the CNC. I decided to pattern the whole block’s face, making a checkerboard of sorts. I converted the Square logo into a vector file and chose “Object Expand” in Illustrator, and uploaded it to Easel.
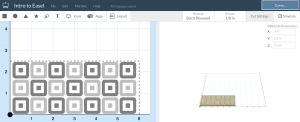
 I copied the shape repeatedly and aligned the squares in a grid the size of my wood block. I then selected each square and set the depth of each, alternating between 1/8″ and 1/4″ so as to produce a checkerboard effect. I modified the plunge depth and bit size to make for an efficient cut, and set the material to match what I was using. Once I had finished creating the file, I exported the g-code and tested it on jherrm.com/gcode-viewer, to see visually how the cut would turn out.
With the g-code, I was ready to cut this pattern into the block on the CNC. I put my block into the vice and moved the dremel bit to the lower right corner of the block. In the Flashcut CNC software, I zeroed all coordinates to set the origin on the machine. Then I simply imported the g-code file into Flashcut, made sure the speed settings were appropriate, stepped through the first few instructions to make sure it was working correctly and then let it run continuously. While it was running, I used the air gun and shop vac to clean out the crevices.
After the I finished the CNC cut, I had to post process my block. The CNC had left very rough edges on all the cuts. I used sand paper to smooth out each edge and get a clean finish. Finally, I used a stain on the top face of the block to add contrast between the top face and the shapes cut out.
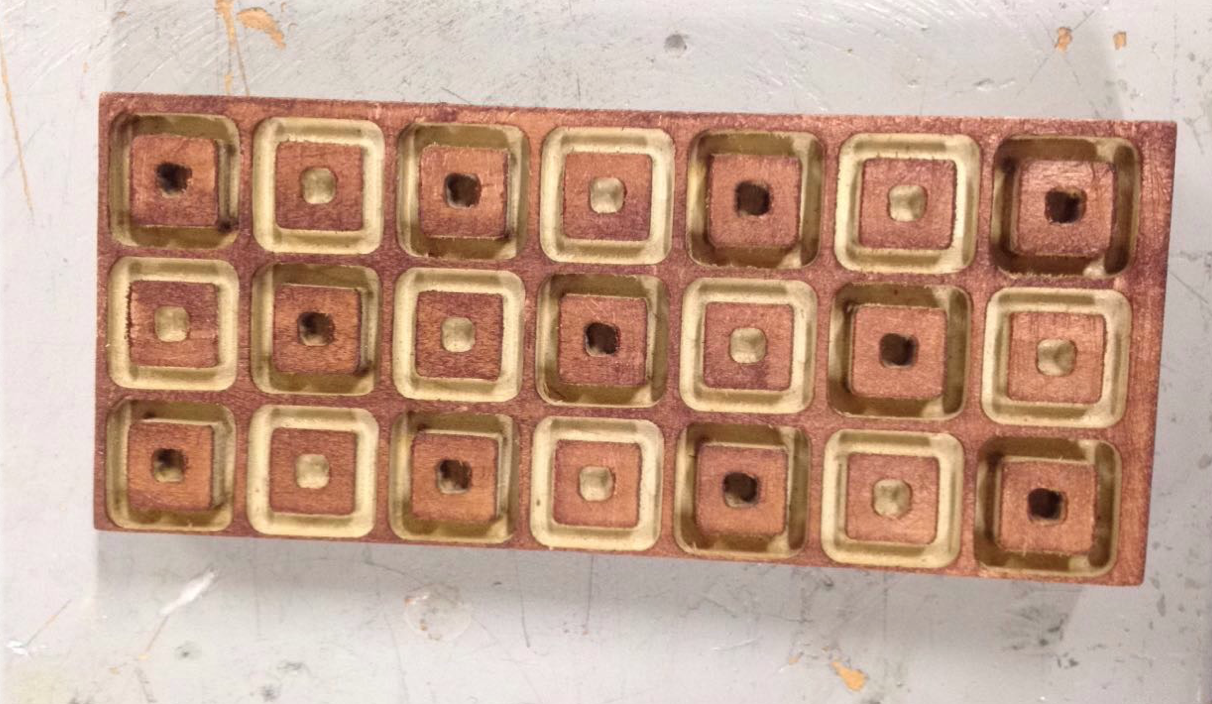
Overall, I’m really happy with how my block turned out. It was neat to be able to use the CNC and learn how easy it is! It’s a great way to cut pretty intricate designs that would be difficult and require a lot of skill to mill by hand.
Side Note: Sorry I don’t have pictures of the process! My phone ran out of storage 🙁
